Ansel Vandal P/T User manual

H.264 Vandal P/T
Mega-Pixel / Multi-Profile
Network Camera
User’s Manual
Firmware Version 5.0.0

Network Camera User’s Guide
2/90
Owner's Record
The model and serial numbers are located at the bottom of device. Record these numbers in the
spaces provided below. Refer to these numbers whenever you call upon your dealer regarding this
product.
Model No. ____________________
Serial No. ____________________
To prevent fire or shock hazard, do not expose the unit to rain or moisture.
For AC Adaptor to avoid electrical shock, do not open the cabinet. Refer servicing
to qualified personnel only.
Notice: The changes or modifications not expressly approved by the party
responsible for compliance could void the user’s authority to operate the equipment.
For customers in the U.S.A.
This equipment has been tested and found to comply with the limits for a digital device, pursuant
to Part 15 of the FCC Rules. These limits are designed to provide reasonable protection against
harmful interference in a residential installation. This equipment generates, uses, and can radiate
radio frequency energy and, if not installed and used in accordance with the instructions, may
cause harmful interference to radio communications. However, there is no guarantee that
interference will not occur in a particular installation. If this equipment does cause harmful
interference to radio or television reception, which can be determined by turning the equipment
off and on, the user is encouraged to try to correct the interference by one or more of the
following measures:
– Reorient or relocate the receiving antenna.
– Increase the separation between the equipment and receiver.
– Connect the equipment into an outlet on a circuit different from that to which the receiver is
connected.
– Consult the dealer or an experienced radio/TV technician for help.
You are cautioned that any changes or modifications not expressly approved in this manual could
void your authority to operate this equipment.
The shielded interface cable recommended in this manual must be used with this equipment in
order to comply with the limits for a digital device pursuant to Subpart B of Part 15 of FCC
Rules.

Network Camera User’s Guide
3/90
Declaration of Conformity
This device complies with part 15 of the FCC Rules. Operation is subject to the following two
conditions:
(1) this device may not cause harmful interference, and
(2) this device must accept any interference received, including interference that may cause
undesired operation.
IMPORTANT NOTE: To comply with the FCC RF exposure compliance requirements, no
change to the antenna or the device is permitted. Any change to the antenna or the device could
result in the device exceeding the RF exposure requirements and void user’s authority to operate
the device.
NOTICE TO USERS
© 2006~9 All rights reserved. This manual or the software described herein, in whole or in part,
may not be reproduced, translated or reduced to any machine readable form without prior written
approval.
WE PROVIDES NO WARRANTY WITH REGARD TO THIS MANUAL, THE SOFTWARE
OR OTHER INFORMATION CONTAINED HEREIN AND HEREBY EXPRESSLY
DISCLAIMS ANY IMPLIED WARRANTIES OF MERCHANTABILITY OR FITNESS FOR
ANY PARTICULAR PURPOSE WITH REGARD TO THIS MANUAL, THE SOFTWARE OR
SUCH OTHER INFORMATION. IN NO EVENT SHALL WE BE LIABLE FOR ANY
INCIDENTAL, CONSEQUENTIAL OR SPECIAL DAMAGES, WHETHER BASED ON
TORT, CONTRACT, OR OTHERWISE, ARISING OUT OF OR IN CONNECTION WITH
THIS MANUAL, THE SOFTWARE OR OTHER INFORMATION CONTAINED HEREIN OR
THE USE THEREOF.
We reserve the right to make any modification to this manual or the information contained herein
at any time without notice. The software described herein may also be governed by the terms of a
separate user license agreement.

Network Camera User’s Guide
4/90
Table of Contents
Overview ............................................................................................................................. 6
Introduction................................................................................................................. 6
Features....................................................................................................................... 6
Minimum System Requirements................................................................................. 7
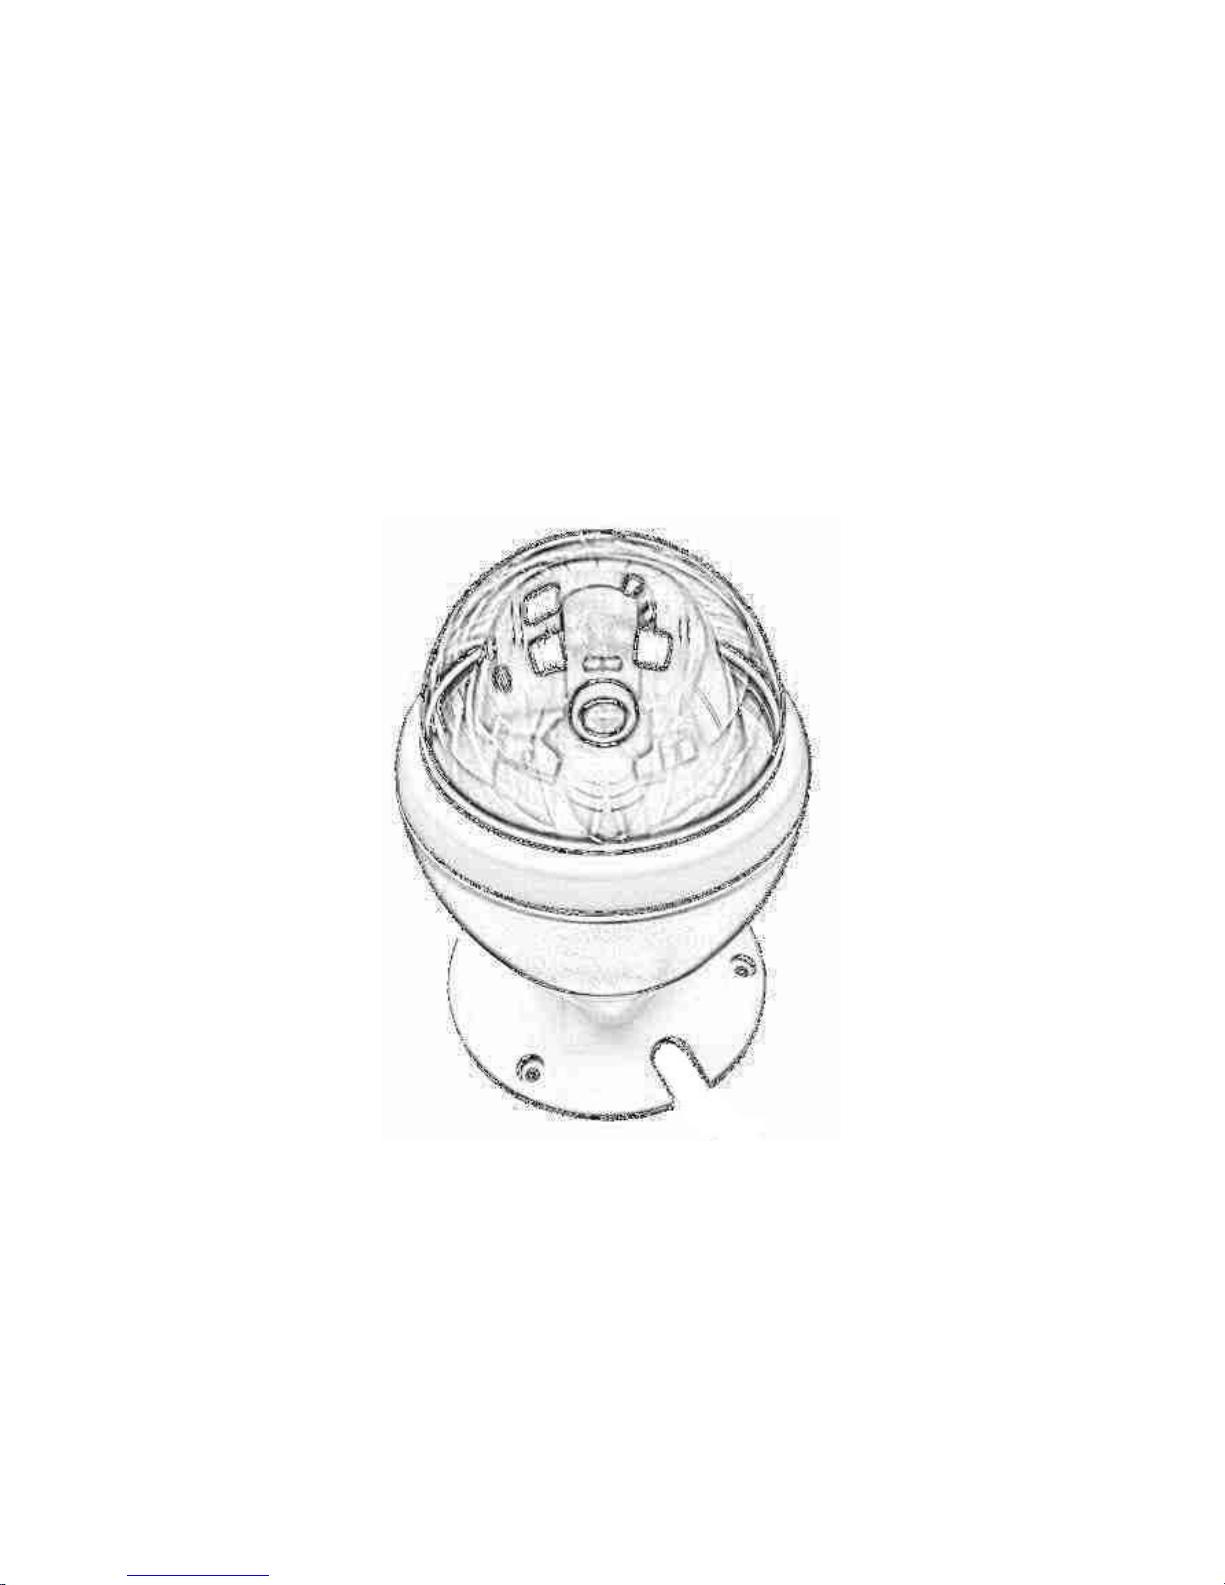
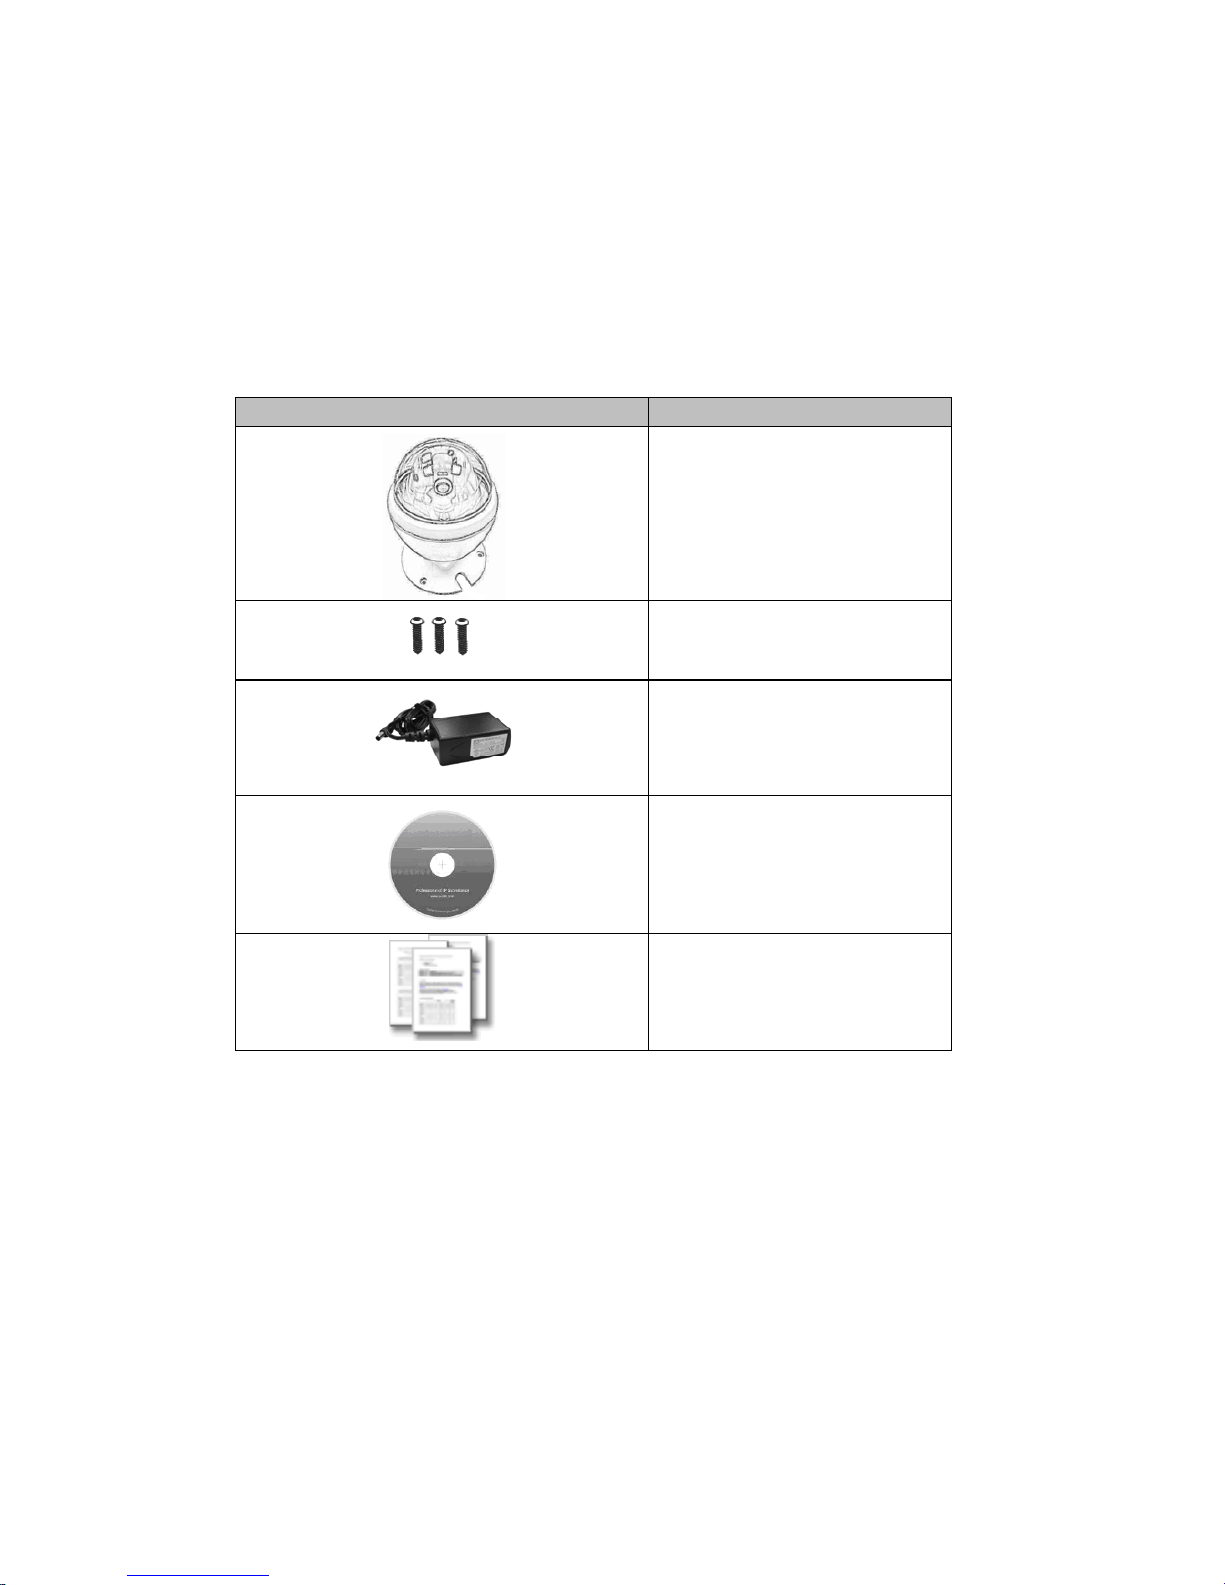
Package Contents................................................................................................................ 8
Connections......................................................................................................................... 9
Mounting the Camera....................................................................................................... 11
Install the Camera in LAN................................................................................................ 11
Preparation....................................................................................................................... 12
Search and Set up by IPWizard II............................................................................. 12
Search................................................................................................................ 12
View.................................................................................................................. 13
LAN .................................................................................................................. 14
Wireless............................................................................................................. 15
Using UPnP of Windows®XP or Vista..................................................................... 16
Install the Device behind a NAT Router................................................................... 17
Access the device from the Internet Explorer for the first time................................ 18
Logging in as an User............................................................................................... 19
Logging in as an Administrator................................................................................. 19
Operating the Network Camera........................................................................................ 20
Monitor Image Section ............................................................................................. 20
Video Profile............................................................................................................. 20
Streaming Protocol.................................................................................................... 21
Language................................................................................................................... 21
2-Way Audio............................................................................................................. 21
PTZ Control.............................................................................................................. 21
ActiveX Control........................................................................................................ 22
Digital Zoom..................................................................................................... 23
Record............................................................................................................... 23
Snapshot............................................................................................................ 24
Voice ................................................................................................................. 25
Statistics............................................................................................................ 25
About................................................................................................................. 26
Administrating the Device................................................................................................. 27
System Setting .......................................................................................................... 27
Network: Configure Network settings.............................................................. 27
Network..................................................................................................... 27
DDNS service ........................................................................................... 29
PPPoE ....................................................................................................... 30
Streaming.................................................................................................. 32
UPnP......................................................................................................... 32
IP Filter ..................................................................................................... 34
IP Notification........................................................................................... 34

Network Camera User’s Guide
5/90
Camera: Adjust Camera parameters.................................................................. 37
Picture....................................................................................................... 37
Preset Setting ............................................................................................ 38
Tour Setting............................................................................................... 39
System: Configure and maintain system........................................................... 41
System....................................................................................................... 41
Date & Time.............................................................................................. 42
Maintenance.............................................................................................. 44
Video: Configure profile................................................................................... 47
Common.................................................................................................... 47
H264.......................................................................................................... 47
MPEG4 ..................................................................................................... 48
MJPEG...................................................................................................... 49
Audio: Audio parameters.................................................................................. 51
User: Manage user name, password and login privilege.................................. 52
E-Mail: Setup E-Mail configuration................................................................. 53
Object detection: Setup Object detection.......................................................... 55
Event Server: Setup FTP/TCP/HTTP/SAMBA server configuration............... 56
FTP Server ................................................................................................ 56
TCP Server................................................................................................ 57
HTTP Server............................................................................................. 57
SAMBA Server......................................................................................... 59
Event Schedule: Configure the event schedule................................................. 60
Setting....................................................................................................... 60
Record....................................................................................................... 63
Appendix A: Alarm I/O Connector.................................................................................... 64
Appendix B: Troubleshooting & Frequently Asked Questions.......................................... 66
Appendix C: PING IP Address.......................................................................................... 71
Appendix D: Bandwidth Estimation.................................................................................. 72
Appendix E: Specifications............................................................................................... 73
Appendix F: Configure Port Forwarding Manually......................................................... 75
Appendix G: DDNS Application....................................................................................... 78
Appendix H: Power Line Frequency................................................................................. 85
Appendix I: 3GPP............................................................................................................. 86
Appendix J: Enable UPnP of Windows XP....................................................................... 87

Network Camera User’s Guide
6/90
Overview
This user’s guide explains how to operate this camera from a computer. User should
read this manual completely and carefully before you operate the device.
Introduction
This camera is an inexpensive and fully scalable surveillance device. Because the
Network Cameras can be plugged into your existing local area network (LAN), you will
potentially save thousands of dollars from unnecessary cabling.
The device is accessible via the LAN or Internet connection. Connect your device
directly to a local area network or xDSL modem, and with Microsoft® Internet Explorer
you get instant, on demand video streams. Within minutes you can set up the device to
capture a video sequence to a PC. The live video can be uploaded to a website for the
world to see.
Features
zVandal proof enclosure
zWide and fast Pan range: 355 degree and 180 degree/sec
zWide and fast Tilt range: 100 degree and 120 degree/sec
zEasy installation with setup wizard
zUPnP device discovery and NAT router transversal for easy installation
zDynamic IP Service, DIPS®, to search your IP camera from Internet easily
zH.264, MPEG4 and JPEG triple compression simultaneously
zMega-pixel resolution up to 1280x1024
zUp to 11-profile encoder simultaneously
zUDP / TCP / HTTP protocols selectable
zSupports video/audio multi-casting
z3GPP for 3G mobile remote application
zMega-pixel or VGA mode selectable
z30 fps for VGA mode
z15 fps for Mega-pixel mode
zDigital zoom
zExternal microphone
zAudio line out

Network Camera User’s Guide
7/90
zTwo-way audio
zIntelligent motion detection up to 10 zones
zGo to preset once motion triggered
zImage transmission using an FTP or e-mail for event
zDDNS and PPPoE
zMulti-channel control software for surveillance application
zOn-line firmware upgrade
z802.3af PoE support (wired model only)
Minimum System Requirements
zMicrosoft Internet Explorer 6.0 or later
zMicrosoft Media Player 11.0 or later (to playback recorded file)
zVGA Monitor resolution 1280 x 1024 or higher
zPentium-4 2.0 GHz or higher
zMemory Size: 512MB or more
zWindows XP, Vista

Network Camera User’s Guide
8/90
Package Contents
User can find the following items in the package:
Item Descriptions
1. This Unit is the main element of
the product.
2. Screws x 3
3. Power Adapter dedicates 12V
DC electric power output to Network
Camera.
4. User’s Manual CD provides
important information and
instructions for operating the
Network Camera..
5. Quick Start Guide provides
important information and
instructions for installing this device.
If any of the above items are missing, please contact your dealer immediately.
Note: Using a power supply with a different voltage than the one included with the
Network Camera will cause damage and void the warranty for this product.

Network Camera User’s Guide
9/90
Connections
1. RJ45 LAN socket: Connect to PC or Hub/Switch.
For connections to 10Base-T Ethernet or 100Base-TX Fast Ethernet cabling. This
Ethernet port built N-Way protocol can detect or negotiate the transmission speed of the
network automatically. Please use Category 5 cable to connect the Network Camera to a
100Mbps Fast Ethernet network switch or hub.
In the LAN socket, there are two LEDs embedded:
LAN LED (green color)
This LED will be flashing while network accessing via Ethernet.
Power & Wireless LED (orange color)
This LED is used to indicate whether DC power is on or not. In addition, this LED will be
flashing while the wireless accessing of the Camera.
2. DI/ DO: Connect to sensor in and alarm out devices.
Cable for I/O connectors:
Name Cable Color Function
RJ45
DI/DO
12V DC in
MIC in
Line out
Factory Default
Reset

Network Camera User’s Guide
10/90
12VDC Brown/White DC 12V (50mA maximum)
GND Blue/White GND
NC Purple/White Do not connect
NC Gray Do not connect
DI Green/White Digital signal input
DO Orange/White Digital signal output
3. Factory Default Reset
This button is used to restore the all factory default settings. Sometimes restarting the
device will make the system back to a normal state. However, if the system still got
problems after restart, user can restore the factory default settings and install it again.
Restore the device:
(i) Press the button down continuously.
(ii) Hold the button at least 5 seconds and release it. Then the device has been
restored to default settings and reboot again.
Note: Restoring the factory default setting will lose the all previous settings included IP
address forever. User needs to run the IPWizard II program to search the device and
configure it to let the device work properly again.
4. DC-in Jack
The input power is 12VDC. Note that supply the power to the Network Camera with the
power adapter included in package.
5. MIC in (audio in)
Connect a microphone to the network camera.
6. Line out (audio out)
Connect a loud speaker to the network camera. This function is for voice alerting and
two-way audio.

Network Camera User’s Guide
11/90
Mounting the Camera
Ceiling Mount
Fix the camera to ceiling with the three supplied screws
Install the Camera in LAN
1. Plug an Ethernet cable into the Camera
Connect an Ethernet cable to the LAN socket and attach it into the network.
2. Connect the external power supply to Camera
Connect the attached power adapter to the DC power jack of the camera. Note: Use the
power adapter, 12VDC, included in the package and connect it to wall outlet for AC
power.
Once you have installed the camera well and powered it on, the power LED (orange) will
turn on later. The power LED turned on, it means the system is booting up successfully.
Furthermore, if you have a proper network connection, and access to the camera, the
LAN LED (green) will flash.
Fixed it by
S
crews

Network Camera User’s Guide
12/90
Preparation
Search and Set up by IPWizard II
When you installed the Camera on a LAN environment, you have two easy ways to
search your Cameras by IPWizard II or UPnP™ discovery. Here is the way to execute
IPWizard II to discover Camera’s IP address and set up related parameter in a Camera.
Search
When launch the IPWizard II, a searching window will pop up. IPWizard II is starting to
search Network Cameras on the LAN. The existed devices will be listed as below.

Network Camera User’s Guide
13/90
View
If IPWizard II finds network devices, View button will be available. Please select the
device you want to view and click the View button. Then you could see the video from
camera directly. Furthermore you could double click the left button of mouse to link to the
network device by browser.

Network Camera User’s Guide
14/90
LAN
In case you want to change the IP related parameters of wired interface, please select
the device you want to configure and click the LAN button. Relative settings will be
carried out as below.
You could modify the relative settings of the selected device. Click “<<” button will quit
the LAN setting procedure and click “>>” button will move to next page as below.

Network Camera User’s Guide
15/90
In case, you do not want to change username and/or password, then just click “Submit”
button to perform your setting accordingly. Click “<<” button will go back to previous
page.
If you like to change username and/or password of the device, just click the check button.
Then, the related fields will show up as below.
After keying in new username and password, click “Submit” button to perform your
setting accordingly. Click “<<” button will go back to previous page.
Wireless
This model does not support wireless function. Therefore, IPWizard II disables this
function automatically.

Network Camera User’s Guide
16/90
Using UPnP of Windows®XP or Vista
UPnP™ is short for Universal Plug and Play, which is a networking architecture that
provides compatibility among networking equipment, software, and peripherals. This
device is an UPnP enabled device. If the operating system, Windows XP or Vista, of
your PC is UPnP enabled, the Network Camera will be very easy to be found.
Please refer to Appendix J to enable UPnP settings only if your operating system of PC
is running Windows XP.
Note: Windows 2000 does not support UPnP feature.
To discover your device, go to your Desktop and click My Network Places.
Click the targeted Device. Then Internet Explorer will connect to this Network Camera
automatically.

Network Camera User’s Guide
17/90
Install the Device behind a NAT
Router
Once installed, the device is accessible on your LAN. To access the device from the
Internet you must configure your broadband router to allow incoming data traffic to the
device. If the device is installed on the LAN with a router, then it may get a dynamic IP
address from the DHCP server. However, if the device wants to be accessed from the
WAN, its IP address needs to be setup as fixed IP, also the port forwarding or Virtual
Server function of router needs to be setup.
However, if your NAT router supports UPnP feature, it can be very easy to achieve NAT
traversal automatically. To do this, enable the NAT-traversal feature, which will attempt
to automatically configure the router to allow access to the camera.
Installing the device with an UPnP router on your network is an easy 3–step procedure:
(1) Enable UPnP option of your NAT router
(2) Enable UPnP NAT traversal option of the Network Camera (default)
(3) Access your Network Camera by DIPS
(1) Enable UPnP option of your NAT router
To use UPnP IGD function (NAT traversal), you need to make sure the UPnP function is
enabled in your router. Most new home routers should support this function. Some of
routers are default enable and others are not. Please check user’s manual of your NAT
router for detail.
(2) Enable UPnP NAT traversal option of the Network Camera
Refer to Setting ÎNetwork ÎUPnP page for detail NAT traversal setting. Note that
this option is default enabled.
(3) Access your Network Camera by DIPS
Refer to Setting ÎSystem ÎSystem page for detail DIPS information.

Network Camera User’s Guide
18/90
Access the device from the Internet
Explorer for the first time
1. Start the web browser on the computer and type the IP address of the Camera you
want to monitor as below:
The Login Window of the Camera is prompted:
2. Type in your login name and password under “USERNAME” and “PASSWORD”
textbox.
For the first time use (default value), input the
User Name: admin
Password:
That’s, type in “admin” on the “USERNAME” as a default name and leave PASSWORD
textbox blank. Click “OK” button to start the main menu.

Network Camera User’s Guide
19/90
3. According your browser’s security setting, the IE Web Page may prompt the
“Security Warning” window. If so, select “Yes” to install and run the ActiveX control into
your PC. Otherwise, the system will load the ActiveX silently.
4.After the ActiveX control was installed and ran, the first image will be displayed.
Logging in as an User
If you log in the Camera as an ordinary User, “Setting” function will be not accessible.
Logging in as an Administrator
If you log in the Camera as the Administrator, you can perform all the settings provided
by the device.

Network Camera User’s Guide
20/90
Operating the Network Camera
Start-up screen will be as follow no matter an ordinary users or an administrator.
Monitor Image Section
The image shot by the device is shown here. The date and time are displayed at the top
of the window.
Video Profile
The device supports either mega-pixel or multi-profile mode for both MEPG4 and JPEG
simultaneously. User can chose the proper and/or preferred profile which is listed here.
Monitor Image
Section
ActiveX
Control
Setting
Menu
Video
Profile
Streaming
Protocol
Language
2-Way
Audio
PTZ
Control
Table of contents
Other Ansel Security Camera manuals