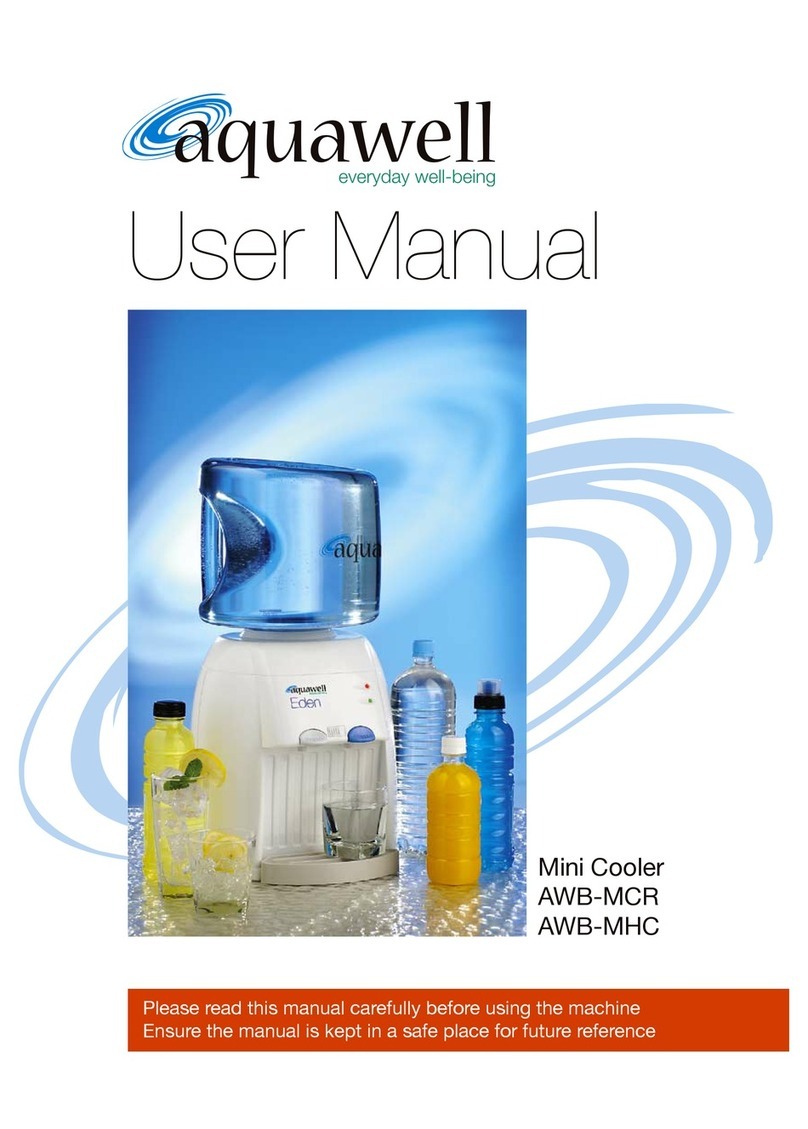
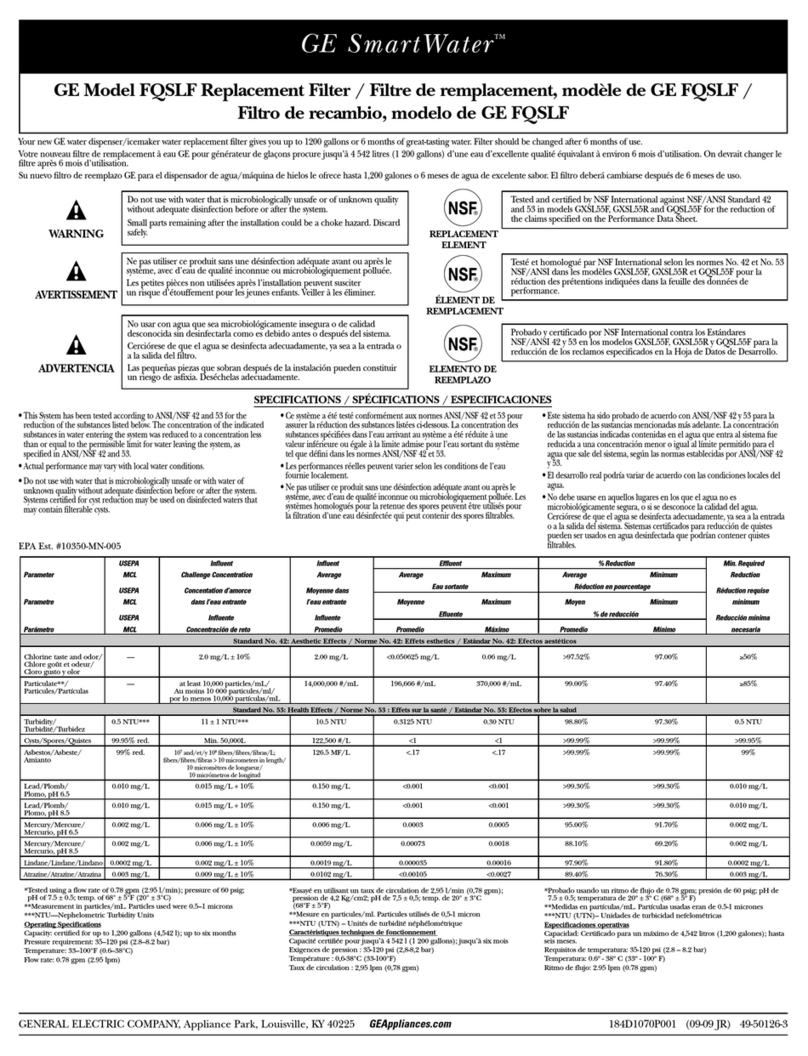
Aquawell Spring User manual

Overview
1. Touch panel
2. Decorative panel
3. Water outlets
4. Removable driptray
5. Removable grid
6. Mains power cable
7. Power switch
8. Hot system switch
9. Water inlet

1. .
2. .
3. .
4. .
5. .
6. .
7. .
8. .
9. .
11.
12.
13.
14.
16.
16.
-1-

Using your SPRING
Initial connection to an electrical supply
Once your SPRING has been plugged in to a power supply, the screen
will display the logo; this means it is operating correctly. Select
your preferred language and then follow the instructions on the screen,
adding hot and cold water to the respective tanks.
(Once the tanks are full, water will flow from the outlet at the front of the dispenser.)
Before using your SPRING for the first time
After turning your SPRING on for the first time we suggest you
front of the dispenser.)front of the dispenser.)
dispense at least 5 liters of water using both the hot & cold keys.
Important: When using a new or freshly cleaned SPRING for the first
time, it’s important that water is flowing from both the hot and cold keys
when they are touched, before you switch on the hot water tank.
-2-

-3-
Once you have flushed 5 liters of water through the system (Hot and Cold),
turn the hot tank
On using the switch at back of the machine. The hot tank will begin to
heat up and the hot water temperature icon will be active on the screen. When
first used, the hot tank will take approximately 5 minutes to get up to
maximum temperature
Main features
To dispense hot water:
The SPRING has a safety lock so you must first touch
then touch Hot water will flow until you touch any key to stop the water
If you require near boiling water touch , the dispenser will display the
following:
Once boiling has completed you can dispense water
from the SPRING.
To dispense cold water
Touch then cold water will flow. Touch any key to stop the water
To dispense mixed water

Touch then mix water will flow. Touch any key to stop water.
To dispense a measured cup of hot or cold water
Touch then touch either or for a measured cup of hot or cold water.
Menu options & personal settings
To enter the menu
Touch on the screen, then follow the on-screen prompts.
The menu allows you to control temperature settings, water quantity settings,
time and date settings, energy saving mode, child lock settings, filters and UV
change settings, language settings, ring tone settings and there’s also an
option to restore SPRING’s factory settings.
Touch to choose the setting that requires changing, then touch to
select the setting you wish to change. Touching at any time will take
you back to the previous setting.
Touch and/or to adjust specific settings.
Water temperature settings
Select the temperature (Temp) setting in the menu then follow the screen
prompts to set the hot, cold & mix water temperatures as follows:
-4-

-5-
Water quantity settings
Select the water quantity (QTY) setting in the menu then follow the screen
prompts to set the hot, cold & warm (mix) water quantities as follows:
Time setting (day - month - year)
Select Calendar settings and enter the time adjustment screen. Follow the
prompts to set the date, time and your preferred time format, as follows:

Touch to save your selections
Energy -saving mode
To select which energy-saving mode you require select “power”from the
menu and follow the on-screen prompts to choose between the “sleeping”
option or the timed “on/off”option.
Sleep Mode
Sleep mode allows you to tell your SPRING to go to sleep after a certain
number of hours of non-use. You can choose anything between 1 hour
and 4 hours of inactivity.
When the machine goes into sleep mode, it will display the following screen.
Simply press any key to wake it up again.
Power on/off mode
Power on/off mode allows you to set your SPRING to come on and go
off at different times of day –exactly like your central heating. Choose
“power”from the main menu and then choose the “power on/off”option.
Then use the power on/off screen to choose the times of day you want the
SPRING to be on, and when you want it to be on standby.
-6-
Spleeping......

-7-
When the SPRING goes into standby mode, it will display the following
screen in the display:
If you want to wake your SPRING up before the programmed time,
press any key and the screen will display this:
Touch the key to confirm you want it to wake up.
4.6 Child locks setting
To set the extra child lock, select the “Child lock" option from the menu.
Follow the prompts to turn the child lock on or off:
Once the child lock has been set, it will only be possible to dispense hot water
by touching the key for more than 3 seconds.
Filter & UV filter maintenance settings
To see how long is left on the lives of your two filters, select “replacement”
from the main menu. For the filter, select “filter”and the screen will tell you
how long is left until you need to replace.
Wake up 20:16

-8-
Language settings
You can change the operating language of SPRING at anytime by
choosing “language”from the main menu and selecting your preferred
language from the options available
Ring/beep setting
You can tell yourSPRING to beep every time a key is pressed by
choosing “ring”from the main menu, and selecting whether you
want it on or off.
Restore factory settings
To restore all settings to factory settings, choose “restore”from the main
menu and then choose “on”.

-9-

01 -
-
Maintenance
Replacing filter
SPRING's filter should be replaced every 6 months (about 2,000 liters of water).
When the filter needs replacing, the SPRING's display will alert you as follows:
Remove the lid on the top of SPRING by simply lifting it off.
You will see the tops of two white filters on the right hand side. The filter is the
Turn the handle anti-clockwise and pull the filter upwards and out.
one towards the back of yourSPRING which a handle protruding from the top.
OPEN- Rotate anti-clockwise to remove the used filter.
CLOSE - Rotate clockwise to install the new filter
Remove the new filter from its packaging and insert it. Then turn clockwise to
install.
Once the filter has been replaced, go into the menu from the screen, select
the “filter / UV maintenance”option, select “filter”and confirm the filter
replacement.

11 -
-
Replacing UV
The UV should be replaced once a year. When it needs replacing, SPRING’s
display will alert you as follows:
You will have been given a key when your SPRING was installed to
release the UV filter. Put the key into the slot indicated above, release the
latch to “open”and rotate the UV lamp counter clockwise. Pull the UV filter up
and out of the SPRING.

21 -
-
Once the UV has been replaced, go into the menu from the screen, select the
“filter/UV maintenance”option, select “UV”and confirm the UV replacement.
Cleaning your
SPRING
Clean yourSPRING by simply wiping it down with a damp cloth.
The drip tray can be removed and cleaned in your dishwasher.
Please don’t use harsh detergents, concentrated washing up liquid or
solvents to clean yourSPRING.
Avoid using anything abrasive (such as steel brushes, scourers etc) to clean
the bodyas it will scratch.
It’s very important that you don’t wet the back of the machine whilst
cleaning –remember it is connected to an electrical supply.

31 -
-
7.5
16
AT 92
o
c
-
96
o
c
AT 5
o
c
-
16
o
c
8
2
1.5ba
-
6ba
The maximum ambient working temp' is 32
°
C.
*The dispense capacity is calculated in minimum inlet water temp' of 16°C.
**The dispense capacity is calculated an ambient temp' of 25°
C and maximum
inlet water temp' of 22°C
**

41 -
-
Installation
Your SPRING will be installed by one of our professional, experienced
installation team. However, please note the following concerning the
installation of your SPRING.
Overview
•Install the SPRING in a cool, dry place where it is well
ventilated. It must be kept away from any heat source
•Keepthe rear of the SPRING a minimum of 10cm away from
the wall and ensure that the dispenser is well ventilated
•The water pressure should be between 1.5bar- 6bar

51 -
-
Troubleshooting
If a fault should occur, please first use the troubleshooting guide below to
determine the fault type, then follow the steps listed to resolve the issue. This
should help you resolve the fault with the minimum effort.
ELECTRA service
Table of contents
Other Aquawell Water Dispenser manuals
Popular Water Dispenser manuals by other brands

Murdock
Murdock AI81.8 Series Installation and maintenance instructions

Elkay
Elkay EZSTL8WS 1G Series Installation & use manual

Field Controls
Field Controls 46302500 manual

Evolve
Evolve EV1-TW Installation instructions & owner's manual
CASO DESIGN
CASO DESIGN HW 1660 Original operating manual
PureFlow
PureFlow 100 Series Equipment Flushing Instructions
