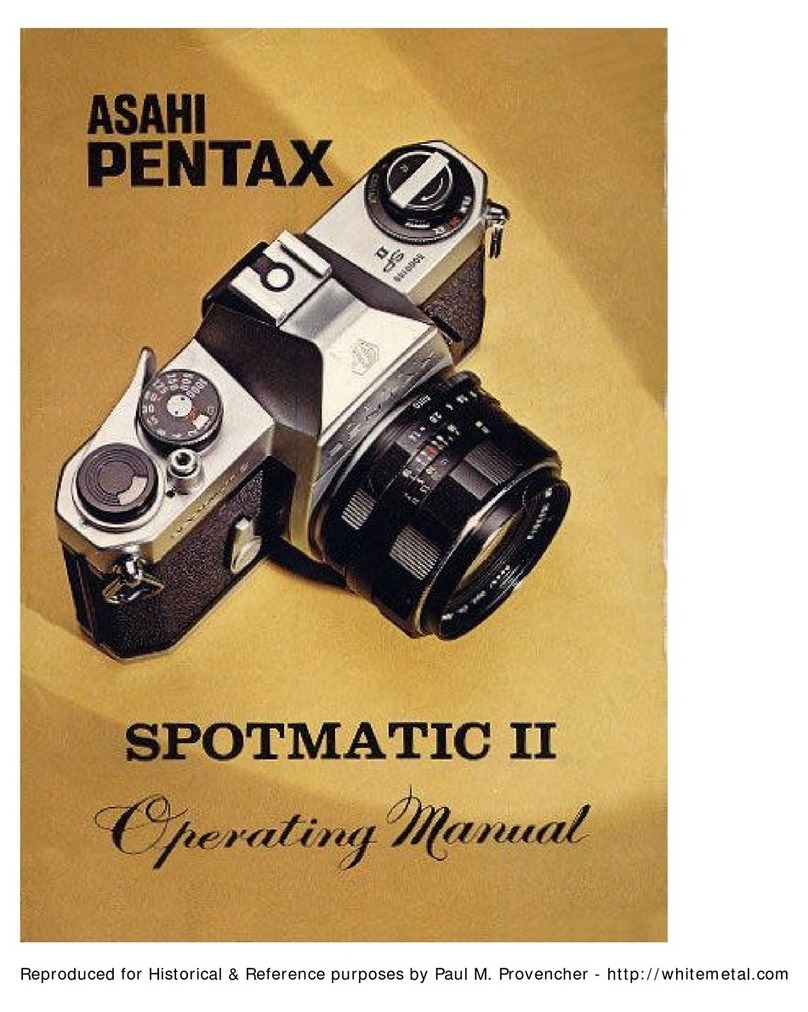
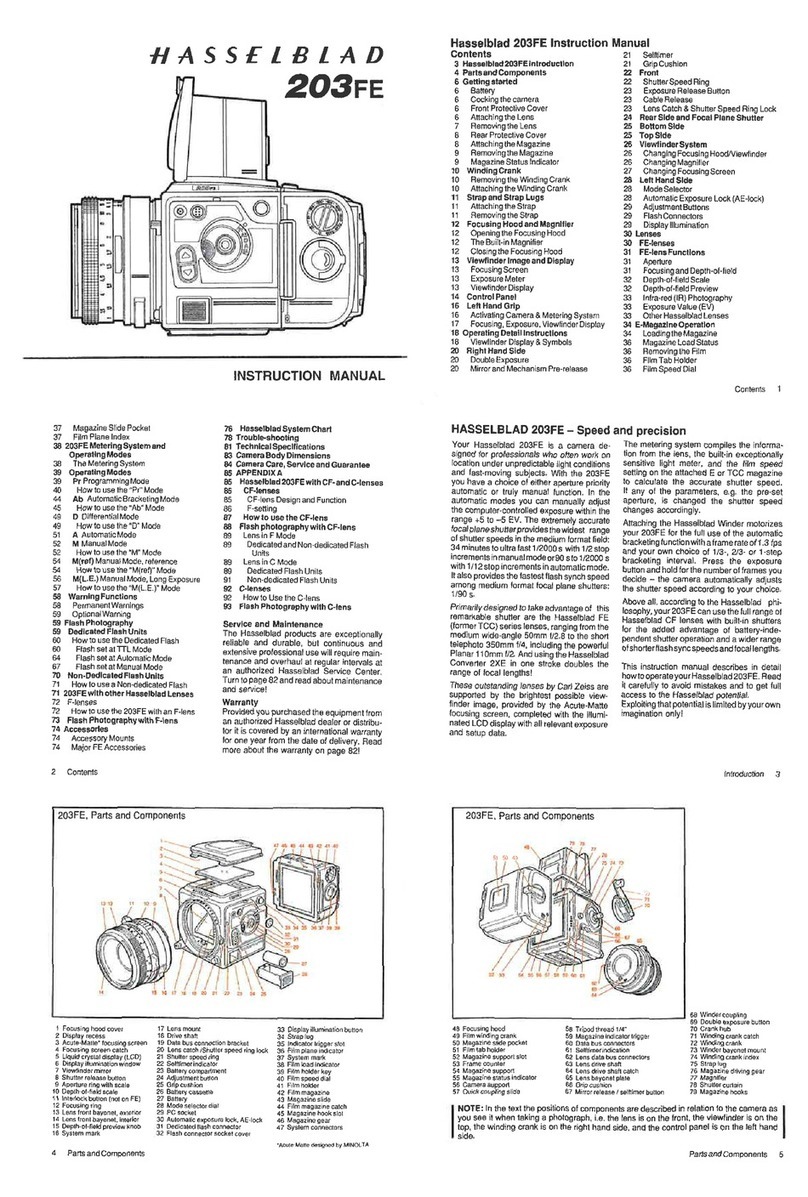
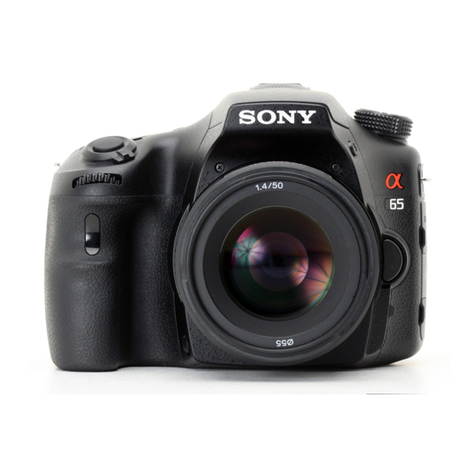
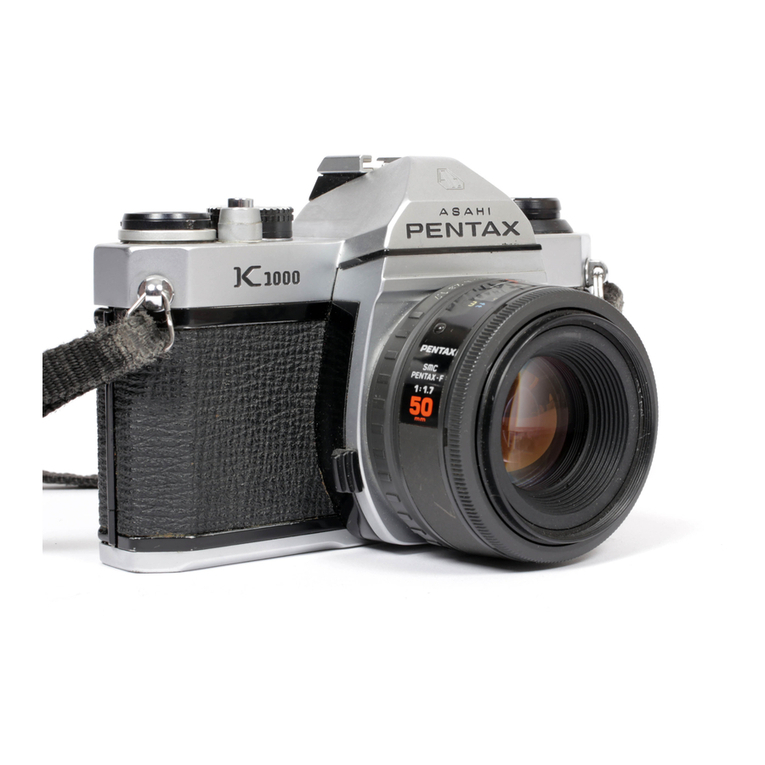
ASAHI PENTAX Z-70 User manual

OPERATING
MANUAL

Congratulations
on
your
purchase
of
this
camera
and
welcome
to
the
exciting
world
of
Pentax
autofocus
pho-
tography!
This
camera
is
an
autofocus
SLR
camera
that
offers
higher
levels
of
sophistication
and
performance.
Incorporating
a
broad
range
of
advanced
technologies
and
highly
accurate
automation,
this
camera
will
per-
form
superbly
for
the
most
exacting
photographer.
Icon
indicators
used
in
this
manual
Operation
direction
Automatic
operation
Attention
|
Notes:
SS
5
---
*
The
product
pictured
on
the
front
cover
shows
the
Z-
|
Lamp
blinking
yc
70
with
the
Pentax
Zoom
35-80mm
lens.
затла
'
*
Illustrations
of
this
camera
used
in
this
manual
show
the
camera
with
the
Pentax-FA
Power
Zoom
28-
|
СОУ
`
O
80mm
lens.
When
the
2-70
is
combined
with
an
F
||
=
Zoom
lens,
certain
features
such
as
Power
Zooming
Je
|
X
and
Auto
Zooming
functions
are
not
available.
Read
this
instruction
manual
carefully
to
get
a
full
ex-
Lenses
and
accessories
produced
by
other
manu-
planations
for
operations
before
use.
facturers
are
not
made
to
our
precise
specifica-
tions
and
therefore,
may
cause
difficulties
with
or
actual
damage
to
your
Pentax
camera.
We
do
not
assume
any
responsibility
or
liability
for
difficul-
ties
resulting
from
the
use
of
lenses
and
accesso-
ries
made
by
other
manufacturers.
The
names
of
the
camera's
working
parts
are
listed
on
the
front
and
back
flaps
in
this
operating
manual.
Keep
the
flaps
unfolded
for
quick
reference
while
reading
this
manual.

©
Shutter
release
button
lect
dial
Tv//Av
button
in
©
LCD
panel
(p.6)
Built-in
flash
(p.35)
©
Red-eye
reduction
button
(p.37)
Ф
Drive
button
(p.64)
rap
lug
(p.13)
Flash
pop-up
button
(p.35)
Release
socket
cap
F
(p.61)
Back
cover
release
lever
(p.19)
uxiliary
rewind
button
(p.23)
Focus
mode
switch
(p.31)
irror
епз
mount
index
(p.16)
ens
information
contacts
Lens
lock
button
(p.17)
Hand
grip
ot
shoe
cover
Р,
(p.72)
rojection
for
rewinding
film
in
mid.
roll
perture
//
zoom
index
©
Aperture
scale
Ф
Aperture-A
index
(p.25)
©
Aperture-A
lock
button
(p.25)
Aperture
ring
(p.25)
Ө
Zoom
scale
window
(p.27)
Ф
Power
zoom
ring
(p.28)
Ө
Focusing
ring
(p.43)
Ф
Distance
scale
ring
window

Your
Pentax
camera
is
a
high-precision
mechanism.
Handle
it
with
great
care.
Precautions
when
taking
pictures
*
Do
not
use
the
camera
in
a
place
where
the
camera
may
come
in
contact
with
rain
or
water
because
the
camera
is
not
wether
resistant.
Should
the
camera
get
wet
from
rain
or
splashing
water,
wipe
it
off
im-
mediately
with
a
dry
soft
cloth.
*
Do
not
drop
the
camera
or
allow
it
to
hit
a
solid
ob-
ject.
If
the
camera
suffers
a
severe
shock
or
impact,
take
it
to
a
Pentax
service
center
for
inspection.
*
Be
careful
not
to
subject
it
to
strong
vibrations,
shock
or
pressure.
Use
a
cushion
to
protect
the
camera
when
carrying
it
in
a
motorcycle,
car,
boat,
etc.
*
Condensation
on
the
interior
or
exterior
of
the
cam-
era
may
be
extremely
harmful
to
the
camera
mecha-
nism
as
it
may
cause
rust.
Furthermore,
if
the
camera
is
taken
from
warm
temperature
to
a
sub-
freezing
one
or
vice
versa,
the
formation
of
icelets
may
cause
damage.
In
such
a
case,
put
the
camera
into
a
case
or
plastic
bag
so
that
any
changes
in
temperature
difference
is
minimized,
take
it
out
of
the
bag
after
the
temperature
has
stabilized.
*
Regular
size
color
prints
may
cut
off
what
appears
on
the
extreme
edges
of
the
film
frame.Compose
your
picture
with
margin
of
safety
at
the
edges.
*
When
a
macro
or
telephoto
lens
is
used,
the
upper
portion
of
the
viewfinder
may
be
darkened
by
the
mirror.
This
darkening,
however,
does
not
appear
on
the
developed
photograph.
Precautions
for
storage
*
Avoid
leaving
the
camera
for
extended
periods
in
places
where
the
humidity
and
temperature
are
very
high
such
as
in
a
car.
*
Do
not
store
the
camera
in
a
closet
with
mothballs
or
in
a
area
where
chemicals
are
handled.
Store
it
in
a
place
with
good
air
circulation
to
prevent
the
growth
of
fungus.

Precautions
for
taking
care
*
Never
touch
the
shutter
curtain
or
mirror
with
your
finger
or
any
other
object.
*
The
electric
circuit
inside
the
camera
contains
high
voltage
working
parts.
Never
attempt
to
disassem-
ble
it.
*
Use
a
blower
and
lens
brush
to
remove
dust
accu-
mulated
on
the
lens
or
viewfinder.
*
Never
use
solvents
such
as
paint
thinner,
alcohol
or
benzine
to
clean
the
camera.
*
Electrical
problems
may
often
be
caused
by
water,
dirt
or
dust
at
points
of
electrical
contact.
Also
check
for
battery
leakage,
traces
of
dirt
or
grease,
or
corrosion
due
to
salinity
or
gas.
If
you
cannot
cor-
rect
the
problems,
have
your
camera
inspected
at
a
Pentax
service
center.
Repairs
of
this
nature
are
not
covered
under
the
terms
of
the
warranty
and
charges
may
be
assessed.
Other
precautions
*
Temperature
range
at
which
this
camera
functions
properly
is
50°C
to
-10°C
(122'F
to
14°F).
*
A
camera
which
has
been
submerged
in
water
can-
not
usually
be
repaired,
if
such
an
accident
should
occur,
it
is
advisable
to
contact
a
Pentax
Service
Center
immediately.
*
To
maintain
optimum
performance,
it
is
recom-
mended
that
the
camera
be
inspected
every
one
or
two
years.
If
the
camera
has
not
been
used
for
an
‘extended
period,
or
is
being
prepared
for
an
impor-
tant
photographic
session,
it
is
recommended
that
you
have
the
camera
inspected
or
test
shoot
with
it.
*
Repair
made
necessary
due
to
usage
of
this
product
in
an
industrial
or
commercial
application
may
not
be
covered
under
the
term
of
the
Pentax
warranty.
*
Repairs
made
necessary
due
to
the
camera
being
subjected
to
any
of
the
conditions
warned
about
in
this
precautions
section,
or
any
other
precaution
or
warning
throughout
this
instruction
manual,
are
not
covered
under.the
terms
of
the
warranty
and
charges
may
be
assessed.
LCD
(Liquid-Crystal
Display)
When
the
LCD
is
exposed
to
high
temperatures
over
about
60'C,
it
may
blacken,
but
when
the
tempera-
ture
normalizes,
it
may
return
to
normal.

PRECAUTIONS
FOR
BATTERY
*
Use
one
6V
lithium
battery
(2CR5
type).
*
Misuse
of
a
battery
can
cause
hazards
such
as
leak-
age,
overheating,
explosions,
etc.
The
battery
should
be
inserted
with
the
"+"
and
^
—*
sides
facing
cor-
rectly.
*
Never
try
to
disassemble,
short
or
recharge
the
bat-
tery.
Also,
do
not
dispose
the
battery
in
fire,
as
it
may
explode.
*
Battery
performance
may
be
temporarily
hindered
in
low
temperatures,
but
will
recover
in
normal
tempera-
tures.
*
Keep
a
spare
battery
on
hand
for
replacement
conven-
ience
when
shooting
outdoors
or
while
traveling.
*
If
the
built-in
flash
is
used
continuously,
the
battery
may
become
warm,
but
it
does
not
mean
that
the
bat-
tery
is
faulty;
it
is
one
of
the
battery's
characteristics.
Battery
Life
(Using
24-exposure
film
rolls)
General
existing
light
photography
|
about
100
rolls
Flash
photography:
(using
flash
50%
of
the
time)
|
bout
25
rolls
Flash
raphy
photog!
(using
flash
100%
of
the
time)
_
|
2004:
15
rolls
Bulb
exposure
time
about
12
hours
The
2CRS
battery
was
used
under
Pentax
testing
condi-
tions.
Actual
battery
Wie
“performance
may
vary
drasti-
cally
depending
on
usage
of
Autofocus,
Power
zoom
and
external
conditions
such
as
temperature
and
fresh-
ness
of
the
battery.

PRACTICAL
SHOOTING
GUIDE
а)
а
[à]
EES
Fre
Taking
a
picture
when
the
main
subject
is
not
in
the
Taking
a
portrait
photograph.
дей?
гате,
Taking
a
group
photograph.
ang
ng
the
горца
HDD
Putting
yourself
into
a
picture.
|
Taking
a
picture
of
people
in
a
backlit
situation
with
shadow
on
the
face.
-
p.70
Taking
a
picture
of
people
with
night
scenery
in
the
background.
KA
Taking
a
picture
in
low
light
situations.
«p.35
Minimizing
the
red-eye
effect,
----«-
p.37
Landscape
photography
Taking
a
portrait
picture
whose
face
is
cast
in
shadow.
«
Flash
photography
(9
Taking
a
scenic
photograph
that
focuses
from
the
Taking
picture
of
people
with
night
eet
rin
the
a
Taking
а
cni
photograph
thi
NP
Taking
a
picture
in
a
roomy
place
such
as
a
church
or
Taking
a
picture
of
night
scenery,
«p.60
wedding
party
place.
p.72
Taking
a
picture
of
people
with
night
scer
n
В...
=
Others
Making
a
subject
larger
or
smaller.
EE
саай
Taking
a
picture
of
a
fast
moving
subject.
p41,52
Taking
consecutive
pictures
of
a
moving
subject.
---p.64
[a]
Exposure
modes
————
+
=
Taking
a
picture
of
people
in
a
backlit
situation
with
shadow
on
the
face.
p.70

TABLE
OF
CONTENTS
|
LCD
panel
indication
Viewfinder
indication
Easy
to
use!
----
Camera
and
lens
mount
10
Camera
functions
available
with
various
lenses
How
to
use
this
operating
manual
1.
BASIC
OPERATION
(PREPARATION)
13
-
23
Attaching
the
camera
strap
13
Loading
the
battery
/
==
When
the
battery
is
exhauste:
Attaching
the
lens
Using
the
shutter
release
button
Main
switch
operatio!
Film
loading
Unloading
the
film
11.
BASIC
OPERATION
(SHOOTING)
Using
the
Green
Operation
Mode
Selecting
a
Drive
Mode
---
Using
the
power
zoom
function
Holding
the
camera
---
Selcting
a
Focus
Mode
Autofocusing
==
Focus
Lock
Function
Using
the
Buit-In-TTL
Flash
(RTF)
Red-eye
Reduction
Flash
Function
Using
the
Picture
Mode
---
*
Portrait
Program
Mode
*
Landscape
Program
Mode
*
Action
Program
Mode
=
*
Close-up
Program
Mode

Ш.
ADVANCED
OPERATION
Manual
focusing
=
Hard-To-Autofocus
Subjects
-
Selecting
an
Exposure
Mode
-
*
Programmed
AE
Mode
-
•
Program-Shift
in
the
Program
AE
Mode
-
е
Shutter-Priority
AE
Mode:
*
Manual
Exposure
Mode
-
*
Bulb
Exposure
Mode
···-
About
Exposure
Compensation:
Selecting
a
Drive
Mode
==
е
Using
the
Consecutive
Shooting
Mode
-
*
Using
the
Self-Timer
Mode
-
Turning
off
the
audible
PCV
signal
-
Using
the
Buit-In-Flash
(RTF)
-
*
Compatibility
of
F
and
FA
lenses
with
the
Built-In
Flash
*
Taking
а
daylight-sync
flash
picture
=
е
Taking
а
slow-shutter-sync
flash
picture---71
A
Pentax
Dedicated
External
Flash
=
*
Contrast-Control
Flash
Photography
ACCESSORIES
Soft
case
Fc
~
Depth
of
field-
About
the
infrared
index
IV.
OTHERS
—
Troubleshooting
Specifications
Program
line
Warranty
policy:

|
LCD
PANEL
INDICATION
=
EES
e
«88g
ӨӨ
РАМо-Ф
P
Programmed
AE
(p.50)
erm:
Bar
Graph
(p.57,62)
A
Shutter-Priority
/
Aperture-Priority
AE
9
—:T.shutter
speed)
Indication
(p.52,54)
Ф
:
Red-Eye
Reduction
Flash
Indication
(p.37)
AN
"A.
(aperture)
Indication
Eh
—:Consecutive
Shooting
(p.64)
M
Manual
Exposure
(p.57)
D
Single
Frame
Mode
(p.63)
@ооо
:
Shutter
Speed
Indication
©
:Self-Timer
Shooting
(p.64)
3e
Aperture
Indication
5
Flash
Information
(p.35)
€)
:
бгееп
Operation
Mode
(p.24)
BB
:
Frame
Counter
“Exposure
Compensation
(à)
:
Portrait
Program
Mode
(p.39)
(p.21,62)
00
:
Landscape
Program
Mode
(p.40)
Q___:
Film
Status
Information
(p.21)
Ж)
:
Асііоп
Program
Mode
(p.41)
ся
:
Battery
Exhaustion
Warning
(p.15)
0
:Close-Up
Program
Mode
(p.42)
-—»
:Audible
PCV
Signal
(p.66)
©

VIEWFINDER
INDICATION
Autofocus
(AF)
Frame
(p.32)
T,
Value
(Shutter
speed)
Aperture
Value
Flash
Status
Information
(p.35)
In-Focus
Indicator
(p.32)
Exposure
Compensation
(p.62)
:
Bar
Graph
(p.57,62)
Kä

EASY
TO
USE
(For
beginners)
1.
Loading
the
battery
2.
Attaching
the
lens
Load
the
battery
[2CR5]
according
to
the
markings
Align
the
red
indexes
on
the
lens
and
camera.
Turn
the
(+,—)
on
the
battery
chamber
cover.
(See
page
14.)
lens
to
the
right
until
it
seats
with
a
click.
(See
page
16)
UU
UN
UV
4.
Setting
the
Green
Operation
Mode
While
holding
down
the
aperture-
A-lock
button,
turn
the
lens
aper-
ture
ring
to
the
[A]
position.
(See
page
25.)
®
Set
the
camera's
main
swtich
to
the
[PICT]
position.
(See
page
25.)

5.
Loading
film.
6.
Selecting
the
Autofocus
Mode
YW
МЕ
АЕ
7
Open
the
back
cover,
insert
а
roll
of
film,
align
the
end
of
the
film
leader
with
the red
mark,
and
close
the
back
cover.
The
film
should
advance
to
the
first
frame
auto-
matically.
(See
page
20.)
7.
Composing
the
scene
with
the
zoom
ring
*
When
an
FA
zoom
lens
is
attached,
the
power
zoom
function
can
oper-
ate.
While
looking
through
the
viewfinder,
turn
the
zoom
ring
to
the
right
or
left
until
you
obtain
the
desired
com-
position.
(See
page
27.)
Set
the
focus
mode
switch
to
[AF].
(See
page
31.)
B.
Focus
on
the
subject
and
shoot.
Center
the
AF
frame
[C_J]
on the
subject,
depress
the
shutter
release
button
halfway
down
to
lock
focus,
and
then
depress
it
fully
to
take
a
photo.
(See
page
32.)
©

CAMERAS
AND
LENS
MOUNTS
Lens
Mount
and
Camera
Body
Compatibility
Chart
Mount
Type
Lens
Type
Camera
Model
(A)
Kase-mount
Pentax-FA
lens
2-70,/PZ-70,2-1p/PZ-1¢,2-1/PZ-1,
Z-10/PZ-10,2-20/PZ-20
(B)
Kae-mount
Pentax-F
lens
SEX,
SEI,
SF7/SF10,
SES
SEI
(C)
Ka
mount
Pentax-A
lens
Super-A
//
Super
Program,
РЗОн.
P3,,P30;
(D)
K-mount
Pentax-M
lens
LX,K1000
and
Pentax
lens
(E)
Screw
mount
SMC
TAKUMAR
lens
ESIL,SP.
(A)
through
(D):
basically
K-mount
(bayonet)
lenses.
(A)
and
(B):
autofocus
lenses.
(C)
through
(E):
non-AF
(manual-focus)
lenses.
(E):
A
screw
mount
lens
can
be
fitted
to
the
camera
(A)
through
(D)
with
the
optional
Pentax
"Mount
Adapter
К”.
(A)
through
(C):
have
"A"(auto)
position
on the
lens
aperture
ring.
Pentax
FA
lenses
incorporate
new
contacts
to
ex-
change
information
between
the
camera
and
lens
for
power
zoom.
Pentax
FA
lenses
operate
on
existing
K-
mount
cameras.
Pentax
FA
lenses
incorporate
new
con-
K-Mount
Lens
Compatibility
Chart
tacts
as
follows:
E
*
Power
supply
contacts
Kar-mount
lens
F
coupler
+
AF
coupler
*
Lens-information
contacts
=
Lens-information]
Kesmount
етв
contacts
K-mount
lens
00
contacts

Function
Lens
[Mount
type]
FA
lens
Kan)
Autofocus
(Lens
only)
(Lens
with
AF
Adapter
1.7X)
Manual
focus
(with
FI)
#2
(with
Matte
field)
Power
zoom
Programmed
AE
Aperture-Priority
AE
Shutter-Priority
AE
Manual
Exposure
Programmed
TTL
Auto
Flash
TTL
Auto
Flash
Picture
Mode
Multi(2)-segment
metering
Approx.
f-stop
indication
oolololooloolo[e
e
s
ојк
Note:
*
1.
Lenses
with
a
maximum
aperture
of
#/
2.8
or
larger.
(See
AF
Adapter
operating
manual.)
*
2.
Manual
focusing
using
the
focus
indicator
(FI)
[O]
in
the
viewfinder.
*
3.
Lenses
with
a
maximum
aperture
of
1,/5.6
or
larger.
*
4.
Pentax-FA
zoom
lenses
only.
ж
b.
Exception
of
Pentax-F
Soft
Bëmm
(2.8.
*
6.
Lenses
without
the
(A)
position,
the
aperture
cannot
be
set
with
the
select
dial.
*
7.
Only
the
center-weighted
metering
system
can
be
used.

HOW
TO
USE
THIS
OPERATING
MANUAL
This
manual
is
organized
into
the
following
sections,
allowing
you
to
optimize
the
use
of
the
camera:
1.
BASIC
OPERATION
(PREPARATION)
Page
13
-
23
Ш.
ADVANCED
OPERATIONS
Page
43
-
82
П.
BASIC
OPERATION
(SHOOTING)
Page
24
-
42
IV.
OTHER
INFORMATION
Page
83
-
91
*
If
you
want
to
begin
taking
pictures
with
this
new
camera
as
soon
as
possible,
read
section
I
and
П,
"BASIC
OPERATION
(PREPARATION)"
and
"BASIC
OPERATION
(SHOOTING).”
These
sections
introduce
only
the
basic
functions
of
this
camera.
The
details
can
be
found
in
the
section
Ш
and
the
section
IV.
е

І.
BASIC
OPERATION
(PREPARATION)
(1)
ATTACHING
THE
CAMERA
STRAP
Fit
the
strap
on
the
camera
as
illustrated.
*
There
is
a
pocket
on
the
strap
so
you
can
store
the
finder
cap,
release
socket
cover
or
any
other
small
ac-
cessory
as
illustrated.
(моцунуазна)
NOLLVH3dO
OISV8
|

(ноцунуазна)
моцунздо
овув
|
(2)
LOADING
THE
BATTERY
1
2
1.
Open
the
battery
chamber
cover
by
sliding
the
re-
2.
Load
the
battery
according
to
the
markings
(+,—)
lease
lever
in
the
direction
of
the
arrow.
at
the
bottom
side
of
the
battery
chamber
cover.
*
Use
one
6V
lithium
battery
[2CR5)
or
equivalent.
*
When
the
battery
is
replaced,
all
camera
settings
ex-
cept
the
exposure
and
film
speed
[ISO]
return
to
ini-
tial
settings.

3.
Set
the
main
switch
to
[PICT]
or
[ON]
and
check
that
the
LCD
panel
shows
the
information
as
shown
*
The
LCD
display
as
shown
above
may
be
different
if
a
lens
is
attached.
*
Low
Battery
Warning
When
the
battery
is
nearly
exhausted,
the
battery
symbol
сж)
appears
on
the
LCD
panel
to
warn
you.
Replace
the
battery
as
soon
as
possible.
*
When
the
low
battery
warning
[©]
starts
blinking,
re-
place
the
battery
as
soon
as
possible.
See
page
page
14.
(NOIL
VHVd3lid)
мошуызао
овув
|

(ноцунмазна)
NOLLVH3dO
овув
|
_
(3)
ATTACHING
THE
LENS
2
1.
Remove
the
body
mount
cap
@
and
rear
lens
cap
as
shown
in
the
illustration.
*
The body
mount
cap
is
designed
to
protect
the
cam-
era
against
scratches
and
dust
at
the
factory.
For
stor-
аде,
the
optional
accessory
"Body
Mount
Cap
К”
is
available.
2.
Align
the red
dots
on
the
camera
and
lens
mount,
at-
tach
the
lens
to
the
camera
body,
and
turn
it
fully
to
the
right
until
you
hear
a
click.
*
Ensure
that
the
camera's
main
switch
is
[OFF]
before
attaching
the
FA
zoom
to
prevent
unexpected
opera-
tion
of
the
zoom
lens.
Table of contents
Other ASAHI Digital Camera manuals

