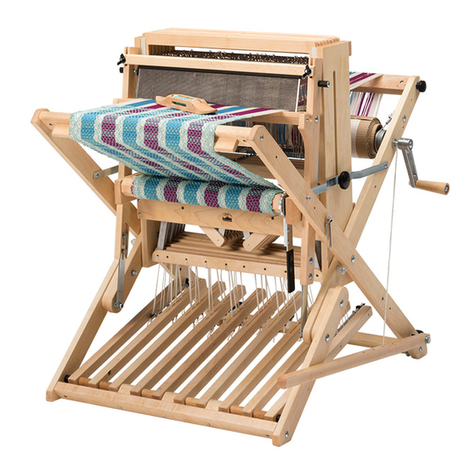
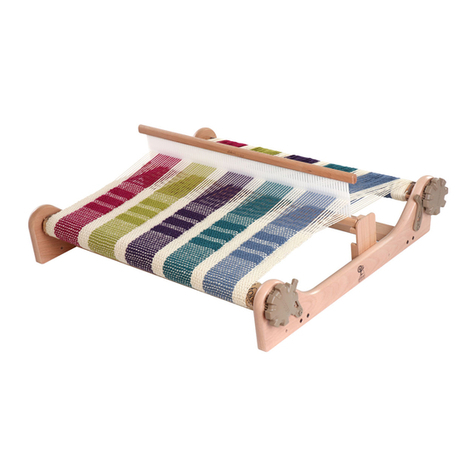
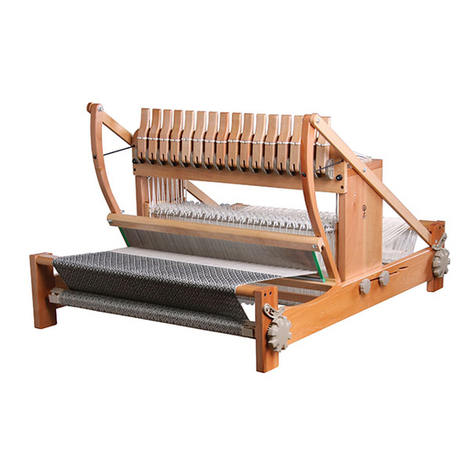
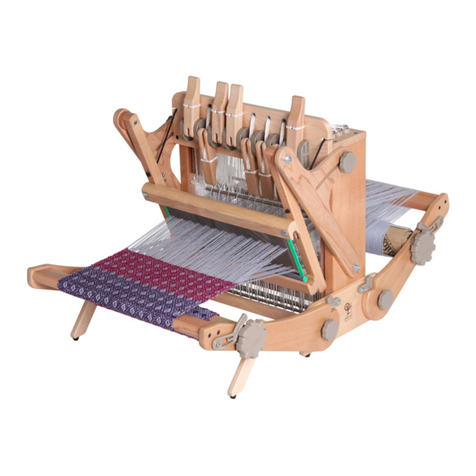
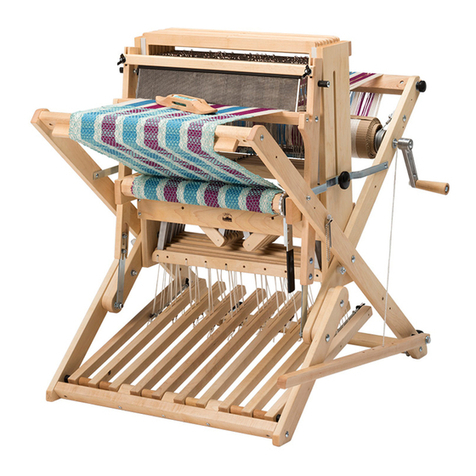
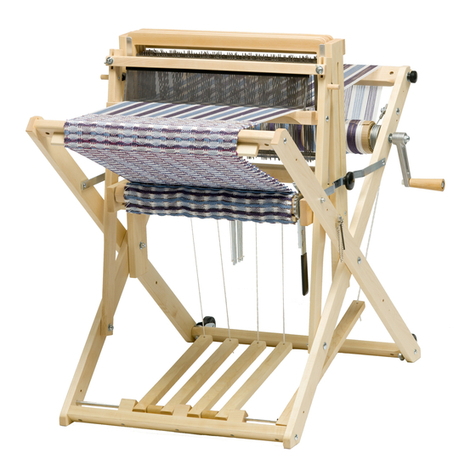
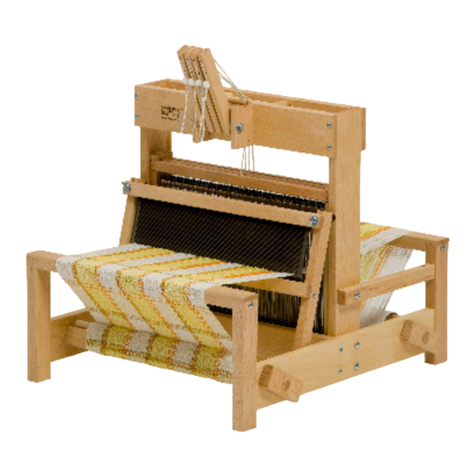
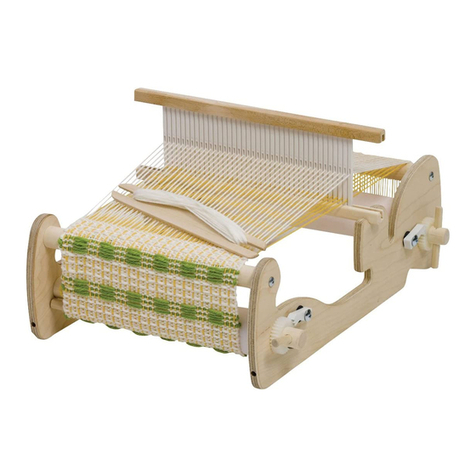
Ashford KATIE TABLE LOOM User manual

INSTRUCTIONS
KATIE TABLE LOOM
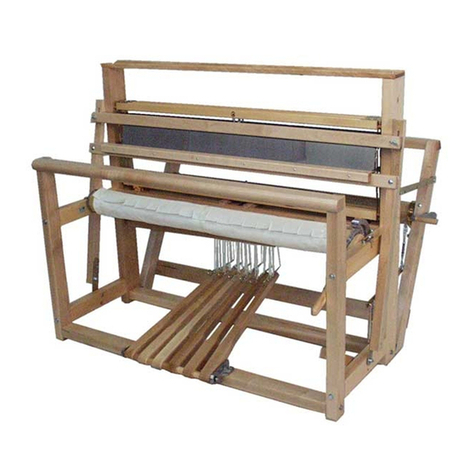
A folding 8 shaft 30cm (12ins) table loom
To unfold your loom
Step 1: Loosen the knobs securing the front beam and fold down.
Engage the locks, lift the front beam and tighten the knobs.
Step 2: Lift the front of the loom slightly and fold the feet out.
Dear Weaver,
Congratulations on purchasing your new Katie Table Loom. For over 75 years we have been making craft equipment for spinners and weavers
around the world and have now produced over 600,000 wheels and looms. We are sure you will enjoy the convenience and portability of this
loom. Thank you for choosing Ashford.
Your Katie Table Loom has been lacquered prior to assembly. If desired, an application of Ashford Wax finish may further enhance its
appearance.
Step 3: Loosen the knobs securing the back beam and fold down.
Engage the locks, lift the back beam and tighten the knobs.

Ashford Handicrafts Limited
415 West Street, Ashburton 7700, New Zealand
Telephone 64 3 308 9087
sales@ashford.co.nz www.ashford.co.nz
Step 4: Loosen knobs securing the beater supports, slide the
beater completely forward and tighten the knobs.
NOTE: To avoid potential damage to the top beater rail we have
packed it separately. Please attach it to the beater arms with 2 x bolts,
washers and wing nuts. Make sure the wing nuts are parallel to the
beater rails to ensure the loom folds.
Step 5: Tie a knot in the ends of the bungee cords and thread them
through the holes in the beaters. Tie a knot in the other end
and locate them into the slots in the castle front. Adjust the
position of the knot to increase or decrease the tension.
Step 7: Attach the front and back warp sticks with the cotton string
supplied with your loom as illustrated.
Step 8: To fold the loom, lift all the levers and reverse steps 4, 3, 2
and 1.
KTL01082013V3
Warping Instructions: Refer to the Learn To Weave on the Table
Loom Booklet. Please note the weaving project in the booklet is for a
project on a 40cm (16ins) four shaft loom. For a project on the Katie
Table Loom please start with the project notes enclosed.
IMPORTANT
When you need to advance your weaving, only advance it so the fell
(the edge of the weaving at the last weft pick) is level with the legs. If
you advance it too far your beater will hit the bottom roller.
1cm (½in)
Front
beam
Back
beam
Rubber band
Step 6: Push the levers down and check the gap between the shafts
and the castle top is approx. 1cm (½ins) on both sides. Adjust the
height as necessary by moving the Texsolv cord in the lever or on the
screw head in the shaft end.
Recommended Accessories:
Raddle Kit 30cm (12ins)
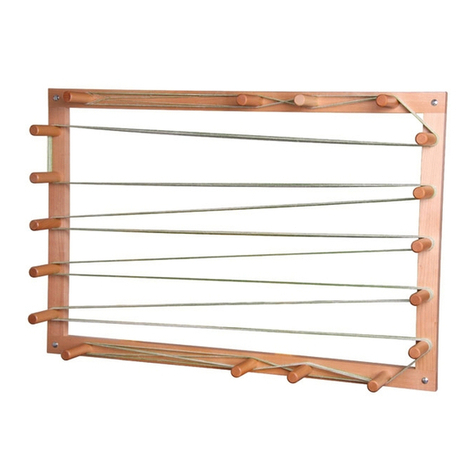
Warping Frame – either 11m (37ft) or 4m (14ft)
Other Accessories:
Boat Shuttle 29cm (11ins), Boat Shuttle 35cm (14ins)
Boat Shuttle Bobbin Winders Wood and Metal
Stick Shuttles
Stainless Steel Reeds - 6, 8, 10, 12 and 16 DPI
Texsolv Heddles - Bundles of 40 or 100
Recommended Reading:
The Ashford Book of Weaving Patterns from Four to Eight Shafts by Elsa Krogh.
The Ashford Book of Projects for the Eight Shaft Loom by Elsa Krogh.
The Ashford Book of Four Shaft Weaving by Anne Field.
Happy Weaving!
Ashford Handicrafts Limited
415 West Street, Ashburton 7700, New Zealand
Telephone 64 3 308 9087
sales@ashford.co.nz www.ashford.co.nz
pcw6 page 1
1
2
3
4
5
6
7
8
7
6
5
4
3
2
1
2
3
4
5
6
7
8
7
6
5
4
3
2
1
2
3
4
5
6
7
8
7
6
5
4
3
2
1
2
1 3 5 7
2 4 6 8
1 3 5 7
2 4 6 8
1 2 4 5 6
2 3 5 6 7
3 4 6 7 8
1 4 5 7 8
1 2 5 6 8
2 3 6 7
1 3 4 7 8
1 2 4 5 8
2 3 5 6
3 4 6 7
1 4 5 7 8
1 2 5 6 8
1 2 3 6 7
2 3 4 7 8
1 3 4 5 8
Project notes for the Katie Table Loom
Please read in conjunction with the Learn to Weave on the Table Loom booklet.
Continue as per instructions in the Learn to Weave on the Table
Loom booklet with the following exception.
Step 11. Release one end of the cross stick. Slide each group of
threads off the cross stick and onto the raddle. To ensure warp
is centred place first group of threads in the 15th space from the
centre pin of the raddle.
YOUR FIRST PROJECT – TABLE RUNNER
You will need:
Warping frame
Ruler or yarn gauge
Tape measure
Raddle
String
Scrap yarn
Scissors
Warp and weft yarn – Ashford Cotton 5/2 (100% cotton;
848m/927yds; 200gms/7oz), Bleached White 300gm (101/2oz),
Twilight Grey 60gm (2.1oz) and Black 110gm (3.8oz).
Here’s how:
Sett – 20 ends per inch (8 ends per cm)
No. of ends: 240
Warp length: 2yds (2m)
Width in reed: 12ins (30cm)
Finished size (hemmed and washed): 9¾x 46in (25 x 116cm)
Weave Structure:
Twill
Reading the Draft for the Table Runner
Pattern drafts are made of four parts:
1. Threading draft
2. Shafts
3. Liftings
4. Drawdown
1. Threading Draft
This shows the order in which the warp is threaded through the heddle
eyes. Threading drafts are read from right to left. For this project, the
first warp thread will be threaded through the heddle on shaft one. Two
pattern repeats are shown. The bracket below shows how many times
to repeat each section.
2. Shafts
Show which shaft to use when threading and lifting.
3. Liftings
This is the order the shafts will be lifted for each weft pick. For this
project the first shafts lifted are 1, 3, 5 and 7 by pushing levers 1, 3, 5
and 7 down. Note - lever 1 is on the left and lifts shaft 1, the front shaft.
4. Drawdown
The diagram of the woven cloth produced by the threading and shaft
liftings.
1. Threading Draft
2. Shafts
3. Liftings4. Drawdown
8
7
6
5
4
3
2
12345678
Winding the Warp for the Table Runner
Warp Colour Order
Using a warping frame wind on the warping threads in the following
sequence:
Remember: Each trip from the start peg to the end peg and back again
will be two warp ends.
1. Wind 20 ends Black
2. Wind 20 ends Grey
3. Wind 60 ends White
4. Wind 40 ends Grey
5. Wind 60 ends White
6. Wind 20 ends Grey
7. Wind 20 ends Black
Start peg
End peg
Threading
cross
Raddle
cross *
* The raddle cross will be made after each group of 10 threads.
KTL120418V3
x8