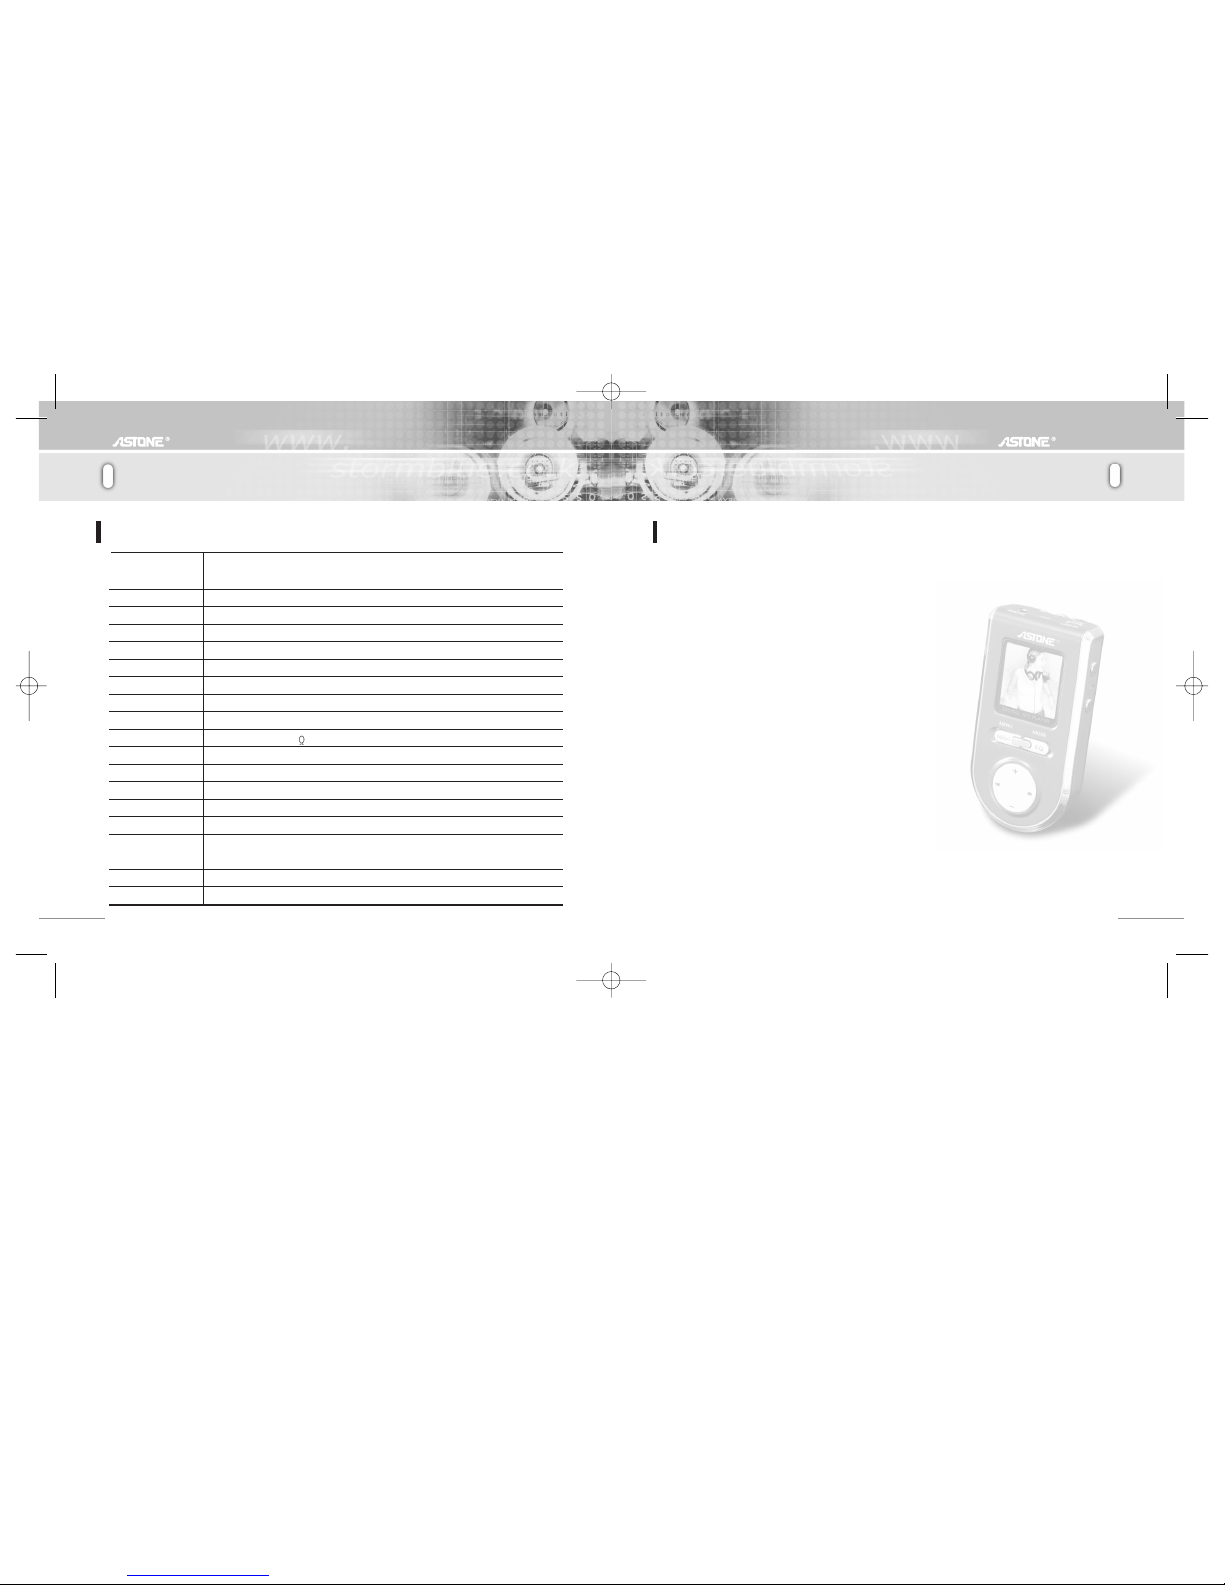
Astone Xinc AV Xinc AV Mini A/V Theater User manual

Xinc AV
Xinc AV
www.astone.com.au
www.astone.com.au
Use of Transcoder
Using the Main Options Menu When in Play
Mode
MENU Description
Firmware Upgrade
MODE Description
Technical Details
Trouble Shooting
Legal Disclaimer
Contents
Xinc AV
Xinc AV
Safety Instructions
Precautions in use
Mechanical Parts
Presentations of each part and its function
PC connecting USB port cable
Recharge
File Upload & Download
Disc Format
Disconnection from PC
Using Reset Button
4
5
6
7
8
9
10
12
13
15
16
18
19
20
CContents
www.astone.com.au
Display
Play

Xinc AVXinc AV
Cautions
Xinc AV
5
Digital Audio Player [ Xinc AV]
4
Thank you for purchasing Xinc AV from
Xinc AV, developed and produced by and boasting its
aesthetic design, is a portable multimedia player which enables users
to enjoy both video clips and music.
Visit our website at www.astone.com.au to get more details and
download the latest firmware.
Features of Xinc AV
Do not shake or apply heavy shocks on the product. It might be the cause of malfunction or
damaged.
Avoid contacting the product with water. This may cause serous damage to the product. If the
player gets wet, wipe with a soft towel or rag as soon as possible.
When using your headphones/earphones, do not wear earphones while driving an automobile,
bicycle, or motorcycle. Not only it is dangerous but also it is illegal in some jurisdictions.
Listening to the player at large volume level for extended periods result in damaging your ears.
Turn on the player before you plug in the USB port.
1) Images and video clips are supported by 260,000 color
2) Hi-speed USB 2.0
3) Rechargeable lithium polymer battery
(Over 15 hours of playback time for music files)
4) Powerful and natural sound. Hi-fidelity audio output (25mW+25mW)
5) FM Tuner and Preset user-defined recording scheduler (Auto channel saving)
6) Voice recording via built-in and external microphone
7) Digital Rights Management (MS-DRM, X-Sync DRM)
8) Direct Encoding
9) Digital watch and alarm
10) 45 different languages are supported
11) SRS wow 3D effect. ( is a trademark of SRS Labs, Inc.
SRS WOW technology is incorporated under license from SRS Labs, Inc.)
12) Easy-to-use and convenient Graphic User Interface (GUI)
13) Lyric display (Automatic and manual)
14) User’s EQ (5 Band)
To maintain good performance
Safety Instructions
Avoid high or cold temperature
and moisture.
Do not have other
different thing in the
product.
Avoid placing the
product under high
moisture or dust level.
Avoid direct sunlight,
high temperature from
heating device.
Do not drop or cause
impact upon the
product.
Do not use thinner,
alcohol, or benzene
when cleaning the
product.
Do not place any
magnetic device near
the product.
Never disassemble,
repair or rebuild.
Xinc AV

Xinc AVXinc AV
PC connecting USB port cable
7
Product introduction
6
Mechanical Parts USB Connection to your PC
Presentations of each part and its function
Earphone
Play/Power
Reset
Record
A-B (Repeat)
Up
MODE(long)
EQ(short)
ForwardReward
Hold
Down
(long)MENU
(short)Navigation
CD
USB Cable
Neck Strap
Encoding Cable
USB Jack/Case
USB Jack/Case
Xinc AV
Carrying
Case
Arm Band
HOLD KEY
Recording/
A-B repeat/Return ON OFF/
Play Pause
Reset Button
Line-in
Microphone
Earphone
Manual
Front Top
Side
Power on Xinc AV, before connecting it to your PC. Using the supplied USB extension cable, you
can connect the player directly to the USB port on your computer. (DO NOT insert the earphone
into your player when it is connected to PC.)
Cautions!
Cautions for Windows 98 or Windows 98SE Users!
When you are a user of either Windows 98 or Windows 98SE, you must install a
required driver.
If you fail to install it, your computer will not be able to recognize the player as
an external USB drive.
Users of Windows Me/2000/XP do not have to install drivers.
- Put the supplied installation CD into the CD ROM drive.
- Please visit our website at www.astone.com.au to download the drivers for Windows
98 or Windows 98SE.
USB Adaptor
Optional
Xinc AVXinc AV

Xinc AVXinc AV
Using the Main Options Manual
9
Using the Main Options Manual
8
Recharge
Connect Xinc AV to USB port of PC to charge battery.
You do not have to power the player on before connection.
When the power off: It takes about 90 minutes to get the battery full charged
When the power on: It takes about 3 hours to get the battery full charged
File Upload/Download
Turn on the player and connect it to your PC usb port.
Open Windows Explorer to select the newly-displayed portable disc file(Xinc AV).
Make new folders in the portable disc to arrange music files.
Any files including music can be copied or moved from PC to target folders in the portable disc.
You can also copy or move files without a folder to the root directory in the portable disc.
Disc Format
After selecting Xinc AV portable disc, click the right mouse button and select ‘Format’ from
displayed menu.
Caution: Formating will erase all saved files. Do not forget to back up important files before
formating the portable disc.
USB Disconnection from your PC
A new dialogue box will be displayed, then click the ‘Yes’ button before safely unplugging your
portable disc from the PC.
Before disconnection, DO NOT forget to double-click the green arrow icon on the system tray
which is seen at the right-bottom of your PC screen. In a dialogue box displayed, you can click
the ‘Stop’ button for disconnection.
Caution: Unplugging without following the procedure above may cause a fatal error in PC or
Xinc AV.
Using Reset Button
When the player would not power on or show any response, press the ‘Reset’ button. The player
will be forcefully powered off. (Data in memory will be protected)
Reset Button
Xinc AVXinc AV

Xinc AVXinc AV
Using Transcoder(Making Movie Files)
11
Using Transcoder(Making Movie Files)
10
TRANSCODER
Transcoder will transform Xinc AV video clips players into movie files that can be replayed.
Install transcoder program
1) Put program CD in the CD Rom Drive
2) Enter the ‘transcoder Folder’
3) Install the program by double-click on the setup file
1. PC System Requirements
- PENTIUM 3 / WINDOWS 98/ME plus
- DIRECTX 9.0 / WMV 9.0 plus
- Integrated Codec must be installed in advance.
2. Eligible Formats
- RAW, AVI, FORMAT/DIVX, FORMAT/MICROSOFT, WMV FORMAT
3. Install necessary codecs (3 codecs below must be installed)
- Direct X : install 9.0 version or later version. Visit www.microsoft.com/windows/directx/default.sapx
and enter download center menu.
- WMV9 : Visit above site and enter download center menu. Download and install windows media
player version 9.0 or later version.
(No need to install if your current version is later than 9.0 version)
- Integrated code : Visit www.free-codecs.com and download 'K-lite codec pack' and install it.
1. When pressing the ‘Transcoder’
button, you will get the main display
like the image below.
2. Press ‘Open’ button to open
transformable video clips files.
3. Press ‘Save as’button to select the
target folder for the transformed files.
4. Press ‘ ’button to replay the selected video
clips. (You can skip this step)
5. Click the ‘Transcoder’ button to create the image
above and transform the selected file.
* Adjust the size and image quality
of the transformed video clips.
* Adjust the sound effect of the
transformed video clips.
* Selected the target folder where
the transformed file will be saved.
Xinc AVXinc AV

Xinc AVXinc AV
Detailed Information on Product Manual
13
Detailed Information on Product Manual
12
Using the Main Options Menu When in Play Mode
Turning the Power On/Off
To power the unit on, press the ‘Play’ button a few seconds. To turn it off, press the
same button long again.
Play/Pause
You can play or pause a track by promptly clicking the ‘Play/Pause’ button.
Repeat mode
By shortly clicking the ‘REC/A-B’ button, you can select the tract to repeat.
Deleting Files
With a track selected, you can press the ‘REC/A-B’ button a few seconds to delete
the file.
Mode & Equalizer
By using the ‘Mode/EQ’ button, you can scroll through and select the Equalizer.
Volume Control
You can adjust the volume using the ‘(+)/(-)’ button.
Rewind / Forward
To fast forward/rewind a track, press the ‘Rewind/Forward’ button a few seconds. To
jump up to the next or previous song, shortly click the same button.
Lock / Hold Key
When moving in the direction of arrow sign, the button will not operate.
By using or buttons, you can scroll through each menu.
Use the ‘(+)’ or ‘(-)’ button to move to submenus and use the ‘Play’
button to return to the previous stage.
Use the ‘Navi’ button to select menu or enter the menu.
Display Set
Infomation
Selection for
displaying song
information
Language
Selection
- The Menu will be displayed when pressing and holding the ‘Menu/NAVI’ button.
Timer
Current Time setting Backlight off time setting Off Time setting
Sleep Time setting Alarm Time setting FM Recording
reservation setting
Xinc AVXinc AV

Xinc AVXinc AV
Detailed Information on Product Manual
15
Detailed Information on Product Manual
14
Play Setup
Folder Mode
Folder 1 : to replay song in
the current folder
Folder all : to replay song
in every folder in the player
Repeat Mode
Play Speed
Adjust the speed to replay
song
Search Speed
Adjust the speed to rewind
or wind forward fast.
REC Setup
FM Setup
Sound
Format
Memory
Information Firmware
UpGrade Load
Default
Control
Firmware Upgrade
Xinc AV provides firmware upgrade services for more convenient quality
improvement.
1. Download upgraded files from the website at www.astone.com.au
2. Connect the player to the USB port of your computer and copy it from PC into the folder of
‘Config’ in the player.
3. Disconnect the player from the USB port. (When disconnected, the player will be automatically
turned off). Power the player on again and press the ‘MENU/NAVI’ button a few seconds.
4. Enter control menu and F/W upgrade menu. Select ‘yes’ and then it upgrade F/W by itself.
Cautions!
Check the firmware version of your player.
-Firmware upgrade is applicable only when higher versions are available.
When you make a firmware upgrade, make sure the battery has to be charged
enough. (one-third or more)
Xinc AVXinc AV

Xinc AVXinc AV
Detailed Information on Product Manual
17
Detailed Information on Product Manual
16
By using or buttons, you can scroll through each menu.
- The Menu will be displayed when pressing the ‘Mode’ button long.
FM radio Mode
Line Rec Mode Voice Rec Mode
- Shortly click the ‘REC/A-B’ button to start or
stop recording.
- Click the ‘Play’ button to activate
pause/replay function.
- Shortly click the ‘Play’ button to pause or mute.
- Click the ‘MENU/NAVI’ button to select ‘Scan/Preset’ mode.
- Press the ‘REC/A-B’ button a few seconds for recording and shortly
click the same button to save the frequency.
- By using the ‘FF/REW or button, you can adjust
frequencies.
Play Mode
- Click the ‘MENU/NAVI’ button to play a selected file.
- By using the ‘FF/REW or button, you can select the next or
previous file.
In the same way you can play all kinds of files (Video clips,
music, images, recorded voices, data from external devices)
17page
Details on Product Menus
FF
Play
REW
AB/
REC
Over 1 sec.
Shortly
Shortly
Over 1 sec.
Shortly
Shortly
Over 1 sec.
Shortly
Mute Off
Mute On
REC
REC Pause
Scan
Save
Auto Scan
Scan
Preset
Save
Scan
Save
AutoScan
Scan
Preset
Save
Scan
Preset
REC Ready
REC
Preset
Scan
Save
Activates the Mute function
Deactivates the Mute function
Recording is temporarily paused.
Recording is resumed.
Automatically searches for the whole radio stations in increasing order (Auto Scan)
Searches for stations available one by one. (in increasing order)
Stops searching for radio stations.
Increases frequencies one step.
Selects the stations saved in memory.
Searches for stations available one by one. (in decreasing order)
Automatically searches for the whole radio stations in decreasing order (Auto Scan)
Searches for stations available one by one. (in decreasing order)
Stops searching for radio stations.
Decreases frequencies one step.
Selects the stations saved in memory.
Searches for the stations available one by one. (in decreasing order)
Preset Mode will be in operation
Scan Mode will be in operation
Start recording
Stop recording
Auto Memory Scan is activated.
(A maximum of 20 stations can be saved after an auto scan)
Save Mode is activated to save the searched stations.
Saves the stations into a selected memory.
MENU/
NAVI
Keys Mode Functions
Pressing time
Xinc AVXinc AV

Xinc AVXinc AV
Information
19
Technical Details
18
Specifications
File Support
Memory
PC interface
Speed
Power
Charging time
Buttons
Display
S/N
Sound outpput
Frequency
Play time
FM frequency
Recording time
EQ
OS support
size
Weight
MPEG 1/2/2.5 Audio Layer 3 (8Kbps ~ 320Kbps) (8Khz ~ 48Khz) / TXT /JPEG
WMA (20Kbps ~ 320Kbps) (8Khz ~ 48Khz) / VBR / OGG Vorbis (Q1~Q10)
256MB, 512MB, 1GB
HIGH SPEED USB2.0
UP Load 11MB, Down Load 8MB
Builtin Li-poly battery
90minutes
Play/Pause, REC(A-B), HOLD, MENU(NAV), MODE(EQ), Vol +/-, FF, REW
260,000 Color OLED 96*96 DOT
90dBA
25mW + 25mW (16 )
20Hz ~ 20Khz
15hours (in standard condition)
76.0Mhz ~ 108.0Mhz
About 35hours (512MB)
POP, ROCK, CLASSIC, VOCAL, LIVE, D-BASS, FLAT, 5BAND USER EQ, SRS WOW
Windows98/se/ME/2000/XP/2003/LINUX2.4 or later version
Mac 8.6 or later version
69 * 33 * 16 (mm)
40g (including battery)
1. The Player does not power on.
- Lock is in the HOLD position? (Release the hold)
- The batteries are exhausted? (Recharge the batteries)
- Click the Reset Button and initialize the player.
2. No sound is heard from player or distortion is heard during playback.
- Check whether VOLUME is set to “0”
- Make sure that there are MP3 files in the memory.
- Check whether plug is dirty.
- Corrupted MP3 or WMA files may make a static noise and the sound may cut off.
Try with other files.
3. Characters on LED are abnormal.
- Check the language is setting to “English” in MENU.
4. FM Radio does not work.
- Adjust the position of the player and earphones.
(The earphones works as antenna, they must plugged in for best reception)
- Turn off the power of other electric devices near the player.
5. Failed download.
- Make sure the USB Cable is connected properly.
- Check the condition of the battery.
6. The player works abnormally or does not play.
- Click the Reset button and initalize the player.
Trouble Shooting
Xinc AVXinc AV

Xinc AVXinc AV
21
Legal Disclaimer
20
1. Astone Holdings Pty Ltd known herein as 'ASTONE', does not guarantee the accuracy or
validity of the information outlined in this user manual, although all attempts have been
made to display the most accurate information.
2. ASTONE will not be held liable for any loss, accident or miss use caused by incorrectly
following these instructions. At the same time ASTONE will not be held responsible for
damages caused by misinterpretation.
3. Furthermore any data files that have been damaged or accidentally erased during the
course of operation and or use are not the responsibility or fault of ASTONE.
4. ASTONE holds the right to modify this user manual, software, product packaging or
hardware without any advance notice.
Legal Disclaimer Memo.
Xinc AVXinc AV
This manual suits for next models
1
Table of contents