Atlas SWC-500 User manual

Spray Wash Cabinet Quick Start Guide
Please read this Initial Start-Up Procedure Guide before installing and
using your Atlas® Spray Wash Cabinet. It is extremely important that you
understand this simple step by step installation/instruction manual. These
simple steps will take a total of about two (2) hours to perform. Failure to
follow the procedure outlined in this simple start-up guide may void your
Manufacturer’s Warranty.
Note: The following product comes with the inside of the cabinet painted for transit purposes
and only intended for transit purposes. During the operation of the equipment, the paint will
begin to peal and/or ake o. This is normal situation as the paint will not hold up to the
temperature of the cabinet. We ask simply you remove and clean the debris to maintain the
equipment.
1. Check all wire connections. Vibration during shipment may have loosened wires. Please
have a qualied electrician on site to make electrical hook-up and inspect wiring
connectivity. Move spray wash cabinet to area where it will be used.
220V Single Phase 40 AMP Breaker Required
Thermostat
Pump Motor
Pump Motor Cover
Basket Motor
Heater Motor Control

2. Make sure that the Spray Wash Cabinet power cord is unplugged from the outlet or, if
you have wired it directly to an electrical panel, the breaker which controls the Spray
Wash Cabinet is turned OFF. Make sure Heat and Motor Switches are in the OFF position.
Also, make sure the Cycle Timer is OFF.
Wash Cycle Timer
Heater and Motor Switches
Not Plugged In

3. Add water to the tank until water level is clearly
over the bottom of the lter basket. The water
must be lled to this level before each wash cycle.
The pump will pulsate if the water level is too low.
4. Set the Thermostat
between 135 - 175 Degrees.
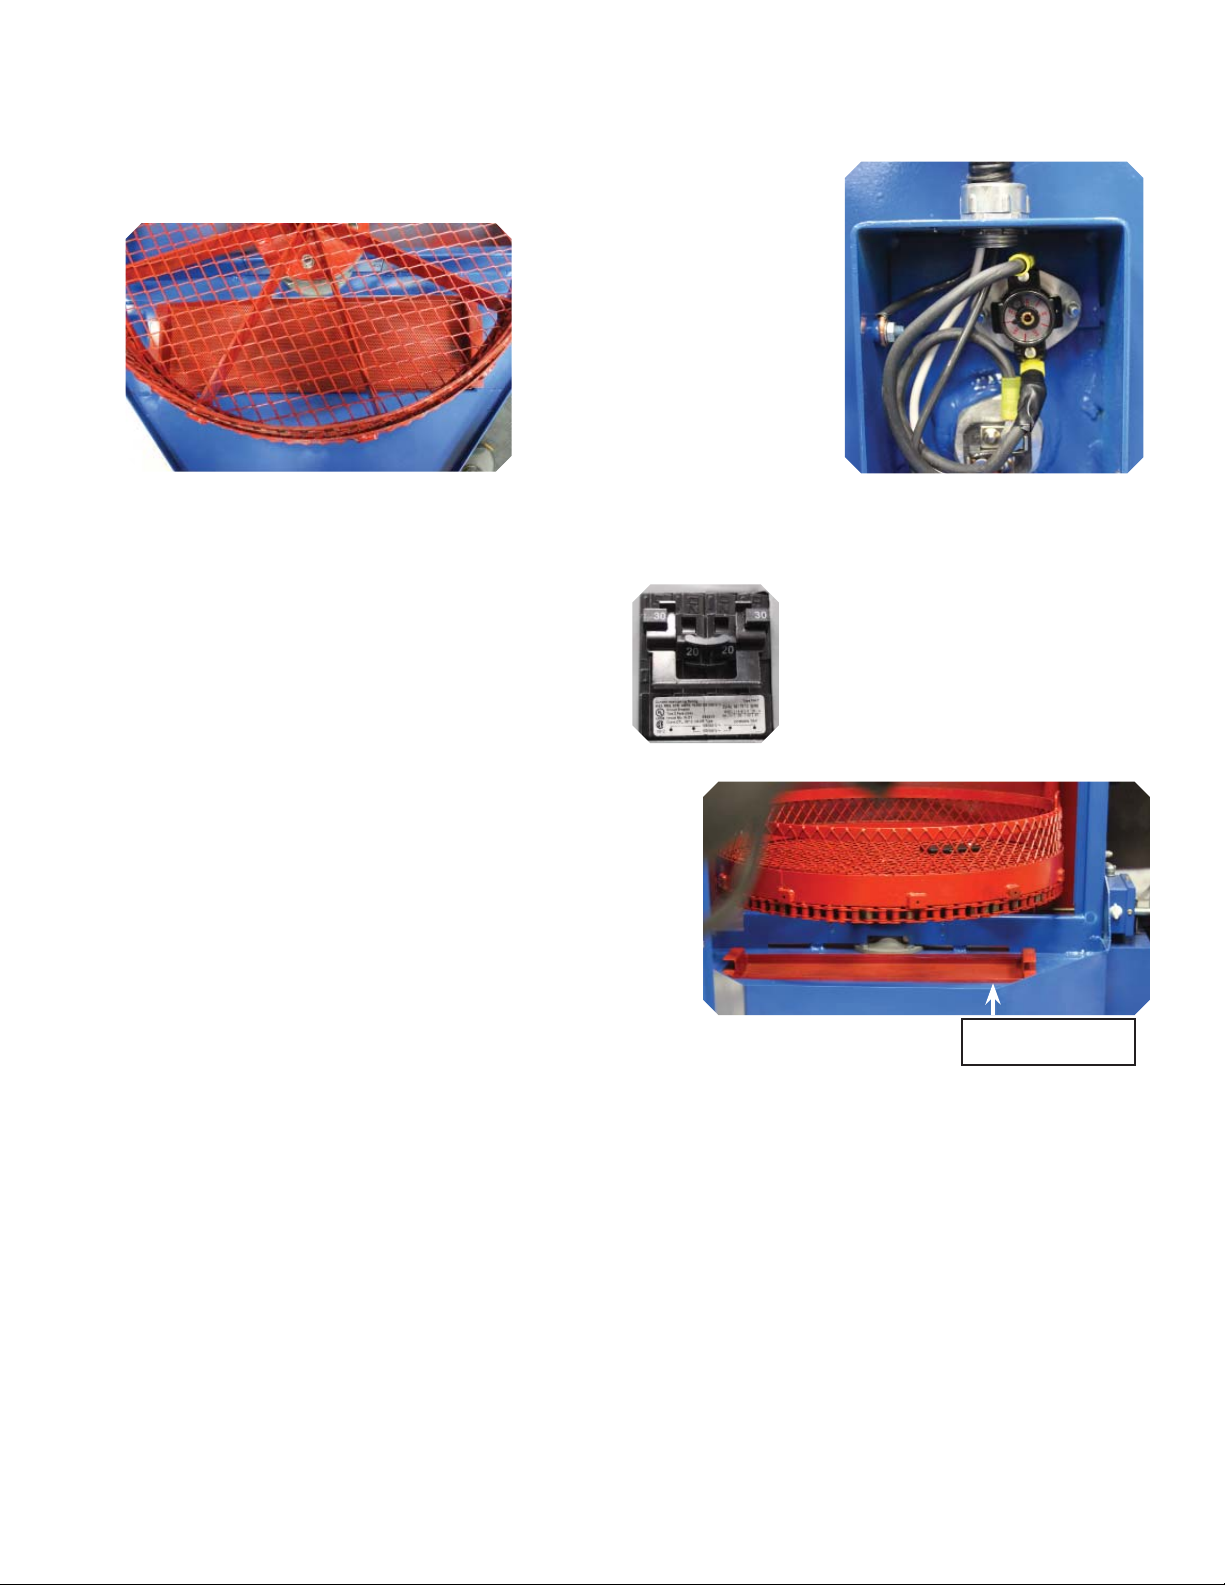
5. Turn on the Breaker (if hard wired) that controls the Machine or plug in the power cord.
6. Turn the Heater Switch to the On Position.
7. Please use a thermometer (thermometer not
included) to measure the temperature of the
water. When the water reaches the temperature
you have set the thermostat to (this may take
up to an hour) *add the recommended style
detergent directly to the lter basket. Be sure to
follow the detergent manufacturer’s directions
regarding the amount of detergent to add.
Failure to follow the procedure outlined could
result in foaming incident and would result of
restarting the startup procedures.
*Pure Clean #10 is the recommended detergent (that also comes with the spray wash cabinet). It is an
Industrial Cleaner/Degreaser designed to remove dirt and oil while being concentrated, biodegradable,
nontoxic, nonammable, and non-corrosive. At a dilution of 3% (1:30) with water, heated to 140 F, Pure
Clean #10 eectively removes oils and greases. Due to Pure Clean #10’s low residue formula, spray
nozzles stay clean from soil build-up. No rinsing is required, single-stage washing system is practical.
Parts washed in Pure Clean #10 and dried are protected from rust for 7 to 15 days. Pure Clean #10
cannot be shipped via UPS/Fed Ex; it must be shipped via freight carrier. NFPA/HMIS: Health [2]; Flammability [0];
Reactivity [1]; Protective Equipment [D]
If Pure Clean #10 is not an option, you must use a LOW FOAMING detergent with rust inhibitors. Use
detergent strong enough to do the job but not so strong that it attacks the metal substrate. Liquid
detergent is to be used. Powdered detergent contains a high amount of silica. This makes it very
abrasive and more caustic as it dries on metal. Liquid detergent rinses much more completely and is the
best type of detergent for your Machine. Read instruction manual on soap container.
Filter Basket

8. Close and latch the door. Turn the MOTOR Switches to ON and set the wash timer to run a
15 minute wash cycle.
Adjustable Door Latch
Both On

9. Walk around the machine and check for leaks. When the wash cycle ends, if there were
any leaks around the door, open the cabinet and adjust the spray nozzles to spray away
from the door. Also, if you do not hear constant spraying during the wash cycle, you may
need to add water. The water level may drop too far after the pump system is primed
(lled with water) for the rst use.
10. Adjust the oil skimmer anges to make light contact with the skimmer wheel. Aggressive
contact against the skimmer wheel may strain the skimmer motor.
Skimmer Flange

11. Run the Cabinet for at least four (4) complete 15 minute wash cycles over the next
two days. The goal of this is to thoroughly coat the inside of the Cabinet with the Rust
Inhibitors contained in the recommended style of Detergent. This will help keep the
inside of the Cabinet free of rust between washes. You may clean parts after completing
the initial 15 minute wash cycle.
12. Do not allow sludge to accumulate and exceed a 1” depth. Clean this sludge from the
tank within the rst week (See Instruction Manual). If you are cleaning the same parts
each time, you will get a good idea of how often you need to remove the sludge from
your machine. You will also be able to determine the type of cleaning solution and
length of run time needed. More complete instructions are located in your Installation
and Operation Manual.
If you are going to let the machine sit unused, for any extended
period of time, SPRAY COAT the inside surfaces with WD40 or
recovered oil from skimmer to assure rust does not develop.
Other manuals for SWC-500
1
This manual suits for next models
1
Table of contents
Other Atlas Washer manuals