AtmosFX Holiday Digital Decorating Kit User manual

AtmosFX HDDK User Guide
User’s Manual for the AtmosFX Holiday Digital Decorating Kit.
Please read carefully before setting up the projector kit.
1. Important Information
1.1 Important safety information -
1. THIS UNIT IS INTENDED FOR ADULTS ONLY. NO FOR USE AS A TOY FOR
CHILDREN UNDER THE AGE OF 14
2. The projector and power adaptor are designed for indoor use only. To prevent shock,
always use the projector and adaptor in a dry environment and away from any water.
3. Use the adaptor power cord provided. Failure to use these may create a fire hazard and
will void any warranty.
4. For safety, please turn off your projector and disconnect from the power source when not
in use.
5. During operation,keep the lens at least 90 cm from fabrics(such as curtains), furniture or
other flammable items.
6. Do not block or cover the vents on the projector, and always operate the projector in a
ventilated, clean and dry space.

7. Avoid exposing the projector to vibration, heat or radiation
8. For eye safety, do not look directly into the projector lens during setup or opperation
9. Please keep original supplied box and protective material for safe storage and
transportation
10. Never open the projector housing. Only authorized personnel should be allowed
access to the projector electronics. If you find any operational defects , do not attempt to
repair. Unplug the projector. Then contact [email protected] and return the unit to
AtmosFX Returns Department, 7107 Greenwood Ave North , Suite A, Seattle WA 98117
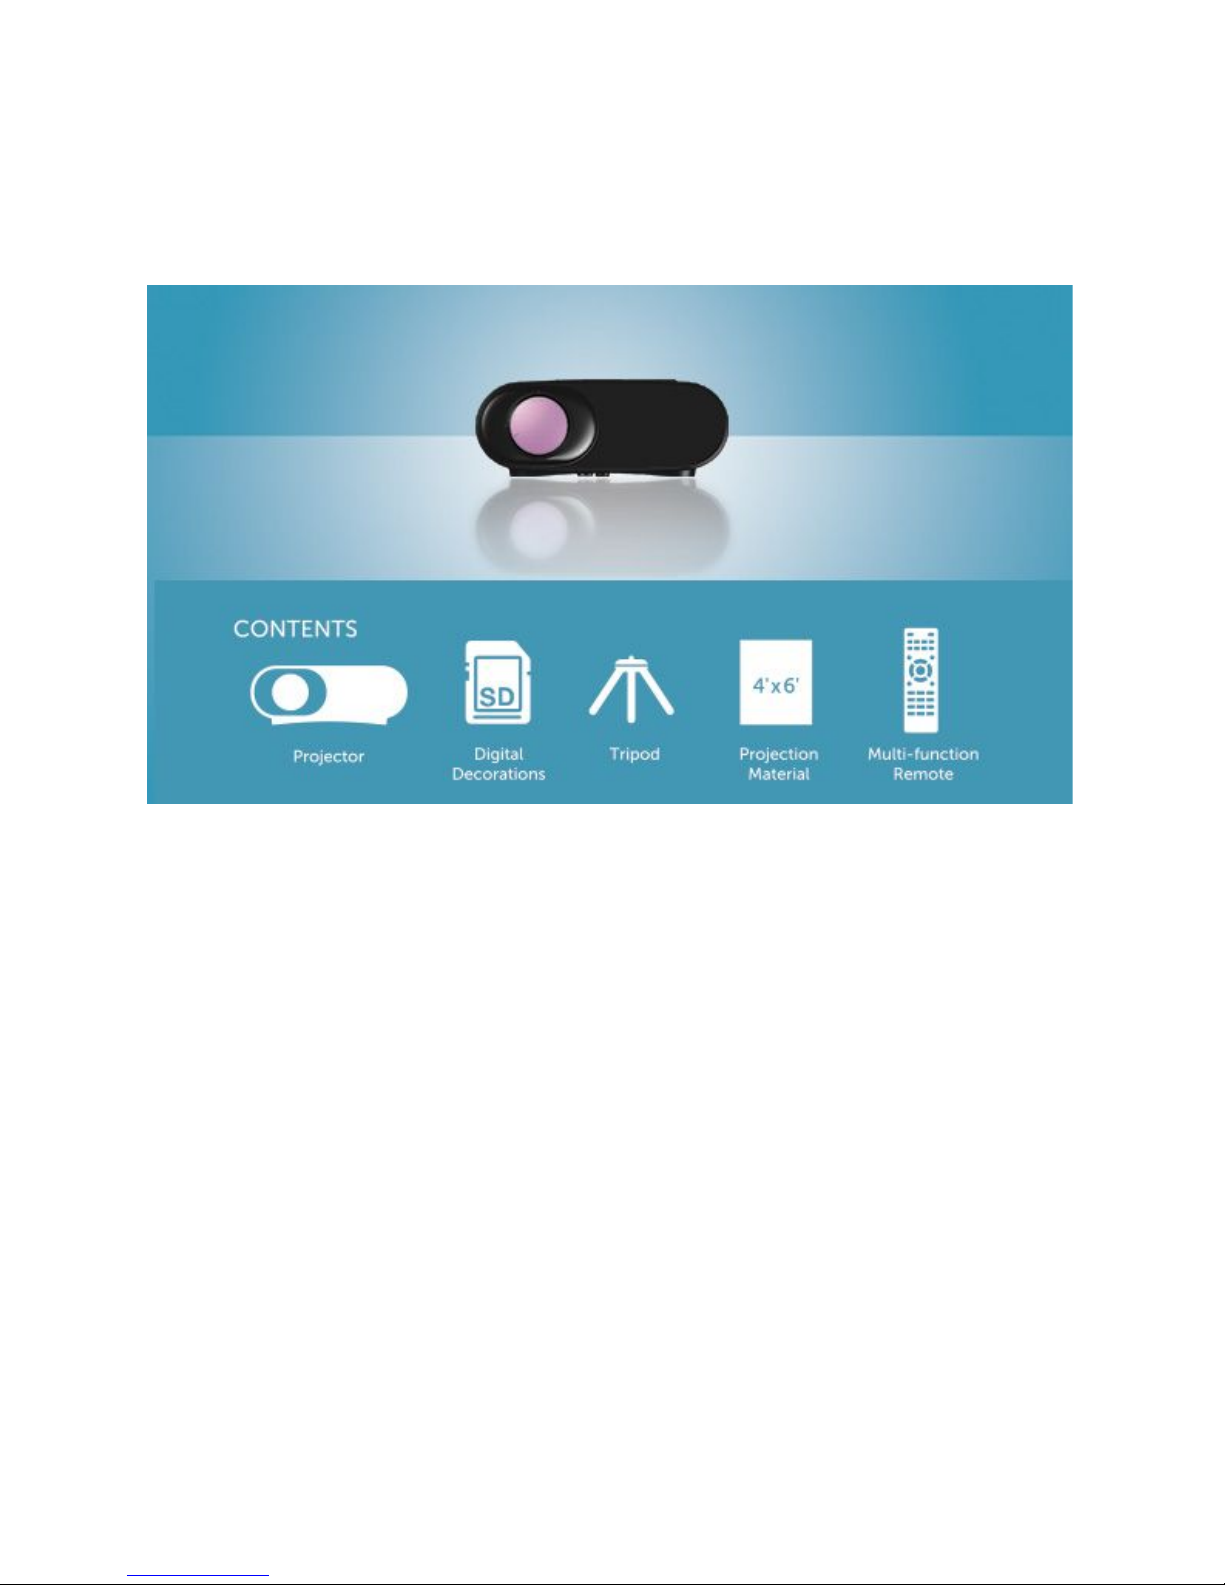
1.2 Projector Kit Components -
1. LED Projector
2. Power Adaptor
3. Remote Control (with installed CR2025 Button Battery)
4. Flex Tripod
5. White polyester Window Projection Material
6. Double-sided Stick Tape Squares
7. AtmosFX Information Guide
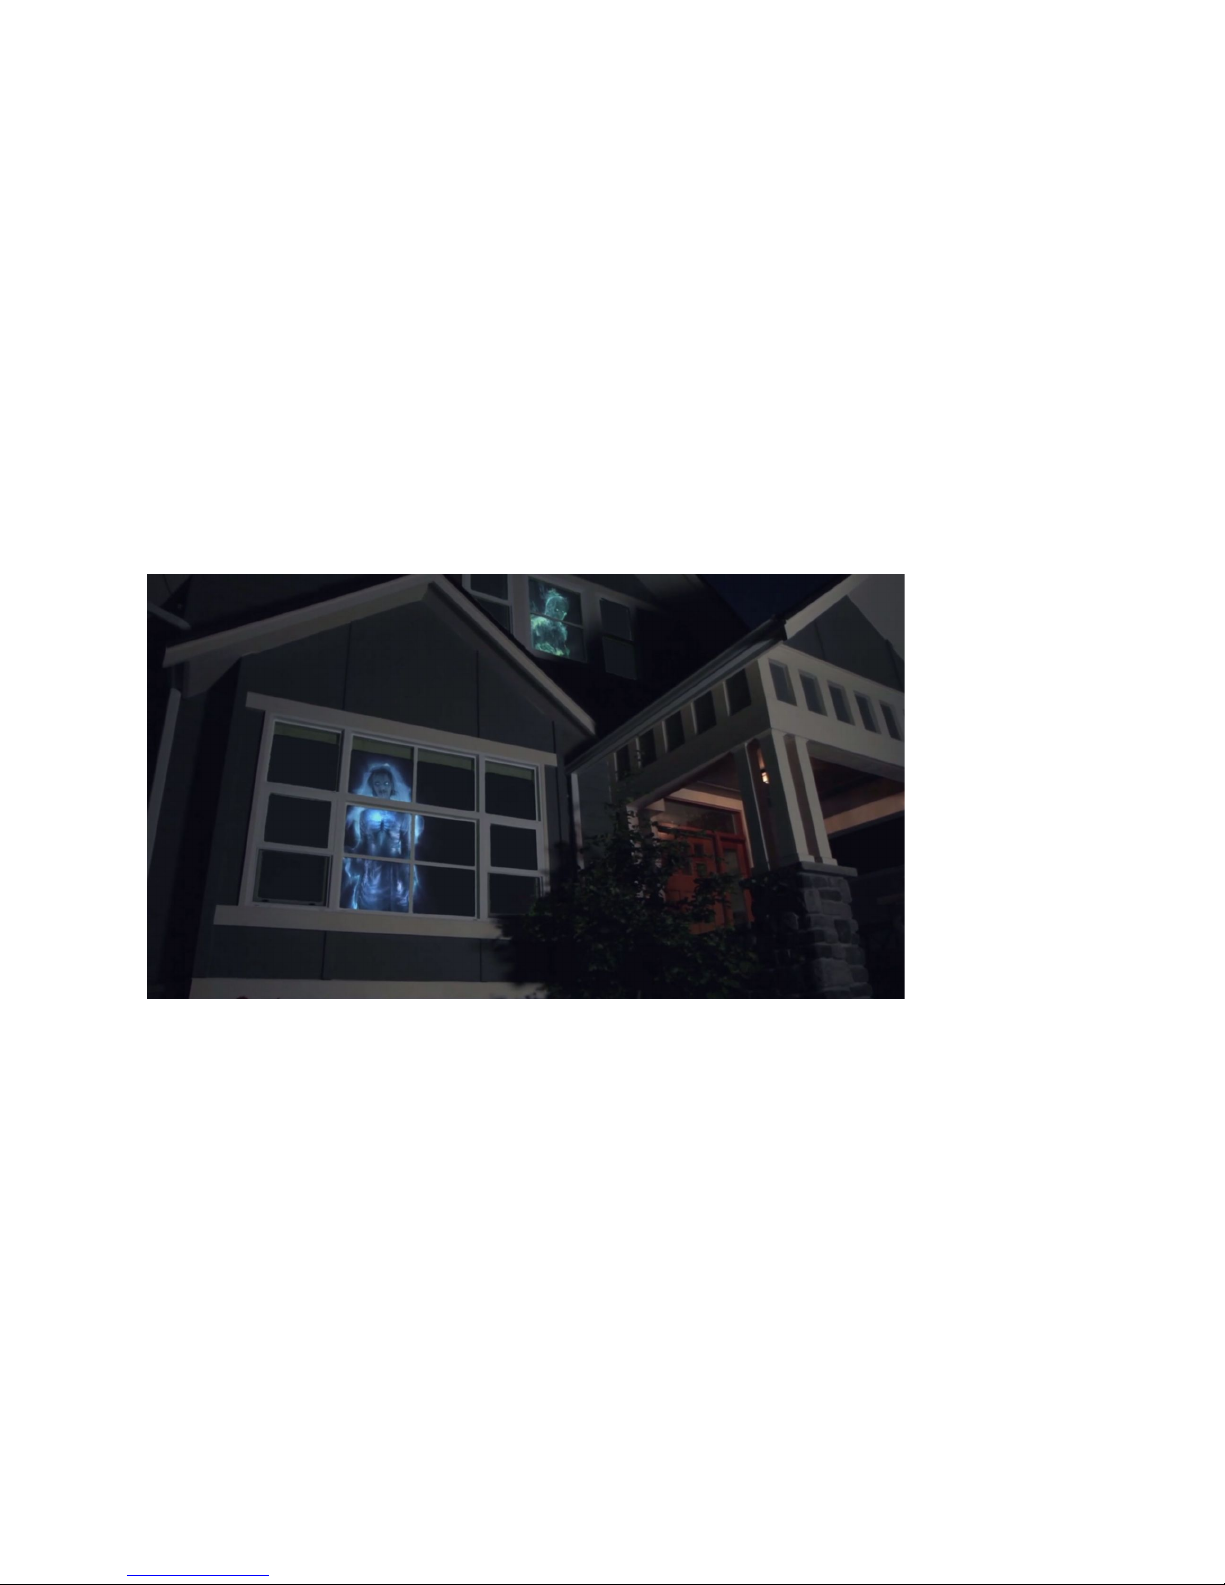
The AtmosFX Holiday Digital Decorating Kit is designed to rear-project digital
decorations onto a translucent screen in a window of your home for viewing from
outside. It can also be used to front project onto a variety of surfaces for viewing in your
home.
1.3 Remote Control Safety -
1. Remove Battery stopper before first use of the remote Control.
2. When replacing battery, use only a fresh CR2025 button cell.
3. Insert button battery into the battery compartment according to the polarity markings on
the remote and cell. (+/-)
4. Remove battery if remote control will not be used for an extended period of time , and
store in a cool and dry place.
5. Recycle and dispose of all used batteries according to local waste management
regulations
6. WARNING - SMALL PARTS - KEEP REMOTE CONTROL AND BUTTON CELL AWAY
FROM SMALL CHILDREN UNDER 36 MONTHS
1.4 Projector Features -
<<<See Information Guide>>>

1.5 Projector Function Buttons -
<<<See Information Guide>>>
1.6 Remote Control Function Buttons -
PREVIOUS
SCENE
PLAY
NEXT
SCENE
MENU
PREVIOUS
MENU
POWER
ROTATE
IMAGE
REPEAT
OPTIONS
CHANGE
SOURCE
VOLUME +
MUTE
VOLUME -
MENU UP
MENU LEFT
OK/SELECT
SCENE
MENU
RIGHT
MENU DOWN
2. Operation
2.1 Power on and off -
Connect the power adaptor jack to the projector, then plug the power adaptor into the AC power
source. The red indicator light on the projector will turn on and the projector will enter standby
status.
Power on: Press the power button on the projector or the remote to turn on the projector.
Power off: Press the power button on the projector or remote. A prompt will ask you if you want
to shut down the projector. Press the power button again to confirm.
Unplug the power adaptor from the outlet to power off the projector completely.

2.2 Focus -
Place the projector at desired distance (typically 4-7 feet) from display screen. Turn on the
projector and wait for the multimedia homepage to appear. Rotate the thicker projector lens
barrel to adjust focus.
2.3 Keystone Correction -
To reduce “hot spots” on the projected image (When rear projecting the beam from the projector
can be seen on the image. This is a “hot spot”), do not place the projector perpendicular to the
horizontal centerline of the screen.
Instead, place the projector slightly higher or lower than the centerline of the projected image.
To adjust for this warped image use the thinner front lens barrel. This controls the keystone
correction.
Use the keystone correction dial to achieve the best squared effect. The range of this unit’s
Keystone correction is +/- 15”. If not sufficiently squared by the keystone correction, reduce the
tilt of the projector in a vertical direction.
To adjust horizontal distortion, adjust the position of the projector so it projects perpendicular to
the vertical centerline of the projected image
2.4 Input source selection -
To project decorations from an SD card, insert card into SD slot on projector. Press the
“S” key on the projector to see the following menu:

Use the “UP” or “DOWN” directional buttons on the remote or projector to navigate to
the “SD” option, then press “OK”on the projector or remote to select.
For other input sources, connect the appropriate user-provided plug to the relevant projector
socket. Press the “S” button on the projector, to see the source menu. Then use the directional
buttons on the projector or the remote to navigate to the desired input source. Press “OK” to
select that source.
2.5 Multimedia home page - Media Selection -
The “Multimedia” page will be displayed after selecting the Input Source.
To project digital decorations, press “OK” to select the connection icon.

2.6 Folder and File Selection -
Use the directional buttons to navigate to the desired folder, then press”OK” to select.
Use the directional buttons to navigate to either, Horizontal, Vertical, or 3DFX depending
on your setup. Then press “OK” to select.
Use the directional buttons to navigate to the desired file. Then press “OK” to select that
file for your playlist. You can select more than one file for your playlist . Selected content will
then appear in your preview pane.
After you have completed your playlist, press the “PLAY” button to start fullscreen
playback.
Press the “PREVIOUS MENU” button to return to Multimedia homepage.
2.7 Projection Function Keys
You can use the remote control for basic functions. For the full range of Function Keys, press
“OK” while playing a file and an On-screen Function Key will appear on the bottom of the
screen.
Press the directional buttons to navigate the On-screen Function Key. Press “OK” to select your
prefered option:

-Pause/play
-Fast Backward (2x; 4x; 8x; 16x)
-Fast Forward (2x; 4x; 8x; 16x)
-Previous File
-Next File
-Stop
-Repeat (Repeat None, Repeat One, Repeat All)
-Repeat segment: A to B
(press “OK” to set segment start point A, then press “OK” to set segment stop point B. The
Captured A to B segment will repeat continuously; cancel the repeating by pressing “OK” to pull
up the On-Screen Functions Key and selecting repeat “NONE”
3.Settings - On-Screen Menu
For projector settings, press “MENU” On the Projector. Use the directional buttons to Navigate
to the setting you would like to view. Press “OK” to change an option’s setting.
➢Picture
➢Sound
➢Time
➢System Options
3.1 Picture -
● Picture Mode: (Standard, Dynamic, Custom)

● Color temperature: (Cool, Warm, Medium, Custom)
● Aspect Ratio: (16:9, 4:3 (only modifiable during play
))
● Noise reduction: (Off, Low, Middle, High, Default)
● Screen: (Auto, Zoom etc. (only works with HDMI & PC
))
● Rotate: (Front, Reverse, Rotate Left, Rotate Top, Rotate Right)
● Reduce Display
● Backlight
● Color Range
3.2 Sound -
● Sound Mode: (Standard, Music, Movie, Sport and User)
● Balance: (-50 to 50)
● Auto Volume: Off
● Surround sound: On/Off
● EQ(equalizer): (120HZ, 500HZ, 1.5HZ, etc)

3.3 Time -
● Sleep timer: (Off, 10min, 20min, 30min, 60min, 90min)
3.4 System Options -

● OSD(On Screen Display) language: English.
● Restore factory default
● Blending: Off
● OSD Duration: (Off, On)
● Software update(USB):(for factory use only)
4. Projector Setup
4.1 Location -
Determine where and how you wish to project your digital decoration for the best effect. You will
likely want a projection that will be seen by as many people as possible.
Digital Decorations® from AtmosFX are designed for “Window Mode”, and look best
rear-projected on Window Projection Material (Or Premium Window Projection Material) in a
window and viewed from the outside.
For a mirrored image, press the “ROTATE IMAGE” button three times to project a mirrored
image. This is especially useful for decorations with words that you are rear-projecting.
If you are mounting the projector upside-down on the ceiling, Press the “ROTATE IMAGE”
button once on the projector for proper viewing.
The projector should be set up 3-9 feet from the projection surface.

Choose an appropriate location for the projector and take steps to prevent accidental
collisions or tripping on electrical cords.
4.2 Lighting -
The darker you make your area around the AtmosFX Holiday Digital Decorating Kit projector
and surface, the more dynamic the display will be. It should be really, really dark when you start
your display.
Choose a location where you can turn off any ambient light that may interfere with you
projection.
Consider using curtains to sheild light that may be coming on from other parts of the room.
4.3 Tripod -
Screw the tripod counter clockwise into the threaded hole on the bottom of the projector,
making sure it is fully and securely attached. Flex and adjust the three legs so that the projector
is positioned at the desired height and projection point.
Make sure the three legs are well-balanced on a stable flat surface.
When not in use, unscrew Tripod and store in original packaging.
4.4 Projection Screen and Tape Squares -
Before instaling the projection screen, test your intended projection location. Turn off lights and
turn on the projector - without any scenes yet - just shine the projector onto the window, moving
the projector backwards or forwards as necessary and adjusting the tripod until the projection
completely fills the window frame or intended area. Then adjust the focus.
TIP! - To get rid of creases, wash the material on delicate setting and tumble dry on low setting.
Do NOT apply hot iron to the Window Projection Material directly, as polyester will melt.
After confirming the projection location, hang the included Window Projection Material so it
covers your window completely. The Window Projection Material Provided is 4ft. By 6ft. Pull the
screen taut so that it is smoothed out and attach it to your window frame or wall with the double
sided tape squares provided.

Now to test your digital decorations! Select the format that will work best for your set-up
location.(Vertical, Horizontal, or 3dfx if you are using AtmosFX’s 3DFX Form) Set the mood with
additional props if desired. You are only limited by your imagination!
5. Technical information
Technical Specs
● Display Technology: 5” Single LCD Panel
Display
● Color: 16.8 million, 24-bit RGB
● Brightness: 200 ANSI LM (1800 market
lumens)
● Lamp: LED 80W
● Contrast Ratio: 2000:1
● Maximum Resolution: (1920 x 1080)
through HDMI
● Native Resolution: (800 x 480)
● Lamp life: 50,000 hours
● Projection Distance: 0.9 meters to 6 meters
● Projection Size (diagonal): 40” to 180”
● Aspect Ratio: 4:3 / 16:9
● Keystone Correction: + or - 15 degrees
● Power Supply: 100-240 V
● Power Consumption: 110W
● Input: USB/SD/HDMI
● Audio Output: 3.5mm or built-in speakers
● Standard Window Projection Material: 4’ x
6’ — 86.5” diagonal
Included Decorations
Halloween Scenes:
● Rise of the Wraiths, from Phantasms
● Dancing Dead, from Bone Chillers
● Ghoulish Girl, from Ghostly Apparitions
● Zombie Swarm, from Zombie Invasion!
● Stalking Startlers, from Night Stalkers
● Werewolf, from Tricks and Treats
Seasonal Scenes:
● All Through the House, Part 1, Night Before
Christmas
● All Through the House, Part 2, from Night
Before Christmas
● Packing Santa’s Sleigh, from Santa’s
Workshop
● Special Delivery, from Santa's Visit
● Let It Snow, from Winter Wonderland
● Festive Fireworks, from Celebrations Party
Time
3DFX/Prop Scenes:
● Seance, from Witching Hour
● ’Twas the Night Before Christmas, from
Night Before Christmas
When you’re ready to increase your digital decorating capability, the AtmosFX Holiday Digital
Decorating Kit features an SD card slot, making it easy to add additional AtmosFX scenes – just
insert and play!
Table of contents
Other AtmosFX Projector manuals