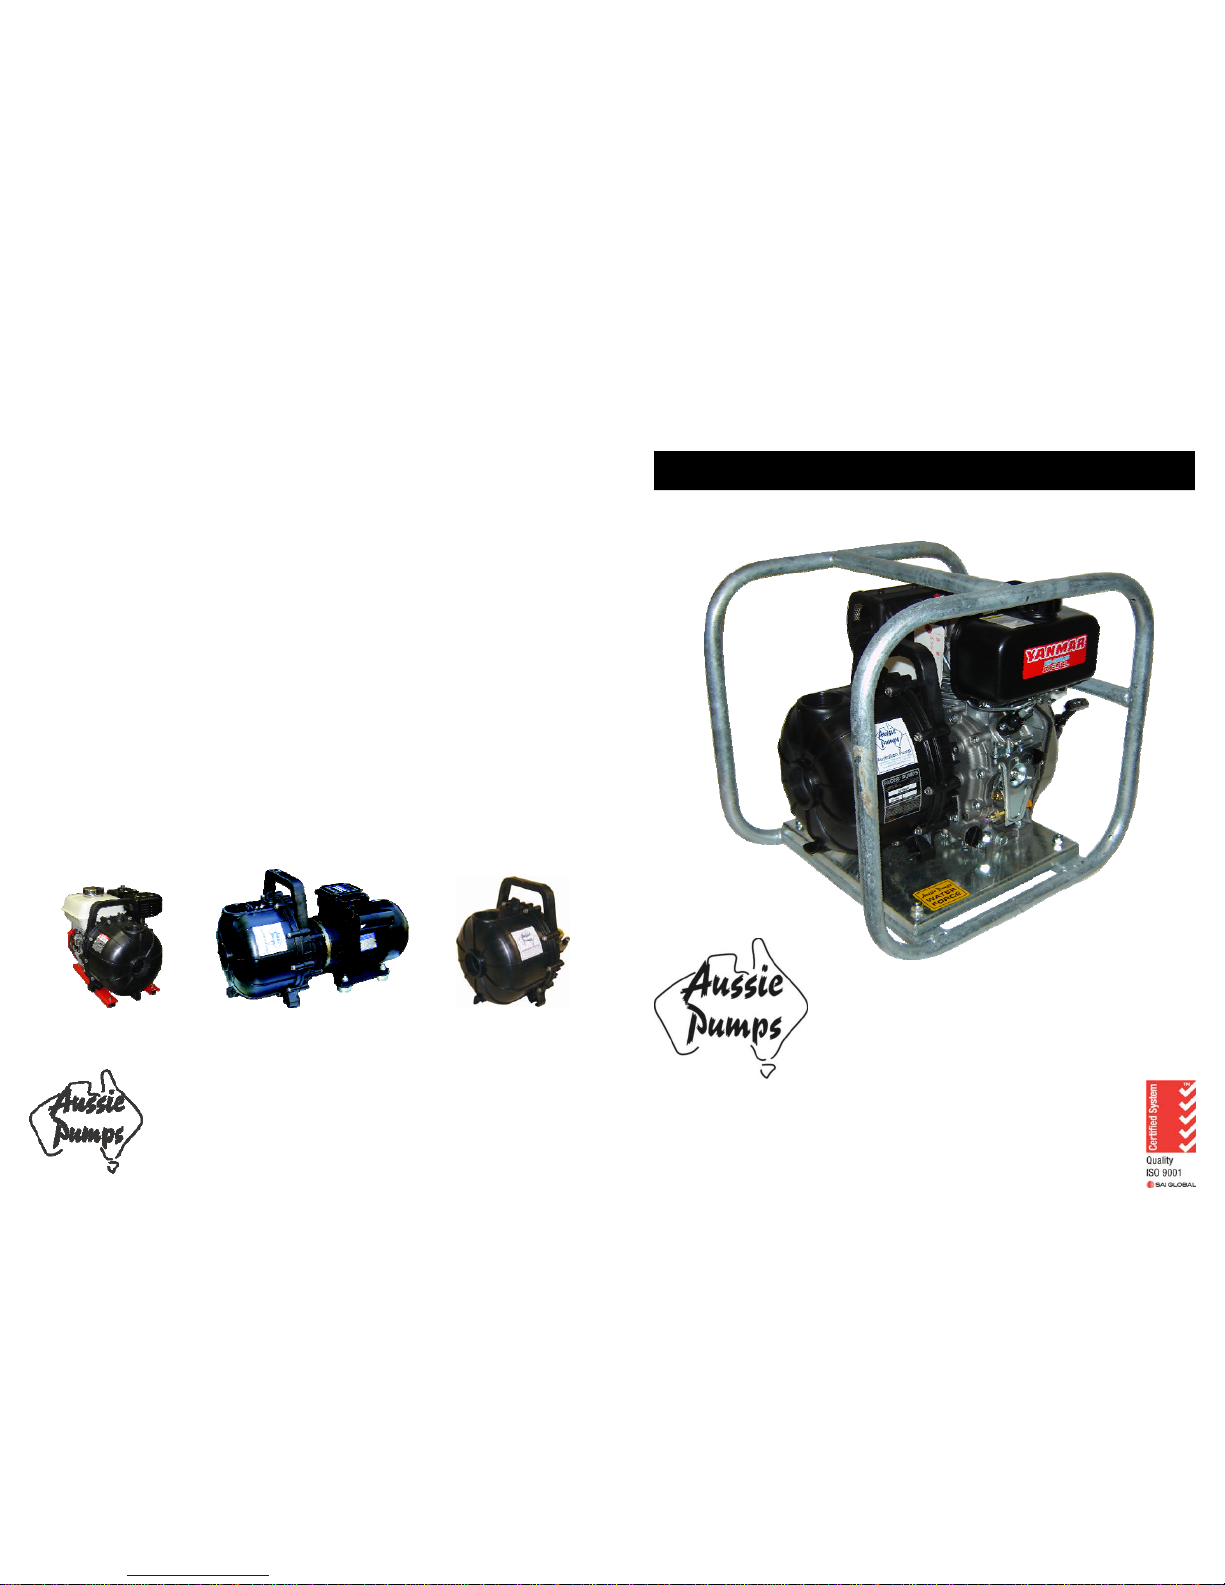
Aussie Seamaster … Owners Manual
8
Australian Pump Industries EASY SERVICE DATA
Handy service hints
1. To maximize pump life, drain
pump after use and flush out
with clean, fresh water.
2. Read engine manufacturer’s
owner’s manual thoroughly
and service as recommended.
3. Store pump in a dry, safe loca-
tion when not in use.
4. If storing for long periods,
drain fuel from engine and
tank.
5. Buna N seals have been fitted
to enable pumping of sea wa-
ter and oily waste and diesel
fuel.
6. Aussie Seamaster pumps are
specifically designed to pump
salty water. Pumping other
liquids may shorten life and
impact on warranty. For a
comprehensive chemical com-
patibility chart contact your
Aussie Pump dealer.
7. Pumping water containing sol-
ids will prematurely wear pump
components, and may impact
warranty.
8. Ensure that the correct size
strainer is installed on the suc-
tion hose at all times.
Service/Installation hints
Systems requiring hydrostatic re-
lief valve.
Fitting a hydrostatic relief valve in
any installation should only be car-
ried out by a pump or installation
specialist. Such products offer lim-
ited hydrostatic relief. It is the re-
sponsibility of the installer to ensure
that the performance of the valve
meets the required application.
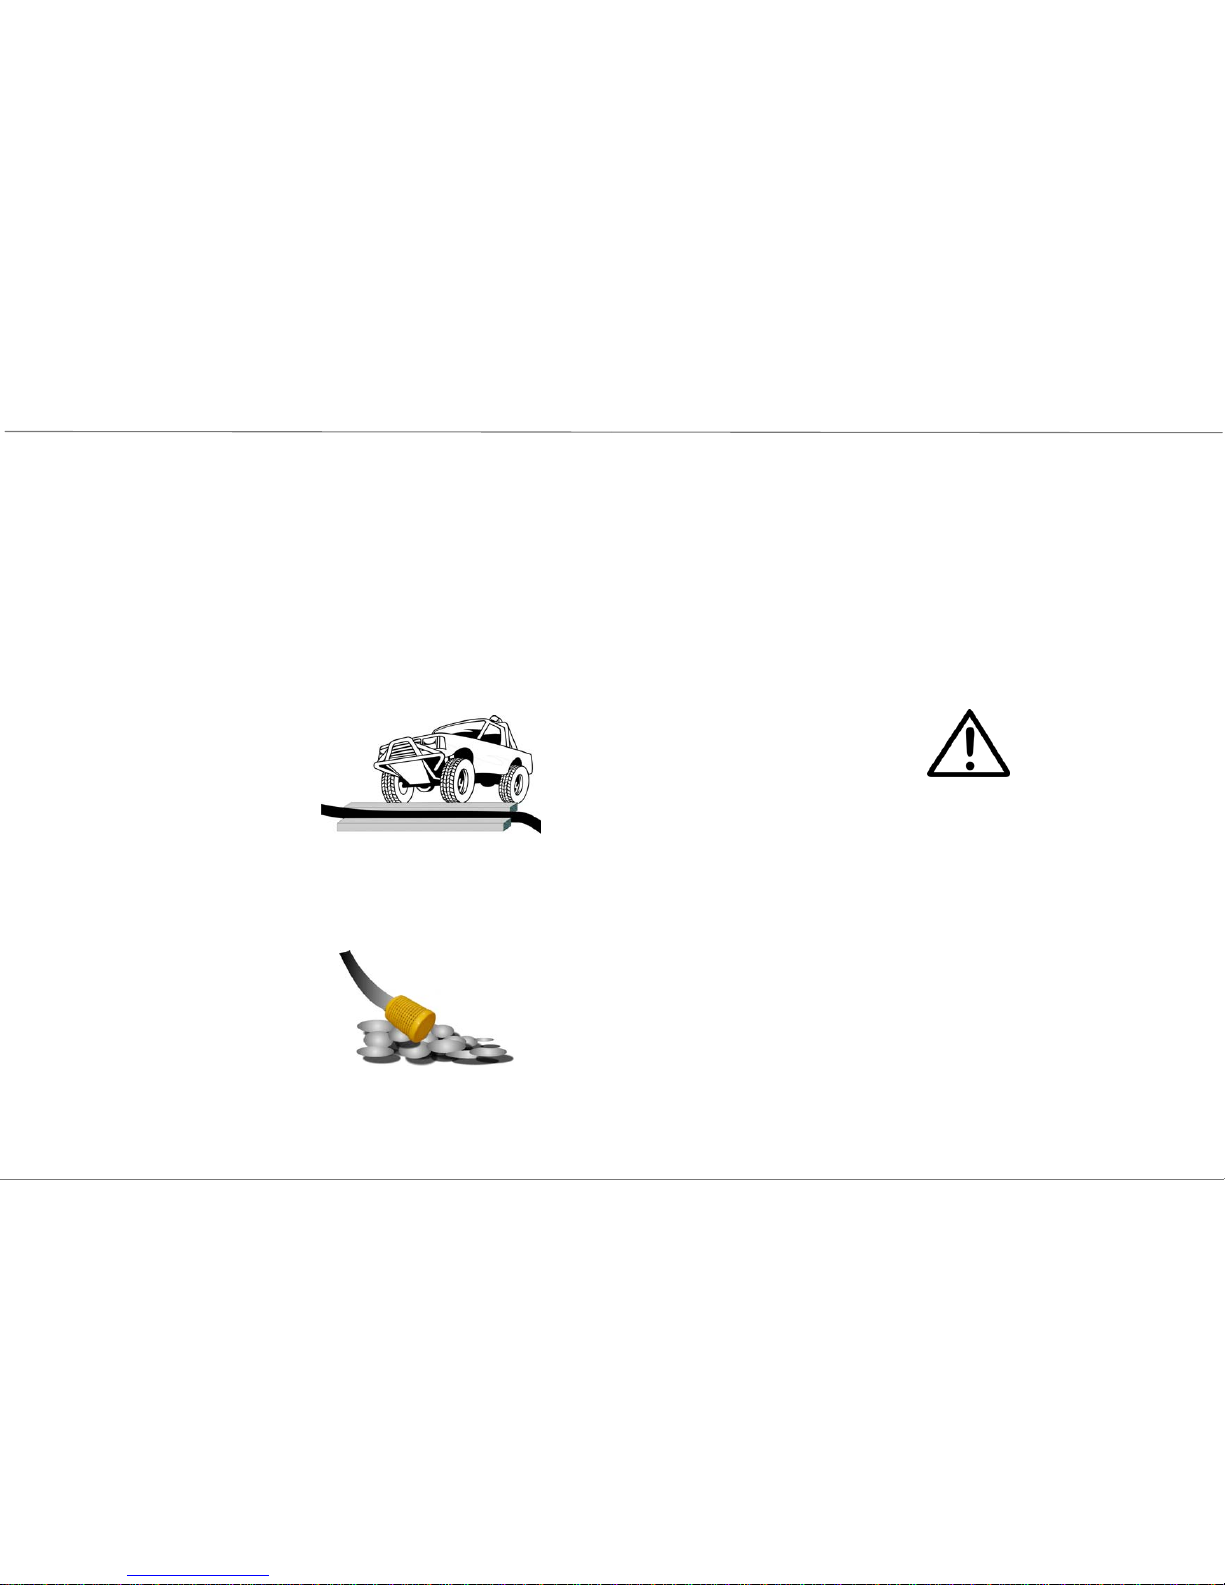
Hydrostatic Shock
Prevent hydrostatic shock by using
thick planking either side of the hose
where it crosses roadways.
Strainer Placement
Place strainer on bed of rocks or in-
side an old bucket. Alternatively use
a pontoon or float to keep pump
strainer clear of debris.
Aussie Seamaster … Owners Manual 5
Australian Pump Industries
When installing an Aussie self prim-
ing pump always remember that the
closer the pump is placed to the
source of supply the better the per-
formance will be.
To ensure maximum capacity select
a site that will permit the shortest
and most direct suction piping and
smallest vertical lift.
Set the pump on firm and level foun-
dations.
Connecting the Suction Hose
Use commercially available hose,
hose connector and hose bands.
The suction hose must be of rein-
forced non collapsible construction,
suction hose length should not be
longer than necessary as the longer
the suction hose, the less delivery
performance of the pump. Self prim-
ing time is also proportional to suc-
tion hose length!
Strainer should always be used on
the end of the suction hose to keep
solids out of the pump.
Check carefully to make sure there
are no air leaks in the suction line.
Connecting the Discharge Hose
Use a commercially available hose,
hose connector and hose bands. A
large diameter hose is most efficient.
Long, small diameter hoses will in-
crease friction loss and reduce pump
performance and adversely affect
performance.
Priming
Remove the priming cap at the top
of the delivery port. Fill pump body
with water and refit priming cap
tightly.
Open gate valve on delivery line if
fitted.
Never attempt to oper-
ate pump without prim-
ing first. Extended dry
operation will destroy
pump seal. If unit has
been operated dry, stop
the engine immediately,
allow the pump to cool
before adding priming
water.
Hydraulic Shock
If the water flow is suddenly termi-
nated by closing a valve, without
stopping the pump first, it can cause
hydraulic shock. This can travel back
to the pump causing serious dam-
age. To prevent pump damage in-
stall a by-pass or safety valve.
START UP AND INSTALLATION