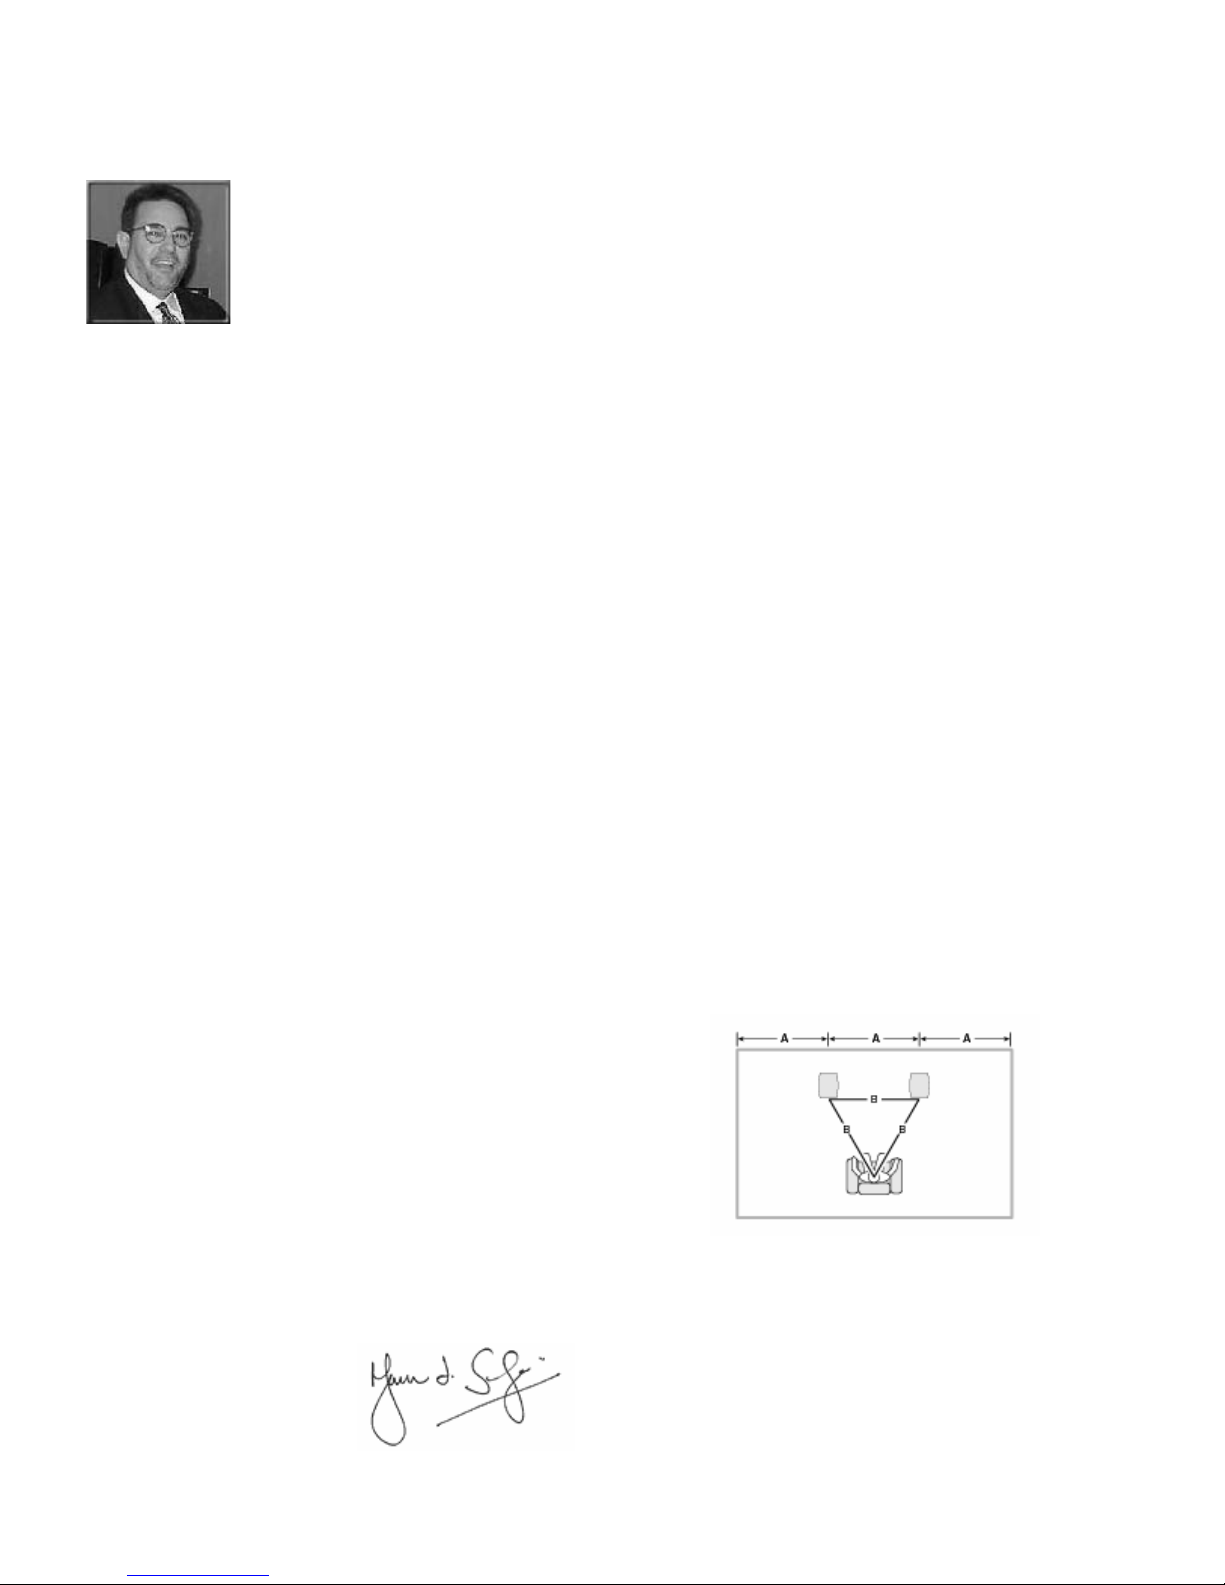
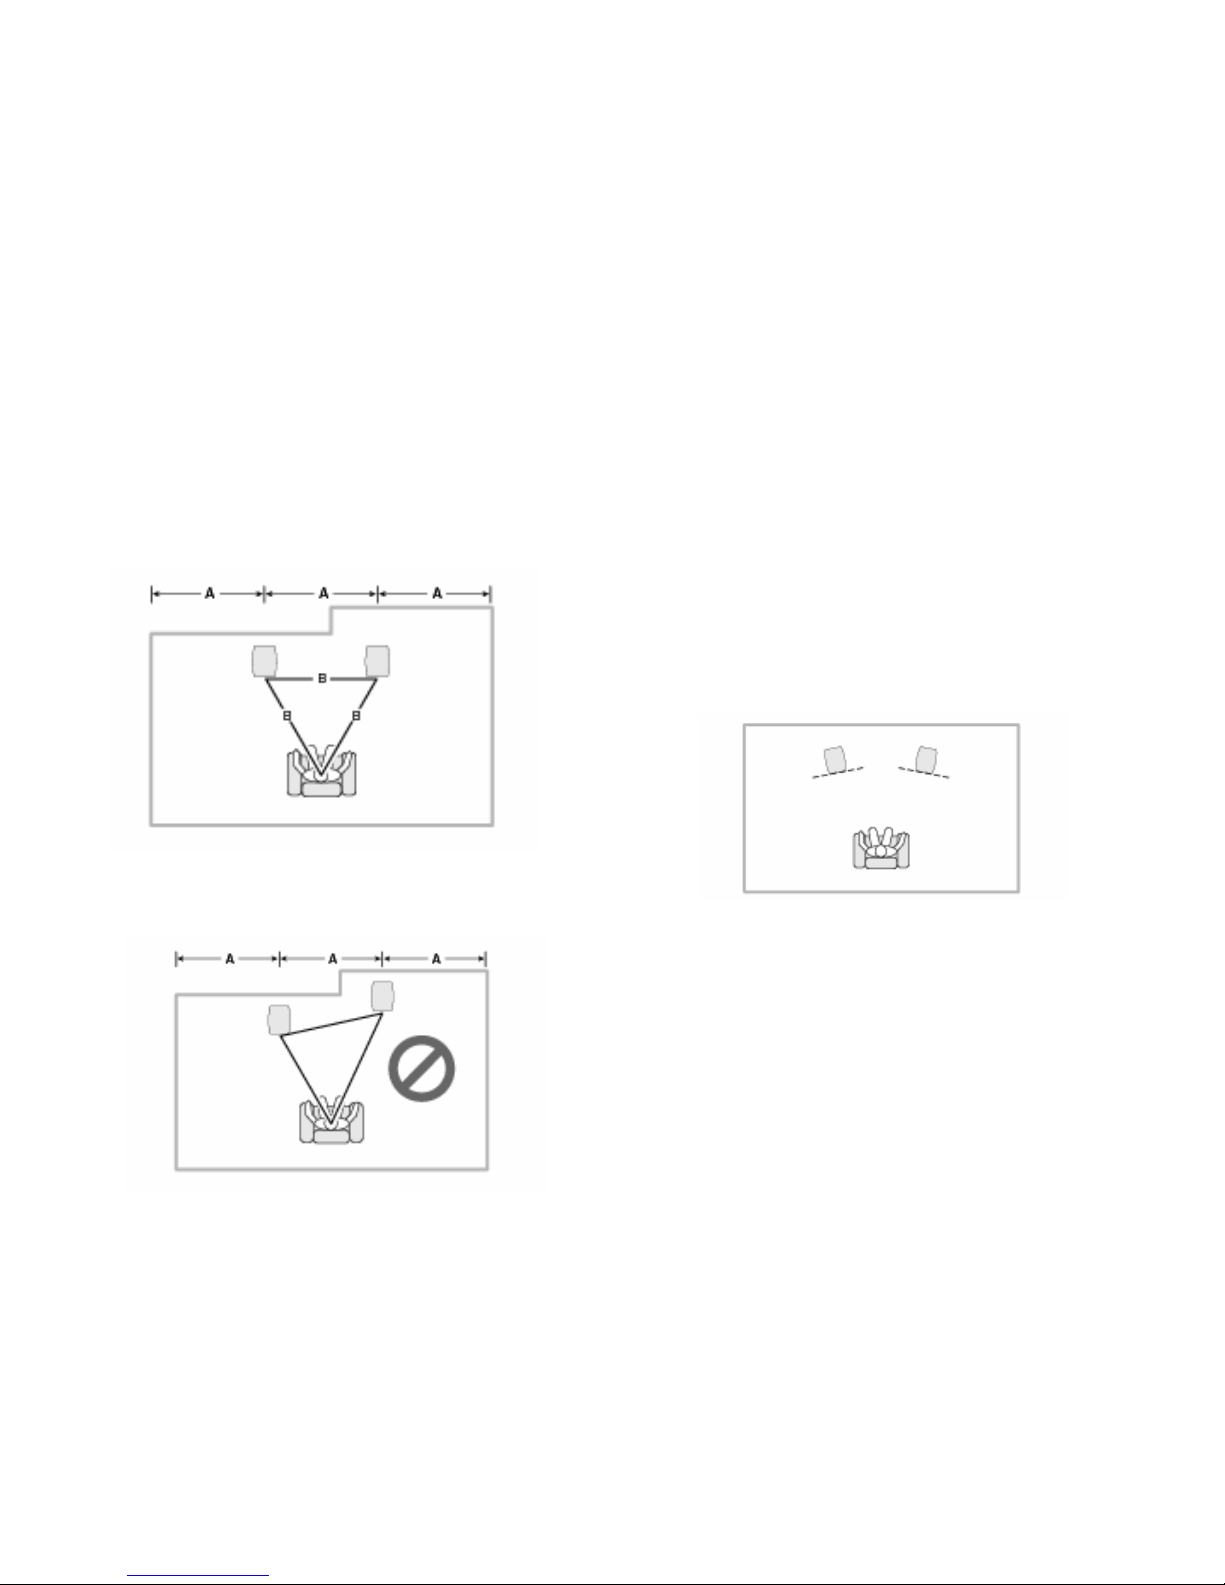
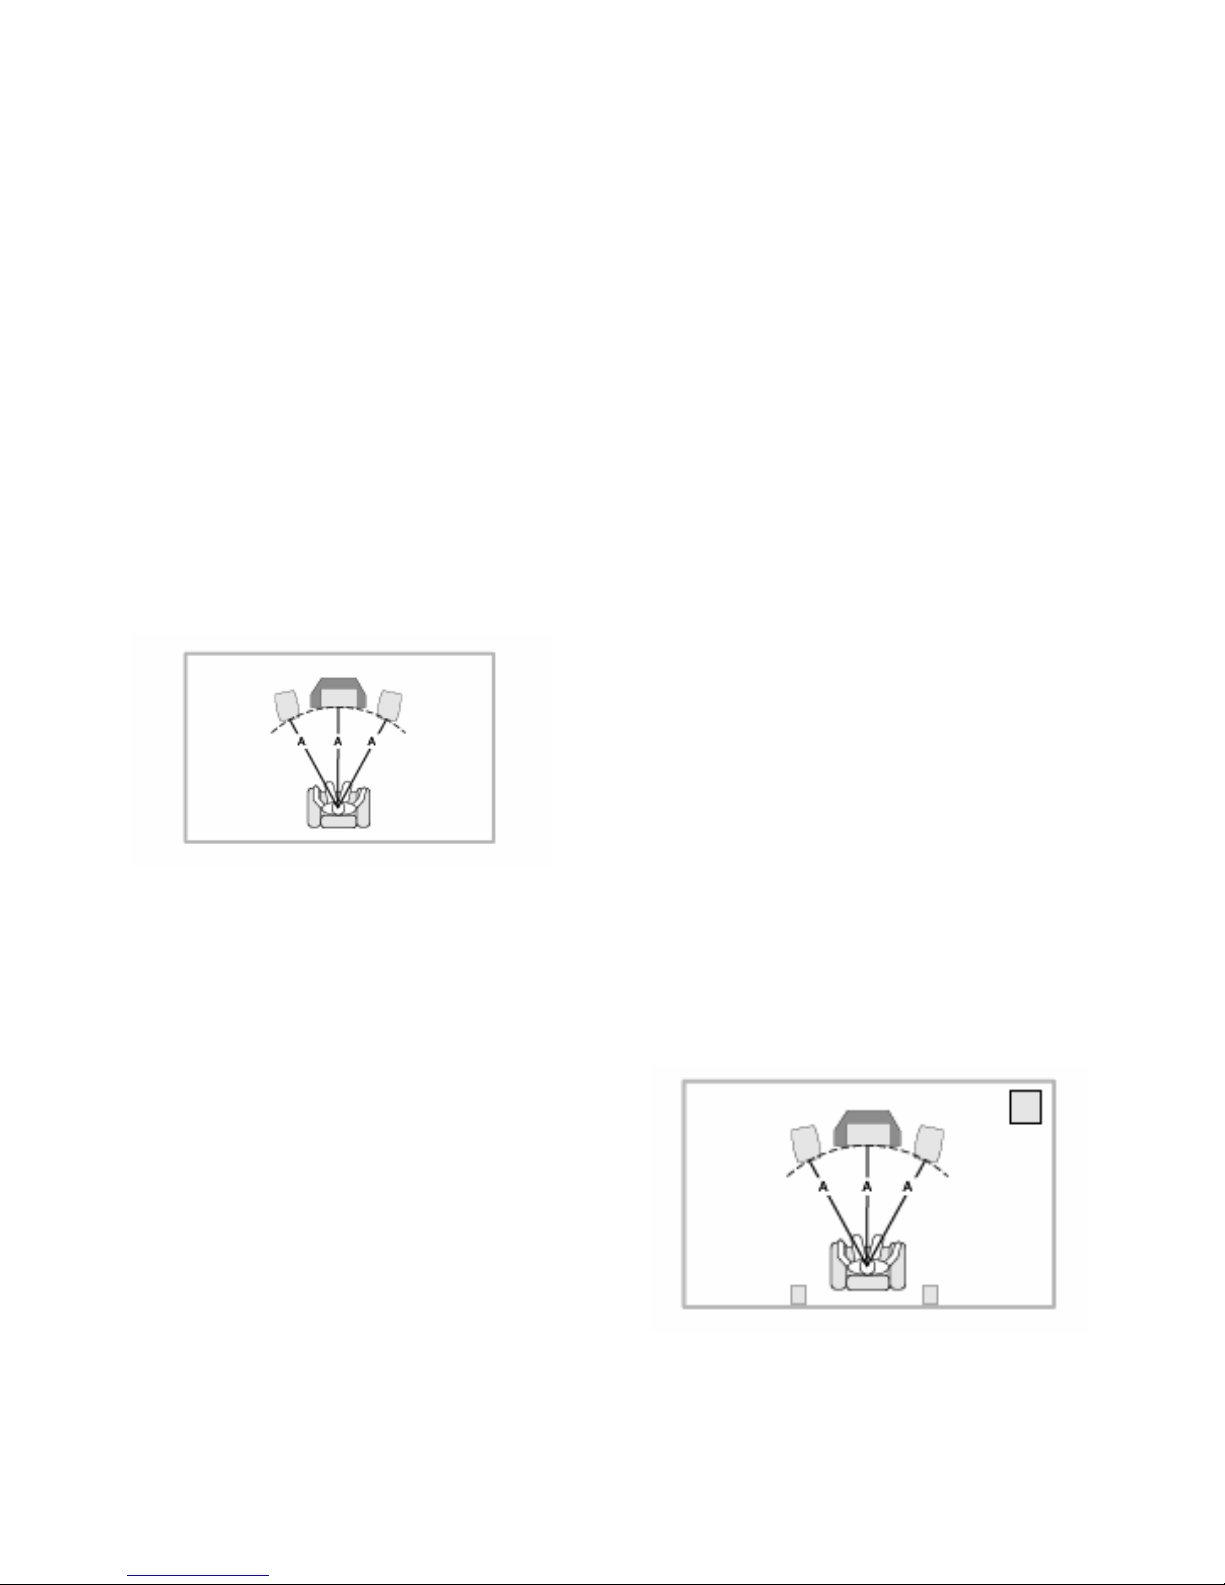
A Question of Polarity
If you're like most of us, you'll simply run
speaker wire from the appropriate output of your
receiver to the connectors on each speaker.
However, you need to observe the proper polar-
ity as you connect your components. This simply
means that you should connect the positive ter-
minal on your receiver or amplifier (may be
marked "+" or be colored red) to the positive
terminal (red) on your Rocket Tyke speakers.
Then connect the negative terminal on the ampli-
fier ("-" or black) to your speaker's negative
(black) terminal. Don't worry about damaging
anything if you inadvertently make a mistake
here. Sound quality will suffer but you won't
hurt anything. We'll explain this further below.
If you're still concerned about the procedure,
here are step-by-step instructions for connecting
the Left front output from your receiver or ampli-
fier to the Left front speaker.
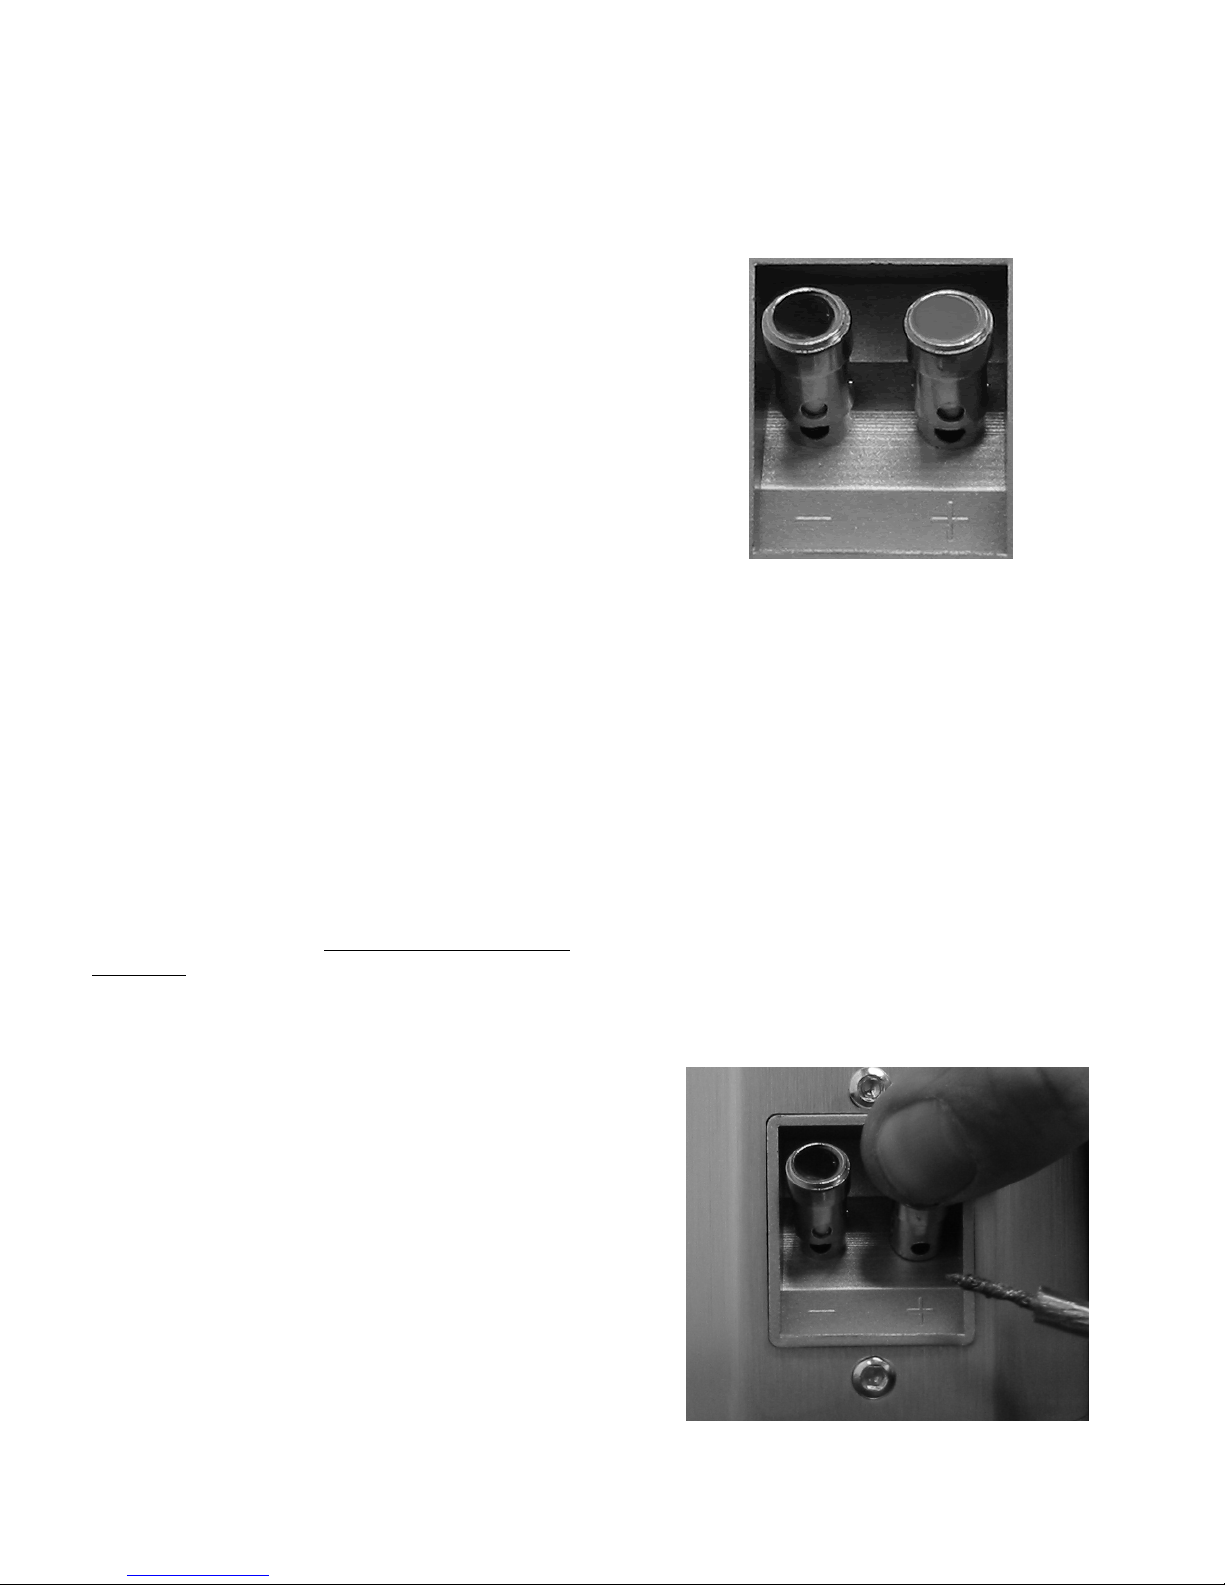
1. Locate the Left front speaker output on the
receiver or amplifier. Note that there are
two connectors - one marked "+" (the
positive terminal - usually red in color) and
one marked "-" (the negative terminal—
usually black).
2. Look at your speaker wire. You'll see that
it has two different conductors. If the insu-
lation is clear, the conductors themselves
may be of different colors - silver and cop-
per are the most common. If you can't see
the conductors themselves, look closely at
the insulation. You'll notice that the insu-
lation over one conductor is different than
that over the other conductor - one will
have slight molded ridges in it, the other
will be smooth, for example. Choose one
of the conductors to carry the "+" signal.
It really makes no difference which one
you pick. Just be consistent! Note: Some
specialized speaker cables are already
marked to avoid confusion but if you're
using common "zip cord" (lamp wire), we
suggest that you designate the copper col-
ored conductor or the one with the molded
insulation over it as "+". As we've already
said, consistency is far more important
than which conductor you choose.
3. Connect the "+" conductor to the "+" ter-
minal on the amplifier.
4. Connect the "-" conductor to the "-" termi-
nal on the amplifier.
5. At the speaker end of the same wire, con-
nect the "+" conductor to the "+" terminal
on the speaker.
6. Similarly, connect the "-" conductor to the
"-" speaker terminal.
7. Follow steps 1 through 6 for all other am-
plifier - speaker connections in your sys-
tem.
Why are we placing as much emphasis on con-
sistency here? That's simple. We want you to get
all the performance you pay for. When your am-
plifier-to-speaker connections are consistent,
when "+" is always connected to "+" and "-" is
always connected to "-" your speakers are said
to be connected "in phase." That means the driv-
ers (the active elements that produce sound) in
each speaker will push out when they get a com-
mon positive signal from an amplifier and will
pull in when they get a negative signal. When all
the speakers in your system are "in phase," all
the cones work together to give you the sound
the original artists and engineers intended you to
hear.
When speakers are connected "out of phase," the
drivers fight each other - some move out while
others move in. The result? You'll get less bass
and blurred imaging. That's a pretty heavy price
to pay for not taking just a few extra seconds to
make sure your connections are correct.
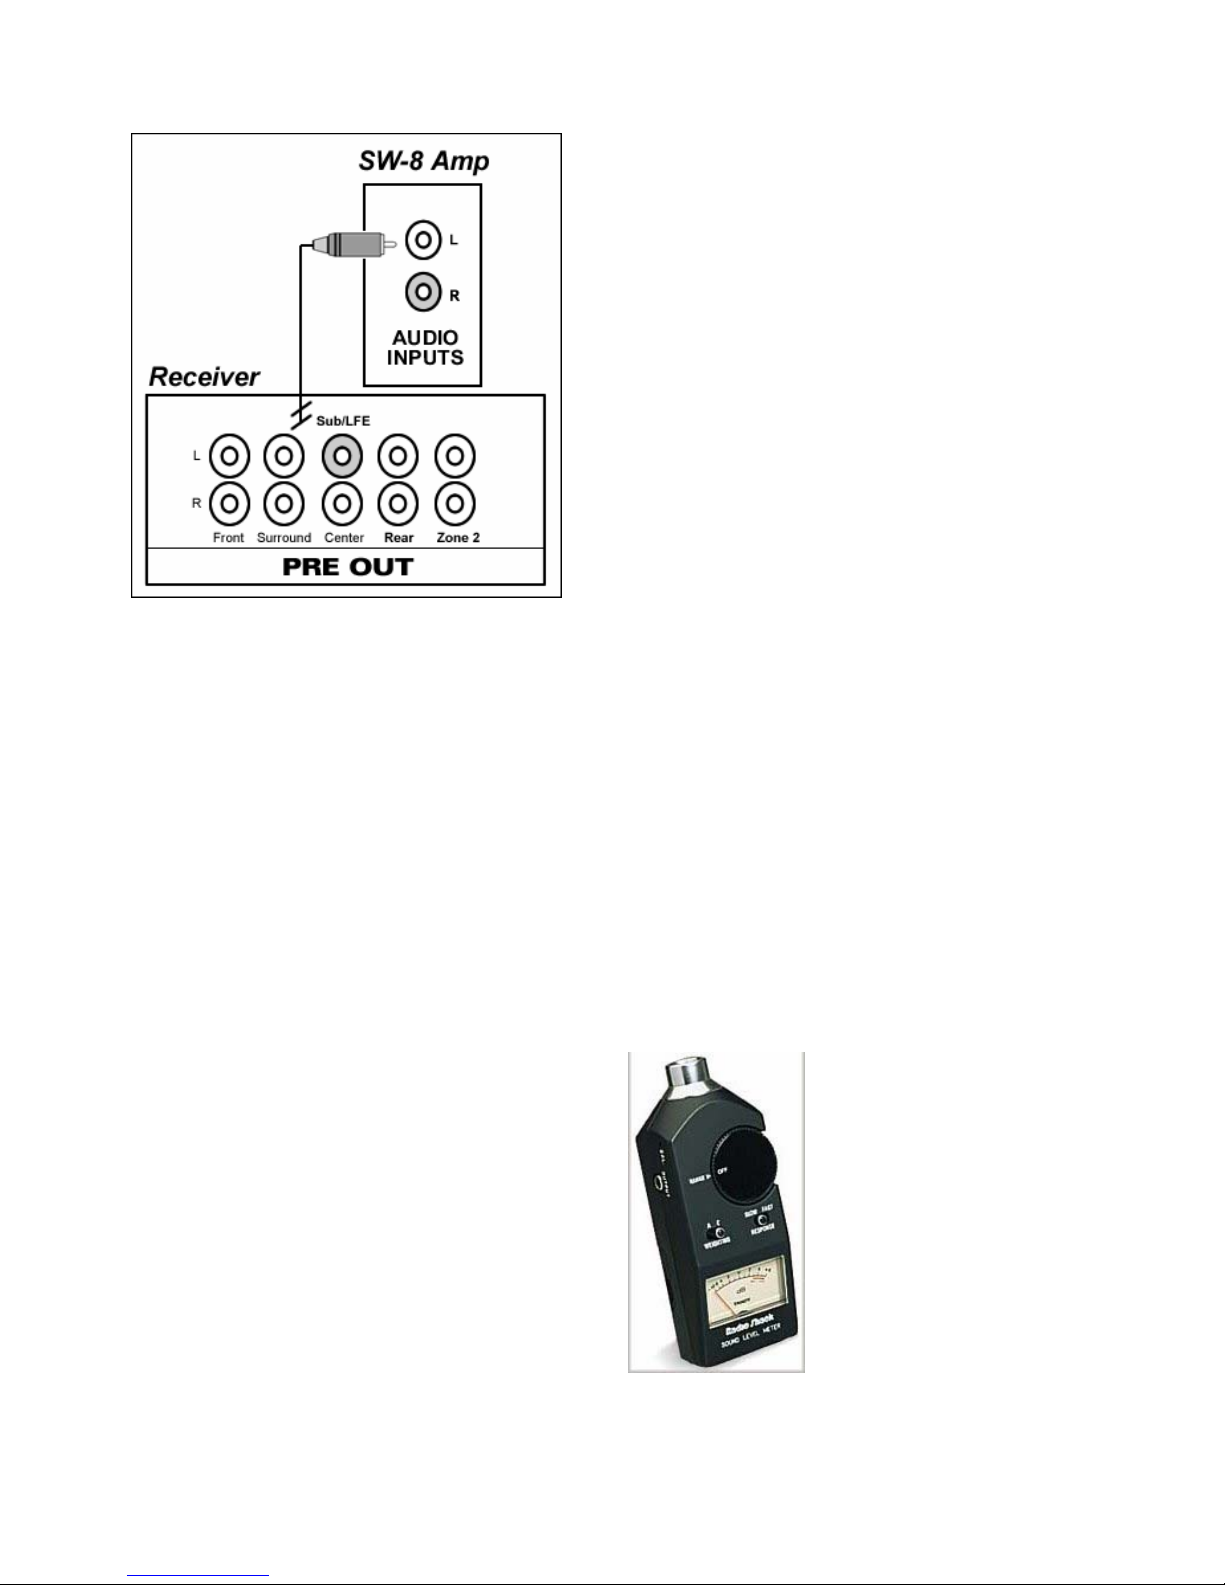
3.2 Connecting your Tyke SW-8 Subwoofer
Because your subwoofer is a self-powered
speaker, that runs off the built-in 100W amplifier
(as opposed to your A/V receiver’s internal am-
plifiers), it requires a different connection from
your speakers.
Make sure the subwoofer is not plugged in and
the rest of your system is turned off before pro-
ceeding.
When making your connections, be sure to use a
high quality and reliable Mono RCA interconnect
cable. It should be well shielded and long
enough to do the job, but not excessively long—
though it is likely to be the longest interconnect
in your system. The simplest and recommended
connection is from the sub/LFE output on the
back panel of your receiver directly to either L or
R RCA input on the SW-8.