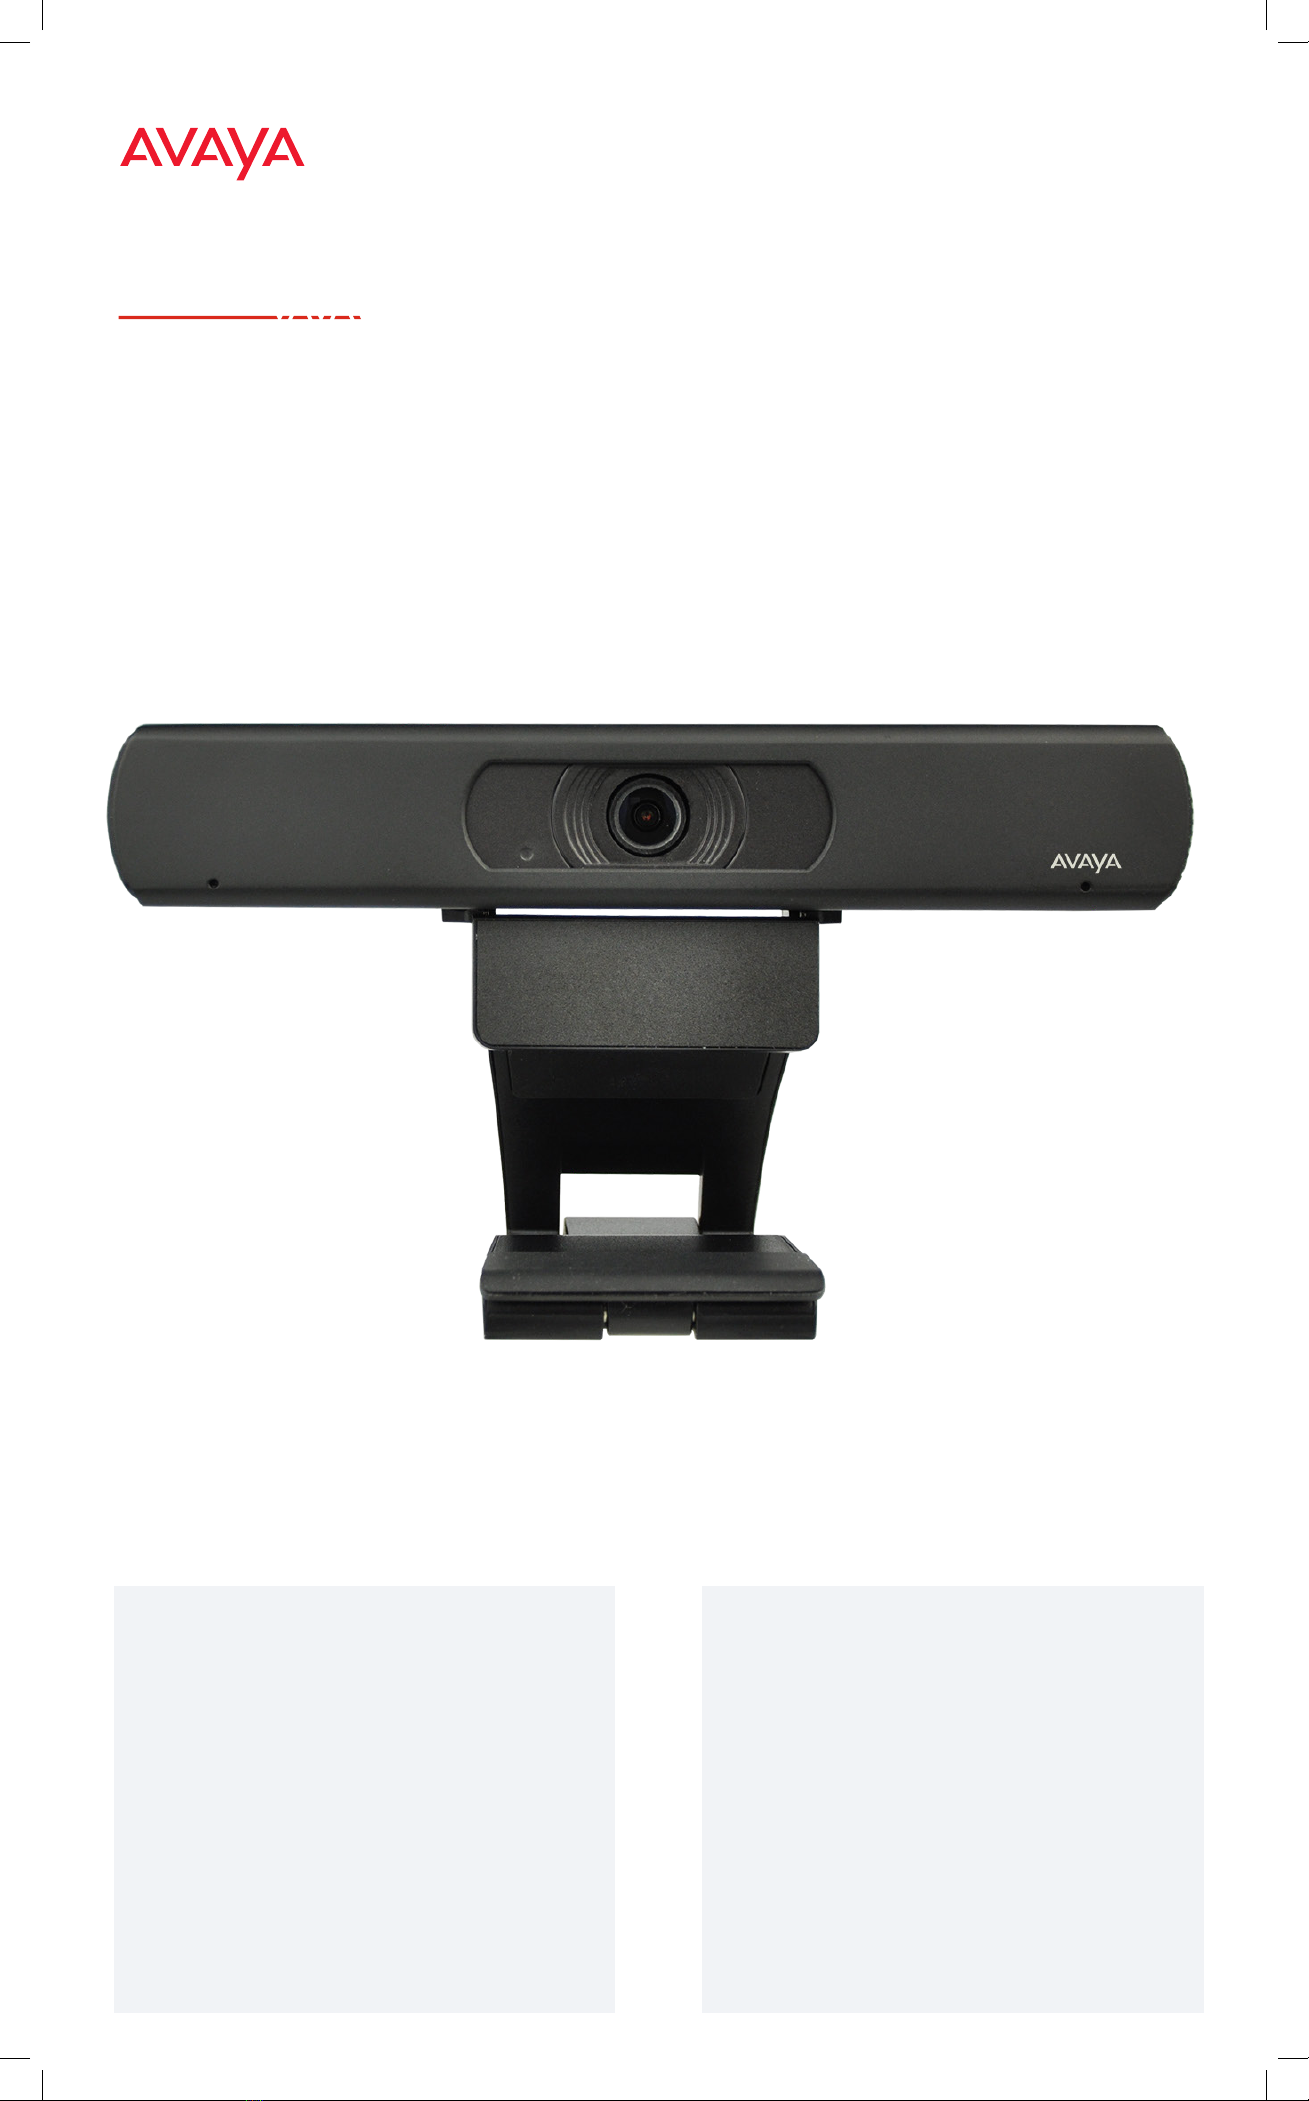
Setting Up this Device
The Avaya IX HC020 Camera is compatible with all Avaya
Conferencing clients, such as Spaces and IX Workplace, and
with third party conferencing clients such as Microsoft©Skype
for Business, Microsoft©Teams, Zoom©, and BlueJeans©. The
Avaya IX HC020 Camera can be also used as a first or additional
camera on XT4300, XT5000, and XT7100 Endpoints.
© 2020 Avaya Inc. All Rights Reserved. Avaya and the Avaya logo are trademarks of Avaya Inc. and are registered in the
United States and other countries. All other trademarks identified by ®, TM, or SM are registered marks, trademarks, and
service marks, respectively, of Avaya Inc. 04/20 • 700514525 Avaya IX Huddle Camera HC020 Quick Setup Guide
1. Use the HC020 Camera as a USB camera
for your PC or MAC conferencing client
Step 1.
Connect the camera into a USB v3 port of your laptop or
computer as follows:
• Plug it directly into a PC/Mac USB v3.x port; Not through a
USB hub and not into a PC docking station.
• Use the USB v3 cable present inside the packaging.
Note: Plugging the camera into a USB v2.x port may not deliver
sufficient resources to the camera. Successful operation cannot
be guaranteed in all scenarios and with all laptop/PC models.
Note: Starting from version 8.4.037, the HC020 HDMI port is
disabled by default. It is possible to enable it on the “Setting”
menu. You can access this menu using the On Screen Display
(OSD) by pressing the Menu button on the remote control.
Step 2.
Launch your conferencing application and select the HC020
device from the appropriate setting/user preference section.
Note: Links to Avaya Cloud Service platforms are as follows:
• Avaya IX Spaces https://spaces.avayacloud.com You do not
have to install any client. Simply join any Spaces Meeting
with your browser and then configure your web client with
the Avaya HC020 audio/video drivers.
• Avaya Equinox Meeting Online https://meetings.avaya.com
You can download the Equinox/IX Workplace application
from the home page and then configure the Avaya HC020
audio/video drivers by clicking the Settings wheel.
Step 3.
With this configuration, you can only manage the HC020
camera using its remote control. The remote control can also
enable an On Screen Display (OSD) on top of the camera video
image to configure its video advanced parameters.
About Avaya
Businesses are built on the experiences they provide and
every day millions of those experiences are built by Avaya
(NYSE:AVYA). For over one hundred years, we’ve enabled
organizations around the globe to win—by creating intelligent
communications experiences for customers and employees.
Avaya builds open, converged and innovative solutions to
enhance and simplify communications and collaboration—in the
cloud, on premise, or a hybrid of both. To grow your business,
we’re committed to innovation, partnership, and a relentless
focus on what’s next. We’re the technology company you trust
to help you deliver Experiences that Matter.
Visit us at www.avaya.com.
CAUTION:
Make sure all units are switched off whenever
connecting or disconnecting devices.
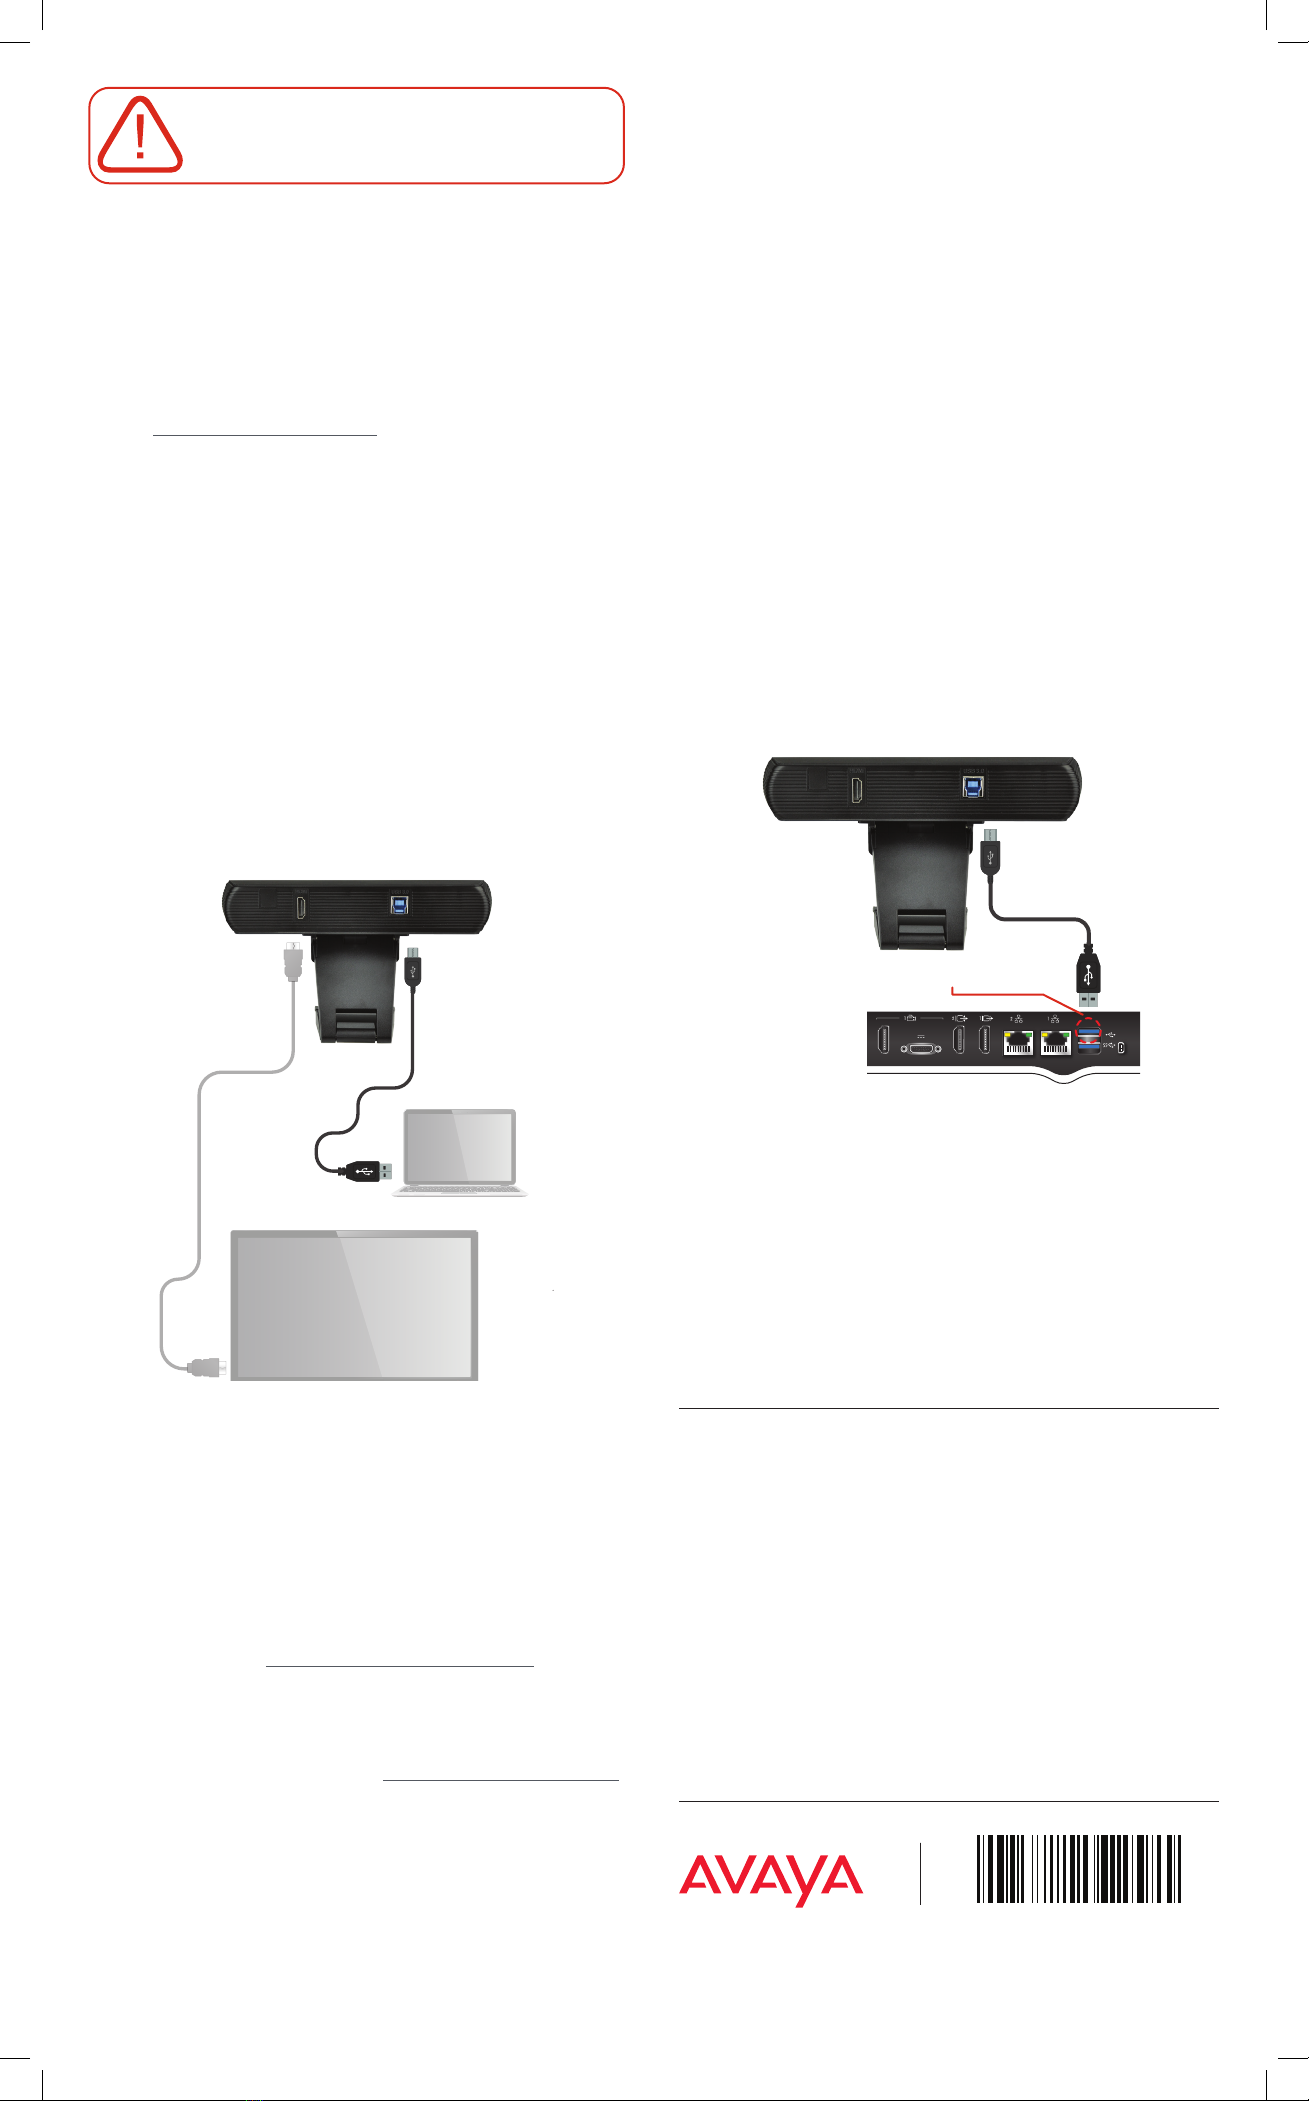
2. Use the HC020 as the Main Camera for XT
Series Endpoints
Step 1.
Insert the USB connector into its socket at the rear of the
camera.
Step 2.
Plug the USB connector into the USB upper port at the rear of
the XT Series endpoint (XT4300, XT5000 or XT7100).
Step 3.
If you are using the HC020 as a main camera, you should
enable it as the Default Camera in Configure >Advanced > I/O
connections >Cameras >General >Default Camera: USB
• Remove the thin adhesive transparent film in front of the
lens before you use the camera.
• The video stream is captured by the USB port of the XT
Codec. The USB port is also used for camera control.
Note: Since the HC020 Camera Pan, Tilt, and Zoom is digital
(ePTZ), you should first zoom in using the XT remote control.
From there, you can perform any other pan and tilt operation.
Step 4.
With this configuration, you can easily manage the HC020
camera using the XT remote control. If you need to configure
its video advanced parameters, you can enable an On Screen
Display (OSD) on top of the camera video image and configure
the settings using the camera remote control.
P/N 700514525 B02
connect the USB cable to USB2
(upper USB connector)
XT Series Codec Unit
More information can be found on the Avaya Support Site:
browse https://support.avaya.com/, select “Support by Product
> Product Specific Support”, search “Huddle Cameras” and
choose the desired product version.