Avez Liberi User manual

Love - Care - Connect
Liberi
Manual
Please read the instructions before installing and using the
watch.

1. Before using
1:1. Identify these items and belongings:
●1 Liberi GPS Watch with silicon wristband
●1 Magnetic charger
●1 User manual
●1 Toolkit (for opening the SIM card slot)
1:2. Order a Micro SIM card which supports GSM network (2G).
The SIM card needs enabled GPRS data and caller ID function.
We suggest 50 MB data per month to start with. Then you can evaluate your
need of monthly data use.
The watch is unlocked and is compatible with all operators worldwide.!
1:3. Turn the watch off before installing the Micro SIM card.
Remove the cover with the toolkit and insert the SIM card as the picture
shows below. Push the SIM card inwards until it clicks on place. Put the
cover back on.
NOTICE, remove the tiny screws with caution
1:4. Charge the watch by connecting it to a computer with the matched
charger.
Do not charge over 3 hours.
Note: Charge the watch only under adult supervision.
1:5. Download the SeTracker app on your smartphone from Google Play or
App Store. You can also scan the QR-code on the last page of this manual.

2. Liberi watch interface
2.1 Liberi watch functions
●GPS + LBS + WIFI real-time Positioning
●Waterproof : IP67
●1.22 inch IPS color touchscreen
●Footprints : Records history route
●Pedometer (Records steps and distance)
●Two-way phone call and voice-chat
●Silent Mode setting No disturbing time
●GEO fence safety area
●SOS Phone call and alert
●Low power alarm
●Remote shutdown
Note: It’s better not to wear the watch while swimming

2:2. Liberi watch function interface
2:3 Main interface: Small icons on the interface top left to right represents:
GSM signal, Silent mode, Location, Network, Power, the following is the
Time, Day, and Number of sent Love Hearts.
2:4 Phone call interface: Make a phone call by enter Phone book, swipe
and choose whom to call, then touch the virtual button.
Press the power button to hang up.
Answer a phone call to the watch by touching the virtual button on the
screen. Press the power button to hang up.
2:5 Phone book: Add up to 15 phone numbers in the SeTracker app. It will
automatically update and synchronize with the watch.

2:6 Voice message: Click the screen and you can see the chat interface,
hold the button to record a voice message, and then release it to send.
Maximum recording time is 15 seconds.
2:7 Steps: Pedometer is off by default, the function can be turned on in the
SeTracker app. When the pedometer is activated the number of steps will
automatically synchronize with the app.
3. Synchronize the Liberi watch with the SeTracker app
3:1 App registration and login are available on IOS and Android.
Windows phones are not compatible with the SeTracker app.
Search ”SeTracker” on App Store or Google play. You can also scan the
QR-code on the last page of this manual.
Enter the unique ID of the watch (by scanning the QR-code on the back of
the watch using SeTracker app function, or entering the ID manually.
Create a user login and password
Select a server of your continent and language.
3:2 Introduction of the SeTracker app main interface

Enter the correct account and password. Login and enter the main interface.
4. Liberi watch functions:
4:1. Voice chat: Press and hold the button Start Recording. Release the
Start recording button to send the message.
Maximum recording time is 15 seconds.
4:2. Map:View the position of the Liberi watch in real time. You can
change between different watches if you have more than one, and see them
on the map.
4:3. Settings: Here you can set all the parameters of the Liberi watch.
SOS numbers, Phone book, Language and Time zone, No disturbing time,
Sms alerts, Schedule for location updates and Device shutdown.

4:4. SOS number: Add 3 numbers in the SOS contact list, in case of
emergency press the SOS button for 3 seconds and the watch automatically
calls the 3 prechosen numbers one after another, the watch will call these
numbers twice, unless the call is answered. The watch will also send an alert
message to the SeTracker app.
4:5. Synchronization intervals: Three modes can be chosen according to
your requirements.
- The default working mode is every 10 minutes.
- The power saving mode to update location is every 1 hour.
- The real-time positioning mode is every 1 minute.
4:6. Sound settings: Ring or Mute can be set.
4:7. Class mode: Also named No disturbing time.
You can set 3 different time tables depending the kids time table at school.
All incoming and outgoing calls will be shielded. The watch only allows
SOS calls during this setting.
Class mode only works from Monday to Friday, weekends are excluded.
4:8. Notification settings: When battery level gets below 20% the watch
automatically sends an “low power” alert to your phone.
4:9. Phone book: 15 phone numbers can be added. Number and name are
displayed on watch, and only these numbers are allowed to call the watch
and vice versa.
4:10. Language and region: If the time display on the watch is incorrect,
you can choose the time zone to adjust the time. This function only works
when the watch is connected to the SeTracker app.
4:11. Remote shutdown: The watch cannot be shut down by pressing the
SOS button when it’s synchronized with the SeTracker app. You can only
turn it off through the app.
4:12. GEO fence safety area:The minimum set radius is 200 meters.
Note: Fence alarm information only works when the watch GPS is triggered.
Base station (LBS) positioning fence has no alarm information.
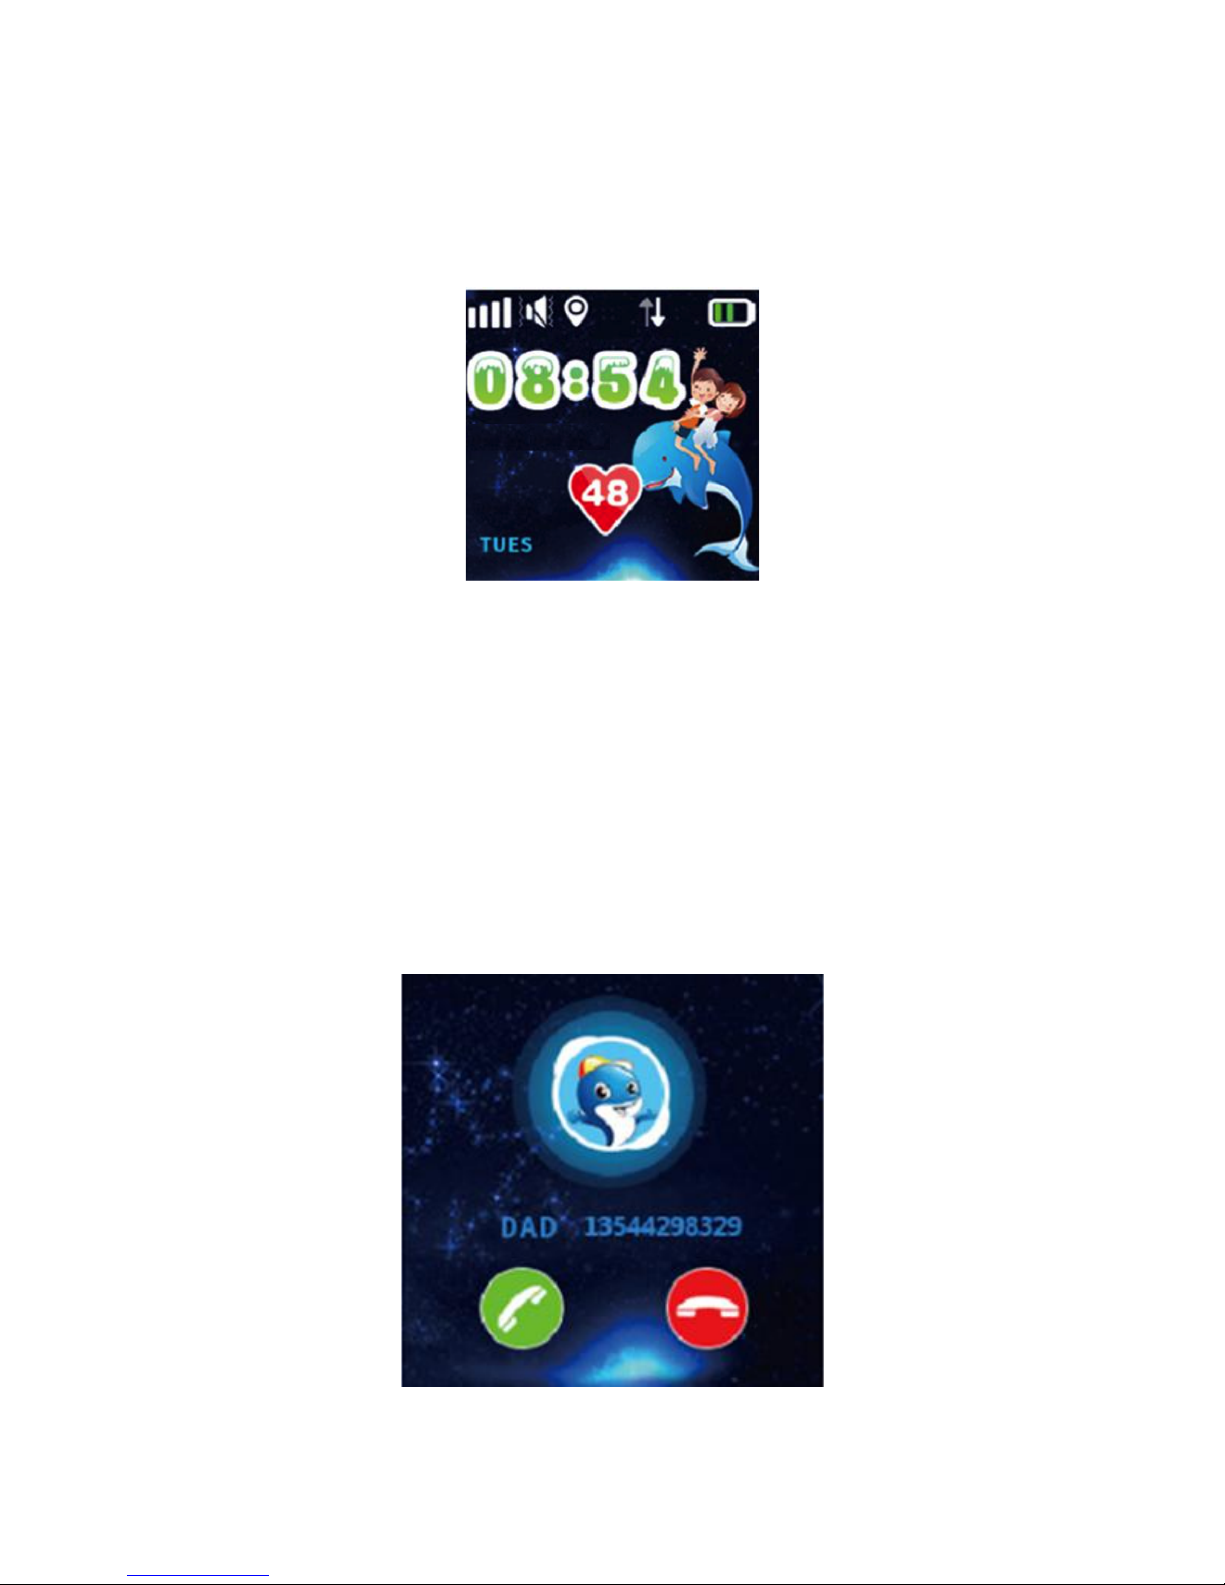
4:13. Love rewards: Select the number of red hearts in the app. When sent,
it will automatically appear on the display of the watch.
4:14. Watch alarm: You can set three different alarms.

4:15. Watch finder: If the watch is misplaced. Enter the interface and press
the “Watch Finder” function. And follow the instructions. The watch will
then ring for a minute so you can find it. When found, press any key for it to
stop.
4:16. Footprint: This function is used to check the history route of kids in
different periods. The location data can be saved up to 90 days.
4:17. Heath: Walk, Calories, Distance and Sleep monitor.
4:18. Notification overview: Where you can see the earlier notifications.
4:19 "My" interface : Click left side “My” function key at main page as
shown below:

4:20. Personal data: You can see the account, ID and phone number. We
also suggest to fill in the email address.
4:21. Device list: If you have more than one watch to monitor you can add
them in one SeTracker account.
You just need to register one watch then add the ID numbers of the other
watches here.
Notice: You can not add registered watches into your account. Every sold
watch has it’s own ID number and these are personal.
Visit www.avezbysweden.se for full content & terms policy

4:22. Change the password.
5. Making a call to the Liberi watch
Now when the SeTracker app is configured with the Liberi watch, type the
SIM card number on your mobile phone and make a call.
6. Troubleshooting
6:1. Unable to register an account and error shown when entering ID. -
The Id does not exist or is already registered. Please check and re-enter the
Id to make sure you got all the numbers right.
6:2. The SIM card does not work.
-The SIM card must be free from a pin code before installing it into the
watch.
- The SIM card could be wrongly installed.
- Reassure you have data on the SIM card

6:3. The device is not connected to the Internet.
- Check whether your SIM card supports GSM network (2G). The SIM card
needs enabled GPRS data and caller ID function, and have data
consumption.
-Send a SMS to the Liberi watch phone number from your phone:
pw,123456,ts# in response you will receive SMS with the specifications.
If these steps didn´t solve the problem, please contact us for support, so we
can help you to find the cause and solution.
7. Download the APP
Support Android or IOS mobile phone APP: SeTracker
We have a complete EMC test report certification from STS LAB for our
product.
Note: We reserve the right to modify the instruction contents without
any further notice. Part of the functions can be different in software
versions.
Visit www.avezbysweden.se for full content & terms policy

Table of contents