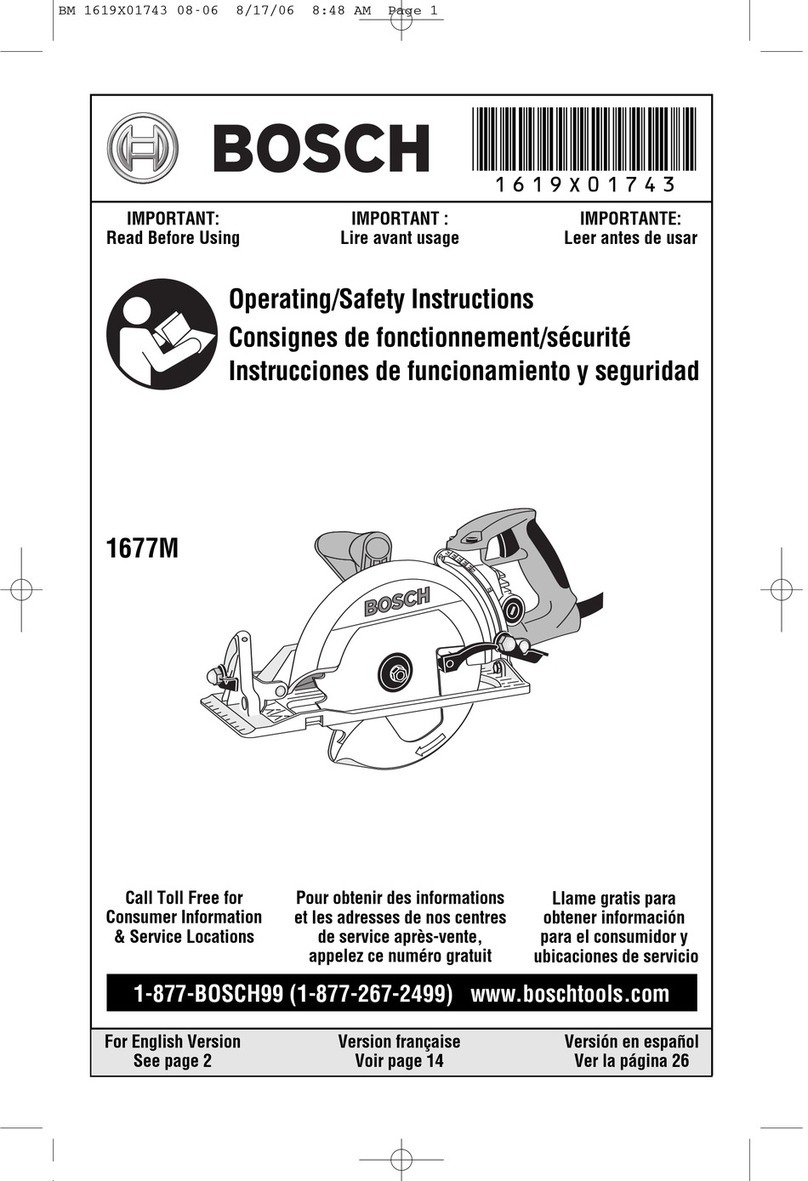
Avid Power ACSW212 User manual

15AMP CIRCULAR SAW
MODEL: ACSW212

1
TABLEOF CONTENTS
IMPORTANT SAFETY INSTRUCTIONS .....................................................P2
SAFETY PRECAUTIONS FOR CIRCULAR SAW.......................................P4
SPECIFICATIONS........................................................................................P7
FUNCTIONAL DESCRIPTION.....................................................................P8
OPERATING PROCEDURES ......................................................................P8
MAINTENANCE...........................................................................................P11
TROUBLESHOOTING.................................................................................P12
PARTS LIST.................................................................................................P13
SCHEMATIC DRAWING ..............................................................................P14

2
IMPORTANT SAFETYINSTRUCTIONS
When using electric tools, machines or equipment, basic safety precautions
injury.
READ ALL INSTRUCTIONS BEFORE USING THIS TOOL
1. WARNING
Read and understand all instructions. Failure to follow all instructions listed below may
2. WORK AREA
Keep your work area clean and well lit. Cluttered benches and dark areas invite
accidents.
Do not operate power tools in explosive atmospheres, such as in the presence of
or fumes.
Keep bystanders, children and visitors away while operating a power tool. Distractions
can cause you to lose control.
3. ELECTRICAL SAFETY
Double insulated tools are equipped with a polarized plug (one blade is wider than the
a polarized outlet. Do not change the plug in any way. Double insulation eliminates the
need for the three wire grounded power cord and grounded power supply system.
Avoid body contact with grounded surfaces, such as pipes, radiators, ranges and
refrigerators. There is an increased risk of electric shock if your body is grounded.
Do not expose power tools to rain or wet conditions. Water entering a power tool will
increase the risk of electric shock.
Do not abuse the cord. Never use the cord to carry the tools or pull the plug from an
outlet. Keep cord away from heat, oil, sharp edges or moving parts. Replace damaged
cords immediately. Damaged cords increase the risk of electric shock.
When operating a power tool outside, use an outdoor extension cord marked “W-A”or
“W”. These cords are rated for outdoor use and reduce the risk of electric shock.
4. PERSONAL SAFETY
Stay alert, watch what you are doing and use common sense when operating a
medication. A moment of inattention while operating power tools may result in serious

3
IMPORTANT SAFETYINSTRUCTIONS
personal injury.
Dress properly. Do not wear loose clothing or jewelry. Tie up long hair. Keep your hair,
clothing and gloves away from moving parts. Loose clothes, jewelry or long hair can
be caught in moving parts.
Remove adjusting keys or switches before turning the tools on. A wrench or a key that
is left attached to a rotating part of the tools may result in personal injury.
balance enable better control of the tools in unexpected situation.
Use safety equipment. Always wear eye protection. Dust mask, Anti-skip safety shoes,
hard hat or hearing protection must be used in appropriate conditions.
5. TOOL USE AND CARE
Use clamps or other practical way to secure and support the workpiece to a stable
platform. Holding the work by hand or against your body is unstable and may lead to
loss of control.
Do not force tool. Use the correct tools for your application. The correct tools will do
the job better and safer at the rate for which it is designed.
with the switch is dangerous and must be repaired.
Disconnect the plug from the power source before making any adjustments, changing
accessories or storing the tool. Such preventive safety measures reduce the risk of
starting the tools accidentally.
Store idle tools out of reach of children and other untrained persons. Tools are
dangerous in the hands of untrained users.
with sharp cutting edges are less likely to bind and are easier to control.
Check for misalignment or binding of moving parts, breakage of parts and any other
before using. Many accidents are caused by poorly maintained tools.
Only use accessories recommended by the manufacturer for your model. Accessories
that may be suitable for one tool, may become hazardous when used on another tool.
6. SERVICE

4
When servicing a tool, use only identical replacement parts. Follow instructions in
the maintenance section of the manual. Use of unauthorized parts or failure to follow
maintenance instructions may create a risk of electric shock or injury.
7. HOLD TOOL BY INSULATED GRIPPING SURFACES WHEN PERFORMING AN
OPERATION WHERE THE CUTTING TOOL MAY CONTACT HIDDEN WIRING OR ITS
OWN CORD. CONTACT WITH A “LIVE” WIRE WILL MAKE EXPOSED METAL PARTS
OF THE TOOL “LIVE” AND SHOCK THE OPERATOR.
8.ENSURE THE EXTENSION CORD YOU USE IS OF SUFFICIENT GAUGE FOR ITS
LENGTH.
Amps from Tool
Nameplate
Recommended Minimum Wire Gauge for Extension Cords
5.1-8 amps
8.1-12 amps
12.1-15 amps
16 ga. 16 ga. 16 ga. 14 ga. 12 ga. 12 ga.
9. STAY ALERT.
tired.
DANGER! Keep hands away from cutting area and blade. Keep your second hand on
cut by the blade. Keep your body positioned to either side of the saw blade, but not
in line with the saw blade. Kickback could cause the saw to jump backwards. (See
Kickback.) Do not reach underneath the work. The guard can not protect you from the
blade below the work.
Check lower guard for proper closing before each use. Do not operate saw if lower
guard does not move freely and close instantly. Never clamp or tie the lower guard
the power to the saw disconnected, raise the lower guard with the Retracting Handle
and make sure it moves freely and does not touch the blade or any other part, in all
SAFETY PRECAUTIONSFOR CIRCULAR SAW
IMPORTANT SAFETYINSTRUCTIONS

5
angles and depths of cut.
spring are not operating properly, they must be serviced before use. Lower guard may
operate sluggishly due to damaged parts, gummy deposits, or a buildup of debris.
and “Compound Cuts.” Raise lower guard by Retracting Handle. As soon as blade
enters the material, lower guard must be released. For all other sawing, the lower
guard should operate automatically.
Always observe that the lower guard is covering the blade before placing saw down on
cutting whatever is in its path. Be aware of the time it takes for the blade to stop after
switch is released.
the work properly to minimize body exposure, blade binding, or loss of control. Use
vises, clamps, or other appropriate supports to securely hold the workpiece.
When ripping always use a rip fence or straight edge guide. This improves the
accuracy of cut and reduces the chance of blade binding.
Always use blades with correct size and shape (diamond vs. round) and arbor holes.
Blades that do not match the mounting hardware of the saw will run eccentrically,
causing loss of control.
Never use damaged or incorrect blade washers or bolts. The blade washers and
bolt were specially designed for your saw, for optimum performance and safety of
operation.
pinched, bound, or misaligned saw blade, causing an uncontrolled saw to lift up and
out of the workpiece toward the operator. When the blade is pinched or bound tightly
by the kerf closing down, the blade stalls and the motor reaction drives the unit rapidly
teeth at the back edge of the blade can dig into the top surface of the wood causing
the blade to climb out of the kerf and jump back toward the operator. Kickback is the
•
you to resist kickback forces. Kickback forces can be controlled by the operator, if
SAFETY PRECAUTIONSFOR CIRCULAR SAW

6
proper precautions are taken.
• When blade is binding, or when interrupting a cut for any reason, release the trigger
and hold the saw motionless in the material until the blade comes to a complete
stop. Never attempt to remove the saw from the work or pull the saw backward
actions to eliminate the cause of blade binding.
• When restarting a saw in the workpiece, center the saw blade in the kerf and check
or kickback from the work piece as the saw is restarted.
• Support large panels to minimize the risk of blade pinching and kickback. Large
panels tend to sag under their own weight. Supports must be placed under the
panel on both sides, near the line of cut and near the edge of the panel.
• Do not use dull or damaged blade. Unsharpened or improperly set blades produce
narrow kerf causing excessive friction, blade binding, and kickback.
• Blade depth and bevel adjusting locking levers must be tight and secure before
kickback.
•
areas. The protruding blade may cut objects that can cause kickback.
using the Circular Saw. Using personal safety devices reduce the risk for injury.
Always connect the Line Cord to a Ground protected electrical outlet.
product. Electromagnetic fields in close proximity to a heart pacemaker could
• Avoid operating power tools alone.
•
•
is also a good precaution. This inexpensive device is a good safety measure
because it prevents a sustained electrical shock.
•
SAFETY PRECAUTIONSFOR CIRCULAR SAW

properly grounded. Do not modify the power cord plug provided with the tool or
product. Never remove the grounding prong from the plug. Do not use the tool
Circular Saw
Includes:
1 saw blade
1 cutting guide
1 wrench
SPECIFICATIONS
SAFETY PRECAUTIONSFOR CIRCULAR SAW

8
1. Switch trigger
2. Soft grip
3. Dust outlet
4. Spanner for blade guard
5. Blade guard
6. Base plate
Installing a Saw Blade
NO. OF TEETH
Fine Trim Molding
Trim, Framing.
Decking
Combination,
multi-purpose
Smooth, fast cut
Aluminum Non-ferrous metal cutting ······
Unplug the Circular Saw Line Cord from the electrical outlet.
Raise the Blade Guard as far as possible. See the picture below.
Blade Guard
Blade Cover
Hex Screw
Hold the Blade Guard up and press the Spindle Lock Button with one hand. Rotate
the Saw Blade until the Spindle Lock catches and the blade stops.
Using the supplied Saw Blade wrench in the other hand, loosen Counter-clockwise the
Clean out Blade Cover of any debris.
FUNCTIONAL DESCRIPTION
OPERATING PROCEDURES

the saw blade should be pointing toward the back of the Circular Saw.
using the wrench with the other hand.
Adjusting the Saw Prior to Cutting
CAUTION: Always make sure the Power Cord is unplugged from its electrical
outlet prior to making any adjustments to the tool.
the lock valve to lock the base plate after confirming the angle.(Fig.A)
To adjust the depth of the cut, loosen depth lever and move base plate down (or up)
while observing the amount of saw blade exposed under base plate. Tighten the depth
lever to lock in new depth setting. (Fig. B)
OPERATING PROCEDURES
Push down
Lock Valve for
angle adjustment

Prepare Material Before Cutting (Fig. C)
Support large panels to minimize risk of blade pinching and saw kickback.
Use the supplied guide fence when ripping material by sliding it into the base plate,
and tightening screw.
Securely clamp material to be cut to work bench.
Be cautious that Circular Saw does not cut into supports or workbench.
Use the appropriate type of blade for the material you are cutting.
General Cutting
Caution: Verify that Saw Blade is securely tightened and both angle and
height adjusting nuts and levers are tight. Read and understand all safety
precautions listed on this instruction manual.
tighten with screw (65), or clamp a straight edge to the material to guide the saw on
cut. Align the front notch (right edge aligns with saw blade) on the cut line.
saw blade.
With the saw at full speed, move the saw slowly forward to complete the cut.
When the cut is completed, release the switch trigger. Do not set the saw down until
the blade stops turning.
Pocket Cuts
Tilt the saw forward with the cutting guide notch of the base plate on the line drawn for
OPERATING PROCEDURES

11
the cut.
Raise the blade guard with the blade guard lever.
With the saw blade just above the material to be cut, start the saw and allow the saw
blade to come to full speed.
Gradually lower the saw blade onto the stock using the front end of the base plate as
a pivot point.
When the cutting begins, release the blade guard.
direction to the end of the cut.
When the cut is completed, release the switch trigger and wait for the saw blade to
come to a stop before lifting the saw out of the cut.
described above.
Caution: Never pull the saw backwards since the saw blade will climb out of the
cut and kickback will occur.
the tool is unplugged from its electrical outlet, before performing any inspection,
maintenance, or cleaning procedures.
Before each use, inspect the general condition of the circular saw. Check for loose
screws, misalignment or binding of moving parts, cracked or broken parts, damaged
abnormal noise or vibration occurs, have the problem corrected before further use.
Before remounting the saw blade, remove all sawdust that has accumulated around
MAINTENANCE
OPERATING PROCEDURES

12
the safety guard.
Regularly inspect and tighten all mounting screws and knobs.
Keep saw blade clean and sharp. Sharp blades minimize stalling and kickback.
Keep guards in good working order.
Keep motor air vent clean of dust and debris. Clean periodically.
using it immediately and get it repaired.
Clean tool with a damp cloth and light detergent. Do not use solvents as they can
damage and crack the plastic parts.
Replacing the Carbon Brushes
Unscrew the Carbon Brush Covers.
worn more than half way down, replace them. Sometimes they are just dirty. They can be
cleaned using an ink eraser.
Replace the carbon brushes and covers.
Symptom Possible Cause Remedy
Saw does not start when trigger
is pulled.
1. No power to line cord. 1. Check electrical
outlet for power.
2. Switch Lock Button not
pushed in while pulling while pulling
trigger.
3. Defective switch. 3. Replace switch.
4. Carbon brushes dirty or
worn down.
4. Clean or
replace carbon
brushes.
While cutting, saw slows down. Carbon brushes dirty or
worn down.
Clean or replace
carbon brushes.
Saw blade slips while cutting. Hex Screw (42) loose. Securely tighten
Hex Screw (42)
not open easily.
Debris buildup in the Blade
Cover(11).
Remove Saw
Blade and clean
out Blade Cover
(11).
Wood burns or smokes while
being cut. Saw Blade dull.
Sharpen or
replace Saw
Blade,
TROUBLESHOOTING
MAINTENANCE

13
PARTS LIST

14
SCHEMATIC DRAWING

Table of contents


