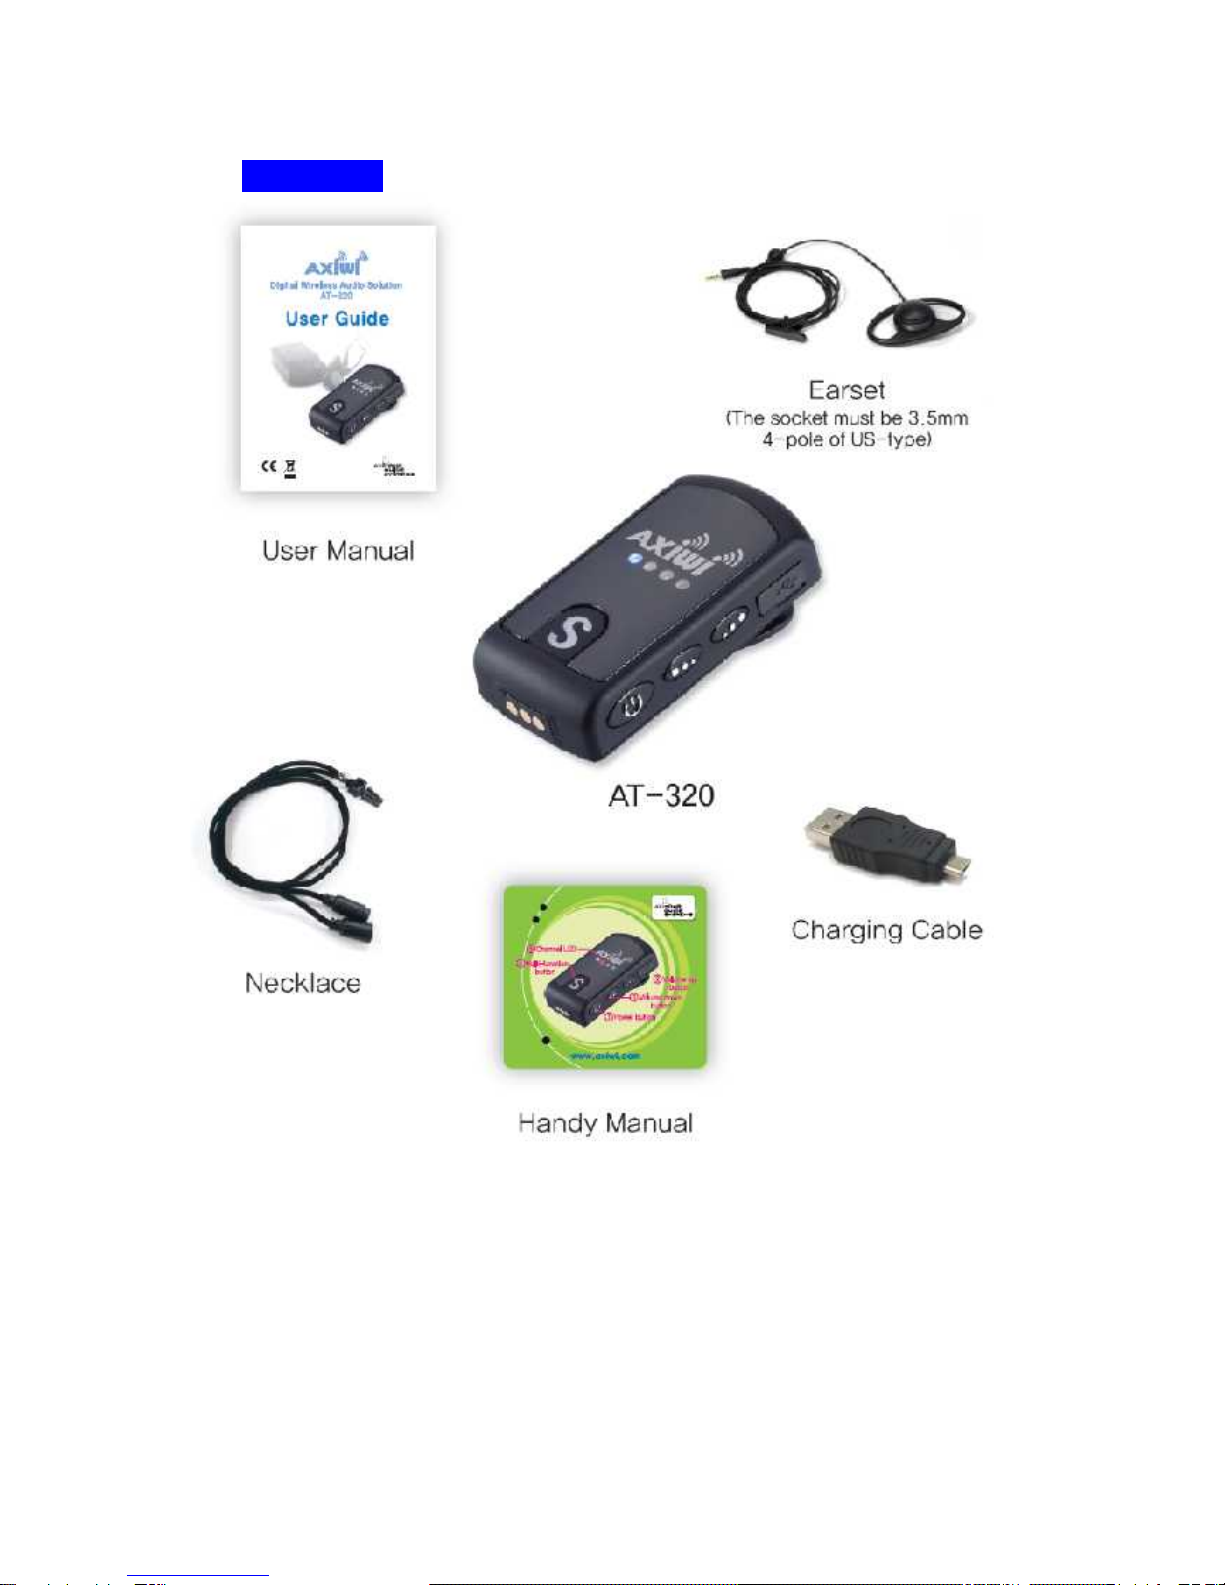
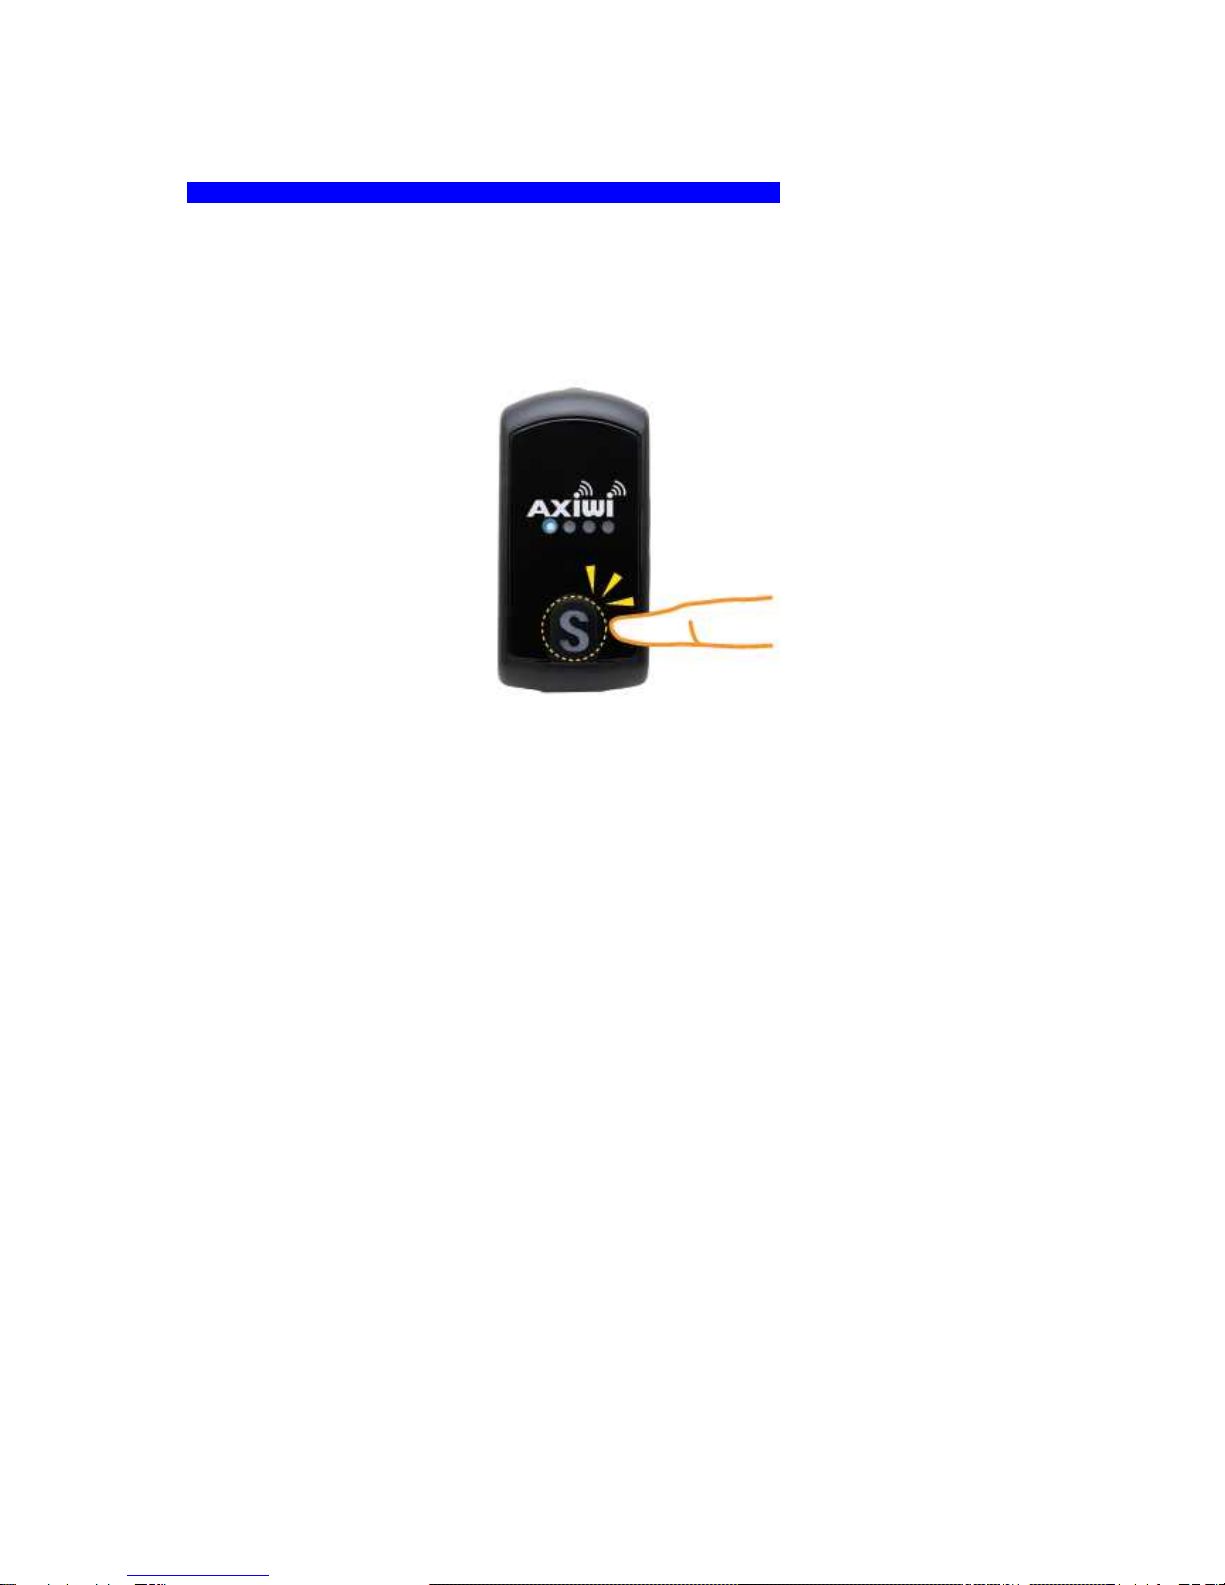
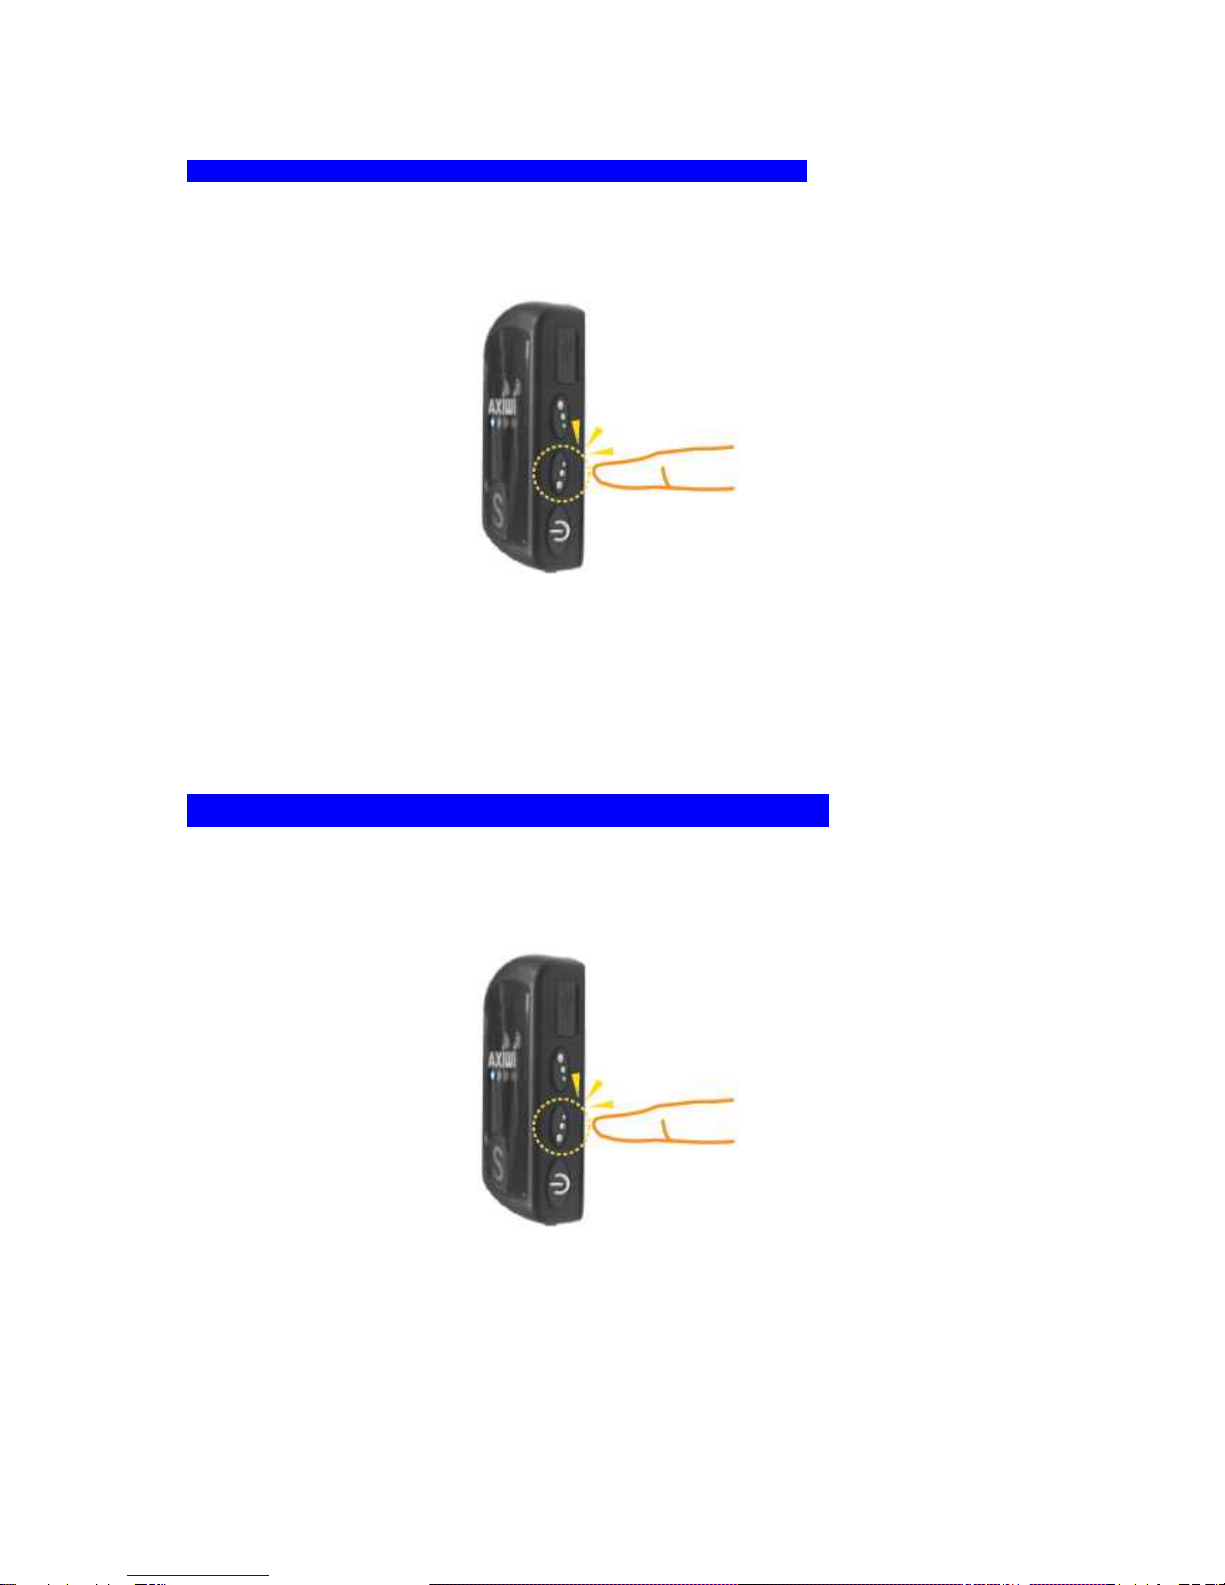
AXIWI AT-320 User manual

AXIWI
Digital Wireless Audio System
AXIWI AT-320
User Guide

Safety Precautions
Observe the following precautions to ensure user safety
and proper use of the device.
●Avoid exposing the AXIWI AT-320 to dramatic changes in temperature
or humidity. Otherwise, you may risk distortion of the product
exterior or product malfunction.
●Listening to sound at high volumes may damage your hearing.
Background noise, as well as continued exposure to high volume
levels, can make sounds seem quieter than they actually are.
Turn on the audio and check the volume before inserting anything
in your ear.
●You should also pay attention to how long you listen to audio at
high volume. The louder the volume, the less time required before
your hearing may be affected. If you experience ringing in your
ears or hear muffled speech, stop listening and have your hearing
checked.
●This device is designed for short-distance communication.
Use the device only in countries where the use of 2.4GHz
bandwidth is permitted.
●Ensure that the device’s battery charging terminal does not
come in contact with an electrically charged object.
●Do not disassemble the device.
●Ensure the battery of the device is sufficiently charged before use.
-1-

Index to Product Content:
-2-

How to Turn On/Off; Master/transmitter mode:
Turning On
1. Press the power button for about 2-3 seconds whilst pressing the volume up button.
2. When the device is booted in“master mode”, the LED light remains lit continuously.
Turning Off
1. Press the power button for about 2-3 seconds.
2. The device is turned off when all LED lights are off.
-3-

How to Turn On/Off; Slave/receiver mode:
Turning On:
1. Press the power button for about 2-3 seconds.
2. When the device is booted in “slave mode”, the LED light will blink
and will continue to do so during the time the device is turned on.
.
Turning Off:
1. Press the power button for about 2-3 seconds.
2. The device is turned off when all LED lights are off.
-4-

How to change Channels:
The AXIWI AT-320 can operate on 4 different channels or frequencies. To change channel press the
S-button on the front side while pressing the volume up button.
The channel LEDs will light up in turn by the order of channels.
((Blue -> Orange -> Red -> Green -> back to Blue -> etc.)
* Channel Memory Function:
When you turn off the device and turn it on again, the device will remember
what channel was used before it was switched off.
-5-

Slave Mode - How to request the“permission to speak”:
1. On the device which currently is in slave mode briefly press the S-button on the front side.
2. All LED lights will light up and a beep can be heard through the headset off all devices tuned into
the current channel.
3. The device is now in speak mode, allowing everyone tuned into the channel to hear the temporary
speaker.
* This function is to allow slave mode units to request the permission to speak. Permission is given on
the first come first serve basis and maximum two slave mode units can get the permissions
simultaneously.
Alternative software options are available to change the behavior of the permission to speak function.
Please contact your supplier for more information on the available options.
-6-

Slave Mode - How to cancel the permission to speak:
1. Briefly press the S-button on the front side of the slave device currently in permission to speak
mode
2. A beep will sound and the four lit LED lights will return to a single blinking LED light.
* This function is to allow a slave mode device to cancel its permission to speak by the user
himself/herself. When in normal “listening mode”, only one LED for the specific channel on the unit
will be blinking, instead of four lit LEDs.
-7-

Master Mode –How to cancel the permission to speak for units in slave mode:
1. Press the S-button on the front side of the “master mode”unit to cancel ALL the permissions to
speak granted to “slave mode”units.
2. When the permissions are cancelled successfully, you can hear two beeping sounds.
* Automatic cancellation of the permission to speak mode: When the distance between the master
mode unit and the slave mode unit gets too long and communication between the two units becomes
impossible, the permission to speak for the slave mode unit is automatically cancelled.
-8-

Master Mode –How to cut off the permission to speak function for all slave units:
1. Press and hold the volume down button for about 3-5 seconds on the master mode unit.
2. When the cut-off is made you can hear two beeping sounds through the headset of the master
mode unit.
The cut-off function is to allow the master mode unit to cut off the permission to speak mode from ALL
slave units. When active none of the slave units on the current channel can use the permission to
speak function.
Master Mode - How to release the cut-off of the permission to speak function:
1. Press and hold the volume down button for about 3-5 seconds on the master mode unit.
2. When the cut-off is released you can hear one beeping sound through the headset of the master
unit.
The user with the “Master” unit can switch off the Speak function of all slave units for a short moment.
If so, all slave units are being switched to the same channel, but this is not being communicated. All
units in “Slave” modus cannot use their speak function.
-9-

Master Mode - Muting/unmuting the master unit:
1. To mute the master unit, press and hold the S-button for 3-5 seconds.
2. When successful the LED lights of the channels currently not in use will come on a rotational basis.
3. To unmute, again press and hold the S-button for 3-5 seconds. When only the main channel LED is
on, the master unit is in normal speak mode again.
.
-10-

How to Control the Volume:
Volume up:
1. Briefly press the volume up button.
2. When the volume is at its maximum level you will hear a beeping
sound.
.
Volume Down:
1. Briefly press the volume down button.
2. When the volume is at its minimum level you will hear a
beeping sound.
Charging status display:
Status
LED-Kleur
Charging in progress
Red
Charging completed
Green
-11-

When a malfunction is suspected
Symptoms
Actions to be taken
The battery time is
shorter than the one
set forth in the user
manual.
●If the device is left unattended while being exposed to low or high
ambient temperatures, the battery life can be shortened.
●Batteries are consumable products. Battery time will decreases
gradually. If this occurs within the normal warranty period please
contact your supplier.
The device does not
switch on
●Check if the battery is charged.
●If the symptom persists after charging, contact our
service center.
Interruptions occur
during communication or
while listening.
●This symptom may occur if the battery is running out. Charge the
unit.
●This symptom may also occur when the device goes out of its
communication range or if wireless connection is lost due to an
obstacle. Try to have the slave unit closer to the master unit.
There is too much
static on the line
during communication.
●The range of operation for this device is about 150m for outdoor
use. Indoor range will depend on obstacles such as walls, between
master unit and slave unit.
If the device goes out of range, noise may be created.
I cannot acquire
Permission to
speak.
●Check the whether the Master allowed is not in “cut off”mode,
see section 8.
●If two slave units have already acquired permission to speak, one
has to cancel their permission to speak mode before
someone else to enter the channel, see section 7
●Check if there is another unit in master mode nearby that uses
the same channel.
Either microphone
doesn’t work well
or earpiece
doesn’t operate
well at close
distance.
●You should only use an earpiece of US-type.
If you put European earpiece into the product,
It does n’t properly work well.
DE
-12-

Dimension and Features
Bandwidth used
2.402~2.483[GHz]
Range of operation
●Indoor use: ~ 30[m] (L.O.S.)
●Outdoor use: ~ 150[m] (L.O.S.)
Data transmission speed
Max. 1[Mbps]
Battery time
●Max. 8[hours] (Master mode)
●Max. 12[hours] (Slave mode)
Battery charging time
2[hours]
Battery type
Lithium polymer battery
Power requirement
5V DC –800mA
Weight
39g
Wireless communication technology
PicoCast
Dimension (W x H x D)
65 x 32 x 22mm
※The range of operation and headset service time is subject to change
according to the user’s operating method and service environment.
Product Certification:
This device complies with Part 15 of the FCC Rules. Operation is subject to the following
two conditions: (1) this device may not cause harmful interference, and (2) this device must accept
any interference received, including interference that may cause undesired operation.
- 13 -

Warranty Card
Model Name
AXIWI
AT-320
Product
Name
AXIWI AT-320
Date of Purchase
DD/MM/YY
W
a
r
r
a
n
t
y
P
e
ri
o
d
2
4
m
o
n
t
h
s
P
u
r
c
h
a
s
e
r
Name
Phone
Number
Addre
ss
Purchasing Place
Warranty Period (for free repair service)
1) 24 months from the date of purchase
2) Our limited product warranty period applies to the following products.
Other accessories and consumables are eligible for replacement or refund within a period of two
weeks from the date of receipt.
①AXIWI AT-320 ②AXIWI CR-001 ③AXIWI AT-110 ④AXIWI CR-003
3) Exceptions
Even during the warranty period, the following may be subject to
predetermined repair charge or unavoidable paid replacement.
Product malfunction caused by user mistake or negligence during product use.
②Product malfunction caused by disassembly or modification of the product by the user.
③Product damage or malfunction caused by a shock.
④Corrosion caused by flooding or contamination by foreign substances.
⑤Product malfunction caused by contact with a device not provided by our company.
⑥Unidentifiable product number because of damaged label.
⑦Product malfunction caused by a natural disaster
⑧Other cases where there is a recognizable user fault.
-14-

Rules for Product Replacement
The product may be eligible for replacement if
1) In case the product to be repaired is found to be different from the purchased one;
2) In case the product to be repaired is found to be damaged;
3) In case the same malfunction occurs after three repairs for the same symptom (within the warranty
period);
4) In case a malfunction occurs after four repairs for different type of malfunctions;
5) In case the product to be repaired is lost.
Rules for Refunds
1) In case the product to be repaired is found to be different from the purchased one.
2) A material product defect is found during product use within 10 days from the date of purchase.
3) Refunds can be made only at the place of purchase. Please call the place where you purchased
the product for refund.
4) You will not be eligible for refund if you don’t have the receipt or the product warranty card as proof
of purchase.
Cautions
1) Product return will not be processed if you find the product value to be significantly lower than that
of a newer model after opening the product package.
2) Please note that in the absence of an accurate checking of product
specification at your end, you will be responsible for the problems
in product usage.
Main office :
Axitour B.V.
Riga 3
2993 LW BARENDRECHT
The Netherlands
Tel: +31 180 691 400
www. axitour.com / www. axiwi.com
Axitour Scandinavia
Furuveien 5C
1450 Nesoddtangen
Norway
T +47 4634 4505
AXIWI® is a registered trademark of Axitour B.V.
- 15 -
Other manuals for AT-320
2
Other AXIWI Stereo System manuals
Popular Stereo System manuals by other brands

Yamaha
Yamaha GX-70 owner's manual

Sony
Sony GigaJuke NAS-E35HD operating instructions

Sonus Faber
Sonus Faber Homage Vox owner's manual

TE Connectivity
TE Connectivity AMP NETCONNECT A-BUS Multi-Room Audio System instruction sheet

Toshiba
Toshiba TY-ASW8000 Operation manual

Philips
Philips FW 535C Instructions for use