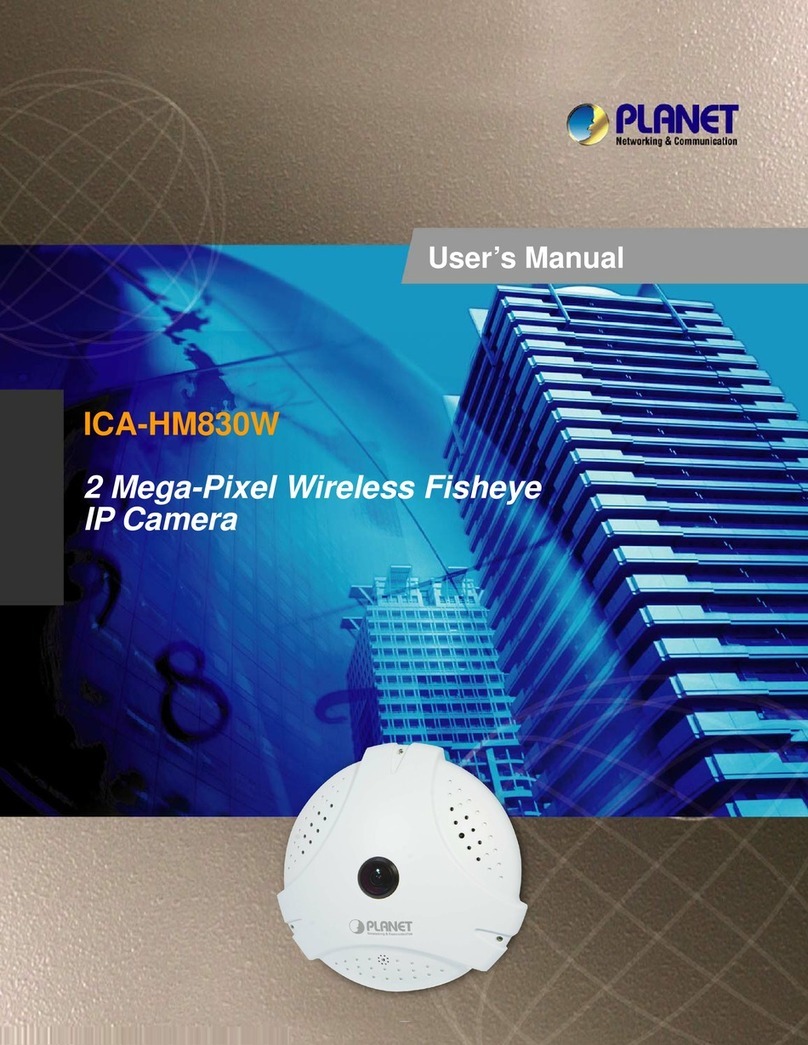
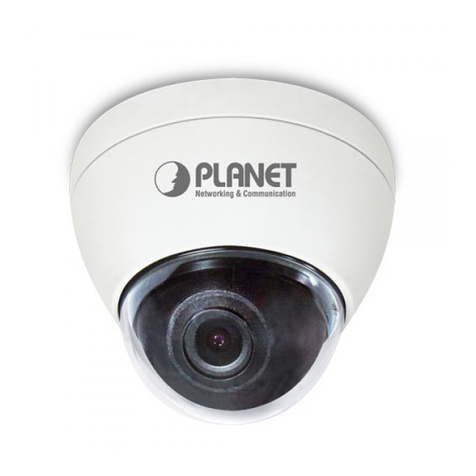
BEETEL CC2 User manual

User's Manual
CC2
Wireless Cloud Camera
Note: Due to the continuous updating of the product and
software, there may be a discrepancy between the operating
guide and the APP interface. All the instructions are subject to
the actual operation interface.

Dear Customer,
Thank you for making the choice to purchase Cloud Camera
Model: CC2. We are sure that you will love everything that this fantastic security
has to offer from the ease of setup and use to all the fantastic features it offers. In
this manual we'll cover everything you need to know about the camera, including
how to set it up, how to download apps from your smart phone and how to control
all of the aspects of the camera right through website.
To get the maximum use from your new product, we suggest that you read this
manual carefully before operating it.
For any clarification or assistance, kindly contact us at the address given below;
Customer Support Division:
Email: customer[email protected]
Toll Free No: 1800 - 10 – 23456
For proper Recycling and disposal of this product carry it to the
nearest collection point or call the Toll Free Number 1800-102-8632.
For more details please refer the URL to visit our website
http://www.brightstarcorp.in/beetel/aboutus/sustainability.html
Let's get started so you can get your camera set up and running to provide you
with that added measure of security you need for peace of mind.
What is Cloud Camera?
The Cloud Camera offers users several functions that help to make it an ideal
solution to those looking for added security and peace of mind in both home and
office settings. Lets examine some of the biggest benefits you will find now that
you have chosen to use this security camera.
INTRODUCTION
2

Traditional IP cameras tends to be difficult to install and use. The Cloud Camera
does not have this issue. It is relatively simple to set up and use, as you will see
through the course of this manual. It is a plug & play system with multiple
additional features.
In addition, it offers:
Remote monitoring for real time control from anywhere
Panoramic navigation
Support HD video
Motion detection function
Capture and store video and images
Zoom in to get a better view of a specific area
Communicate with people or pets in the viewing area
Users will be able to control and use their camera through their mobile phones
based on iOS and/or Android platform. We will cover this in the manual how to
use them.
CONTENTS IN RETAIL PACKAGE
Cloud Camera - 1 No.
AC/DC Power Adaptor - 1 No.
USB Cable - 1 No.
Plastic Bracket Assembly - 1 No.
User Manual - 1 No.
3

1. Read and understand all instructions for best performance of the product.
2. Do not expose the product in the sun for long time.
3. The product should be placed in cool, dry, ventilated, non-toxic place and not
near to the computer, TV, refrigerator, bathroom etc.
4. Avoid using this unit and adaptor during an electrical storm, move or
disconnect the unit, there may be a remote risk of electronic shock from
lightning and thunder.
5. Adaptor shall be installed near the equipment and shall be easily accessible.
6. For the best results operating temperature should be between -10°C ~ +
45°C.
7. The adaptor is used as power switch.
8. The operating frequency range is between 2412MHz ~ 2472MHz.
9. It is recommended to insert an eject the SD card to the camera device only
after power off the device otherwise the SD card or device may be damaged.
10. Use the power adaptor that comes along with product. Using other make
adaptor may deteriorate the performance or damage your product.
11. It is recommended to set the Language as English and Time zone as
GMT+5:30 for proper functioning of features.
THINGS TO BE TAKEN CARE OF
While Using your equipment, the following basic safety precautions should
always be followed to reduce the risk of fire, electric shock and injury to persons
and proper utilization of camera features.
4

FEATURE LAYOUT
Camera Lens
Microphone
SD Card Slot
Loudspeaker
Infrared Light
Indicator Light
RESET Button
Antenna
Power Port
Ethernet Port
5

WALL MOUNT INSTALLATION DEVICE
The installation wall should be have a certain thickness and bear at least three
times of the weight of the device.
1. Install the base
Select clean and flat wall. Make the mark of base toward the user and then
use the screw to fix the base on the selected position
2. Install the main body
Install the main body of the device on the base and rotate it clockwise for
about 90º
3. Connect wires
Connect the power line of the device. After completing the equipment
startup.
6

ADD CAMERA TO ACCOUNT
a. Plug in device, open the APP, select the country name, register an account
by entering the active email ID, obtain the Code from your mail and signup,
create the password and log in.
INSTALL “IPC360” APP
a. Scan ‘IPC360' APP QR code from User Manual or Giftbox.
b. Download ‘IPC360' APP from APP Store (iOS) or Play Store (Android).
7

8

9

b. Click on ‘+’ in top right corner, select the camera icon to enter the network
connection interface
10

11

SELECT THE NETWORK CONNECTION
a. Wi-Fi connection (wireless mode)
Click the Wireless Mode option and press the RESET button on the camera
to enter the Wi-Fi configuration mode. Connect your phone with desired Wi-
Fi, Input the Wi-Fi password and press next, the connection should be
successful. Enter the desired name to your Camera.
12

13

14

Note:
1. Press the RESET key, hold for 5-10 seconds to reset the camera settings.
2. If the Wi-Fi configuration fails, try the ethernet connection.
3. Please ensure to connect your phone mobile phone with same Wi-Fi network which you
wants to use for your camera
b. Ethernet connection (wire mode)
Click the Wire Mode option and connect the network cable, connect your
phone with desired Wi-Fi, Input the Wi-Fi password and press next to search
the camera device MAC ID, click on the searched MAC ID, the connection
should be successful. Enter the desired name to your Camera.
15

16

Note:
1. Make sure the Camera and mobile phone should be connected in same Wi-Fi network /
router during configuration.
Now the camera will start configuration of Panoramic Navigation View, once
complete the downloading of all 15 grids of panoramic navigation picture, the
camera is ready to use.
17

18

19

VIDEO RECORDING AND SD CARD SETUP
Step 1: Enter the Camera setting screen
Step 2: S elect the Video Storage location as “Micro SD Card”
Step 3: Select Timer Recording option to select the desired setting
Step 4: Press OK after selection and go back to camera view/home screen.
20
Table of contents
