Besue VR-008 User manual

Multifunction Voice Recorder
*Please Read This Manual Carefully Before Using*

Letter of Thanks
Dear Customer,
Thanks for purchasing Besue VR-008 digital voice recorder,
we sincerely hope it’s helpful for your study and job.
We keep trying our best to provide our dear customer
qualified products as well as practical after-sales service, but
we also have to admit we are far from perfect.
For ANY problem you may meet from the FIRST DAY you
have the product in hand, it would be really appreciated if
costou can be considered as your first choice for
trouble-shooting through friendly communication by send
detail description on www.costou.com
Your encouragement and understanding are always our
incentive for keep moving forward!
www.costou.com

Important Information
To provide practical after-sales service, we highly
recommend you take 1 minute to simply register your order
in our after-sales service system the first day you got the
product on www.costou.com (through Support---Product
Registration) for:
90 Days Free Return related to any quality issue
1-Year Warranty related to any quality issue
Professional technical support for lifetime
Please DO NOT give up your right and just let us be able to
provide the service smoothly.

Content
Specification Parameters………………..….….1
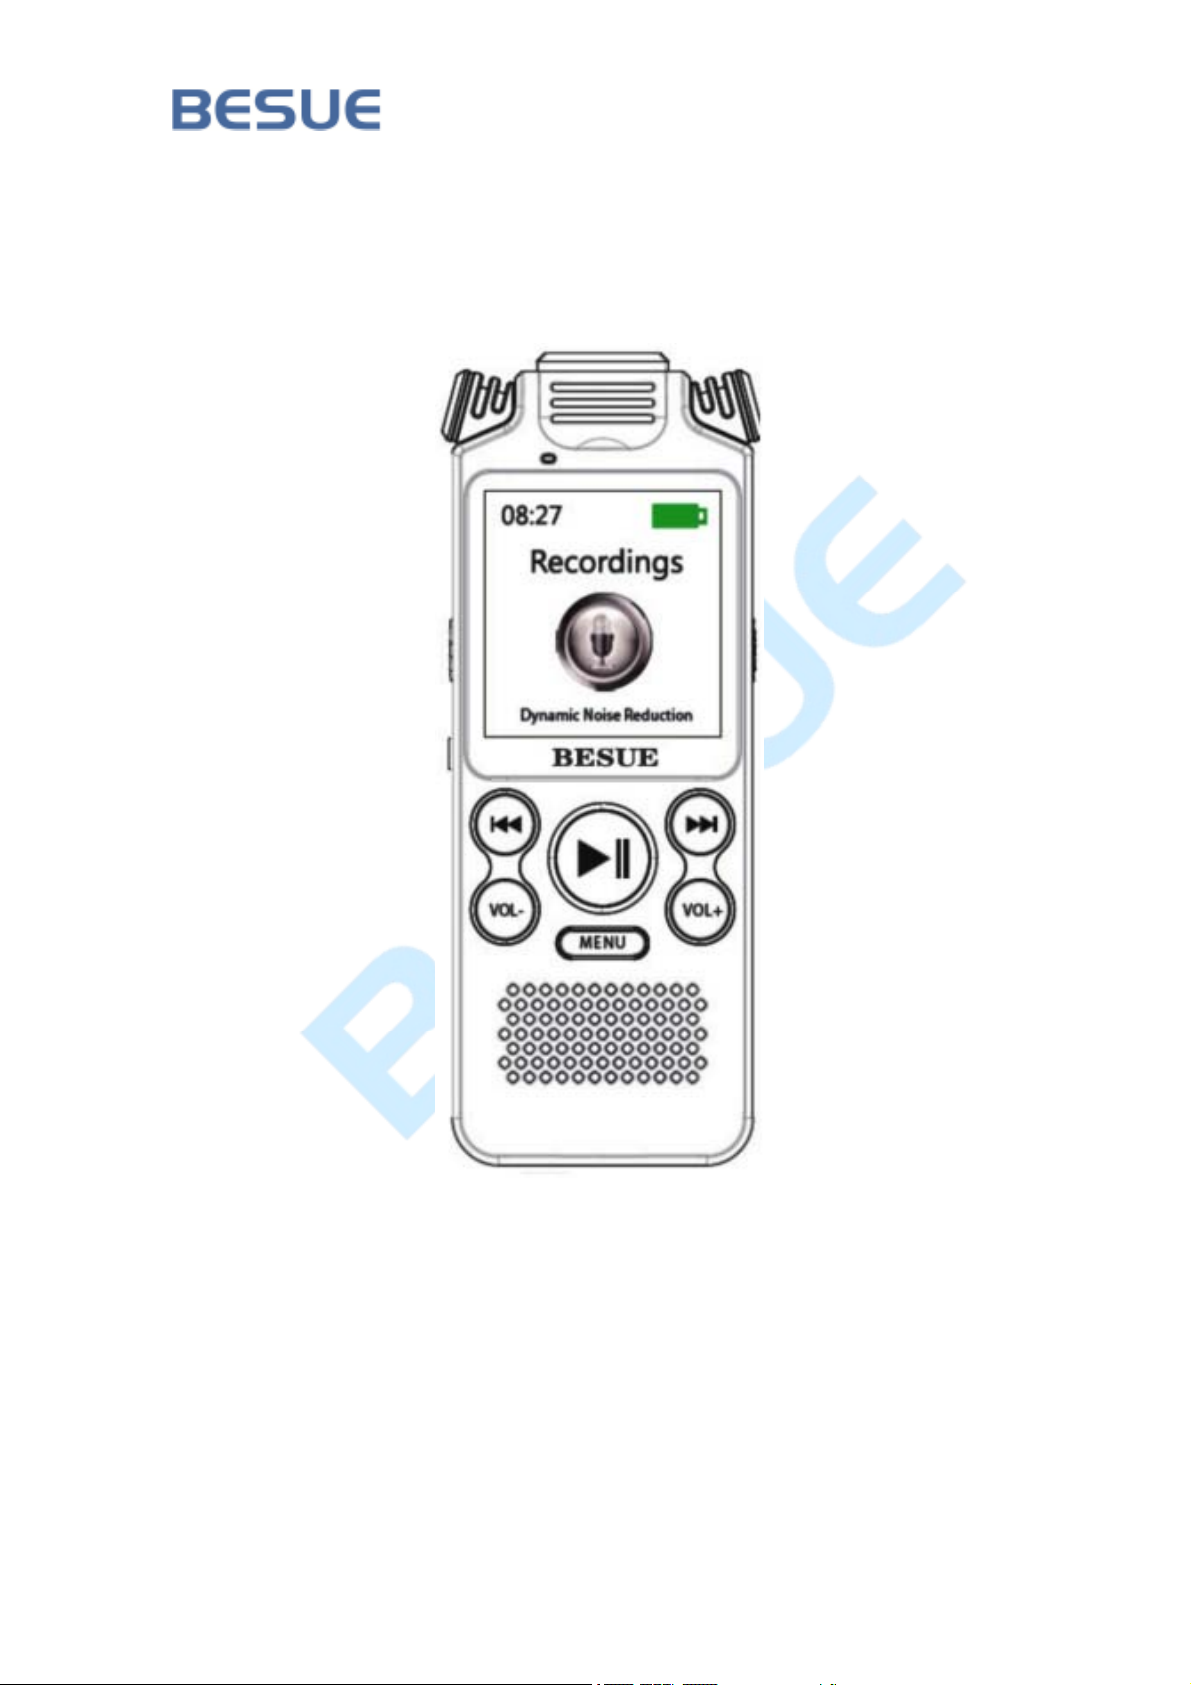
Appearance……………………………..……...2
Basic Operation…………………………..……3
Power ON/OFF…………………………….3
Recording/Saving…………………………..4
Recording Settings……………………..…..5
Auto Recording…………………………….8
A-B Repeating……………………………...9
Delete Music/Recording File……………….9
Music/Recording Playing………………......10
System Settings………………………..……….11
Statement……………………………...…..……12

-1-
Specification Parameters
Stora
g
eCa
p
acit
y
16 GB
Stora
g
e Media Embedded Flash Memor
y
Dimensions 4.05in*1.57in*0.47in
Wei
g
ht 80
g
Dis
p
la
y
1.44in TFT
O
p
eratin
g
Tem
p
erature 32-104℉(0-40℃)
WAV Recordin
g
Format MP3 Recordin
g
Format
1536KBPS 22hrs 32 KBPS 1120hrs
1024KBPS 31hrs 64 KBPS 560hrs
768KBPS 64hrs 128KBPS 240hrs
512KBPS 106hrs
Note:
The Operation Duration Time May Slightly Different From Nominal
Value Due To Different Settings, Operations And Environmental
Factors Which Is Normal.

-2-
Appearance
Note:
For Each Button’s Function and Operation Logic Please Refer To
Following Instructions Carefully.

-3-
Basic Operations Logic
Power ON/OFF
1. Power ON
Slide up “Power” button
2. Sleeping Mode
Press and hold " " button 3 seconds during recording or
music to enter standby mode and long press " " again for
wake up.
3. Power OFF
If the recorder will be out of use for a long time, get into
“Sleeping Mode” firstly and Slide down “Power” button to
get a real Power OFF and avoid any file damage.

-4-
Recording/Saving
Step 1- Power On the recorder
Step 2- Slide up “Record/Save” button for recording start.
Step 3- Slide down “Record/Save” button for saving.
Note:
“Record/Save” Button- The Red Color on the right side.
Press “ ” to Pause and “ ” again to Restart recording.

-5-
Recording Settings
Get your personalized recording settings (if default settings
can’t be accepted):
Step 1: Press “MENU” button to main interface and select
“Recordings” with “ ” button.
Step 2:Press“ ” button and then “ ”buttontoselect
“Recording settings” and enter.
Step 3: Set and confirm.
EASY OPERATION LOGIC:
Select:
Confirm:
Back to Previous: MENU

-6-
What’s AVR level?
In AVR recording mode, if there is no sound or very low
sound, the recording will be paused. DO NOT use this AVR
function for important files recording.
What’s bitrate?
There are 512kbps, 768kbps, 1024kbps and 1536kbps for
chosen and different bitrate bring different recording clarity.
Considering this recorder has 16GB memory, we suggest just
keep the default 1536kbps to get a better sound.
What’s AVR level?
The settings of level of noise reduction and AGC level are
effective for dual-core noise reduction recording only; such
functions are not available for normal recording.
What’s recording monitor?
When this function “ON”, slide up “Recording” button and
plug the earphone to hear the recording voice simultaneously.
This function is specially useful in noisy surroundings.

-7-
Note:
1. When you transfer files between recorder and PC/Laptop,
DO NOT disturb the transferring (Pull out cable/Recorder
Power Off/ Laptop Power Off, etc.) until it’s finished,
otherwise there is a risk of file damage or missing.
2. A 3.5mm cable earphone is provided together with our
voice recorder. The recorder doesn’t have blue tooth function
thus blue tooth earphone can’t be used on it.
3. The earphone provided is 3-section connector instead of
4-section to get a more steady sound. Make sure to choose
the same in case a replacement happens.
4. This voice recorder is not water-proof, don’t take it in
swimming.

-8-
Auto Recording
The OPERATION LOGIC is same as above.
Special Note for Time Setting as follows (Take “Auto Record
-- Start Time Setting” for example):
Step 1:Press“ ” button to enter
Step 2:Use“ ”or“ ” button for “Hour” setting and
press “MENU” change to “Minute” setting.
Step 3:Press“ ” to confirm and finish.
EASY OPERATION LOGIC for TIME or Y/M/D:
1. Selection:
2. Change to next setting factor: MENU
3. Confirm and Back:
Note: after setting the Auto recording or Alarm, please
“Power” Off the device or return to the main interface to
effective settings.

-9-
A-B Repeating
A-B repeating function can be used for both music and
recording files to repeat certain section:
Step 1: Play music or recording and press “A-B” repeating
button whenever you want to start.
Step 2: Press again whenever you want to stop.
Step 3: Press “A-B” button again to repeat and press again to
exit repeat mode.
Delete Music/Recording File
In music/recording playing pause status, press and hold
“A-B” repeating button to select and delete.
Note: please RE-CHECK important files before deletion.

-10 -
Music/Recording Playing
Step 1: Power on device and press “ ” button to find the
files you want to play
1.1 Song: In “Music” interface
1.2 Recording files: “Recordings” firstly and
then “Recording file library”.
Step 2:Press“ ”toplay.
EASY OPERATION LOGIC
1. Selection: 2. Start/Pause:
3. Back: MENU 4. Next/Previous: /
5. Fast Forward/Backward: Press& Hold /
6. Volume adjustment: Press VOL- /+ firstly and adjust.
7. Playing mode settings: In the course of Music or
Recording file playing, press and hold “A-B” button to enter
the sub-interface and set the playing mode.
Note: this device has memory function and will continue
playing the file that played before you press “Sleeping”
mode.
Cancel the memory in the “Create a play list” in the music
interface if you want.

-11 -
System Settings
EASY OPERATION LOGIC
1. Selection:
2. Confirm:
3. Back to Previous: MENU
4. Back to main interface directly: Hold “MENU”
Attention:
Please make backup important files before Formatting or
Factory Settings.

-12 -
Statement
1. Please make backup for your important data. We
undertakes no responsibility for any data loss or damage
caused by improper operation, product repairing, battery
replacement or other accidental situation, nor will this
company be liable for any other indirect loss thus caused.
2. It's out of our control if user has any misunderstanding on
this manual. Therefore, this company will not be liable for
any accidental damage that may arise in the use of this
manual or any claim from any third party due to the use of
this product.
WWW.COSTOU.COM
Table of contents