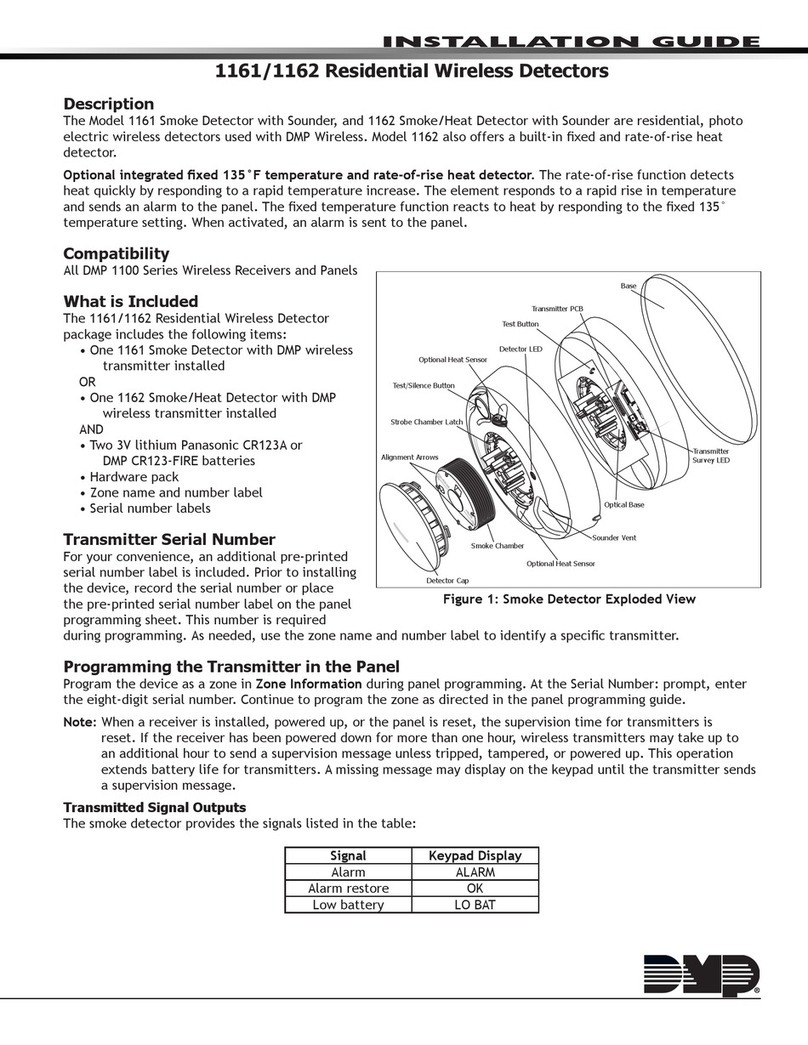
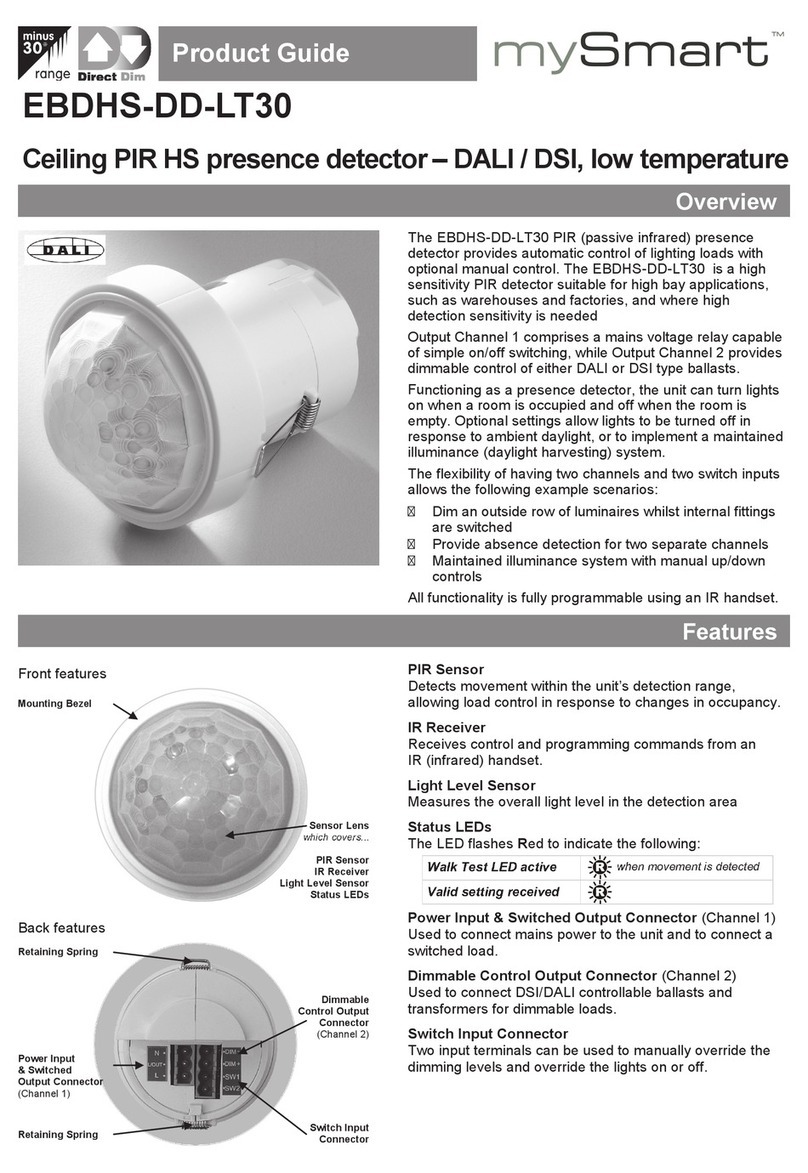
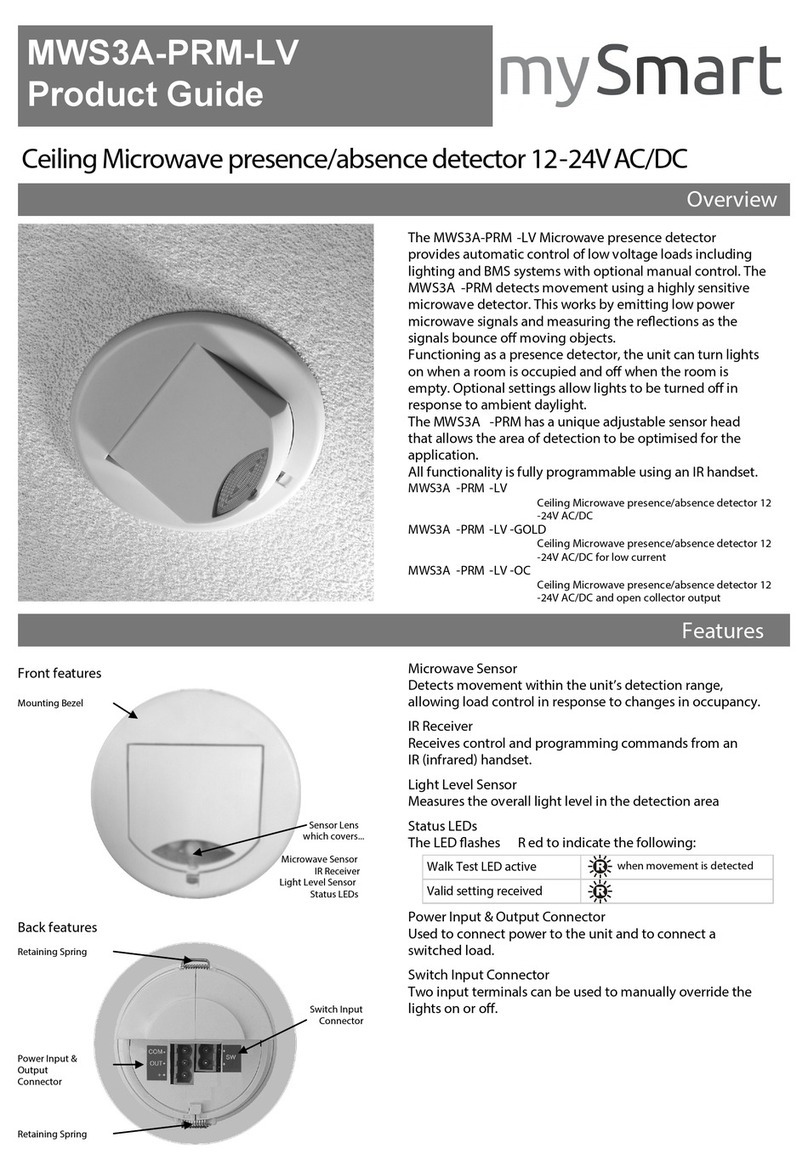
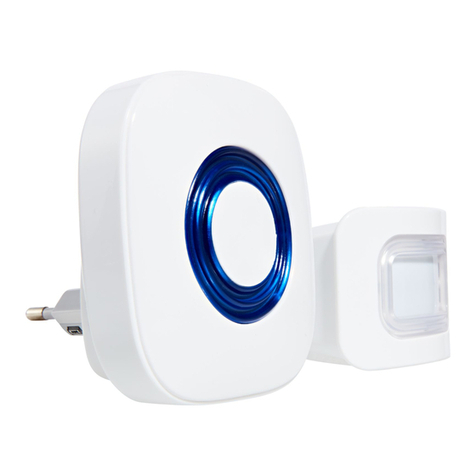
Bevent Rasch RCKD User manual

13/09/2017
www.bevent-rasch.com
RCKD
Duct detector
FIRE SAFETY

2BORÅS Tel +46 (0)33 - 23 67 80 STOCKHOLM Tel +46 (0)8 - 54 55 12 70
Duct detector RCKD
12-0553_ENG / Sept. 2017 teamfront.se
Quick facts
• Smoke detector for installation in ventilation ducts
• Optical detector head
• Indication of a dirty detector head
• 0,6 m aluminium venturi pipe included
Use
Indication of smoke in ventilation ducts.
Design
Detector for installation in ventilation ducts, with optical
detector head, encapsulation and venturi pipe. RCKD
gives indication of a dirty detector head. Power supply is
from the control panel or control unit.
Material
Detector, white PVC with metal netting. Adapter housing
with lid for single tube detector, made of clear ABS.
Aluminum venturi tube.
Function description
The smoke detector has an optical detector head.
It also has an LED with two functions:
• red light indicates a tripped detector
(detector, encapsulation)
• dirty detector is indicated with a green light
(detector) or yellow light (encapsulation)
The detectors must be under continuous observation and
must be cleaned at regular intervals to avoid false alarms.
The detector head is easy to change thanks to its bayonet
fastening to the base. For detection in ventilation ducts,
the detector head is mounted in an adaptor. One venturi
pipe is then installed between the adapter and the duct to
lead ventilation air into the detector head. In this way, the
requirements for good fire protection can be complied with
air speeds of 0.2 to 20 m/s. At lower air speeds, an auxi-
liary fan must be used. A metal reed/plastic strip is fitted
for visual indication of flow through a duct detector.
Installation and location
Detectors are sensitive instruments, so care should be
taken with their location. They should not be located close
to sources of interference. The distance to the source of
interference should be not less than 3 hydraulic diame-
ters upstream or 5 hydraulic diameters downstream from
the source of interference. These distances are difficult to
maintain, so 2 and 3 hydraulic diameters can be accepted
in exceptional cases.
Duct detector RCKD is delivered with a 0,6 m venturi pipe
that can easily be shortened. When the duct is wider than
0,6 m the venturi pipe should go through the whole duct in
accordance to our mounting instructions. This requires a
longer venturi pipe, RBVR.
RBMD installation shelf is used for circular ducts and for
intact insulation of duct.
For location outdoors, in cold attics etc, the duct detector
should be insulated. If the detector is concealed, light box
RBLD should be installed.
Accessories
Installation shelf for duct detector RBMD
Venturi pipe for duct detector RBVR
Light box RBLD

3BORÅS Tel +46 (0)33 - 23 67 80 STOCKHOLM Tel +46 (0)8 - 54 55 12 70
Duct detector RCKD
12-0553_ENG / Sept. 2017 teamfront.se
Duct detector RCKD - 0
NOTE! 0,6 m venturi pipe included.
ACCESSORIES, Duct detector
Installation shelf RBMD
Venturi pipe RBVR - 2 - 0
Length
0,6 m = 1
1,5 m = 2
2,8 m = 3
Without auxiliary fan = 0
With auxiliary fan = 1
Light box RBLD
Specification
154
180
85
146
27 35
150
600
Dimensions and weight
Weight 1,1 kg
Wiring diagram without auxiliary fan
From control
unit/panel
From control
unit/panel
Termination
resistor
Termination
resistor
Wiring diagram with auxiliary fan
Note.
Light box RBLD, if installed, is connected as follows:
– RCKD = between base terminals 3 and 4
Single connection
Series connection
Technical data
System voltage
– optical 16-30V DC
– auxiliary fan 24V AC, 75 mA
Operation current 0,04 mA
Alarm current 40 mA
Service alarm current 10 mA
Ambient temperature -10 to +55°C
Permitted humidity 99% rF
Max. air speed 20 m/s
Service alarm Indicated by:
green LED (detector)
yellow LED (encapsulation)
Smoke gas alarm Indicated by:
red LED (detector, encapsulation)
Encapsulation class IP54
From control
unit/panel
From control
unit/panel
24V AC from
ventilation unit
24V AC from
ventilation unit
Auxiliary fan
Termination
resistor
Termination
resistor
Single connection
Series connection

4
Brand-/Brandgasspjäll BSKC6 EI60
BORÅS Tel +46 (0)33 - 23 67 80 STOCKHOLM Tel +46 (0)8 - 54 55 12 70
Fire damper BSKC6 EI60
Dimensions and weight
Actuator - damper sizes
Actuator BLF-T is supplied to damper sizes Ø100-315 mm.
Actuator BF-T is supplied to damper sizes Ø400-630 mm.
Electrical data (values in brackets refer to 230V)
Actuator type BF... BLF...
Sizing, max ...................... 10 VA (12.5 VA) 7 VA (7 VA)
Running time:
– motor opening, max ..... approx. 120 s 40-75 s
- spring return, max ......... approx. 20 s
Protection class ............... IP 54
Power supply .................. 24V~ ±20%, 50/60Hz
24V= ±10%
(220-240V~ , 50/60Hz)
Ambient temperature ....... -30° to +50°C
Safety temperature .......... -30° to +75°C
(24 hrs. guaranteed safety)
Tripping temperature
thermal sensor .................
72°C
End position contacts
- load ≤ 300 mW ..... min 1 mA/5V=, max 100 mA/250V~
After exceeding the above values it applies:
- load > 300 mW ..... min 100 mA, max 3 A/250~
Sound level when opening approx 45 dB(A)
Sound level when closing approx 62 dB(A)
Chart indicates in
the de-energized
state
Wiring
diagram
Actuator
Size Ød 100 125 160 200 250 315 400 500 630
A – – – – – 35 75 125 190
Weight, incl, actuator, kg 3,4 3,7 4,3 5,0 6,0 7,2 10,6 13,0 17,0
Tf1 Tf2 BAE72-S
S
Ö
N
L1
M
1
2
1
2
3
4
5
6
5°
80°
Thermal
sensor
257
100
Ød Ød
+105
A
max
90
max 200
max 55

5
EI60 Brand-/Brandgasspjäll BSKC6
BORÅS Tel +46 (0)33 - 23 67 80 STOCKHOLM Tel +46 (0)8 - 54 55 12 70
EI60 Fire damper BSKC6
Size chart
Sound power level
LWt , dB
Air flow, l/s
10
30
20
40
50
100
200
Total pressure drop, Pa
10 20 30 40 50 100 200 300 500 1000 2000 3000 10.000
125 160 200 250 315Size 100 400 500
630
45 dB
50 dB
55 dB
60 dB
65 dB
70 dB
Correction of sound power level, LWok, in octave band
Lwok = Lw+ Kok
Sound data
Correction, Kok
Size
Ø mm
Centre Frequency Hz
63 125 250 500 1000 2000 4000 8000
100 -4 -6 -7 -12 -17 -24 -26 -33
125 -5 -5 -8 -14 -22 -25 -27 -35
160 -5 -4 -8 -13 -17 -20 -28 -34
200 -3 -6 -10 -14 -15 -19 -27 -40
250 -1 -11 -15 -20 -22 -23 -29 -37
315 -2 -8 -11 -12 -13 -19 -23 -29
400 -2 -8 -14 -12 -15 -22 -30 -41
500 -2 -8 -13 -13 -15 -21 -28 -36
630 0 -15 -23 -23 -28 -35 -41 -48
Tol. ± dB 2 3 4 4 6 7 9 9

6
Brand-/Brandgasspjäll BSKC6 EI60
BORÅS Tel +46 (0)33 - 23 67 80 STOCKHOLM Tel +46 (0)8 - 54 55 12 70
Options 1 and 2
1. Install and join the damper in the ventilation duct that
ends at the wall or floor face (after the lead-through).
2. The damper is secured flat and tight using fire stopping
sealant (Intumex AN) against the wall/floor structure
with the fastening lugs, which are opened out.
3. Sealing is carried out by caulking with mineral wool,
min 40 kg/m3.
4. Use brackets to fasten the duct to the wall.
Supporting construction (wall or floor)
in fire resistance class EI60.
Damper’s fire resistance class: EI60
(ve ho i <-> o) S.
EC certificate 0402-CPD-SC0900-13
Option 1 Option 2
5. If fire damper is not connected to the duct system, fit
non-combustible grilles designed for the damper on the
unconnected sides. The minimum distance between
the damper blade in the open position and the grille is
50 mm.
6. Install the thermal sensor with the sensor body in the air
flow without obstructing the movement of the damper
blade.
7. Install the duct system according to applicable require-
ments.
• Minimum distance between dampers must be 200 mm.
• Minimum distance to joist structure/wall must be 75 mm.
Installation instruction
Fire damper BSKC6 EI60
d+40
Duct Duct
Seal with fire
stopping sealant,
e.g. Intumex AN
(Possible protective grille,
see section 5)
Metal anchor 6x50 mm
Fastening lugs
Brackets
Min. thickness 95 mm
Concrete wall or drywall
panel insulated with mineral
wool ≥40kg/m3 or
equivalent fire class ≥EI60
Seal acc. to
section 3
d+40
Floor structure
in lightweight
concrete or
equivalent
fire class ≥EI60
Min. thickness
125 mm
Duct
Brackets
Fastening lugs
Protective
grille, see
section 5
Protective
grille, see
section 5
Plug and screw
M8x40 mm in concrete.
Duct
Seal with fire
stopping sealant,
e.g. Intumex AN
Seal acc. to
section 3
13-0184_ENG / Sept. 2017 teamfront.se

7BORÅS Tel +46 (0)33 - 23 67 80 STOCKHOLM Tel +46 (0)8 - 54 55 12 70
1. Install the damper in the duct.
2. Duct going through supporting construction, is fastened
using brackets. Seal according to applicable require-
ments, such as caulking with mineral wool, min 40 kg/
m3and fire stopping sealant.
3. If fire damper is not connected to the duct system, fit
non-combustible grilles designed for the damper on the
unconnected sides. The minimum distance between
the damper blade in the open position and the grille is
50 mm.
4. Install the thermal sensor with the sensor body in the air
flow without obstructing the movement of the damper
blade.
Installation in horizontal duct
.
Damper’s fire resistance class: EI60
(ve i <–> o) S.
EC certificate 0402-CPD-SC0900-13
5. Duct is fastened/supported according to applicable
requirements.
6. Insulate the duct according to applicable requirements
using instructions from the insulation supplier, min.
80 mm and 55 kg/m3. Note that insulation must cover
the damper.
• Minimum distance between dampers must be 200 mm.
• Minimum distance to joist structure/wall must be 75 mm.
• The damper spindle may be installed in any position.
d+40
Duct Duct
Seal acc. to
section 2 Support of duct,
see section 5
Seal with fire
stopping sealant,
e.g. Intumex AN
(Possible protective grille,
see section 3)
Insulation equivalent to
fire resistance class of the
supporting construction
Brackets
Max. 1000 mm
Installation instruction
EI60 Fire damper BSKC6
13-0184_ENG / Sept. 2017 teamfront.se
Table of contents
Popular Security Sensor manuals by other brands

PCB Piezotronics
PCB Piezotronics 260M36 Installation and operating manual
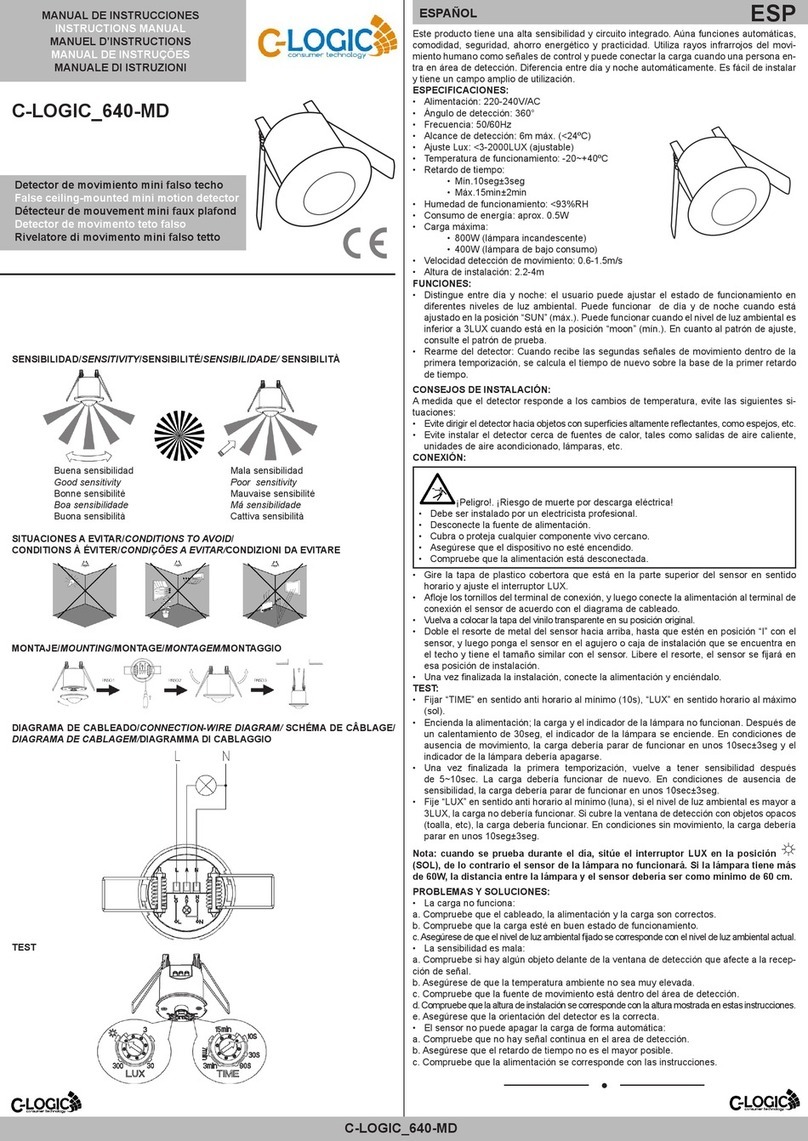
C-LOGIC
C-LOGIC 640-MD instruction manual
STEINEL
STEINEL IS 3360 COM1 Information manual

Mustang Survival
Mustang Survival ELITE INFLATABLE PFD MD5153 owner's manual

Global Fire Equipment
Global Fire Equipment GFE-H Installation

Dräger
Dräger Oxyboks K 25 Instructions for use
