Biblezon CATHOLIC TABLET User manual

CATHOLIC TABLET
USER MANUAL

Biblezon Tablet Features/Technical Specifications
Biblezon Launcher
LCD Display 7 "TFT LCD Capacitive Multi-touch 800 x 480
pixels
Operating System Android 4.0.4
Processor Cortex A8 1GHz
Memory 512MB RAM
Storage 4GB of RAM
Expandable storage up to 32GB via microSD
PC Interface MicroUSB
Power Rechargeable 3.7V Li-Polymer
Audio External audio speakers, 3.5 mm output
Camera VGA front camera
Sensor G-sensor orientation
Connectivity WiFi 802.11 b / g / n

Getting to Know Your BiblezonTablet
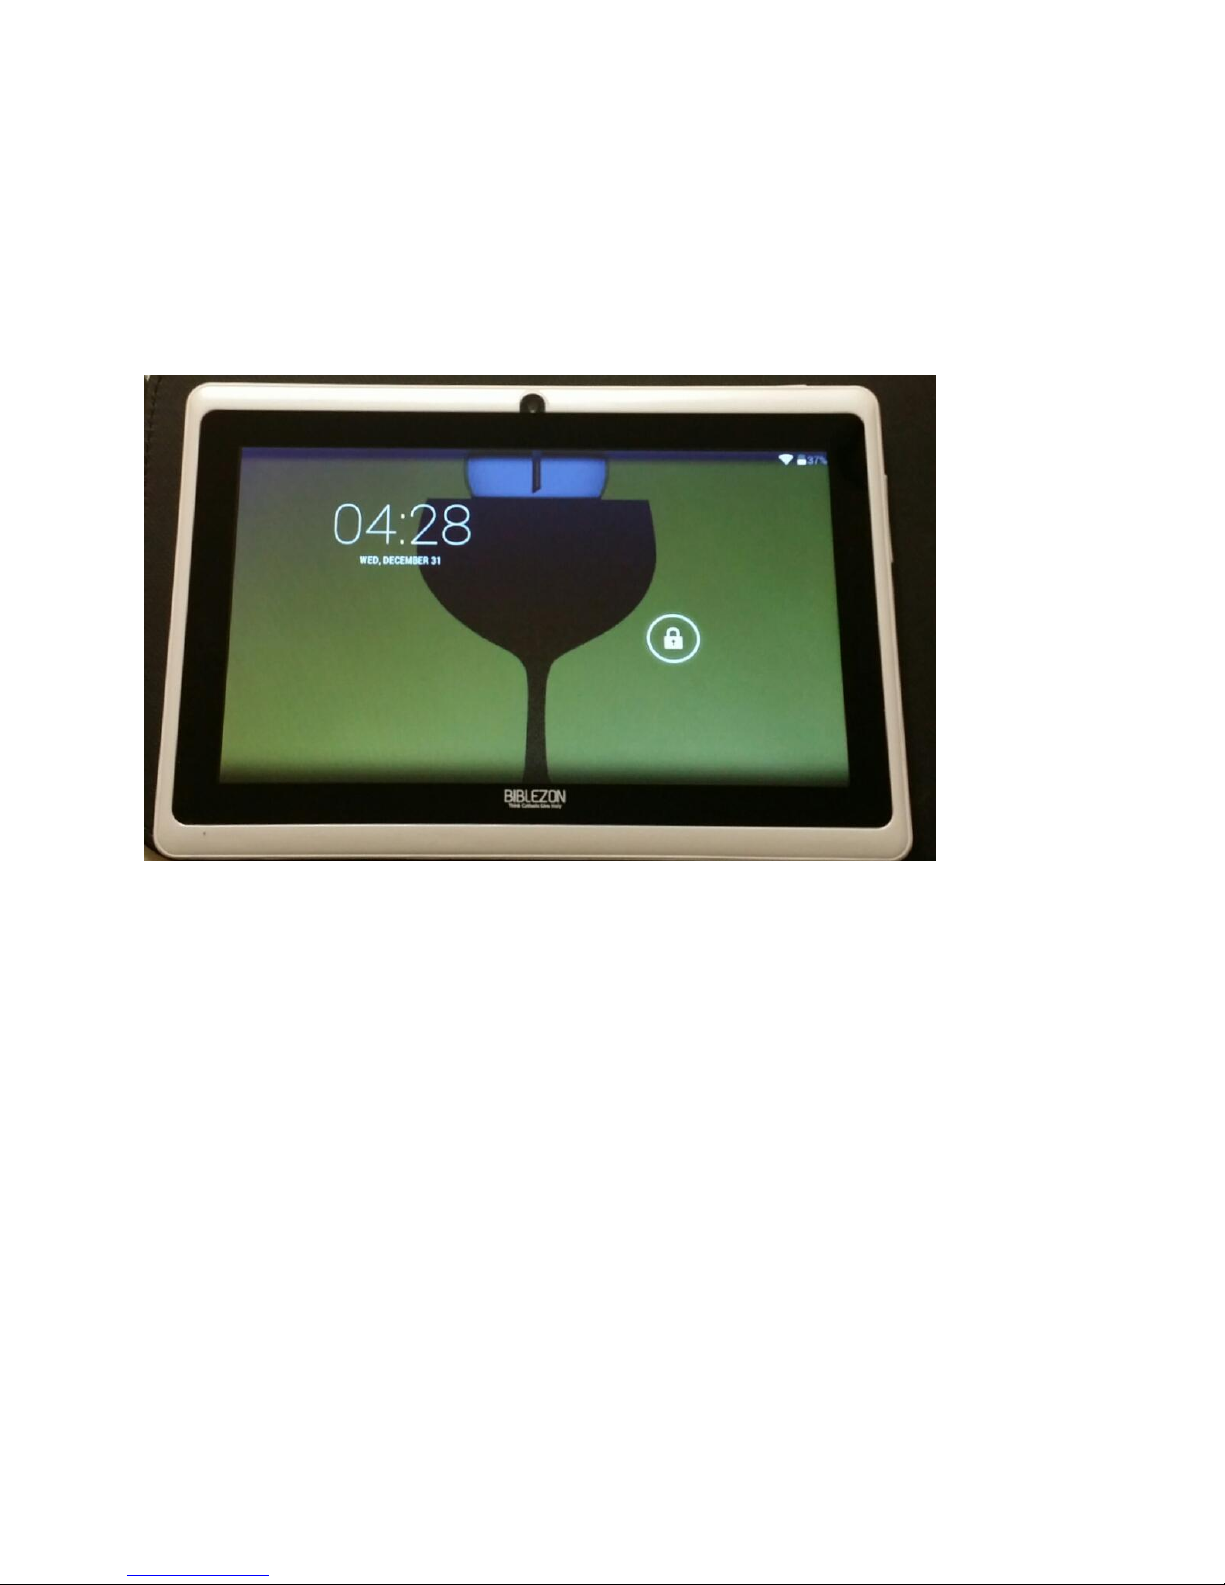
UNLOCK SCREEN
To unlock your BiblezonTablet , touch and hold the Lock
icon. When it turns into a circle drag it towards the right,
to the Unlock icon.
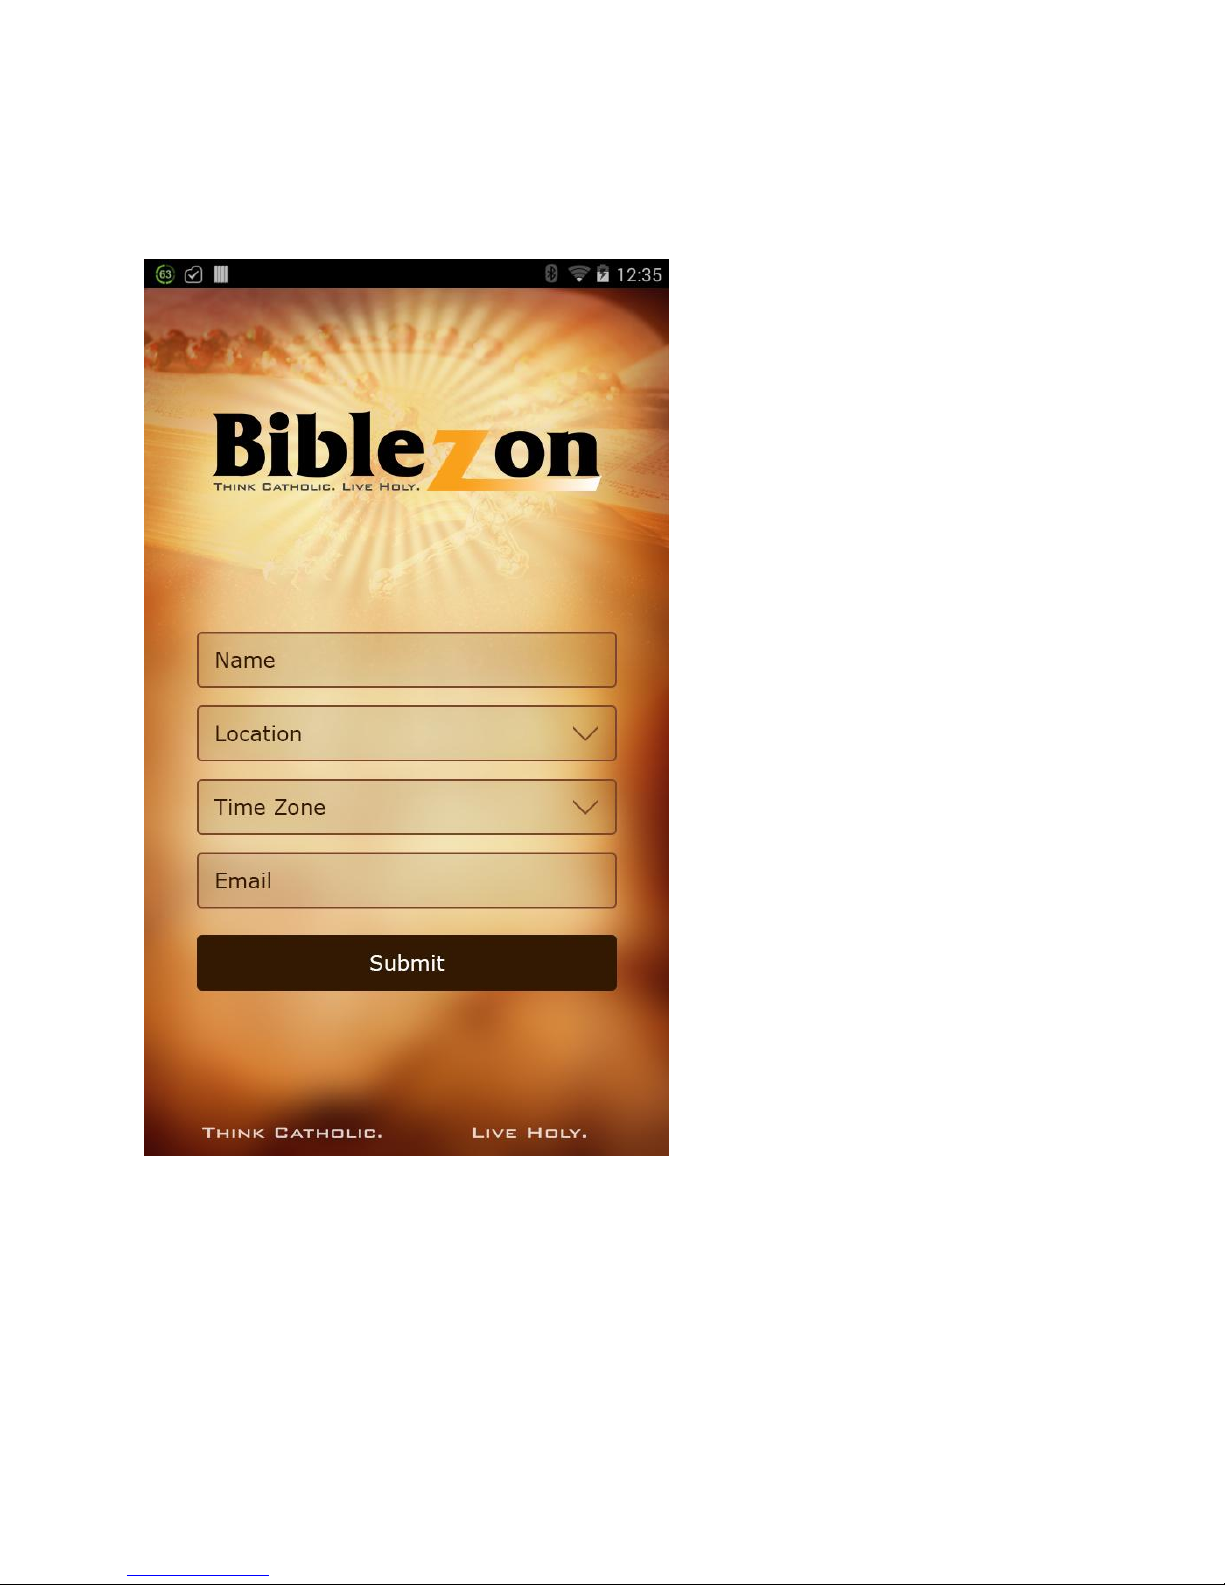
Initial Setup
The first time you power on your tablet you will be taken
through the initial setup.
Note: It is recommended to fully charge your tablet
before first use. For bestresults, give your tablet an
extended overnight charge before using it for the first
time.

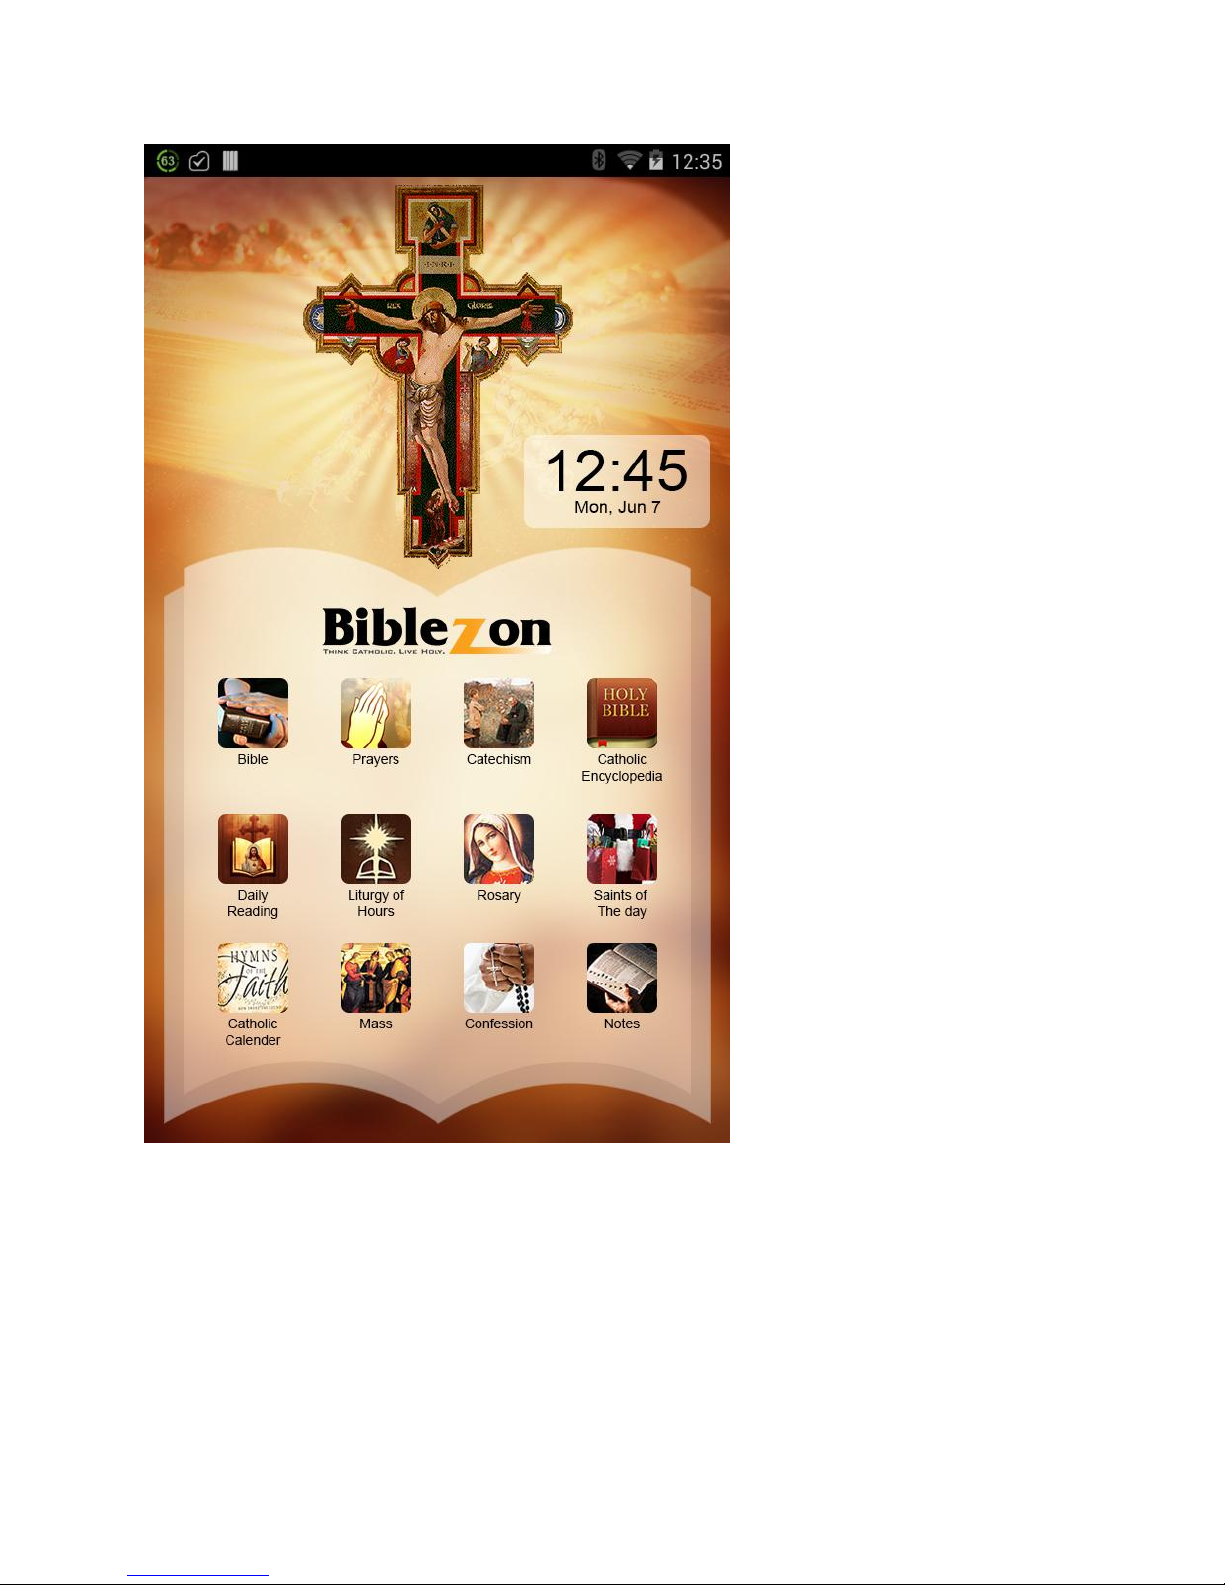
Home Screen
Once you have completed the Initial Setup the Home
Screen appears.
The Home screen has all the catholic app and your can
slide from right to left to view more apps.
WIFI CONNECTION
You can connect your tablet to WiFi during or after the
initial setup.

By default WiFi is turned OFF. To see available networks
follow these steps to turn
WiFi ON:
1. Touch the status bar on the bottom right (where the
battery icon is
displayed).
2. The window shade appears. Touch the Settings icon .

3. The window shade expands. Touch the Wi-Fi option.
Note: If you do not see the Wi-Fi option, then touch the
Settings option.
You you will first be prompted to enter your (parent)
password before the
Settings list appears if you have already finished the
initial setup.

4. The Settings list appears. On the top is the ‘Wireless &
Networks’ option with the WiFi is displayed as OFF. Touch
the OFF button to switch WiFi ON.
5. Once Wifi is selected as ON, the available networks are
listed on the right.Touch one of the networks listed to
connect. Note: If the network is protected, you will be
prompted to enter a password to the network. If so,
enter the password and touch Connect.
6. Once connected, the WiFi connected icon appears on
the bottom right of the status bar and indicates the
strength of the WiFi.
Table of contents
Popular Tablet manuals by other brands

Laser
Laser MID-1060 Quick operation guide

MUNBYN
MUNBYN IRT09J Easy setup guide

Motorola
Motorola MC3090R - Win CE 5.0 Professional 520 MHz quick start guide

Dell
Dell Latitude ST Setup and features information

Lenovo
Lenovo IdeaTab S6000L Hardware Maintenance Manual

Venturer
Venturer WT9L11 quick start guide


