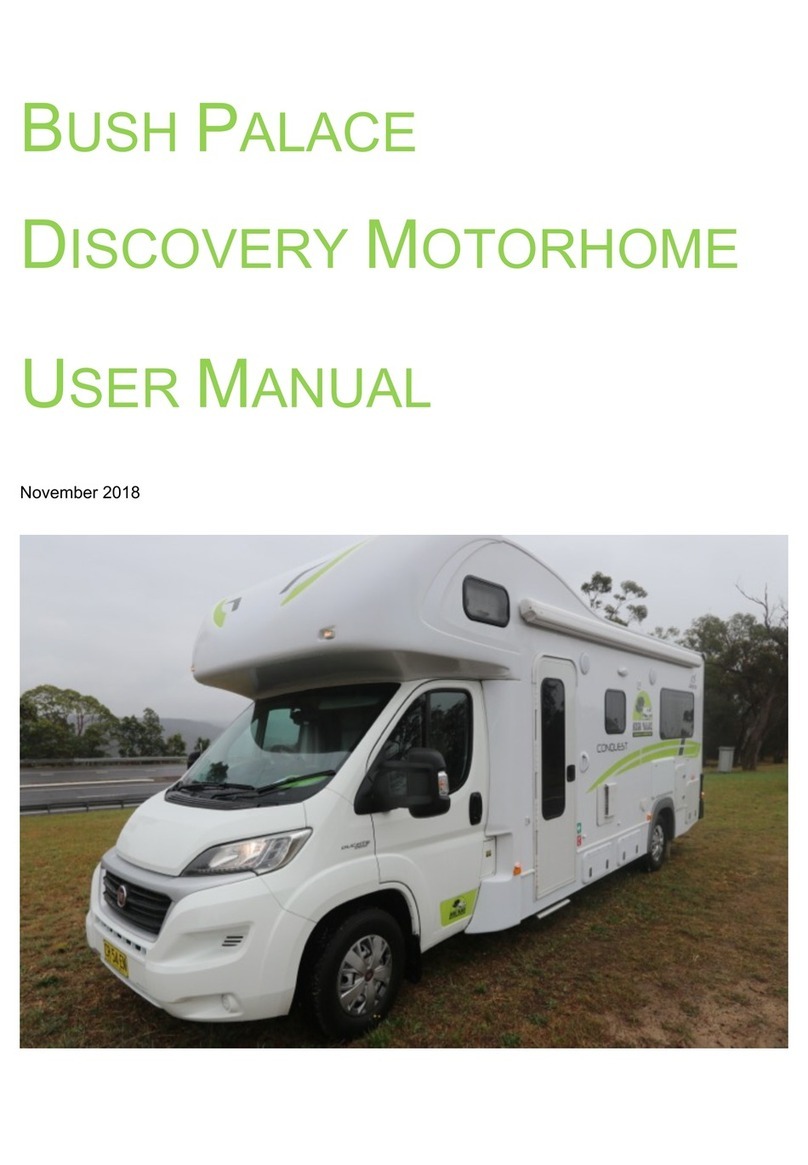
Bodans Campervan User manual

Care and attention is needed when operating your elevating roof. The manufacturer will not cover
any damage or cuts to the canvas caused by miss operation. The following guide lines will help
prevent this.
1, To elevate roof - open side door, undo roof straps (g 3) and hold onto roof handles letting the
roof elevate slowly.
2, To lower roof - open side door, pull roof down slowly in three stages, between each stage pull in
roof canvas on both sides (g 1) then tuck the canvas in and fasten roof straps (g 3).
If roof canvas has been wet it is advisable to elevate the roof when possible to allow the canvas to
dry, this will prevent deterioration of the canvas.
It is important to elevate your roof at least once a month to prevent the roof rubber seal from
sticking to the body work and to prevent the canvas from perishing.
The canvas must be waterproof treated yearly or when required (g 4) to prevent any leaks or rot.
Waterproof canvas spray can be purchased from Bodans or most camping stores.
The roof hinge nuts need to be regularly checked for tightness and lubricated. Do not over tighten
the roof nuts as the hinge will bind.
The standard plumbing in your campervan includes a removable water container and
submersible water pump. Care needs to be taken when carrying water as damage to interior by
spillages will not be covered under your guarantee.
1. Unscrew the container cap and remove submersible pump from the container.
2. Attach the water pump to the hook on wall to prevent water spillage from the pipe.
3. Fill container, reinstall the water pump and cap.
4. Dry any spilt water.
5. Don’t leave water in the container for long periods of time.
ELEVATING ROOF OPERATION & CARE
PLUMBING & WATER
GAS
If any information in this booklet is unclear, please call or email with any questions.
1. The gas on your campervan should be turned off at the bottle whilst travelling.
2. Do not obstruct any ventilation outlets in cupboards or oor.
3. Whilst in habitation and using gas appliances sufcient ventilation must enter the
vehicle, it is vitally important that the roof must be elevated.
4. It is advisable to have your gas equipment and installation checked annually. This service can
be carried out at Bodans.
Bodans Campervans
Hereford Road
Shrewsbury
SY3 0DA
Telephone: 01743 874496
Email: [email protected]
Web: www.bodans.co.uk
Campervan User Guide
Fig 1 Fig 2 Fig 3 Fig 4

Leisure Switch:
Select the leisure position to turn on the electric control panel, then the appliance switches will be
operational. Select the leisure position when hooked-up to a mains outlet, to charge the leisure
battery.
Lights:
Master switches for all interior lights. Please note, the interior lighting will isolate when the vehicle
ignition is turned on.
Pump:
Master switch for the tap and water pump. Please note, the water pump and tap will isolate when
the vehicle ignition is turned on.
Aux:
Master switch for 12v auxiliary socket or USB socket where ttet. The 12v socket can be used for
most 12v plug in appliances using a cigarette lighter style plug. USB socket is for charging mobile
phones via a USB lead. Please note this switch will stay operational when the vehicle ignition is on.
Fridge:
Master switch for the fridge. The fridge also has an additional on/off switch located inside the door.
Please note this switch will stay operational when the vehicle ignition is on.
240volt Mains Hook Up Power:
Once connected to a mains power supply, the 3 pin sockets become live, this power runs from an
RCD consumer unit, located in the wardrobe, this will trip if overloaded or if there is a fault with an
appliance that is plugged in to a socket.
Mains Charging System:
Located close to the leisure battery, this should be left switched on at all times, the charger
becomes live once plugged into a mains power supply and will charge the leisure battery if the
leisure switch is selected on the control panel. The voltage reading on the display should increase
to approximately 14volts.
Mains Consumer Unit
The consumer unit is usually located in the tall rear cupboard. It is the protective circuit breaker
which goes between the electric hook-up and all the 240v electrical circuits in the campervan.
There are 2 circuits in the campervan which are protected by MCBs. (Miniature Circuit Breakers)
• B6 - 6amp MCB is protecting the mains battery charger
• B10 - 10amp MCB is protecting the mains 3-pin sockets
If there is a problem with any appliance connected to the 3-pin sockets the MCBs will trip.
1, Charge the leisure battery for 24 hours before any camping trip by hooking up to a mains power
supply using a 3-pin adaptor and your orange campsite lead. Select leisure on the control panel
and make sure the mains charger is switched on.
2, To charge the leisure battery when traveling, select leisure on the control panel, this will allow
the vehicle alternator to charge the leisure battery.
3, For campsite charging, hook-up to an external power supply using the orange lead and select
leisure on the control panel.
4, If camping without mains hook-up power, your leisure battery should last for 2-3 days without
charge. You will then need to charge your leisure battery using either mains hookup power or
engine charge.
To check if the leisure battery is being charged whilst the engine is running:
• Select leisure on the control panel
• Look at the digital meter on the control panel and take reading
• Start the engine
• The voltage reading on the control panel should increase to approximately 14volts
To check if the leisure battery is being charged when hooked-up to a mains power supply:
• Select leisure on control panel
• Look at the digital meter on the control panel and take reading
• Connect to an external mains power supply
• The voltage reading on the control panel should increase to approximately 14volts
If none of the above is working:
• Check leisure is selected on control panel
• Check mains charger is turned on
• Check fuses
Isolation of interior lighting whilst engine is running:
• Select leisure on the control panel
• Turn on interior lighting on the control panel
• Start the engine
• Interior lighting should automatically turn off
Fuse location and ratings:
• Vehicle Battery - 40amp maxi fuse located at the vehicle battery under the bonnet.
• Isolation of electrics – 5amp mini fuse located in the vehicle main fuse box compartment.
• Appliance & control panel fuses – located in the tall rear cupboard. Remove the screws
and take off the wooden panel cover.
Vehicle – 40amp maxi fuse
Leisure – 25amp standard fuse
Charger – 25amp standard fuse
Isolation – 3amp standard fuse
Cooker – 5amp standard fuse
Heater – 5amp standard fuse
Solar – 10amp standard fuse
Ignition (located in vehcile fuse box) - 5amp mini fuse
12V & 240V ELECTRICS Handy Guide On Using The Electrics
Fault Finding & Testing Electrics
Control Panel & Sockets Mains Consumer Unit Battery Chargers Mains Hook-up Point
Popular Motorhome manuals by other brands

Fleetwood
Fleetwood Southwind eagle 1 1984 user manual

Fleetwood
Fleetwood TIOGA ARROW 1986 manual
Bailey
Bailey Orion owner's manual
Double A Trailers
Double A Trailers Gooseneck Series owner's manual

Winnebago
Winnebago Suncruiser owner's manual

Fleetwood
Fleetwood 1994 Flair Diesel Owner's manual supplement

Jayco
Jayco 2014 PINNACLE TOWABLES RV user manual

Jayco
Jayco Jay Flight Bungalow 2009 owner's manual
Liberty
Liberty Travalong owner's manual

Airstream
Airstream 26' Overlander Double 1966 owner's manual
Winnebago
Winnebago 1987 Itasca Operator's manual

Airstream
Airstream Pottery Barn Special Edition 2024 owner's manual


