BoomBocs STUDIO User manual
1
BoomBocs STUDIO
User Manual

2
Hello there.
Congratulations on receiving your BoomBocs STUDIO wireless speaker. You must be extremely eager to get it
up and running?! Well, the good news is it’s incredibly simple to set up and use so you’ll be blasting out the
tunes in no time.
In this user manual, you’ll nd all the information to help you use your BoomBocs. Following these
instructions will keep your BoomBocs in healthy condition, ensuring no damage occurs from misuse.
Anyway, let’s get you started. If you do have any further questions, please don’t hesitate to contact us.
Enjoy!
Jonny Williams
Founder of BoomBocs®
Need
Help?
If you’re experiencing any technical
issues setting up your BoomBocs,
please email us for immediate
support: support@boombocs.com

3
Warranty Registration
This Limited Warranty is extended to the original end-user purchaser or the person receiving the product
as a gift. It can be transferred provided the current owner furnishes the original proof of purchase from
an authorised BoomBocs store or reseller.
Unless a different warranty period is stated at the time of purchase, and evidence of this can be proven,
your BoomBocs product is covered for a period of TWO years from the date of retail purchase by the
original end-use purchaser.
By registering your product, BoomBocs grants the current owner an extra year of warranty coverage,
totalling THREE years from original purchase date.
To register, scan the QR code or
visit www.boombocs.com/pages/warranty-registration
For further assistance, please contact: support@boombocs.com
Many thanks.
Team BoomBocs

4
Introduction
Safety
Features
Carton Contents
Rechargeable Battery
Charging
Controls, Connectors and LEDs
Main Controls
Connectors
LEDs
Startup and Setup
Setup Wizard
12/24 Hour Display
Time/Date
Network
WPS Setup
Equaliser
Network
Language
Bluetooth Mode
Spotify
Deezer
Amazon Music
Internet Radio
Search
Location
Popular
Discover
Now Playing Information
Podcasts
USB Player
AUX In
Alarms and Sleep
Alarms
Sleep
Software Upgrades and Factory Reset
Software Upgrades
Factory Reset
Troubleshooting and Error Messages
Error Messages
Troubleshooting
Technical Specication
EU Compliance Statement
Contact BoomBocs
.
1
1.1
1.2
1.3
2
2.1
3
3.1
3.2
3.3
4
4.1
4.2
4.3
4.4
4.5
4.6
4.7
4.8
5
6
7
8
9
9.1
9.2
9.3
9.4
9.5
10
11
12
13
13.1
13.2
14
14.1
14.2
15
15.1
15.2
16
17
18
Table of Contents
5
Introduction
Please read the manual to get the best from your BoomBocs speaker.
Safety
Please store this instruction manual for future reference.
WARNING: To reduce the risk of re or electric shock, do not expose this apparatus to rain or moisture.
The apparatus (your BoomBocs) should not be exposed to dripping or splashing and objects lled with
liquids, such as vases, should not be place on top of the apparatus.
WARNING: The direct plug-in adapter is to be used as a removable device. When disconnected, the
apparatus will remain operable.
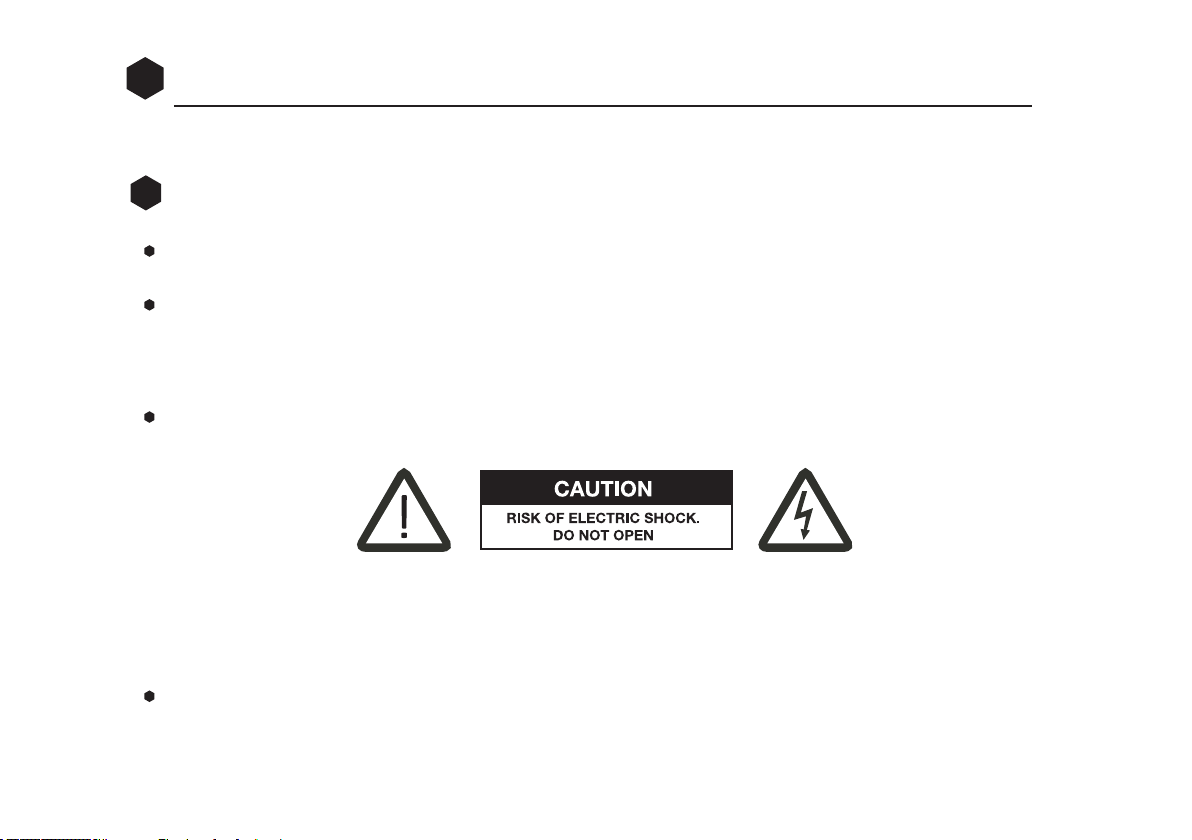
This lightning ash with arrowhead symbol within an equilateral triangle is intended to alert the user
to the presence of non-insulated “dangerous voltage” within the product’s enclosure that may be of
sufcient magnitude to constitute a risk of electric shock.
WARNING: To reduce the risk of electric shock, do not remove cover (or back) as there are no user-
serviceable parts inside. Refer servicing to qualied personnel.
1
1.1

6
The exclamation point within an equilateral triangle is intended to alert the user to the presence of
important operating and maintenance instructions in the literature accompanying the appliance.
Correct disposal of this product -this marking indicates that this product should not be disposed with
other household wastes throughout the EU. To prevent possible harm to the environment
or human health from uncontrolled waste disposal, recycle it responsibly to promote the
sustainable reuse of material resources. To return your used device, please use the return
and collection systems or contact the retailer where the product was purchased. They can
take this product for environmental safe recycling.
No naked ame sources, such as lighted candles, should be placed on the apparatus.
WARNING: The battery [batteries or battery pack] should not be exposed to excessive heat such as
sunshine, re or the like.
Do not use this product near water or moisture.
Clean only with a dry cloth.
Unplug this product from the wall outlet before cleaning.
Place the unit on a solid surface.
Do not put it in a closed bookcase or a cabinet that may keep air from owing through its ventilation

7
openings. Do not install near any heat sources, such as radiators, heat registers, stoves or other
appliances that produce heat.
Protect the power cord from being walked on or pinched, particularly at plugs and the point where they
exit from the product.
Do not let objects or liquids enter the product.
Opening or removing covers may expose you to dangerous voltages or other hazards.
Use proper power sources.
In the rare event you experience an error, unplug the power cord for 60 seconds and then plug it back in
rmly.
Features
This manual describes how to use the BoomBocs STUDIO, an advanced but easy-to-use Wi-Fi connected
audio system with the following features:
Bluetooth technology to stream the music from your wireless device.
Spotify Connect.
1.2

8
Deezer.
Amazon Music.
Internet radio with access to thousands of stations from around the world through a broadband Internet
connection.
Podcasts can play thousands of Podcasts from around the world through a broadband Internet
connection.
USB Player via USB stick with MP3 music loaded [not for charging].
AUX In via a 3.5mm stereo jack for external music sources such as MP3 players.
BoomBocs STUDIO also provides the following features:
Clock with auto-update capability and dual independent alarms
Sleep/alarm/snooze
Multiple operating languages
iOS and Android smart app.
Download UNDOK from the Apple App Store or Google Play Store, or scan this QR code:
9
®
®
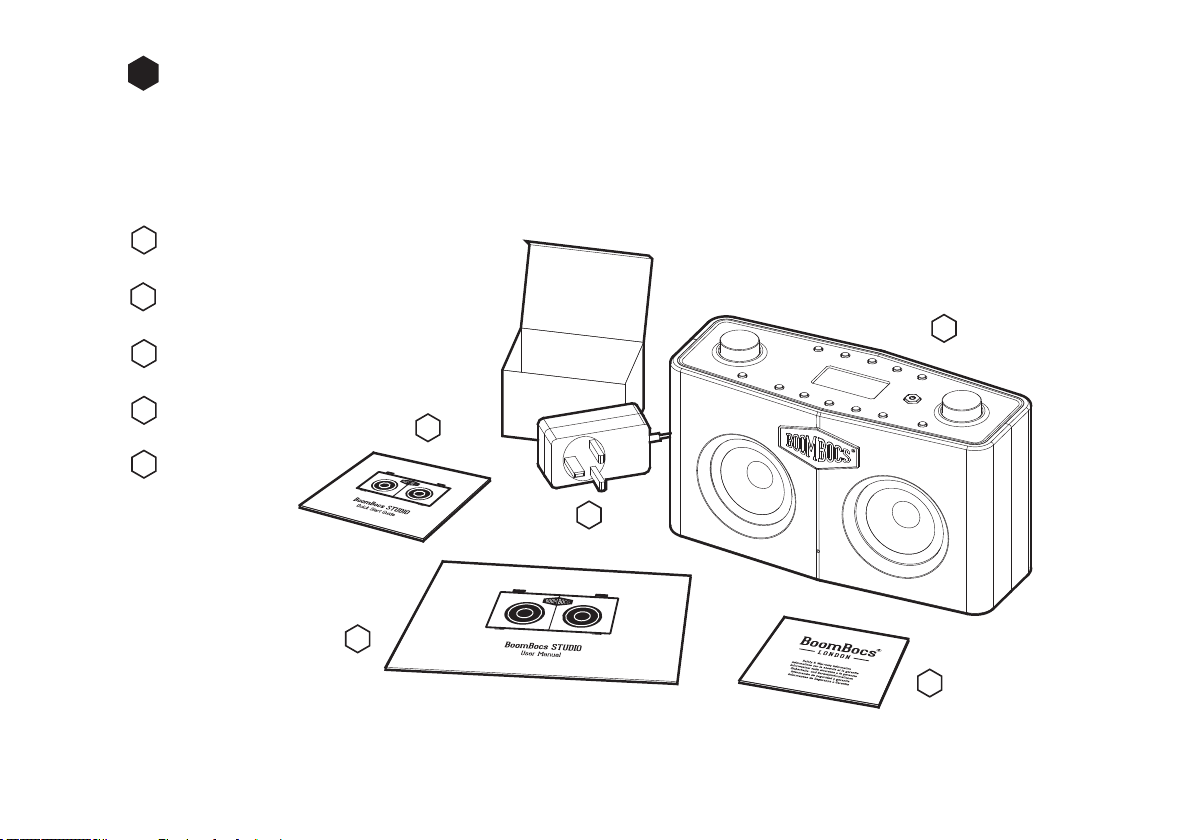
Carton Contents
After you unpack the box, you will nd the following items;
BoomBocs STUDIO
Plug and interchangeable adapters
User Manual
Quick Start Guide
Warranty
1
2
3
4
5
1
2
3
4
5
1.3

10
Rechargeable Battery
Charging
Your BoomBocs STUDIO contains a lithium ion battery and depending on the volume, is capable of
providing 10-15 hours of playback depending on volume and contents.
If the battery is low, the LED on the front will ash.
To charge your battery, simply plug in the
DC jack at the end of your plug-in adapter
and switch on the mains electricity.
To ensure your battery is kept healthy,
only use the mains charger provided with
the unit at the time of purchase.
AUX IN USB PLAYBACK DC IN
2
2.1
11
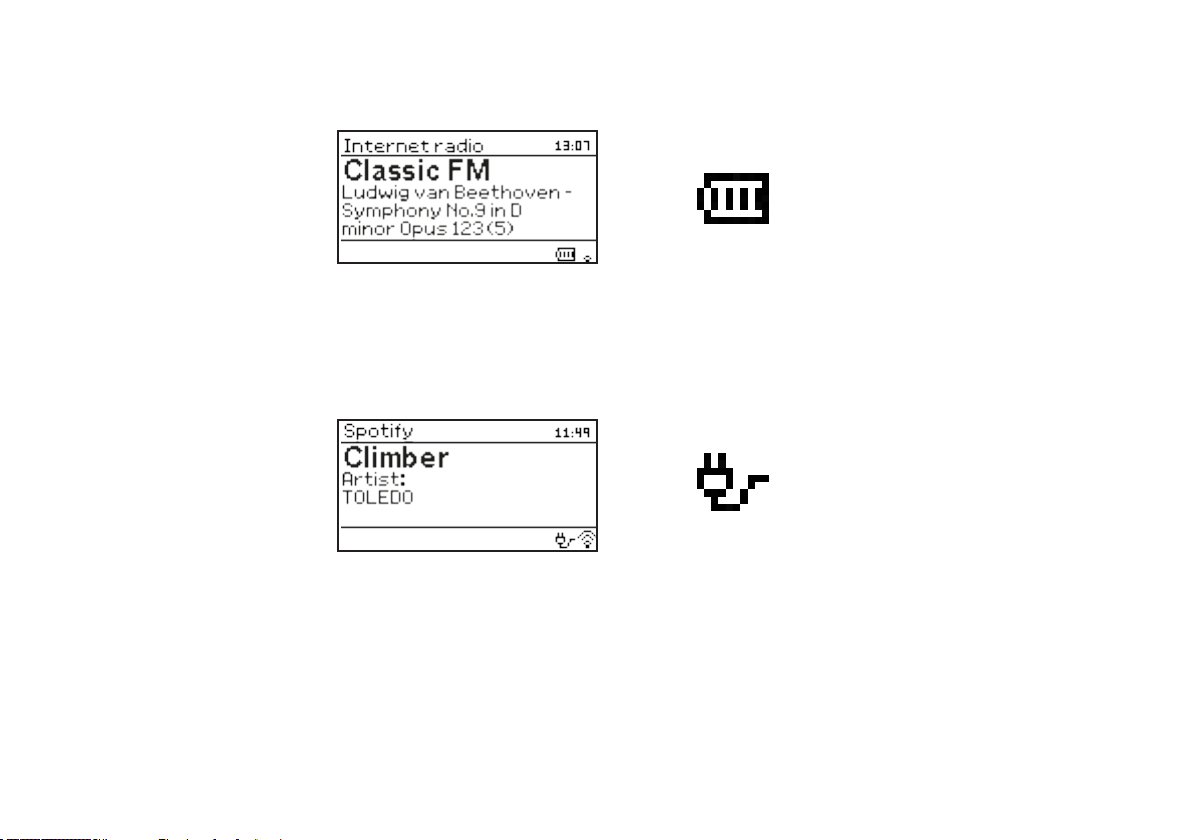
Battery status is shown in the bottom-right of the display:
Your BoomBocs will indicate it is charging by showing a battery with moving bars on the bottom-right of
its display. A xed ‘plug’ icon will show when fully charged.
To keep your battery healthy, turn off and unplug your charger when the battery is full.

12
Controls, Connectors and LEDs
Main Controls
Volume +:Clockwise is volume up; Volume - :Counterclockwise is volume down; Mute: A short press will
mute the volume. A short press will unmute the volume.
P1/P2/P3/P4 :Press briey to select a preset or press and hold to store a tuned station/source.
Press P + to enter the list for saving stations.
1
2
Mode
Back
STUDIO
Menu
Info
Left/Right
Volume
Mute Set
P1 P2 P3 P4 P
ON/OFF
+
1 3
2 4
65 7 8 9 10 11
12
3
3.1

13
Left/Right/Set: Multi-function navigation dial and Select button
ON/OFF
Back: Press to return to the previous menu.
Mode: Press to toggle between different modes.
Press to select previous track or rewind.
Press once while playing music to pause the song. Press once while paused to resume playing.
Press to select next track or fast-forward.
Menu: Press to enter the menu.
Info: Shufe between the shown information.
2.4” high contrast display.
3
4
5
6
7
8
9
10
11
12
14
BoomBocs
LONDON
®
BOOMBOCS WIRELESS SPEAKER
MODEL: STUDIO WWW.BOOMBOCS.COM
ENGINEERED IN THE UK. MADE IN CHINA
RISK OF ELECTRIC SHOCK. DO NOT OPEN
LI-ION BATTERY INSIDE
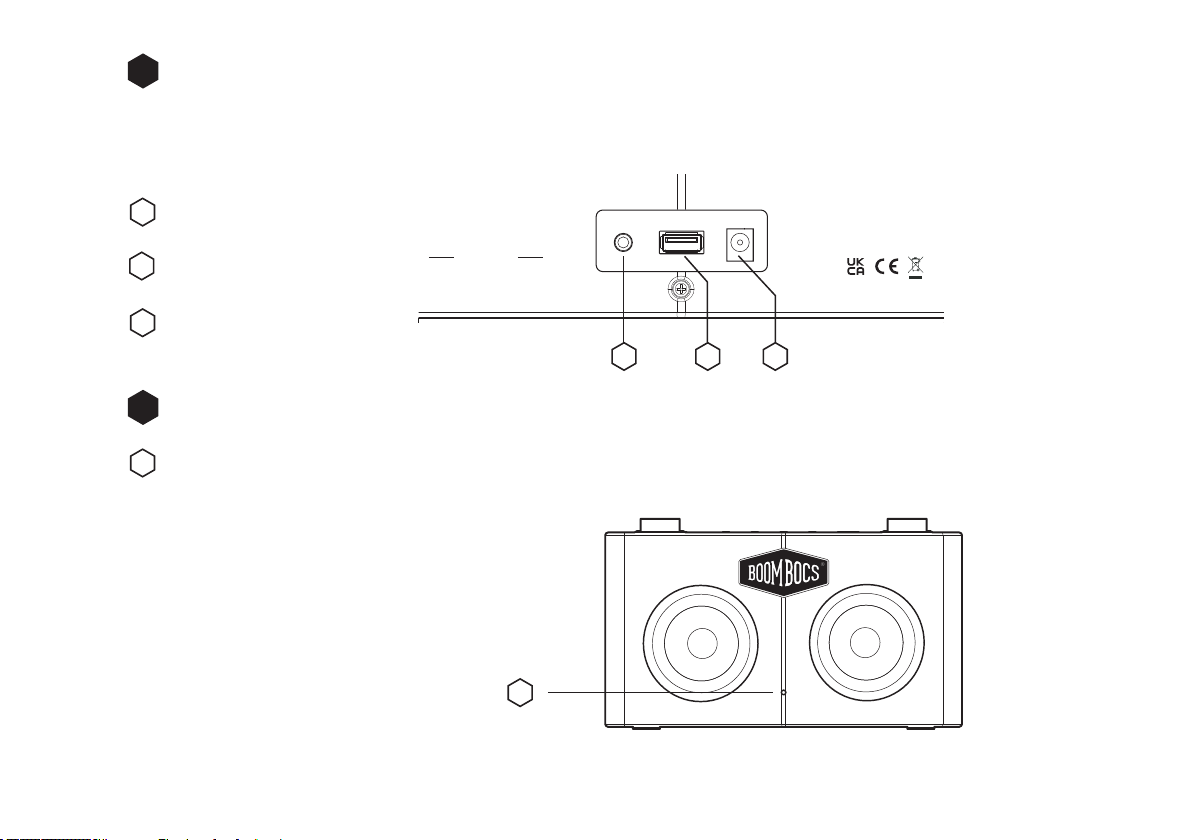
AUX IN USB PLAYBACK DC IN
Connectors
As shown below, your BoomBocs has the following connectors [left to right]:
AUX IN
USB PLAYBACK
DC IN
LEDs
BoomBocs STUDIO features an intelligent LED on its front to let you know what status it is in:
Solid = Connected and playing
Slow pulsing = Connecting
Flashing = Low battery
Off = Standby mode.
3.2
3.3
1
2
3
1 2 3
®
1
1
15
Startup and Setup
For Internet-connected modes such as Internet Radio, you will need a broadband Internet connection.
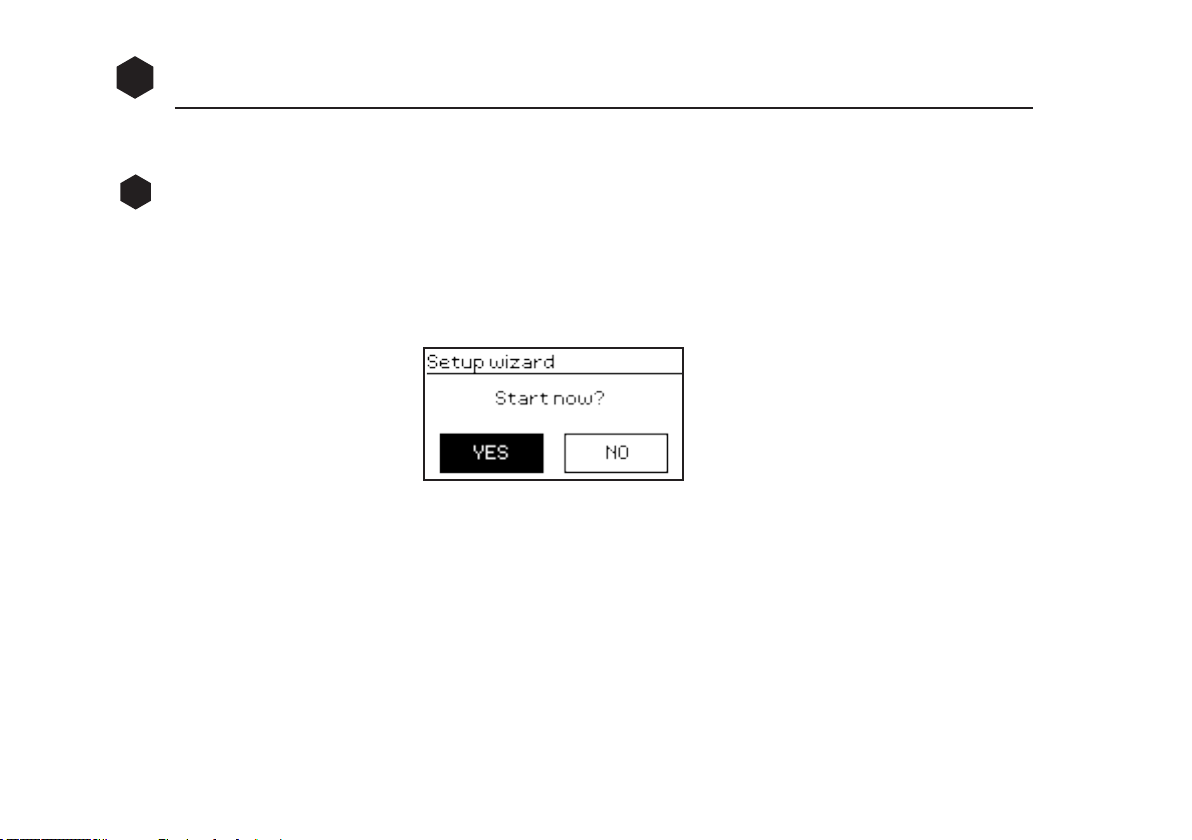
Setup Wizard
When BoomBocs STUDIO is started for the rst time, it runs through a setup wizard to congure settings
for date/time and network. Once this has nished, the system is ready to use in most modes. If you skip
the network setup, BoomBocs STUDIO will operate in Bluetooth, Aux in and USB player modes only.
Note: To change these settings later, select Menu > System settings.
To run the setup wizard again, select Menu > System settings > Setup wizard.
Select Yes to start the setup wizard.
If you choose No, the next screen asks if you would like to run the wizard next time BoomBocs STUDIO
is started. The system then starts without conguring the time/date and network settings, and enters
the Main Menu. Note: If power is removed while the wizard is in progress, the wizard will run again next
time BoomBocs STUDIO is started.
4
4.1

16
12/24 Hour Display
To change between 12 and 24 hour display, select Set 12/24 hour and then select your preference.
Time/Date
The time and date can be updated manually or automatically. With auto-update, the time and date are
automatically synchronized with the internet clock.. Auto-update is generally more accurate.
Select Update from Network or No update.
If you are updating from the network, set your time zone.
If your country uses daylight savings, the automatically updated time from the network may be wrong
4.2
4.3
1
2

17
by one hour. When daylight savings are in effect (during the winter), turn on the Daylight savings option
to rectify this. BoomBocs STUDIO will auto-update from the selected source when time information is
available.
Manual Set
If you set No update, the wizard now prompts you to set the time and date manually.
Network
BoomBocs STUDIO is compatible with all common network protocols and encryption methods, including
Wi-Fi Protected Setup (WPS). To connect the radio to your network, you need a Wi-Fi wireless router,
together with password key if set. Select WLAN region/country >Wi-Fi network (SSID), and then select a
network from the list.
If the network is open (non-encrypted), the radio connects without any further ado; see Completion, p20.
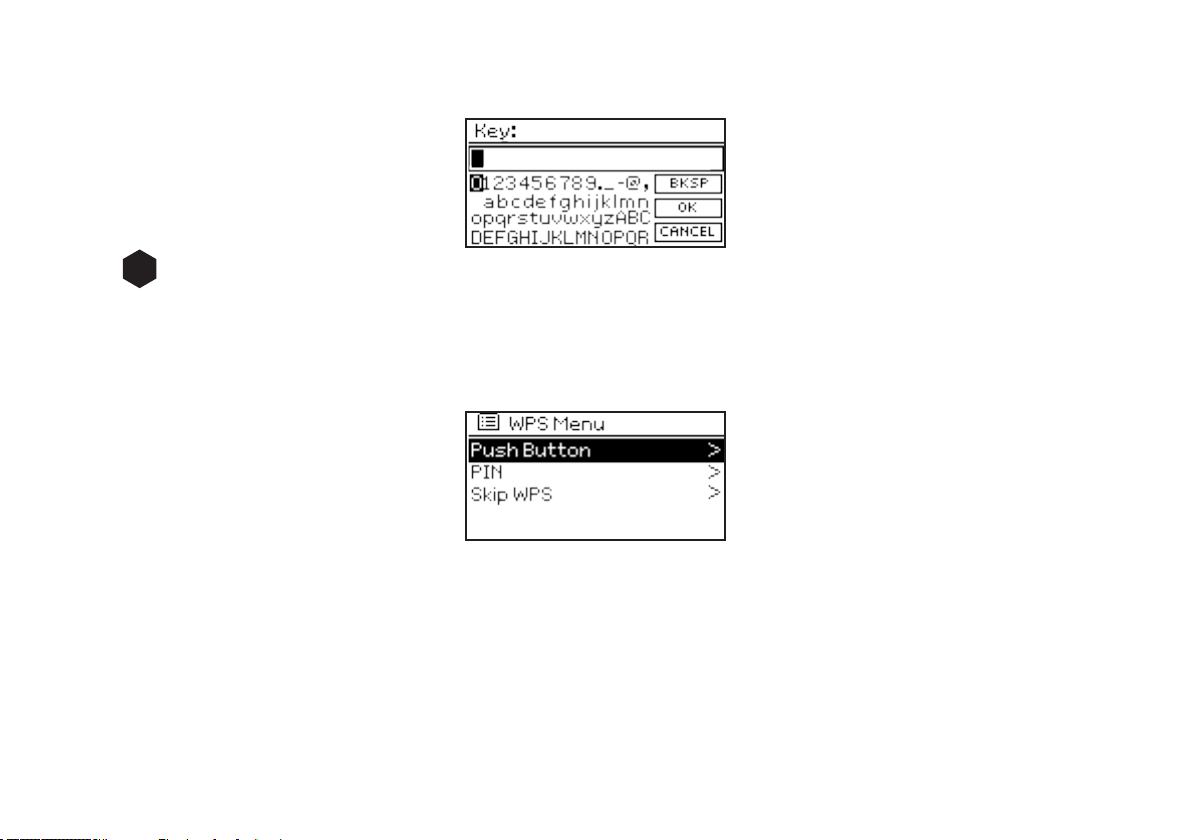
Standard Encrypted Network
To enter the network’s key (password), controls to move the cursor through the characters and select.
4.4
18
As each character is selected, the key is built up near the top of the display.
WPS Setup
WPS encrypted networks are identied by ‘[WPS]’ at the start of the network name, and have two
methods of connection. Select one and follow the prompts:
Push Button
BoomBocs STUDIO prompts you to press the connect button on the router. It then presses the select
control.
Pin (code number)
BoomBocs STUDIO generates an 8-digit code number which you enter into the wireless router, access
point.
4.5
19
Skip WPS
If WPS isn’t used, select ‘Skip WPS’ and proceed to enter your WiFi password.
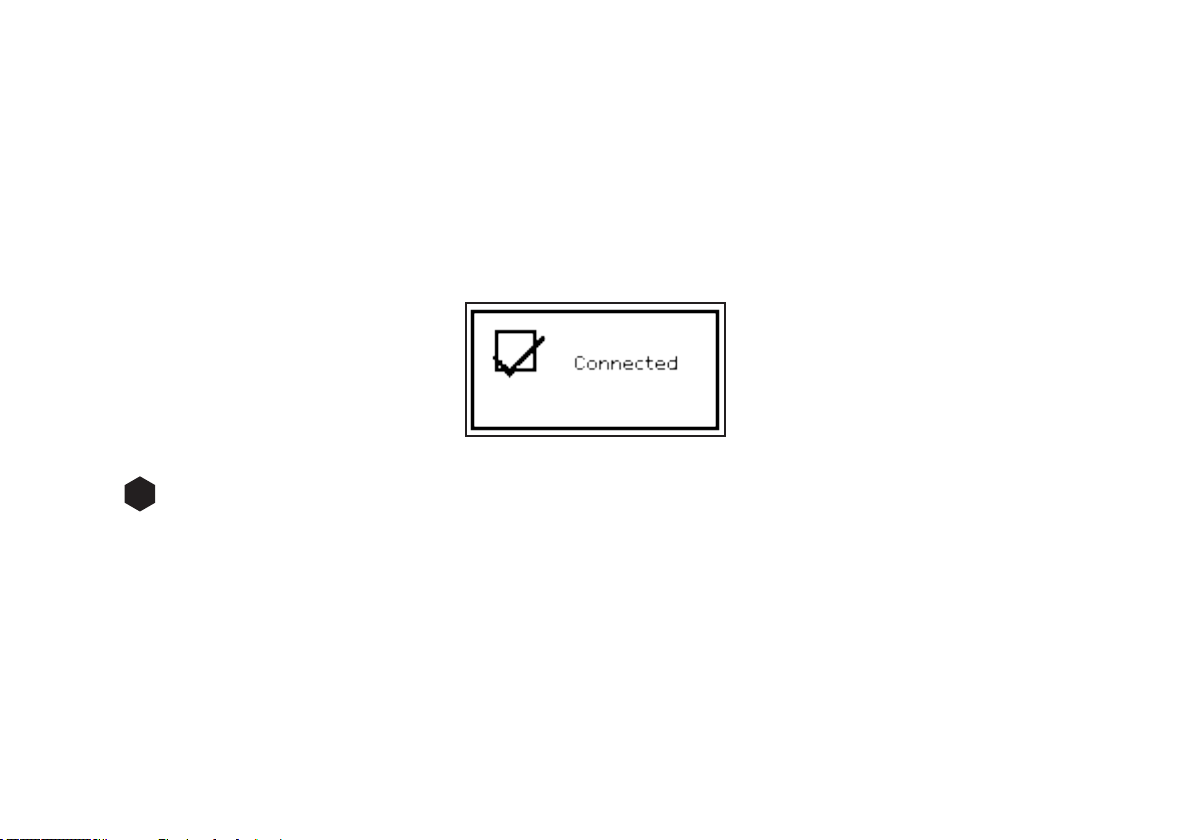
On Completion
BoomBocs STUDIO connects to the selected network.
If connecting fails, BoomBocs STUDIO returns to a previous screen to try again.
To exit the process use the Back/Menu button
Equaliser
Several preset EQ modes are available; also a user-dened setting (My EQ).
To choose an EQ setting, select Menu > System settings > Equaliser.
You can then choose from a variety of preset modes and My EQ.
The last option ‘My EQ prole setup’ allows you to dene your own settings for the ‘My EQ’ option, with
4.6

20
custom bass and treble settings.
Network
The device remembers the last four wireless networks it was connected to and automatically tries to
connect to whichever one of them it can nd. You can see the list of registered networks through Menu >
System settings > Network > Network prole.
From here you can delete unwanted networks by turning and pressing Select, then forming delete with
“Yes.” There are also other options for viewing and manually altering network settings from Menu >
System settings > Network > (for example setting up a wired network).
Users experienced with networking may nd these options useful for diagnosing and xing network
problems.
Language
The default language is English. To change, select Menu > System settings > Language > then select your
language.
4.7
4.8
Other manuals for STUDIO
1
Table of contents
Other BoomBocs Speakers manuals


