08
BASIC FUNCTION DESCRIPTION
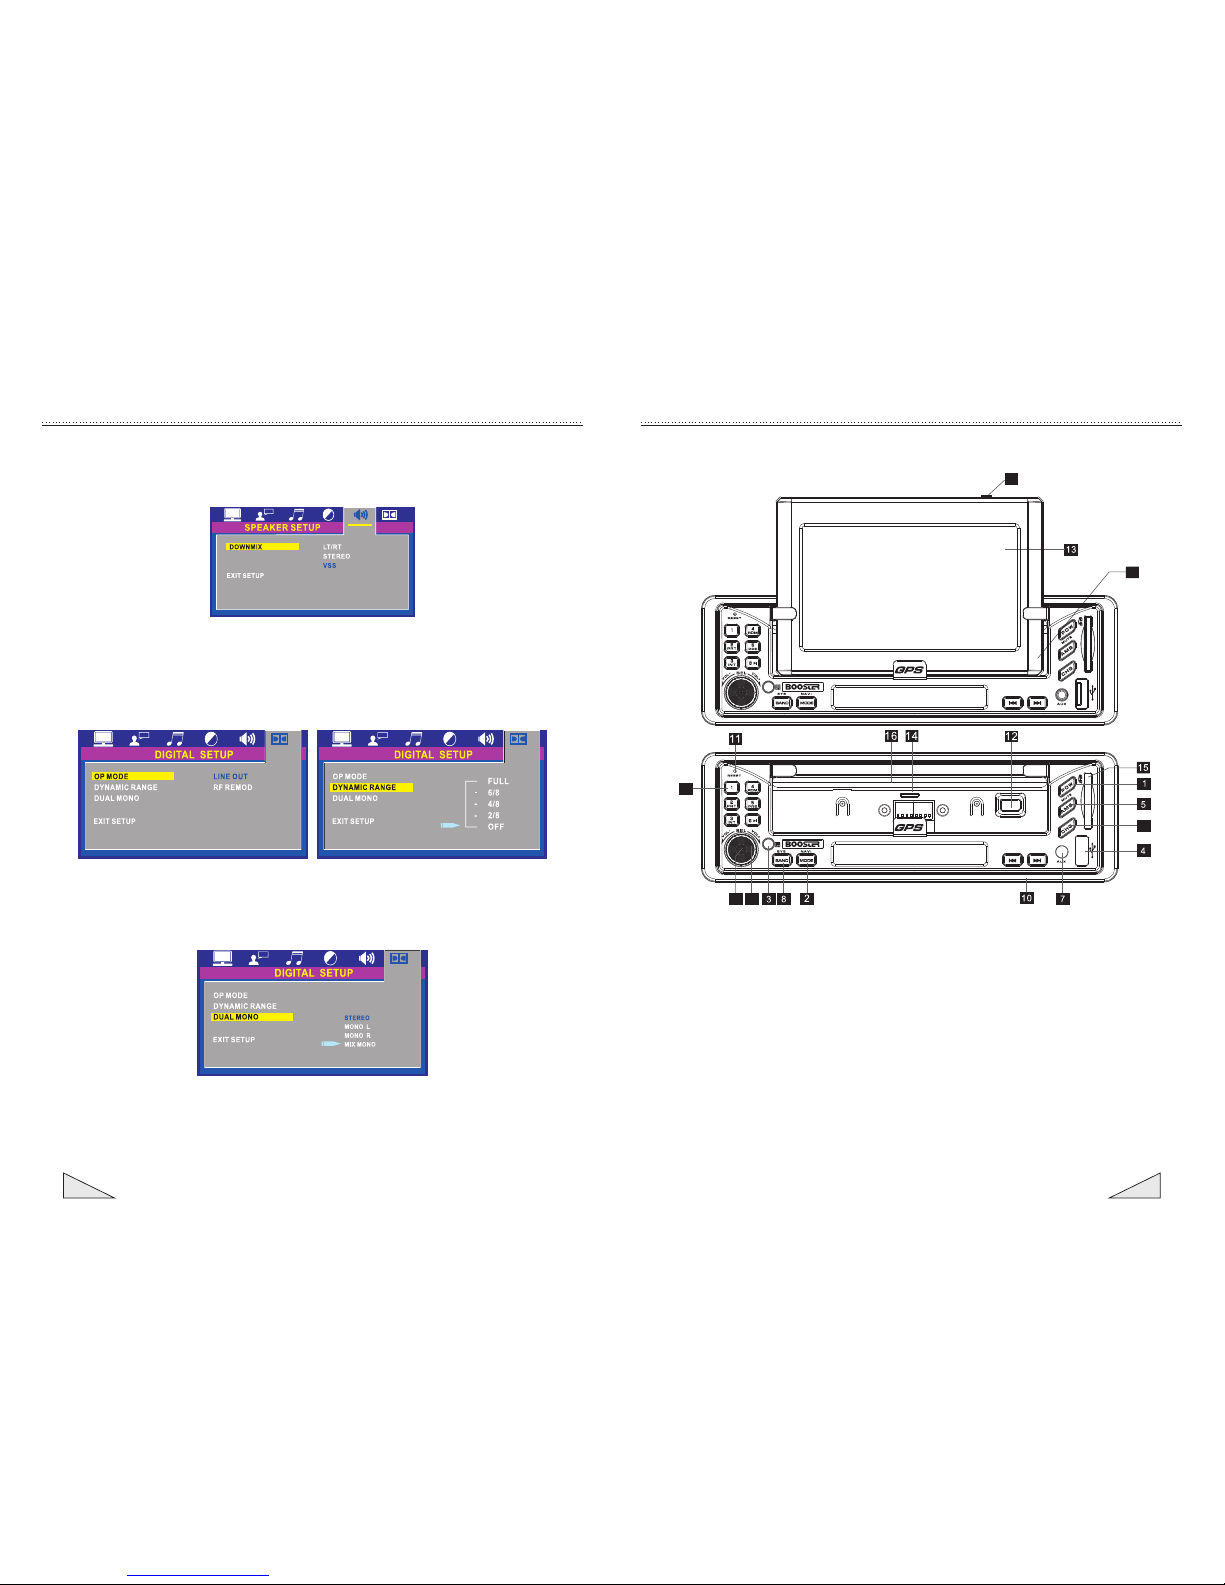
AMS Radio Function
Press (5) (AMS) to search the radio sets, and a function will be exiting on the number (17) (1~6) every 5
seconds. When you are searching under AMS mode, there will be “INT” displaying, and through pressing
the responding number button, you can turn the radio to the set you like.
★ Press (5) (AMS) for over 3 seconds, the automatic moment-memory function can be activated; and
the radio will select the sets automatically and save it into number buttons 1-6.
★ Note: Every band of the Player can save 6 radio sets at most. Please operate number keys by
referring to number button description; and In the state of TV, press AMS to automatically select sets
and save the sets in number buttons.
6. Volume +/-
Press volume button (VOL+/-) to regulate the up and down of the volume, with clockwise up and
anti-clockwise down.
7. AUX In
8. Wave-band
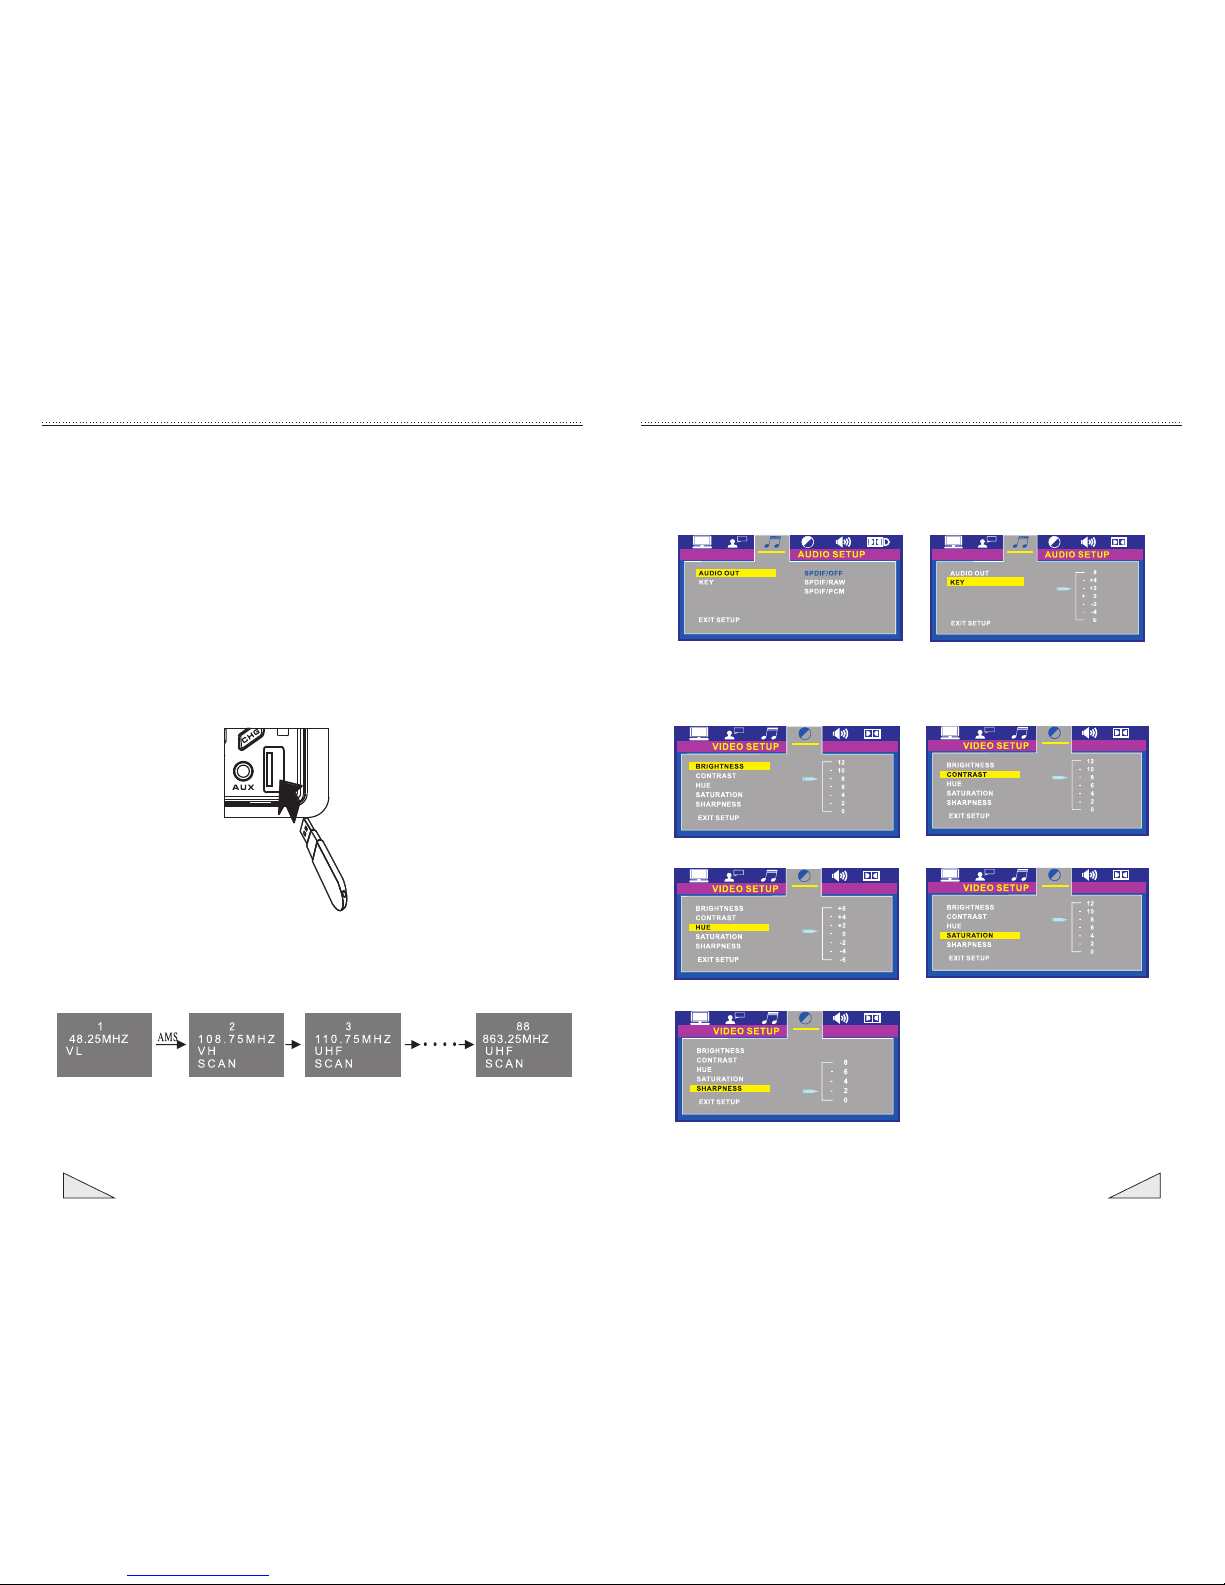
(1) In the state of radio reception, press BAND repeatedly, the Player will select the band according to
the following sequence: FM1-FM2-FM3-AM1-AM2
(2) In the state of background output, press BAND repeatedly, the system of NTSC/PAL/AUTO can be
changed.
(3) In the state of TV, press Band repeatedly, the system of PAL/PAL N/PAN M/NTSC/SECAM can be
changed.
9. Selection
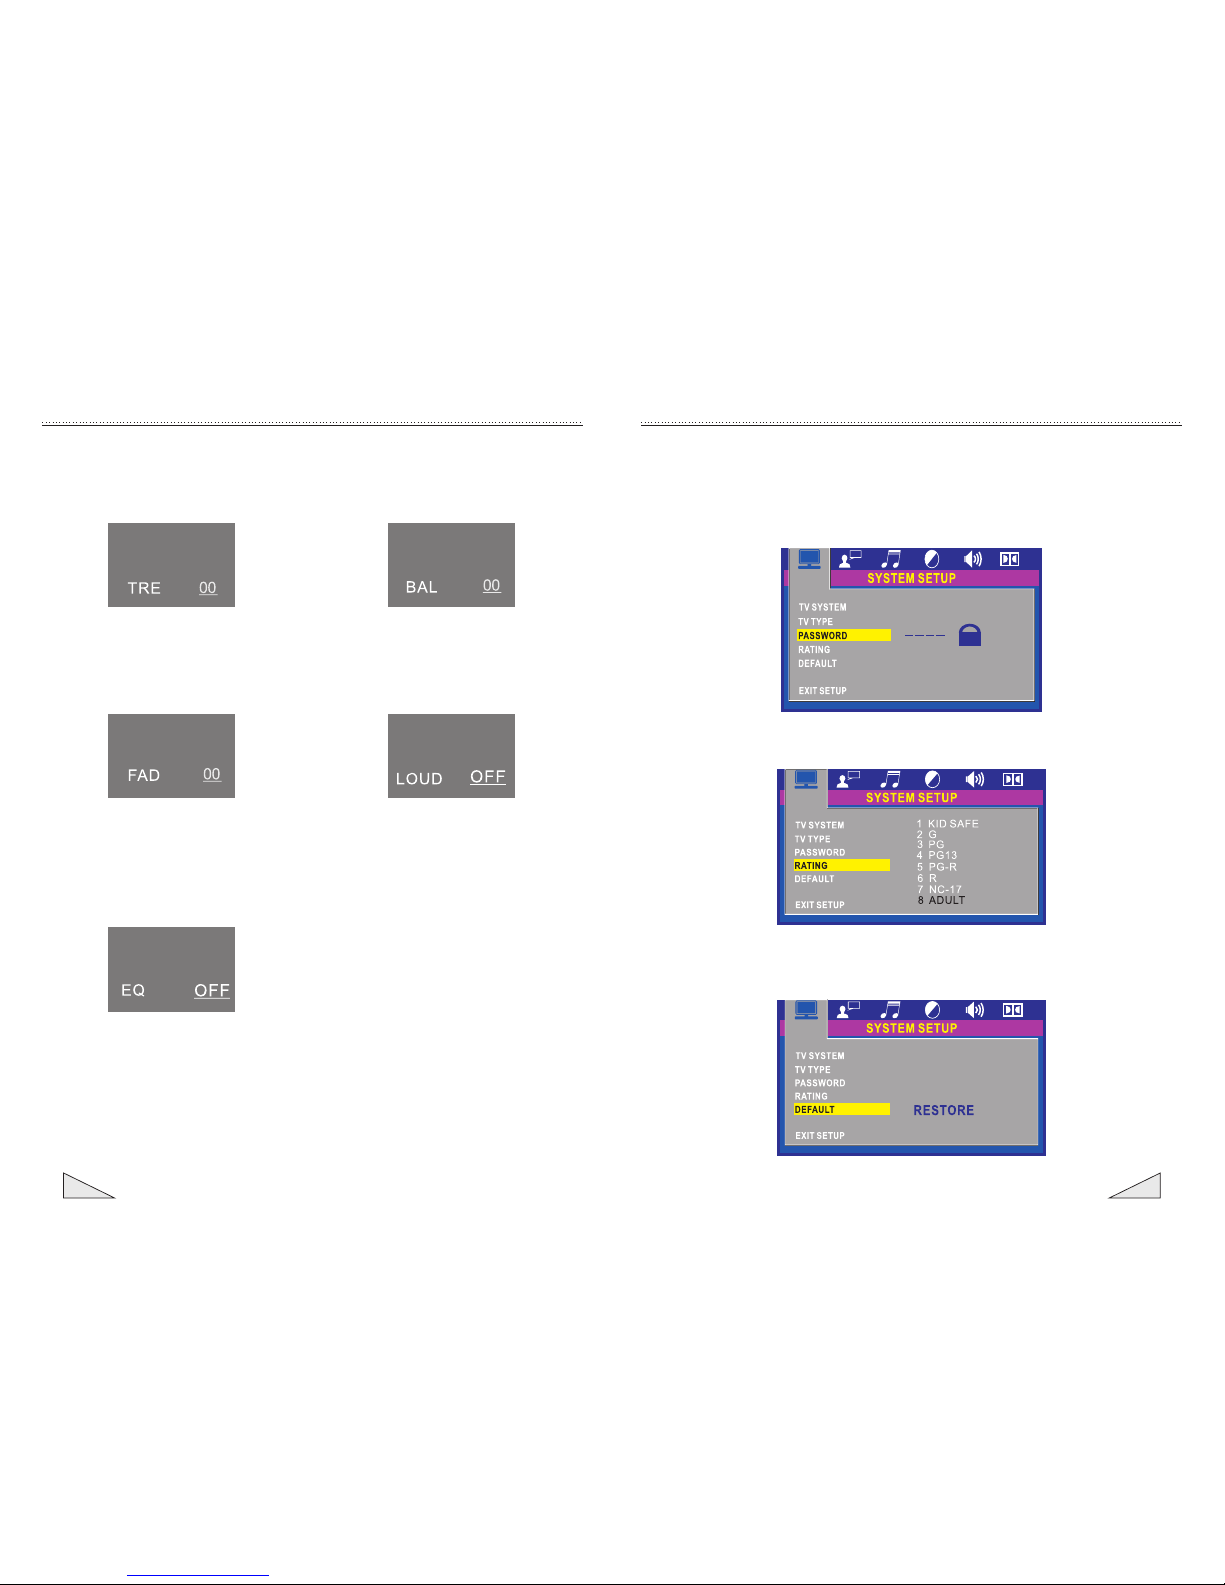
Audio Control (repeated press for selection), short press the button repeatedly, the following selections
will appear: VOL/BAS/TRE/BAL/FADLOUD/EQ.
* Press volume button, and when VOL
display, turn the button clockwise to turn
up the volume and anti-clockwise to turn
down it.
* Go on to press volume button, and when
BAS appears, turn the button clockwise to
strengthen the bass, and anti-clockwise
to reduce it.
19
THE OPERATION OF REMOTE CONTROLLER
Language Setup
Language setup, OSD language, audio language, subtitle language, menu language and exit setup.
When selecting the interface of picture language, the system will show English, Chinese, German,
Spanish, French, Portuguese and Italian for your selection (as shown in the figure).
When selecting the interface of audio language, the system will show English, Chinese, German,
Spanish, French, Portuguese and Italian for your selection (as shown in the figure).
When selecting the interface of subtitle language, the system will show English, Chinese, German,
Spanish, French, Portuguese and Italian for your selection (as shown in the figure).
When selecting the interface of menu language, the system will show English, Chinese, German,
Spanish, French, Portuguese and Italian for your selection (as shown in the figure).
Please select the switch of Exit to exit setup.