Boston Acoustics VRX User manual

High Performance Wide Dispersion Home Theater
Surround Speakers
VRX

Specifications
Frequency Response (±3dB) 80Hz–20kHz
Recommended Amplifier Power 15–150 watts
Nominal Impedance 8 ohms
Sensitivity [1 watt (2.83v) at 1m] 91dB
Bass Unit 41⁄2" (114mm) copolymer
Passive Radiator 41⁄2" (114mm) copolymer
High-Frequency Driver Dual 1" (25mm) VR®anodized aluminum dome with AMD™
Crossover Frequency 2500Hz
Dimensions (HxWxD) 11 x 111⁄8x 57⁄8" (280 x 283 x 148mm)
Weight/each 8.4 lbs (3.81kg)
Description
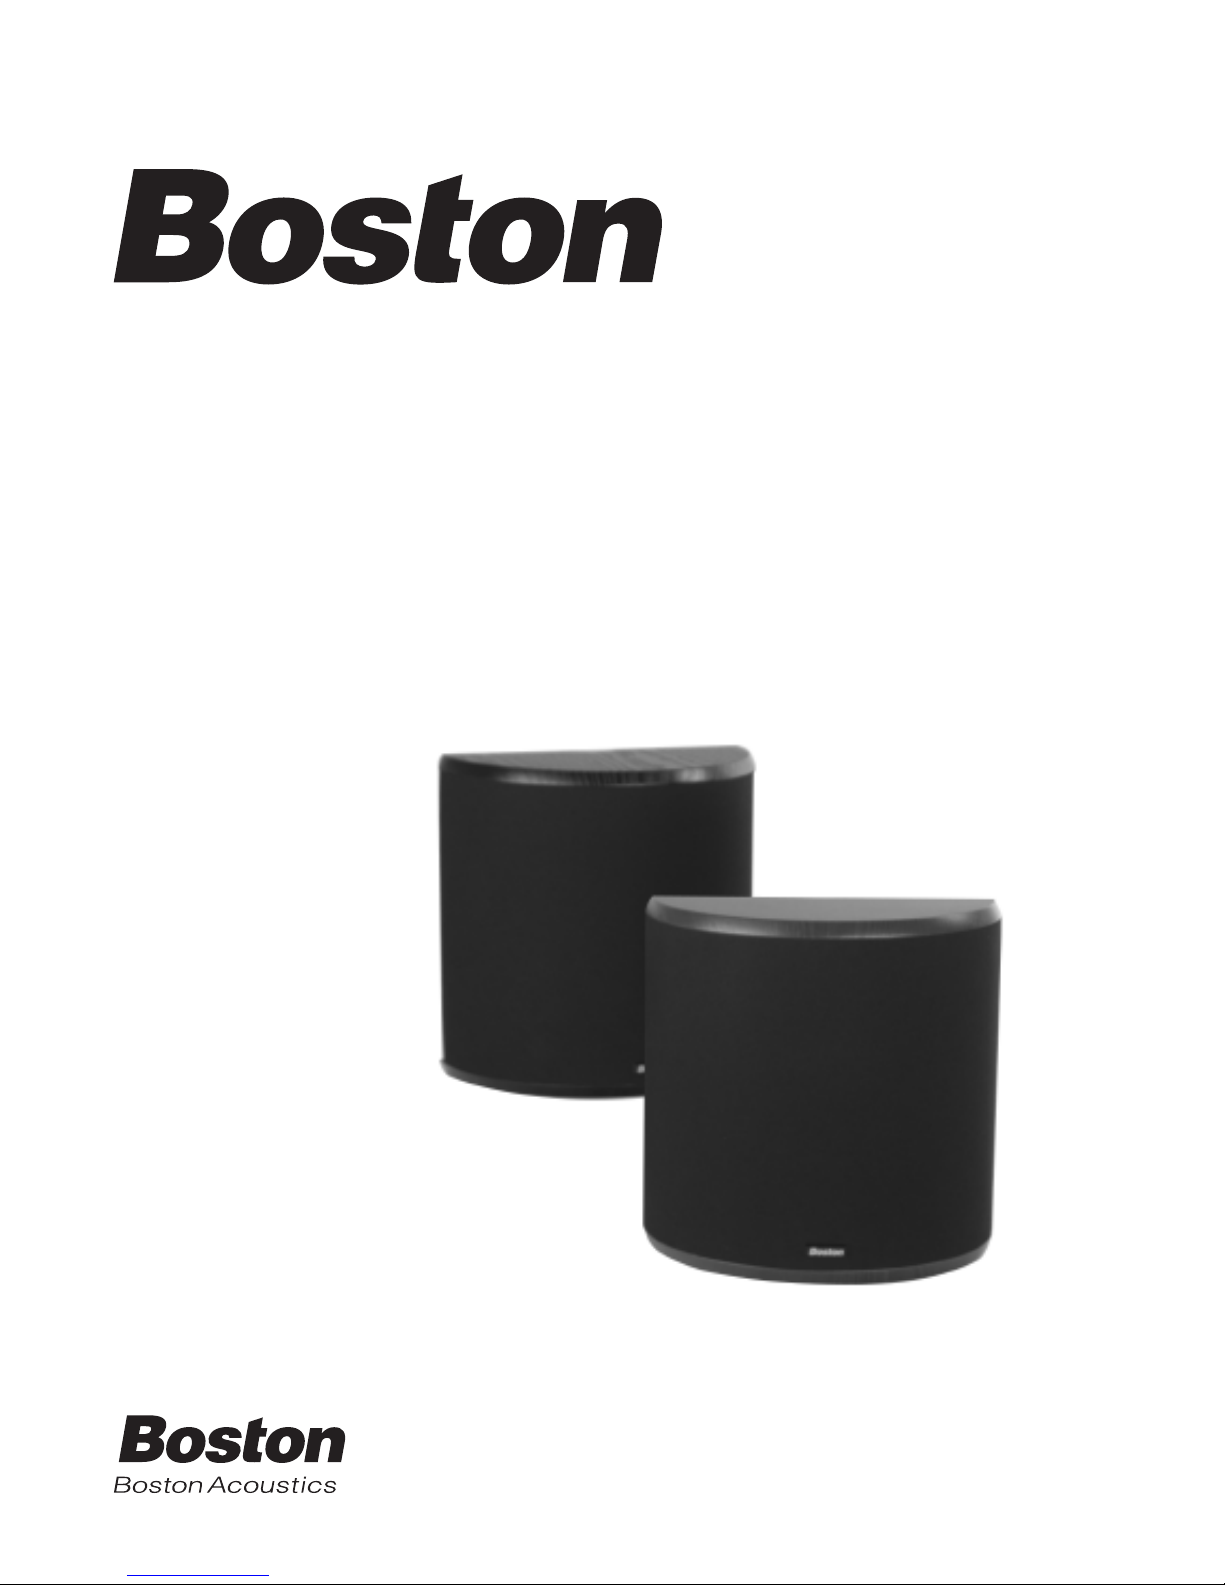
The VRX surround speaker delivers the wide frequency response, high power handling and
placement flexibility required by the finest home theater systems. Its unique driver com-
plement creates an enveloping sense of surround sound, simulating the multiple surround
speakers found in a quality movie theater.
The VRX is a high output, wide dispersion surround speaker. It provides the rear channel sur-
round sound effects with Dolby®Digital, DTS®and Dolby Pro Logic®decoding electronics.
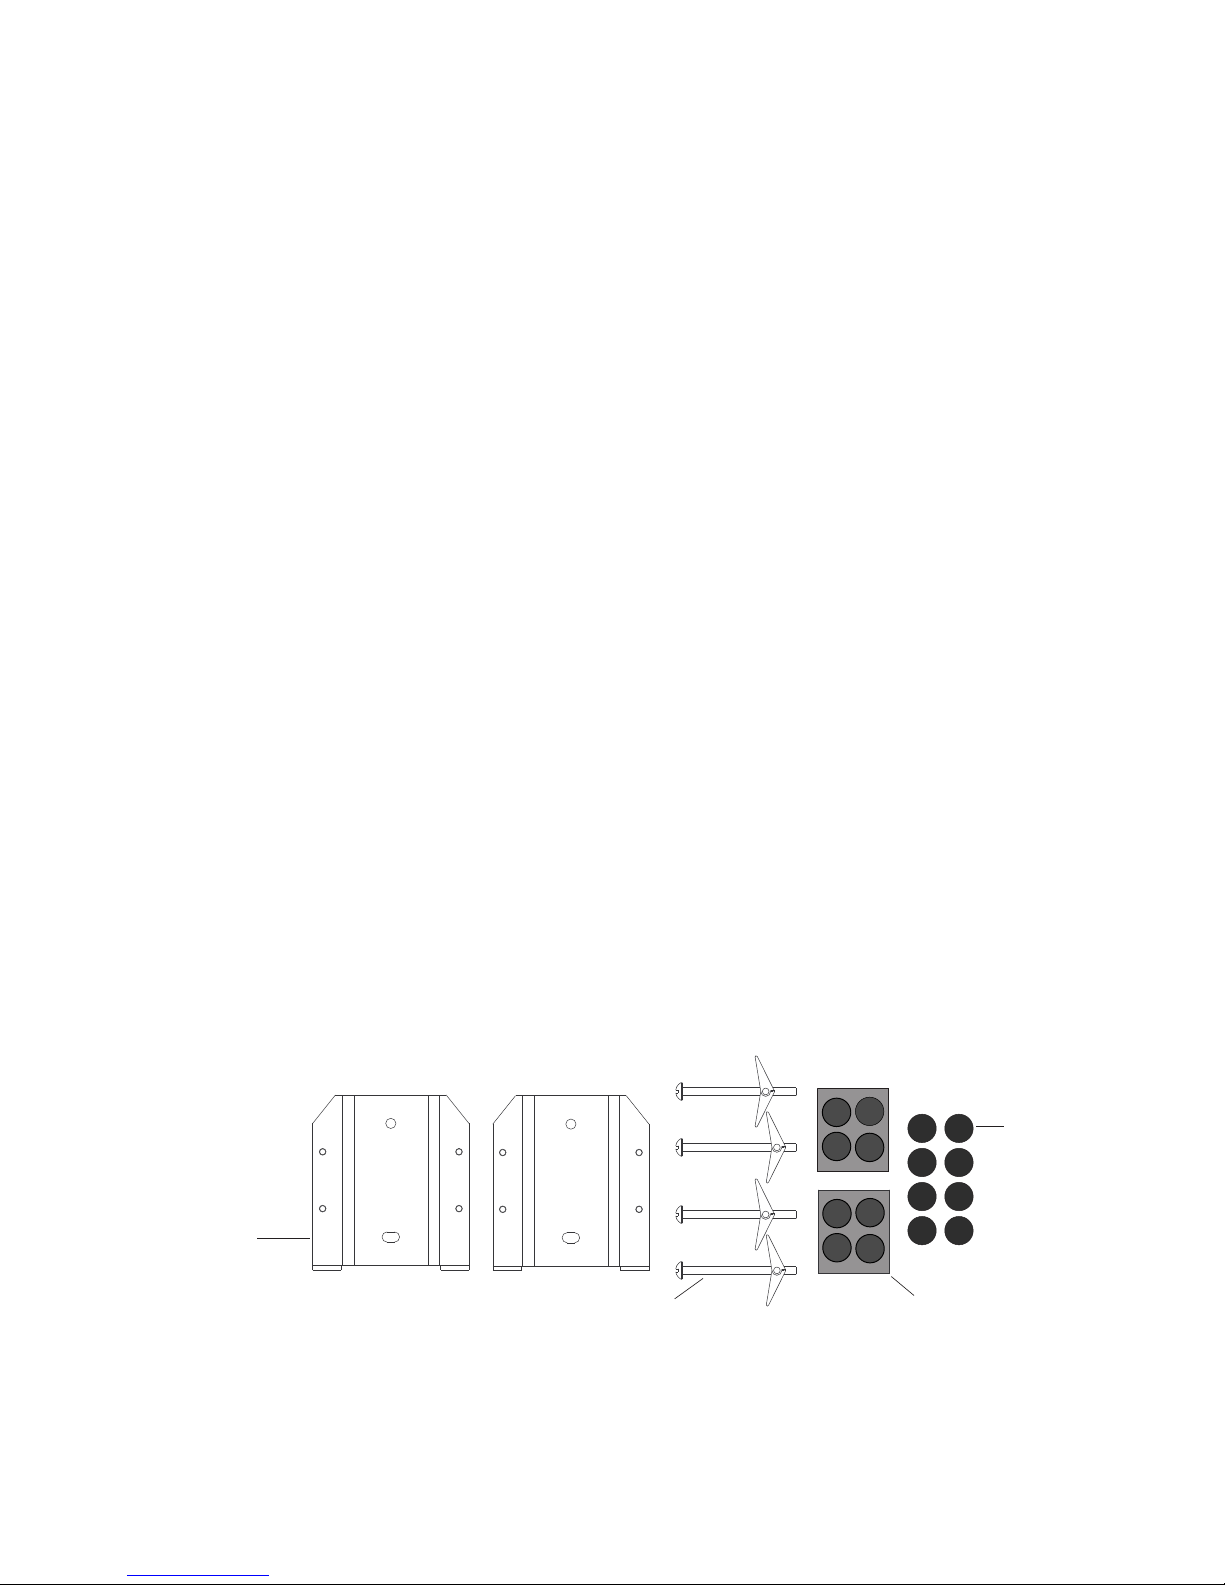
The VRX may be placed on a shelf or mounted on a wall or ceiling using the supplied tem-
plate, mounting hardware and bracket. Gold-plated five-way binding posts allow the con-
nection of virtually any speaker cable. Its unique design allows for it to create a seemingly
larger or more intimate acoustic space, depending upon how it is oriented relative to the
listening space.
Direct vs. Diffuse Sound Pattern
The VRX represents a product evolution based upon our considerable experience with direct
and diffuse radiating surround speakers. The surround channels from a movie soundtrack
are designed to help the moviemaker transform the theater into the environment that is
being portrayed on the screen. Since a movie theater is a relatively large space, several sur-
round speakers are placed along the theater’s walls. If you would like your listening room
to sound more like a larger acoustic space such as a movie theater or live music venue, then
the VRX should be placed so that the speakers’ passive radiators acoustically interact with
most of the room. This is accomplished by mounting the speaker so that the diffuse side
arrow on the back of the speaker is aimed toward the listening area. If you prefer the sur-
round effects to be more discrete and localized such as in a small room, then you should
mount the speakers so that the direct side of the arrow on the back of the speaker is aimed
toward the listening area.

Direct Configuration Diffuse Configuration
In either case, the best results will be obtained if the VRX is mounted above ear level and
out at least 20 inches from the corner. However, it has been our experience that satisfacto-
ry results can be obtained with a wide variety of placement choices. Experiment between
direct and diffused patterns by simply swapping the right and left speakers.
Mounting Tips
Use the supplied template to aid in positioning the mounting bracket. At least 4 inches of
clearance is required between the top of the template and the ceiling. Please take care that
the mounting brackets are attached securely to the chosen surface. Toggle bolts are sup-
plied for use on drywall or hollow plaster walls. Alternatively, you may wish to obtain wood
screws for wood or wall studs or masonry anchors for masonry walls. Use the supplied self-
adhesive rubber feet to place the speakers upright on a shelf.
Setting Up Your Home Theater System
Volume Levels: To obtain the best home theater effect, match the sound levels of each speak-
er. Home theater systems include a test signal that simplifies this level matching. Refer to the instruc-
tions provided with your surround sound electronics.
Bass Management: Set the surround channels to “SMALL.” This setting diverts low bass to the
LFE channel, and will result in the greatest total system bass output. For more information on Bass
Management refer to the instructions provided with your surround sound electronics.

Room Placement
Place the VRX speakers on either side of the
room slightly behind the listening area.
One or both of the VRX speakers may be
hung from the ceiling. Make sure the
DIRECT or DIFFUSE arrows on the rear label
point in towards the listening area for your
desired effect.
If the listening position is against the wall,
place the speakers to either side, no less
than 20" (50cm) from the rear wall.

VRX
DIFFUSE
SOUND RADIATION
DIRECTDIFFUSE
Consult manual for orientation best
suited to your listening
environment.
Wide Dispersion Surround Speaker
For DIFFUSE Field
Surround Effects:
Position VRX with
DIFFUSE arrow facing
the listening area.
For DIRECT Radiating
Position VRX with
DIRECT arrow facing
the listening area.
Surround Effects:
VRX
DIFFUSE
SOUND RADIATION
DIRECT DIFFUSE
Consult manual for orientation best
suited to your listening
environment.
Wide Dispersion Surround Speaker
For DIFFUSE Field
Surround Effects:
Position VRX with
DIFFUSE arrow facing
the listening area.
For DIRECT Radiating
Position VRX with
DIRECT arrow facing
the listening area.
Surround Effects:
Boston Acoustics, Inc.
Peabody, MA USA
Designed in the USA
Made in Malaysia 8 ohms
AAG 000101 a Boston Acoustics, Inc.
Peabody, MA USA
Designed in the USA
Made in Malaysia 8 ohms
AAG 000101 b
SOUND RADIATION
ORIENTATION LABELS
These labels are located on
the rear of each VRX.
Note that the speakers are
configured as mirror imaged
pairs.
IMPORTANT: Your speakers have been
packed as a DIRECT or DIFFUSE matched
set. Make sure that each speaker is mount-
ed on the desired side, with the active bass
driver pointing to the listening area for a
DIRECT sound field or the passive bass dri-
ver pointing to the listening area for a DIF-
FUSE sound field. The end result is that the
DIRECT and DIFFUSE arrows on the back of
each speaker will be pointing in the same
direction on either side of the room.
Note: If the viewing area is in a corner, the speakers may be placed to either side on adjacent walls.
Connect the speaker’s terminals to those on the amplifier or
receiver designated for “surround” or “rear channel effects.”
Maintain consistency of the +(red) and –(black) connections
by using the markings on the wire. Connect the ribbed side to
the +(red) terminals and the smooth side to the –(black) termi-
nals.
WARNING: To prevent electrical shock, always switch off the
amplifier or receiver when making connections to the speaker.
Using the five-way binding posts: The binding posts permit
easy connection to pins, spade lugs, bare wire and cable
banana plugs. The metal surfaces are gold plated to resist
corrosion. NOTE: Most dual banana plugs will not fit behind a
flush wall mount installation, however single wire banana plugs
should fit.
Connecting Your VRX Speakers

Wall or Ceiling Mounting Your VRX Speakers
The VRX is designed to be mounted directly onto a wall or ceiling. First attach the eight sup-
plied self-adhesive felt pads, one on the back of each corner of both speakers. Then attach
the bracket to the wall or ceiling and slide the speaker on to the bracket.
You may run wires to the speakers on the wall surface or behind the wall. Use the recessed
area on the back of the speaker to accommodate the wire slack.
Mounting on drywall, paneling or other hollow surfaces: Use the 6-32 x 2" machine screws
and toggle wings provided. The toggle wings require a 1⁄2" (12mm) hole.
Mounting on wood and other solid surfaces: Use a #6 or #8 wood screw.
Mounting on masonry, adobe and similar surfaces: Consult a knowledgeable installer about
proper hardware.
IMPORTANT: Your speakers have been packed as a DIRECT / DIFFUSE mirror imaged
matched set. Make sure that each speaker is mounted on the appropriate side to yield the
desired surround effect (see “Direct vs. Diffuse Sound Pattern”. The arrows on the back of
each speaker indicate the DIRECT or DIFFUSE radiation pattern.
INCLUDED HARDWARE
(2) mounting
brackets
(4) toggle wing screws
(8) rear
felt pads
(8) rubber feet for
shelf mounting

Drill
1
⁄
2
" (12mm) holes
toggle wings
Level bracket
before hanging
speaker
6-32 x 2"
machine screws
2. Drill all holes as indicated. Insert the
machine screws through the bracket and
thread them onto the toggle wings before
penetrating the wall. Push the toggle wings
through the holes in the wall.
3. Level the bracket and tighten the screws.
Connect the wires to the terminals and hang
the speaker on the brackets, so the DIRECT
or DIFFUSE arrow on the label points to the
front of the home theater area according to
your preference.
MOUNTING
1. Mark off the two bracket mounting holes
using the VRX Mounting Template provided.
If running wires behind the wall, then also
mark off a 1⁄2"(12mm) hole located at 21⁄2"
(63mm) below the lower bracket hole. This
hole is also positioned on the template.
2"
(51mm)
2
1
⁄
2
"
(63mm)

If Service Seems Necessary
First, contact the retailer from whom you purchased the speaker. If that is not possible, write
to:
Boston Acoustics, Inc., 300 Jubilee Drive, Peabody, MA 01960.
Send us:
1. Your name, address and daytime telephone number.
2. When and where you purchased the speaker system and a copy of your sales slip.
3. Makes/models of your signal sources and amplifier.
4. Description of the problem.
We will promptly advise you of what action to take. If it is necessary to return your speaker
to the factory, please ship it prepaid. After it has been repaired, we will return it freight pre-
paid in the U.S. and Canada
300 Jubilee Drive
Peabody, MA 01960
978-538-5000
AMD is a trademark of Boston Acoustics, Inc. Boston, Boston Acoustics,
the Boston Acoustics logo, and VR are registered trademarks of Boston
Acoustics, Inc. Dolby and Dolby Pro Logic are registered trademarks
of Dolby Laboratories Licensing Corporation.
Specifications subject to change without notice.
© 2003 Boston Acoustics, Inc.
042-001882-0
Listening Levels and Power Handling
IMPORTANT: Adjusting Listening Volume. To obtain the best home theater effect, balance
the sound level of each speaker. Home theater systems contain a test signal that simplifies
this procedure. Refer to the instructions provided with your surround sound electronics.
The power recommendation for the speaker assumes the amplifier is not overdriven, which,
over a long period, can damage even our rugged speakers. If you hear a harsh, gritty noise
on peak levels, turn down the volume control. Prolonged or repeated operation with a dis-
torted signal from the amplifier can cause damage to the speakers, which is not covered by
the warranty.
Table of contents
Other Boston Acoustics Home Cinema Speakers manuals

Boston Acoustics
Boston Acoustics P400 User manual

Boston Acoustics
Boston Acoustics SOUNDWARE XS SPECIAL EDITION User manual

Boston Acoustics
Boston Acoustics SoundWare XS Digital Cinema Owner's manual

Boston Acoustics
Boston Acoustics VR1 User manual

Boston Acoustics
Boston Acoustics TVee 25 User manual

Boston Acoustics
Boston Acoustics Avidea 610 User manual

Boston Acoustics
Boston Acoustics Lynnfield VR910 User manual