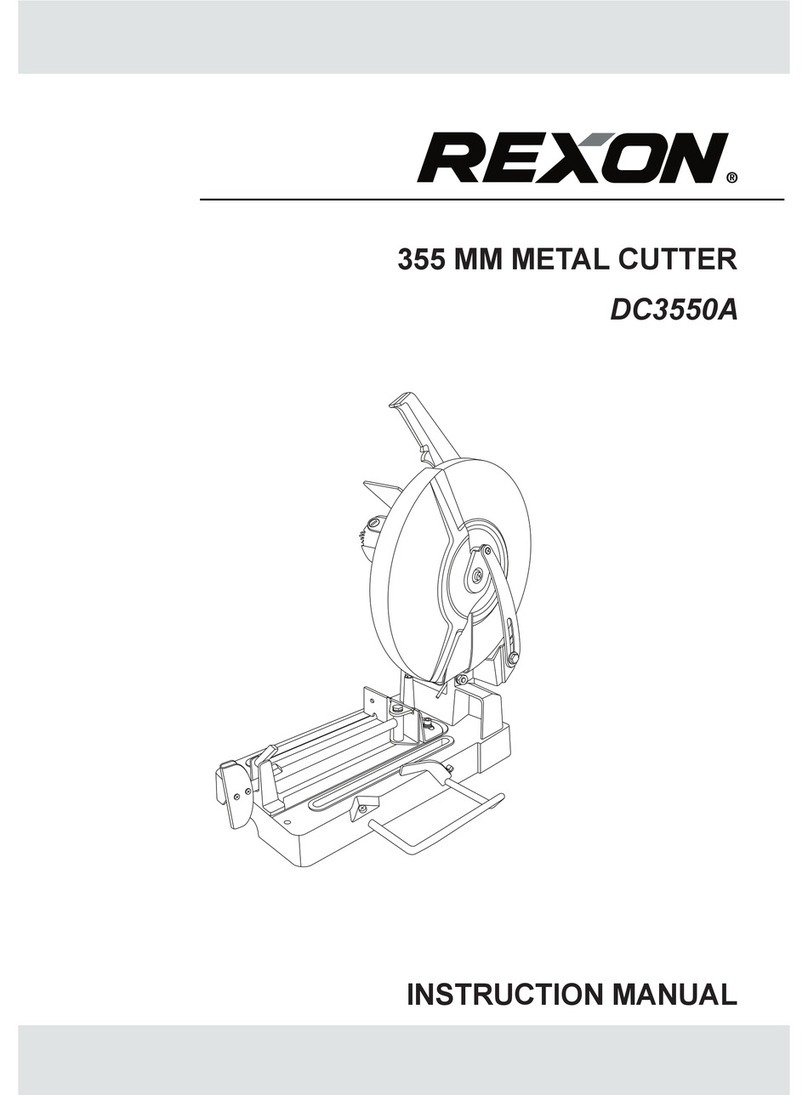
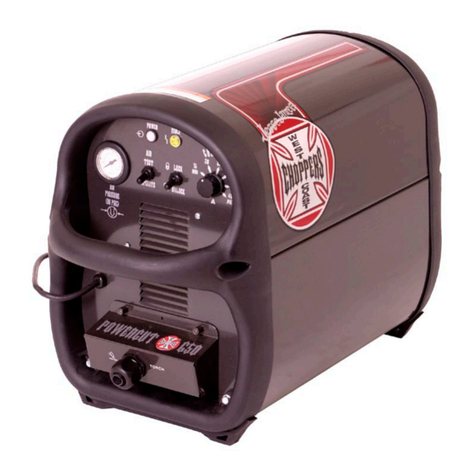
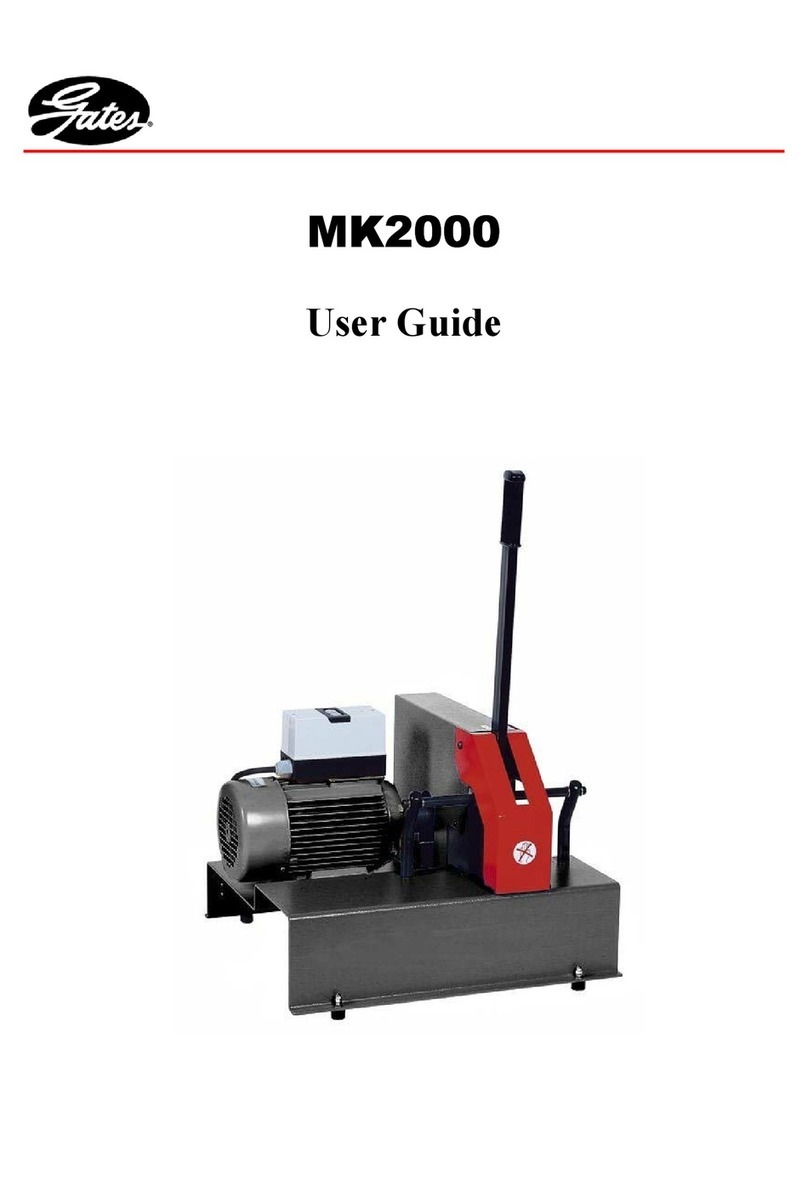
BOSTON WEATHERHEAD T-71 Guide

BOSTON WEATHERHEAD®
T
T-
-7
71
1
H
HO
OS
SE
E
C
CU
UT
TT
TI
IN
NG
G
M
MA
AC
CH
HI
IN
NE
E
with 14 inch scalloped blade
SAFETY & OPERATING MANUAL
Parts List for T-71:
•1 – T-71 hose cutting machine with 14 inch scalloped blade
•4 - Bolt/nut assemblies for mounting of unit
•4 – 6 inch long - Hose support pins
•1 - Allen key
•1 - Safety & Operating Manual
•1 – Pair of protective Eye Guard goggles

For your safety, read this manual carefully prior to operating your hose cutting machine.
LIMITED SAFETY WARNINGS:
WARNING! Before starting or operating this machine, comply with these limited safety
instructions.
1. Operate this cutting machine in a well-ventilated area.
2. Never allow fingers or hands near any moving blade or part of this machine.
3. Avoid the use of this machine in a dangerous environment.
4. Keep work area well lit, clean, and free of any obstructions.
5. Remove all tools from machine before starting and operating.
6. To avoid accidental starting of hose cutting machine, disconnect power supply before maintenance, servicing,
set-ups, and when machine is not in operation.
7. Use the hose support pins to create proper bend in hose and to safely assist in holding the hose in place while
performing the cut.
8. Never modify the plug in any way. Do not use adapter plugs. Outlet should be properly installed and
grounded in accordance with all codes and ordinances. This tool is double insulated and is equipped with a
polarized plug.
9. Replace damaged cords immediately.
10. If blade becomes hot and distorts, allow blade to cool completely. Replace or re-sharpen the blade. Abused
blades are dangerous and can anneal, become brittle, and chip.
11. DO NOT operate this machine while under the influence of drugs, alcohol or medication.
12. Avoid cutting hose near flammable liquids, gases, or dust as power tools can create sparks and may cause
ignition.
13. DO NOT expose this machine to rain or wet conditions.
ELECTRICAL DATA
T-71
Specifications:
Unit is equipped with a 4.5 hp/115volt 20 amp 1ph -60 cycle motor
(For safety and high performance, we recommend a dedicated 20-amp. circuit)
No load speed = 3,500 rpm
Approximate Weight: 85 lbs.
MOUNTING THE T-71 HOSE CUTTING MACHINE
Mount this cutting machine, using the four bolt and nut assemblies included with the hose-cutting machine, at a
comfortable level approximately 34” from floor. This unit should be securely mounted on a surface that cannot tip.
For proper cutting clearance, the front of the machine base should be flush with the edge of the mounting surface.
Allow for clearance on both sides of the unit for cutting larger bore hoses. The machine must be firmly bolted to a
bench or stand. Cutting machine must be placed within the power cord’s reach. Only use a separate properly
grounded, 20 amp. rated power source. DO NOT use any type of extension cord to operate machine. (see Fig. #1)

Be sure that operator’s work area is clear of all obstructions.
Figure #1
HOSE SUPPORT LOCATOR PINS
Thread two (2) of the four (4) hose support pins (supplied with the machine) into the front plate on each side of the
middle cutting slot. These support pins must be used in either the high or low holes depending on the size of the hose
to be cut (see Fig. #2).
Figure #2
For support pin replacement, see Reorder & Optional Parts List.
OPERATING INSTRUCTIONS
1. Make sure that all obstructions are clear of machine and blade prior to plugging the power cord into a separate
recommended 20 amp. rated power source. Adjust the two center support pins along each side of middle slot. Use the
high or low pin positions depending on the size of the hose to be cut. Example: 3/16” ID through 2” ID hose, use
higher locator holes. Larger bore hose may require the use of the lower center pin positions. (see Fig. #3 and 4)
2. Prior to cutting, locate cutoff mark on hose and center over the two middle support pins.
3. Using the other support pins located on either side of the front plate (see Fig.#3 and 4), place hose so that it arches in a
firm bent arc position. Caution: DO NOT exceed the cataloged hose bend radius. See Boston Weatherhead’s hose
assembly catalog for hose minimum bend radius.
4. Depress trigger switch to activate the cutter (see Fig. #5). allowing the blade to reach full operating speed.
5. Use the cutting handle to apply a firm, steady downward movement through the hose until cutter stops. The cut is then
complete. NOTE: If done correctly, this hose-cutting machine should produce a 90° straight cut. (see Fig.#6)
NOTE: Cutting larger bore industrial hose may require a lighter downward force to cut the hose. If the machine’s
motor starts to slow down, ease off the pressure and allow the motor to regain full RPM before continuing cut.
6. Release trigger and allow the blade to come to a complete stop before adjusting any part of the machine or set-up.

Figure #3
Figure #4
Figure #5

Figure #6
LIMITED OPERATING WARNINGS:
WARNING!
Before starting or operating this machine, comply with
these
limited operating warnings.
1. Properly secure machine before operating (see mounting instructions).
2. Using cutting machine handle grip, apply firm, steady pressure while cutting hose.
3. DO NOT operate machine without blade guard in place. Repair or replace blade guard if damaged.
4. DO NOT operate machine with dull blade.
5. DO NOT overload or use machine for other than hose cutting intended purposes.
6. DO NOT substitute any replacement items not approved by manufacturer. Only use identical replacement parts
when repairing or replacing worn parts.
7. Never force the blade through the hose. This could cause the motor to drag causing possible motor burn out. If
the saw begins to bog down during cutting process, raise the blade until full RPM speed is regained and
continue cut. If the breaker trips, you may have to reduce pressure and allow blade to regain speed before
applying more pressure to cut hose.
MACHINE & BLADE MAINTENANCE
Hose Cutting Machine
•Check power cord for damage. Replace cord if frayed or cut.
•Check blade safety guard for dents or damage. Replace as necessary.
•Motor does NOT require lubrication.
•Replace carbon motor brushes when they wear down to about ¼” or sparking could occur. Both brushes
should be replaced at the same time. Remove blade carefully. Brushes are located to the left of the handle and
may be accessed by unscrewing the brush cover.

Blade(s)
CAUTION!
Only use an approved cutting blade with this machine.
Scalloped Toothed Scalloped Smooth Beveled
1. Scalloped blade is 14” x .125” x 1” M2 HSS Rc 60-62 steel (part number T-1070) for cutting 1 and 2 wire
braid inch through 2” I.D., also 4 ply spiral hydraulic hose through 2” I.D., and 6 ply multiple-spiral hose
through 1 ½” I.D. NOTE: DO NOT use scalloped blade to cut Stainless Steel braided cover hose.
2. Use optional 14” scalloped toothed blade (part number T-1071) to cut Industrial Fluid Transfer hoses through
4 inch I.D. See Aeroquip Reorder & Optional Parts List for ordering information.
3. Use optional 14” smooth beveled blade (part number T-1072) to cut Stainless Steel braided cover hose. See
Boston Weatherhead Reorder & Optional Parts List for ordering information.
•Keep blade clean, free of residue and debris.
•Check blade for chips and cracks. Replace as necessary.
•For optimum performance, blade must be sharp. For safety reasons, we recommend returning dull blade to
manufacturer for sharpening.
Cutting Blade Recommendations
•When equipped with a scalloped blade (T-1070)this machine is capable of cutting hose including 1 and 2
wire braid through 2” I.D., 4-ply spiral hydraulic hose through 2” I.D., and 6-ply multiple-spiral hose
through 1 ½” I.D. The blade must be sharp.
•It is recommended that the scalloped toothed blade (T-1071)be used when cutting Industrial Fluid Transfer
hose through 4” I.D.
•For cutting Stainless Steel braided cover hose through 1” I.D., ONLY use the optional steel beveled blade
(T-1072).
•When used properly, this machine will produce a straight, clean cut on any Boston Weatherhead hose within its range.
Note: This machine is designed for manual feed only.

Changing Cutting Blade
WARNING!
Improper handling of blade may cause physical harm.
•When changing the blade, remove power cord from receptacle. Remove the 4 wing nuts on the periphery of the guard
and remove the right side of guard to expose the blade and spindle. Press the spindle lock located above the plastic eye
shield and rotate the blade until it is in the locked position. Place hex wrench onto the arbor bolt and unscrew the bolt.
CAREFULLY remove the blade. Reassemble by replacing the blade, flange, arbor bolt assembly and cover.
For blade sharpening and manufacturer replacement items, contact: Hudson Supply Co.
Cleveland, OH
Department: Blade Service Center
(216) 518-3000
Hose Cutting Machine Manufacturer Replacement Parts List:
Contact Hudson Supply for these five manufacturer’s replacement parts.
•Carbon motor brushes
•Handle and trigger switch
•Eye Guard Goggles (clear)
•6” long - hose support dowel pin (black oxide coated)
•Reorder & Optional Parts List supplied by Boston Weatherhead:
PART NO. DESCRIPTION
T-70-DP Set of 4 - 6” long - hose support dowel pins (black oxide coated).
T-1070 14 inch steel scalloped blade.
T-1071 Optional 14 inch steel scalloped toothed blade.
T-1072 Optional 14 inch steel smooth beveled blade.
Hose Support Pins
•Hose support pins should always be completely screwed in against the faceplate of the cutting machine. To achieve a
square cut, place hose on the pins making sure that they are equally aligned. Place the hose to be cut over the two
center support pins and apply downward pressure on the ends of the hose, not exceeding the hose’s minimum bend
radius. See Hose Assembly Master Catalog for minimum bend radius information. Screw the two outside support pins
into the corresponding holes that allow for the correct arc. Always create a firm arc to facilitate the ends of the hose
bending away from the blade as it cuts the hose.

TROUBLE SHOOTING
PROBLEM POSSIBLE SOLUTION
Too much pressure required to cut through hose.
•Blade dull, replace with sharp blade.
•Motor brushes worn. Replace.
•Support pins inserted in wrong location for size of
hose. Place pins in correct position.
Hose cutting machine does not operate properly
or stops during cut. •Downward movement of blade during hose cutting
process is too fast. Slow down movement allowing
motor to run at full RPM speed.
•Improper support pin setting for hose. Reduce pin
setting to form more arc in hose.
•Incorrect or dull blade used. Use correct blade or
have dull blade sharpened.
•Circuit breaker tripped. Check power supply
amperage and re-set.
•Motor brushes worn. Replace.
Hose not cut square.
•
Blade dull, replace with sharp blade.
•Downward movement of blade while cutting hose is
too fast. Slow down movement.
•Support pins inserted in wrong location for size of
hose. Place pins in correct position.
Blade won’t cut through hose.
•Blade dull, replace with sharp blade.
Table of contents
