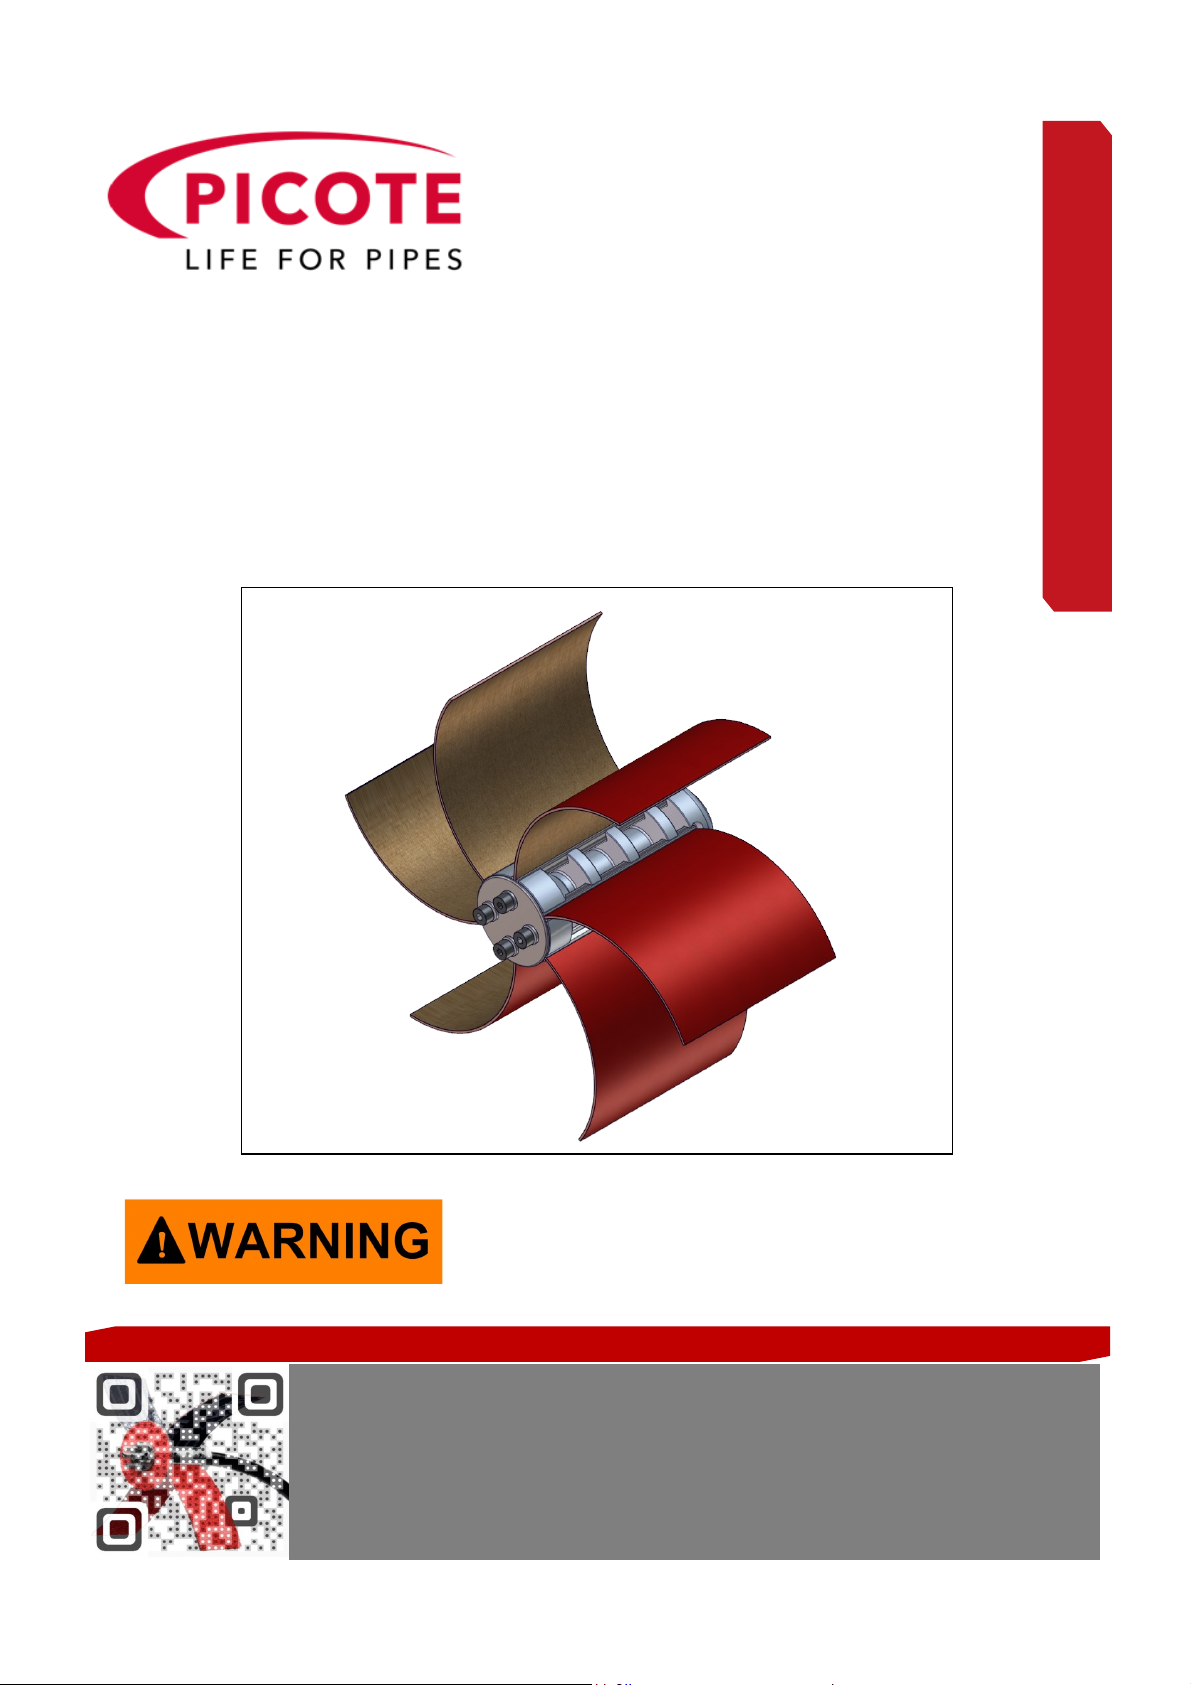
PICOTE Smart Spider DN150/6" Instruction Manual

I
N
S
T
R
U
C
T
I
O
N
S
Operating & Safety Manual
Smart Cutter DN150-DN225 / 6”-9” & DN250-DN300/ 10”-12”
for 18mm/¾” Shaft
These instrucons are for your personal safety. Always ensure that you
have read and understood these instrucons before using any tools of
the Smart Cuer range. Please also read and understand the Maxi Miller
Power Plus manual before using the Smart Cuer Tool.
We now have resellers in the U.S., Europe & Australasia.
Locate your reseller at picotesolutions.com

2
TOPIC PAGE/S
SAFETY INFORMATION & SYMBOLS 3
AVAILABLE SIZES & POWER SOURCES 6
BILL OF MATERIALS 7
ASSEMBLY 12
USING THE SMART CUTTER 20
MAINTENANCE & SPARE PARTS 22
PRACTICAL TIPS & SAFETY ADVICE 24
WARRANTY POLICY & PROCEDURE 25
To watch practical demonstration videos, or to download an electronic copy of these in-
structions, please visit www.picotesolutions.com. Please note that videos are not intend-
ed as a replacement or alternative to this operating and safety manual, but only as an
additional learning tool.
TABLE OF CONTENTS

3
SAVE ALL WARNINGS AND INSTRUCTIONS FOR FUTURE REFERENCE
SAFETY INFORMATION
This section contains important safety information. Failure to
comply could result in serious injury or death.
Safety Symbols
Personal Protective Equipment (PPE)
Always use Personal Protective Equipment when using the Smart Cutter and Miller sys-
tems, including suitable overalls / protective clothing & footwear and the following:
Always wear suitable eye protection when using the Smart Cutter to prevent
sewage, chemicals or dust from irritating your eyes.
Always wear suitable ear protection when using the Smart Cutter and Miller
systems to prevent any hearing loss.
Always wear suitable cut-resistant gloves when using the Smart Cutter to pre-
vent any hand injuries. Any open injuries or skin irritations should be covered
at all times to avoid contact with sewage, chemicals or dust.
Always wear a suitable ventilation mask when using the Smart Cutter or Miller sys-
tems to prevent any resin dust being inhaled or consumed, which can cause occu-
pational asthma or dermatitis as well as eye irritation.
Danger risk of serious injury from rotating parts
Danger risk of serious injury, follow instructions
Danger risk of serious injury or death by electrocution, follow instructions
Danger risk of serious injury from hot parts
Safety symbols are used throughout this manual to draw attention to potential hazards.
Danger do not touch. Risk of injury, follow instructions
Danger risk of serious injury or death by electrocution, follow instructions

4
Dust produced can be dangerous to your health, inflammable or explosive.
Make sure the drain pipe has been opened and ventilated to stop any gases
forming in the lateral drain where the work takes place.
Before assembly, use, replacement of parts or maintenance, unplug the Picote
milling machine or your hand drill from its power socket.
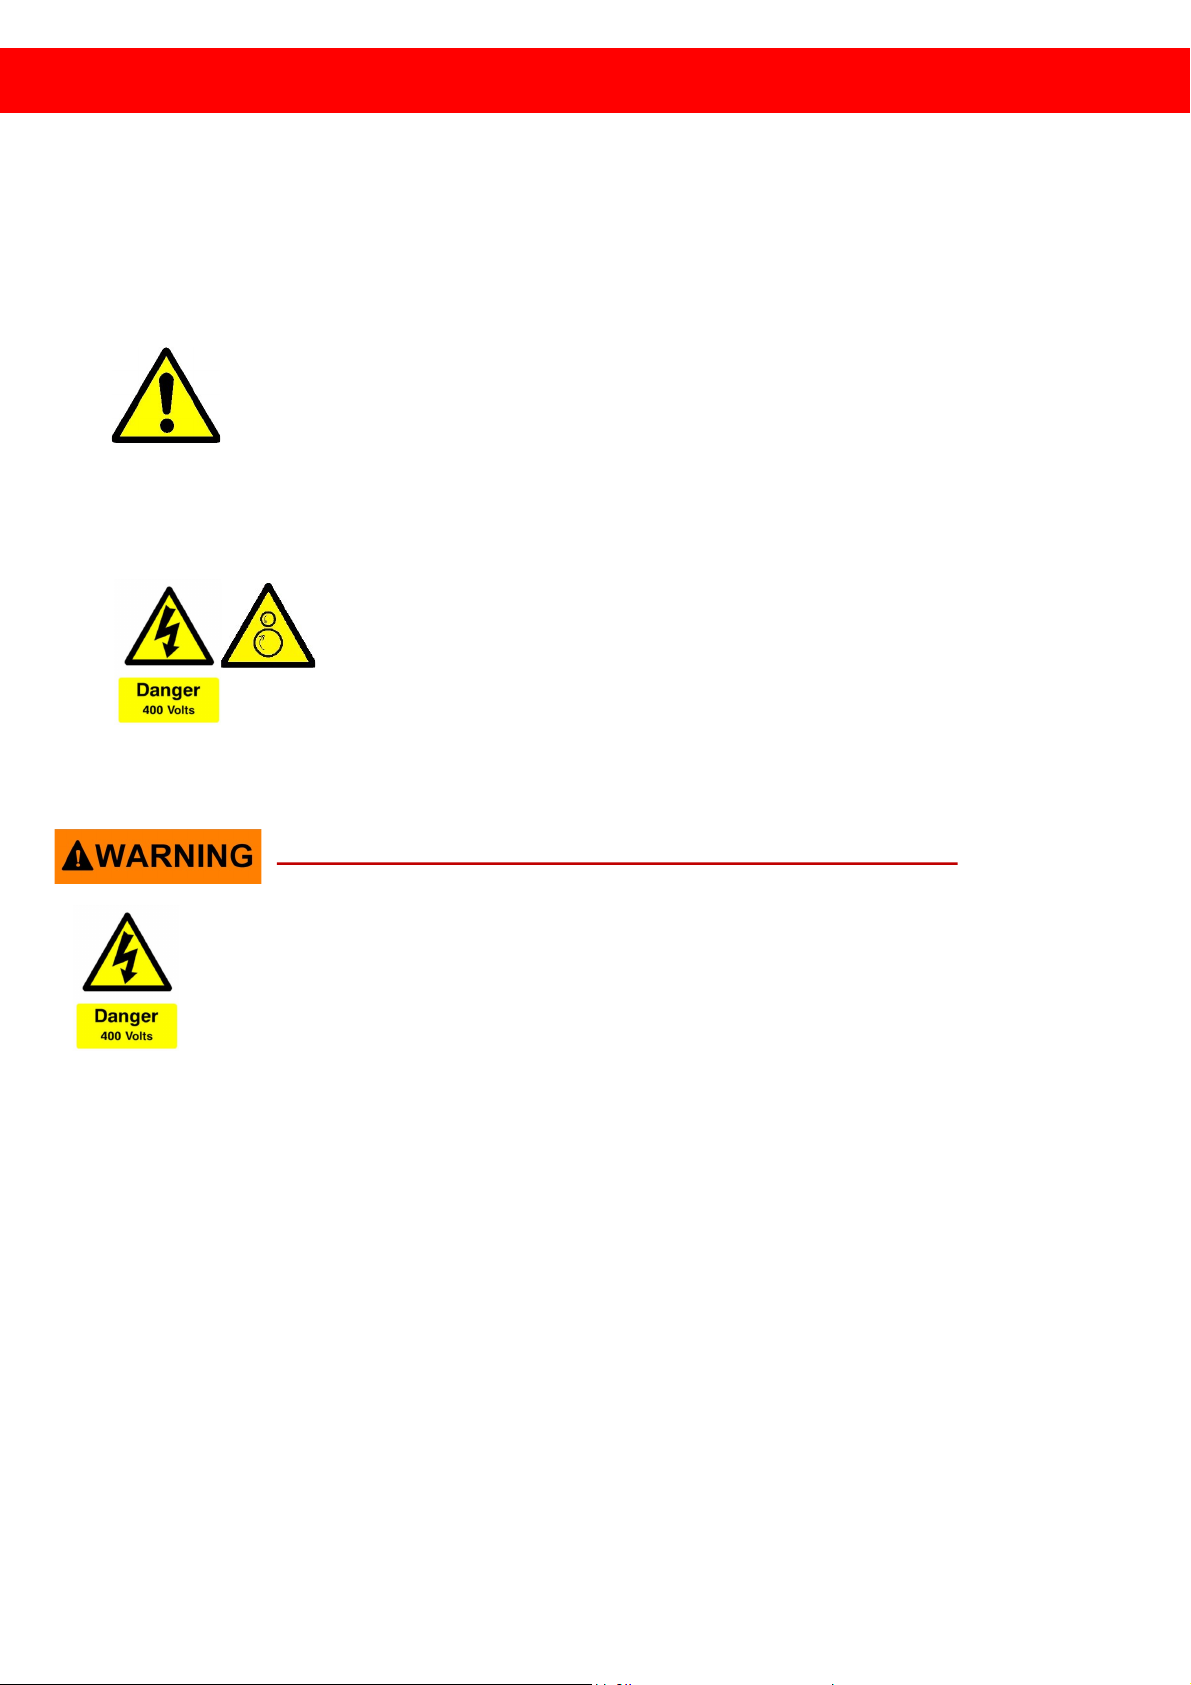
High voltage. Failure to comply may lead to serious injury in-
cluding electric shock or injury from rotating parts!
Always remember
Safety Symbols cont.
Safety symbols are used throughout this manual to draw attention to potential hazards.
SAVE ALL WARNINGS AND INSTRUCTIONS FOR FUTURE REFERENCE
ELECTRICAL SET UP REQUIREMENTS FOR MAXI MILLER POWER PLUS
Electrical shock can cause serious or fatal injury. Only qualified personnel
should install, maintain or troubleshoot this equipment.
Picote recommends that a properly trained electrician be available to wire a
power distribution box to whatever power source is available. In the case
where a generator is required, a minimum power requirement of 25,000
KW/KVA 3 Phase 480 volt is necessary.
The Power Plus is a dual voltage 3 phase power configuration. It uses a 10 gauge 4
wire cord.
Be sure the system is properly grounded/earthed before applying power. Do not apply power be-
fore you ensure that grounds are connected. Electrical shock can cause serious or fatal injury.
Follow the National Electrical Code (NEC) and local codes for the safe installation of the equip-
ment.
Do not operate the Power Plus Miller until you are sure that you are completely familiar with the
safe operation of the machine, all accessories and safety equipment. Improper use can lead to
severe injury. The user manual defines proper use of this equipment.
Contact Picote if you do not understand any procedure or operation concerning this
equipment or the user manual.
READ THE MAXI MILLER POWER+ MANUAL BEFORE USE

5
AVAILABLE SIZES & POWER SOURCES
The Smart Cutter is a fine tuning tool. It can be used to fine tune remaining edges after a
connection has been reinstated using the Twister tools. The Smart Cutter can also be
used to remove any remaining lining or inconsistencies, after the collapsed lining has
been removed using a Smart Crusher, Sweeper or Chains. The side grinding panels adapt
to the pipe size when the tool rotates. A Drill Head can be used if needed.
Selecting the correct Smart Cutter for the job
Choose your Smart Cutter according to the size of the original host pipe.
SMART CUTTER Shaft size
mm/inches
BEND 90° BEND 45°
Smart Cutter DN100 / 4” 18 / ¾”YES YES
Smart Cutter DN150 / 6” 18 / ¾”YES YES
Smart Cutter DN200-DN300 /
8”-12”
18 / ¾”YES YES
CHOOSING YOUR POWER SOURCE
The Smart Cutter for the 18mm/¾” diameter shaft has been designed for and can ONLY
be operated with the Picote Maxi Miller Power+ machine.
The machine should only be connected only to a 380-480 Volt (3-phase) power supp-
ly. The power source has to be grounded (earthed).
CHOOSING YOUR DRILL HEAD
The Smart Cutter can be used with or without the Drill or Crusher Heads by adding a Hub
Disc. The Drill Head and the Crusher are used when removing a deformed or collapsed
lining.
If access is restricted due to the failed or collapsed lining, the Smart Cutter might not fit
in with the Drill Head attached. In this case, the Drill Head may be replaced with a Hub
Disc. Without the Drill Head all the force is applied to the side grinding panels. The side
grinding panels will remove the remaining lining from pipe walls as required

6
BILL OF MATERIALS: Smart Cutter DN100/4”
The Hub Disc can be changed with the Crusher or Drill Head.

7
BILL OF MATERIALS: Smart Cutter DN150/6”
The Hub Disc can be changed with the Crusher or Drill Head.

8
BILL OF MATERIALS: Smart Cutter DN200-DN225/8”-9”
The Hub Disc can be changed with the Crusher or Drill Head.
Side grinding panels can be changed to 150x250 for DN250-DN300 pipes.

9
BILL OF MATERIALS - DN150/6” Smart Crusher Head

10
BILL OF MATERIALS - DN200/8” Drill Head

11
DN100, DN150 & DN200-DN300/4”, 6” & 8”-12” SMART CUTTER
ASSEMBLY & USE
First, make sure you have all the required parts. Please see photo parts’ lists on page 5.
Smart Cuer DN100/4”
Smart Cuer DN200-DN300/8”-12”
Please read safety informaon on
page 3 before assembly and use.
1001250100A Smart Cuer DN100 12mm, 6-panel hub, aluminum
1001870150A Smart Cuer DN150 hub 18mm, 6-panel, aluminum
1021800200 Smart Cuer DN200-225 18mm, 8-panel, aluminum
Smart Cuer DN150/6”

12
Smart Cuer DN150/6”
Assembly Instrucons
Recommended: Locte 542 Thread Sealant
Step 1. Slide the side grinding panels into their
slots.
Step 2. Add Hub Disc, Spring Washers and Allen Bolts (M8x30 “light”) and ghten
the bolts. Use Locte 542.

13
Smart Cuer DN200-DN300/8”-12”
Assembly Instrucons
Recommended: Locte 542 Thread Sealant
Step 1. Slide the side grinding panels into their
slots.
Step 2. Add Hub Disc, Spring Washers and Allen Bolts (M8x30 “light”) and ghten
the bolts. Use Locte 542.

14
Assembly Instrucons—Smart Crasher heads
Step 1. Insert the lock washers and hex bolts into their slots.
Recommended: Locte 542 Thread Sealant
Step 2. Place the Smart Crusher Blades into their slots. Pay close aenon to align-
ment as seen on next page.

15
Assembly Instrucons—Smart Crusher Heads
Step 3. Place every second blade in alternave slots of the
body.
The Smart Crusher can only operate at maximum diameter when the bla-
des are inserted correctly. The two opposite blades need to be closer to
the centre. If the blades are placed incorrectly the head may not be
able to progress through the pipe.

16
Assembly Instrucons—Smart Crusher Heads
Step 4. Insert the mounng bolts and nuts. Tighten bolts. Lock
nuts must be used! Recommended: Locte 542 Thread Sealant
Step 5. Place the rest of bolts and locking nuts into their place as per step 4.

17
Assembly Instrucons—Drill Heads DN200/8” & DN225/9”
Step 1. Insert the blades into their slots.
Step 2. Place the bolts and nuts in posion and ghten them. Locking nuts
must be used! Recommended: use Locte 542 Thread Sealant.

18
Assembly Instrucons—Drill Heads DN200/8” & DN225/9”
Step 3. Insert the other bolts and nuts into their slots.
Step 4. Place the Allen Bolts (M8) and locking washers into their slots.

19
Select the correct size tooling and drill head for your job. Ensure water is owing
in the pipe or the vacuum extracon is ready (dry cleaning). Venlate the work-
ing area properly. Ensure that all metallic drain pipes are grounded/earthed. The
Smart Cuer causes high fricon and there is risk of electric shocks. Verify the
locaon to posion the Smart Cuer with a CCTV camera. Place the Smart Cuer
inside the pipe ensuring that side grinding panels t completely inside the drain
before turning the power on.
Using the Smart Cuer
Before Starng Work
During Operaon
Switch the power on. Inially start the Smart Cuer at a lower speed to remove sharp edges o
the surface and then slowly increase the speed. Adjust the speed while working. Hold sha ght-
ly. Move the tool in back and forth movement in the pipe. Always use the CCTV camera to check
how you are progressing.
Do not force the cuer through the pipe—let the tool do the work. If too much force or excessive
high speed is used the tool might get stuck resulng in damaging or breaking the tool, sha or
the pipe. Too high rotaonal speeds could result in the side grinding panels being damaged on
sharp metal edges. Use lower rotaonal speed to grind possible sharp edges duller. Use either
water or vacuum to remove the debris.
Please read safety informaon on
page 3 before assembly and use.
NEVER SWITCH ON THE SMART CUTTER OUTSIDE OF THE PIPE! The cung head
needs to t completely inside the pipe before turning power on and using the
tool. Failure to comply could lead to serious injury or death.
PLEASE NOTE: Where water cooling is not being used (air/vacuum situaons), you need to take
breaks every 10—15 min as the tool head gets very hot during use. Always wear heat resistant
gloves aer the machine has been switched o and the power supply isolated. The tools can
then be cooled down using water or le to cool in the open air. Always observe the temperature
of the outer casing and let the Maxi Miller Power+ cool down aer every 30 min periods of con-
stant work.

20
Using the Smart Cuer
Aer Use
Please read safety informaon on
page 3 before assembly and use.
Do not turn power on when the Smart Cuer is outside of the drain! The tooling
needs to be installed completely inside the pipe before you turn the power on.
To begin select rotaonal speed between 650—800 rpm. Aer you have grinded
sharp edges the rotaonal speed can be increased to 1100—1300 rpm.
Where ever possible use water as the cooling medium.
Always take a break every 30 mins to prevent the outer casing from melng. Reg-
ularly inspect the condion of the outer casing.
To improve the eciency and cut down work me you regularly need to change
the side grinding panels.
RECOMMENDATIONS
WARNING: Turn the power o and isolate the supply before you remove the tool from the
pipe. There is a risk of serious injury or death! The tool can be very hot. Carefully take the tool
out from the pipe.
Check out the condion of the tooling and sha. Replace any worn-out parts. If the sha looks
damaged, remove decrepit part with an angle grinder and shorten outer casing accordingly.
Where required the Smart Sweeper blades and drill head can be sharpened with a grinder. Do
not remove more material than you must because the outer hard layer is only 2-3 mm thick.
Other manuals for Smart Spider DN150/6"
2
This manual suits for next models
3
Table of contents
Popular Cutter manuals by other brands

VEVOR
VEVOR 10190010215 user manual

HIKOKI
HIKOKI VB 16Y Handling instructions

Koike Sanso Kogyo
Koike Sanso Kogyo IK-12 BEETLE Operation manual

Ring Rescue
Ring Rescue Dolphin quick start guide

ATIKA
ATIKA ST 200 Original instructions, safety instructions, spare parts

Holmatro
Holmatro GSP 52 EVO 3 Series manual