manuals.online logo
Brands
  1. Home
  2. •
  3. Brands
  4. •
  5. Bouyer
  6. •
  7. Microphone System
  8. •
  9. Bouyer GC 1021 User manual

Bouyer GC 1021 User manual

G
GC
C
1
10
02
21
1
PUPITRE MICROPHONE
CARILLON
MICROPHONE
CONSOLE WITH CHIME
Le GC 1021 est un pupitre microphone
intégrant un carillon numérique trois tons
(sol, si, ré).
Ce pupitre doit être relié à un amplificateur
de la gamme BOUYER par l’intermédiaire
d’un module entrée AZ 1213 pour la série
Excellence.
Le module AZ 1213 assure l’alimentation
du pupitre et la liaison flottante 0 dB du
signal.
Sur le pupitre deux touches permettent
d’effectuer un appel microphone en le fai-
sant précéder ou non par le carillon. Le
pupitre permet de télécommander une
carte de priorité AZ 1229.
•
Bande passante :
Microphone .................... 100 - 15 000 Hz
• Consommation .............................. 38 mA
• Niveau carillon
Réglable de +3 dB à - 9 dB par rapport au
niveau micro
• Sortie flottante .............................. - 0 dBm
+ alimentation fantôme
• Mémoire Eprom .......................... 32 K x 8
• Dimensions :
Socle............................150 x 110 x 45 mm
Flexible ............................................ 310 mm
• Poids .............................................. 0,720 kg
• Câble ..................................................1,20 m
Insérer le module d'entrée AZ 1213 dans
l'emplacement prévu sur le préamplifica-
teur.
Dans le cas de l'AZ 1213, configurer les
dip switchs suivant la figure I, soit S1 et S2
sur ON et S3 et S4 sur OFF.
Raccorder la fiche DIN du GC 1021 sur
l'embase DIN du module AZ 1213.
Mettre l'amplificateur sous tension, vérifier
que le voyant vert du pupitre est allumé.
The
GC 1021
is a microphone console
incorporating a digital 3 note chime
(G,B,D).
This console must be connected to a
BOUYER amplifier (Excellence series) via
input module AZ 1213.
AZ 1213 module provides the power sup-
ply for the console and the 0 dB floating
connection for the signal.
Two buttons are provided on the console
for making announcements over the
microphone with or without a preliminary
chime signal. The console also provides
remote control of priority board AZ 1229.
• Bandwidth
Microphone...................... 100 - 15 000 Hz
• Consumption.................................... 38 mA
• Chime volume
Adjustable from +3dB to - 9 dB in relation
to the mic. volume
• Floating output.............................. - 0 dBm
and phantom power supply
• Eprom memory ..............................32 K x 8
• Dimensions
Base..............................150 x 110 x 45 mm
Gooseneck ......................................310 mm
• Weight ............................................0,720 kg
• Cable ..................................................1,20 m
Insert module AZ 1213 into the slot on the
preamplifier or mixer amplifier.
Set the dip switches on module AZ 1213
as shown in figure I, with S1 and S2 ON
and S3 and S4 OFF.
Connect the DIN plug on the GC 1021 to
the DIN socket on module AZ 1213.
Switch on the amplifier and check that the
green indicator lamp on the console lights
up.
I - DESCRIPTION I - DESCRIPTION
II - CARACTÉRISTIQUES TECHNIQUES II - TECHNICAL SPECIFICATIONS
III - INSTALLATION III - INSTALLATION
Ce document n'est pas contractuel; toute modification pouvant intervenir sans préavis / This document is not legally binding, we reserve the right to modify descriptions and specifications without notice.
Fig. I
AZ 1213
310 mm
45 mm
150 mm 110 mm
Code 595 600 - 05/2004
Au repos le voyant vert à droite du pupitre
est allumé, le microphone peut alors être
utilisé en appuyant sur la touche de droite
(Fig.III).
Appuyer sur la touche de gauche pour
déclencher le carillon, le voyant rouge est
allumé pendant la séquence.
Pour faire un appel précédé d’un carillon,
maintenir la touche de gauche enfoncée,
et parler quand le voyant vert s’allume.
Pour changer le niveau carillon, insérer un
tournevis dans l’orifice situé sous le
pupitre (Fig. IV) et ajuster en fonction du
résultat désiré.
Fig. II
Signal
+ Alimentation
Power Supply
Télécommande
Remote Control
Fig. III
Fig. IV
When the microphone console is ready,
the green indicator lamp on the right-
hand side is lit. The microphone can then
be used by pressing the right-hand button
(Fig. III).
Pressing the left-hand button triggers the
chime and the red indicator lamp lights
up while it is in action.
To precede a call with the chime signal,
keep the left-hand button pressed and
speak when the green indicator lamp is
lit.
To adjust the chime volume insert a
screwdriver into the opening beneath the
console (Fig. IV) and adjust as required.
IV - UTILISATION IV - USE
V - RÉGLAGE V - ADJUSTMENT
2GC 1021
Commande
CARILLON /
CHIME
Command
Commande
MICROPHONE/
MICROPHONE
Commande

Other Bouyer Microphone System manuals

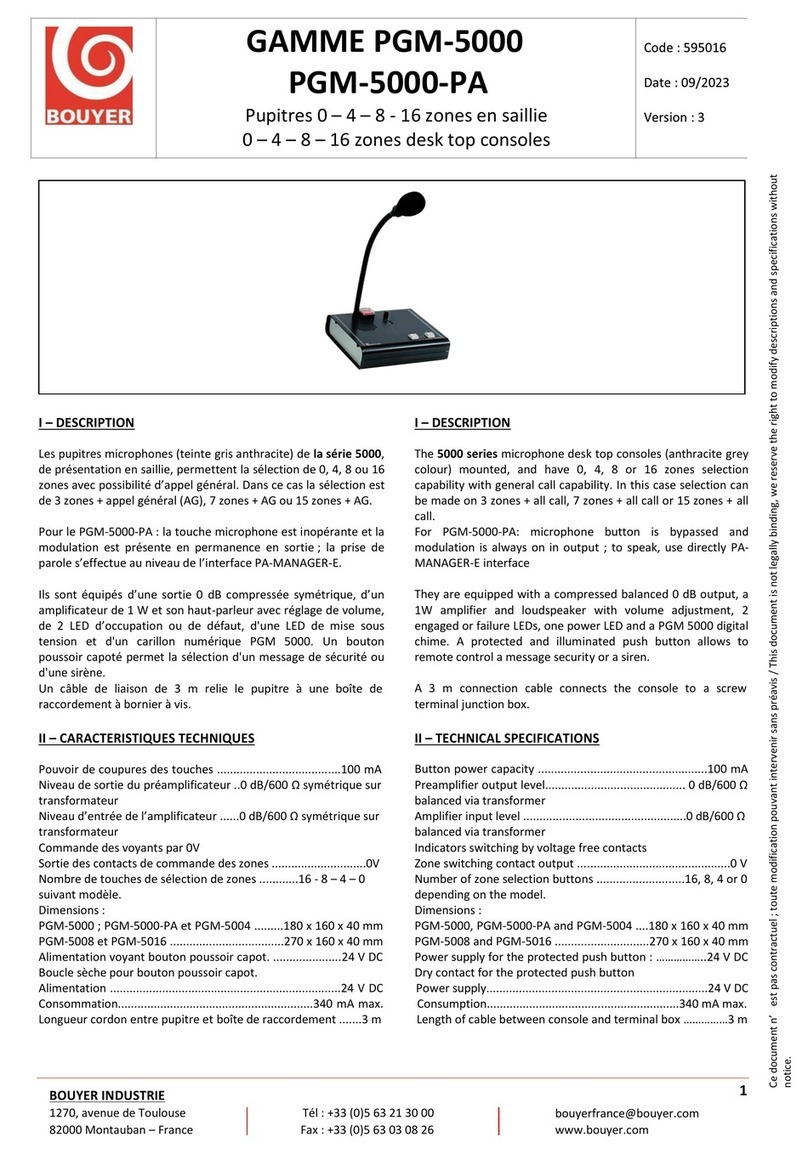
Bouyer PGM-5000 Series User manual

Bouyer

Bouyer PGM-5000 Series User manual

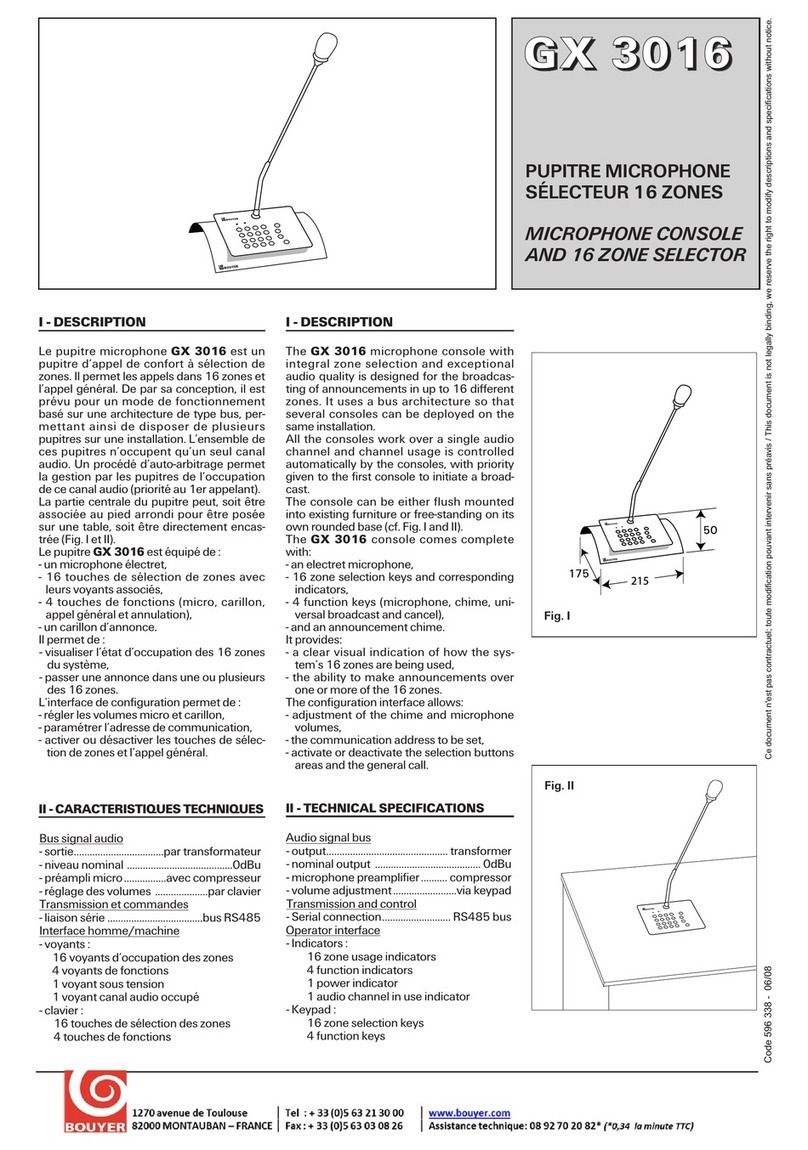
Bouyer GX 3016 User manual

Bouyer

Bouyer GX 3016 User manual

Bouyer 5000 Series User manual

Bouyer

Bouyer 5000 Series User manual

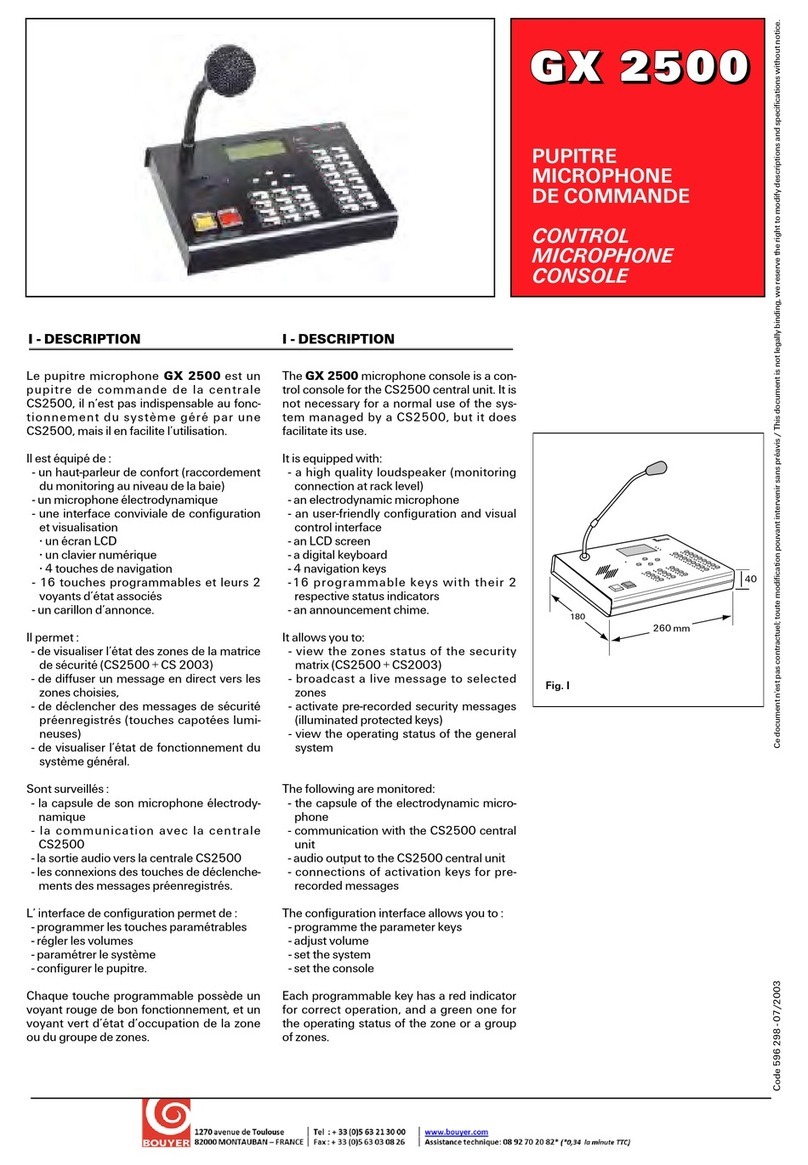
Bouyer GX 2500 User manual

Bouyer

Bouyer GX 2500 User manual

Popular Microphone System manuals by other brands

Coban DSSS owner's manual

Coban

Coban DSSS owner's manual

Trantec S4.16 series operating manual

Trantec

Trantec S4.16 series operating manual

Security-Center Profiline S-Video TV8750 installation guide

Security-Center

Security-Center Profiline S-Video TV8750 installation guide

HBA 27-CB213.214 user manual

HBA

HBA 27-CB213.214 user manual

PCB Piezotronics 378A13 Installation and operating manual

PCB Piezotronics

PCB Piezotronics 378A13 Installation and operating manual

Taiden HCS-5100 Installation and operating manual

Taiden

Taiden HCS-5100 Installation and operating manual

SKYTRONIC 171.304 Operation manual

SKYTRONIC

SKYTRONIC 171.304 Operation manual

Convergent Design Erika user manual

Convergent Design

Convergent Design Erika user manual

Nady Systems ENCORE DUET manual

Nady Systems

Nady Systems ENCORE DUET manual

Shure FP5 manual

Shure

Shure FP5 manual

Shure PGX Wireless System quick start guide

Shure

Shure PGX Wireless System quick start guide

Talent TWUH2 user manual

Talent

Talent TWUH2 user manual

Electro-Voice MS2500 Specifications

Electro-Voice

Electro-Voice MS2500 Specifications

FS M6800 Series quick start guide

FS

FS M6800 Series quick start guide

Azden IRB-10 user guide

Azden

Azden IRB-10 user guide

Bogen UHF8011BP/HH instruction manual

Bogen

Bogen UHF8011BP/HH instruction manual

Samson STAGE 266 HT6 owner's manual

Samson

Samson STAGE 266 HT6 owner's manual

AKG DMS 700 user manual

AKG

AKG DMS 700 user manual

manuals.online logo
manuals.online logoBrands
  • About & Mission
  • Contact us
  • Privacy Policy
  • Terms and Conditions

Copyright 2025 Manuals.Online. All Rights Reserved.