BRIGHT BEACON40 Solo User manual

3
Setup Guide | BEACON40®
WHAT’S INCLUDED
TABLE OF
CONTENTS
What’s Included ........................................ 3
Setup .................................................................. 4
Recommended Use .............................. 6
Additional Information ........................ 7
Precautions ................................................... 7
WELCOME
BEACON40®is beautifully designed to enhance
cognitive function and maintain brain health. It is
precisely engineered to deliver light at 40Hz, mirroring
the brain’s healthy gamma rhythm and improving
mental acuity, memory and attention.
BEACON40®lights complement your doctor-
prescribed protocols. Always talk to your doctor when
adding any supplement to your wellness routine.
This manual will guide you through
proper setup and use.
BEACON40®Solo light system
• 1 Base lamp
• 1 Power cord
• 1 Setup guide
BEACON40®Personal light system
• 1 Base lamp
• 1 Satellite lamp
• 2 Power cords
• 1 Setup guide

54 Setup Guide | BEACON40®
BEACON40®| Setup Guide
Use the controls on the BEACON40®Base
lamp to set your preferences.
POWER
Turn your lights on and off.
TIMER
Set your lights to turn off automatically after
1, 2 or 3 hours.
TONE
Set your lights to: warm gold, white or cool
blue. You may prefer a cooler tone during
the daytime and a warmer tone in the
evenings.
BRIGHTNESS
Turn the knob to your desired luminosity.
PAIRING
Press and hold the button to pair the Base
lamp with the Satellite lamp.
SETUP
1. Remove the BEACON40®Base lamp and the power cord
from the packaging.
2. Insert the silver post of the power cord into the port at the bot-
tom of the Base lamp. Connect the power cord to a wall outlet.
3. Press the power button 1to begin use.
If you have BEACON40®Personal light system continue setup:
4. BEACON40®Personal light systems also include a Satel-
lite lamp. Attach the power cord to the Satellite lamp as de-
scribed. Place the Satellite lamp in the same room within 25
feet of the Base lamp.
5. Press the power button 6on the Satellite lamp to turn it on.
6. Press and hold the pair button 5at the back of the Base
lamp. The lights will blink. The blinking means that the lights
are ready to pair. Hold the pair button for a few seconds until
both lights pulse. Your lamps are now paired.
1
1
6
5
4
32
1
2
3
4
5
BASE
SATELLITE

76 Setup Guide | BEACON40®
BEACON40®| Setup Guide
ADDITIONAL INFORMATION
For additional information, please visit GetMeBright.com or con-
PRECAUTIONS
BEACON40®is designed for use as a complement to your doc-
tor-prescribed therapy. You should not use this product if you have
a history of seizures or epilepsy, or if you have been diagnosed with
photosensitive epilepsy. Consult a doctor before use if you believe
you may be prone to photosensitive epileptic seizures.
This product is not a medical device. HomeoLux services and products are not
intended to be used as a medical device. Furthermore, the services and the
products are neither regulated nor approved by the U.S. Food and Drug Ad-
ministration, and are not designed to detect or prevent causes of Alzheimer’s
disease or any other medical condition.
HomeoLux services and products are not a substitute for medical care or adult
supervision. By using HomeoLux products you acknowledge, understand and
agree that your use of the services and the product is entirely at your own risk.
A very small percentage of people may experience a seizure when exposed to
flashing lights. Even people who have no history of seizures or epilepsy may
have an undiagnosed condition that can cause these “photosensitive epileptic
seizures”. These seizures may have a variety of symptoms including lighthead-
edness, altered vision, twitching of the eyes or face, jerking or shaking of arms or
legs, disorientation, confusion, or momentary loss of awareness, Seizures may
also cause loss of consciousness or convulsions that can lead to injury from fall-
ing down or striking nearby objects. If you experience any of these symptoms,
turn off the light immediately and consult a doctor.
According to IEC62471-1:206-07 Ed. 1.0 photobiological safety of lamps and lamp
systems, sources of optical radiation are classified into risk groups subject to
their potential photobiological hazard. BEACON40 is GROUP1 (Low Risk). No
photobiological hazard under normal behavioral limitations.
HomeoLux product BEACON40 device risk group is defined in IEC 62471-1:206-
07 Ed. 1.0.
Viewing the lights closer than 200mm distance should be avoided. Please fol-
low proper installation and use recommendations to avoid related risks.
RECOMMENDED USE
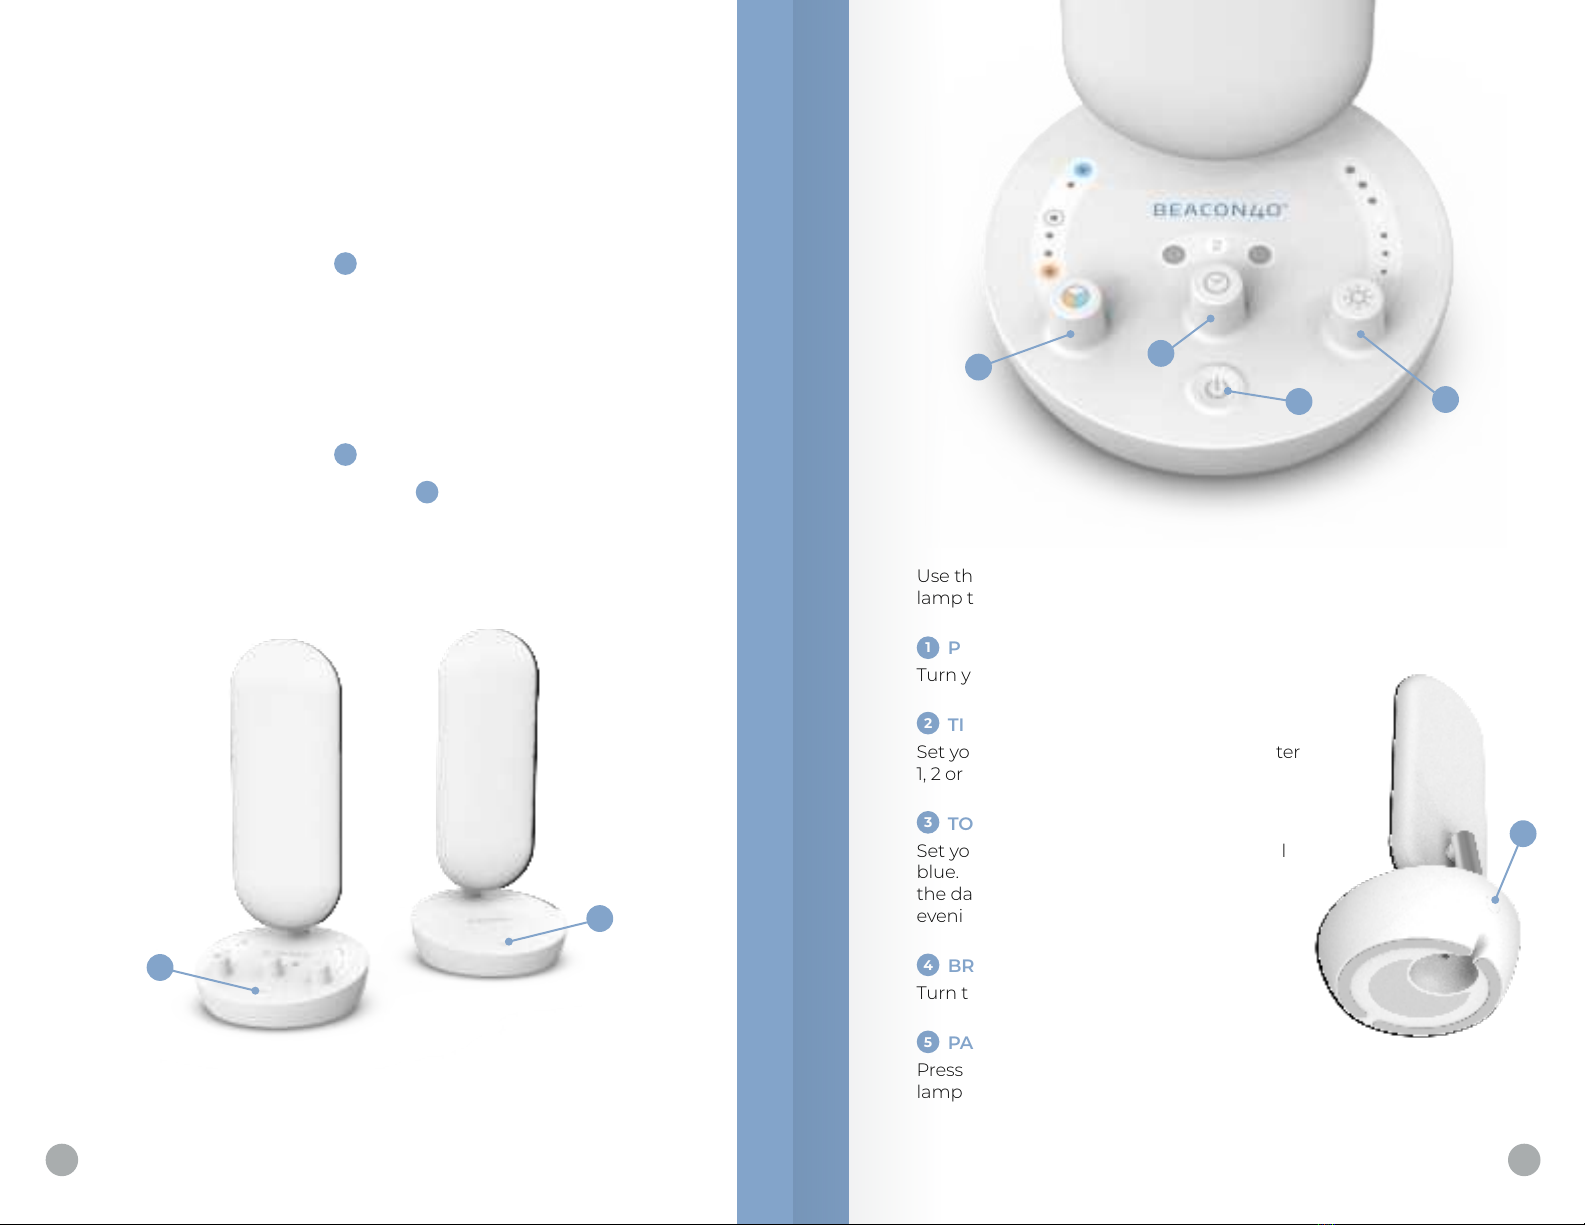
Find a comfortable setting for your lighting system.
Place each light where it will be unobstructed and in the periph-
eral view of the users. We recommend placement 3 – 12 feet from
your location. Incorporate BEACON40®into your daily habits,
with routine use for one or more hours each day.
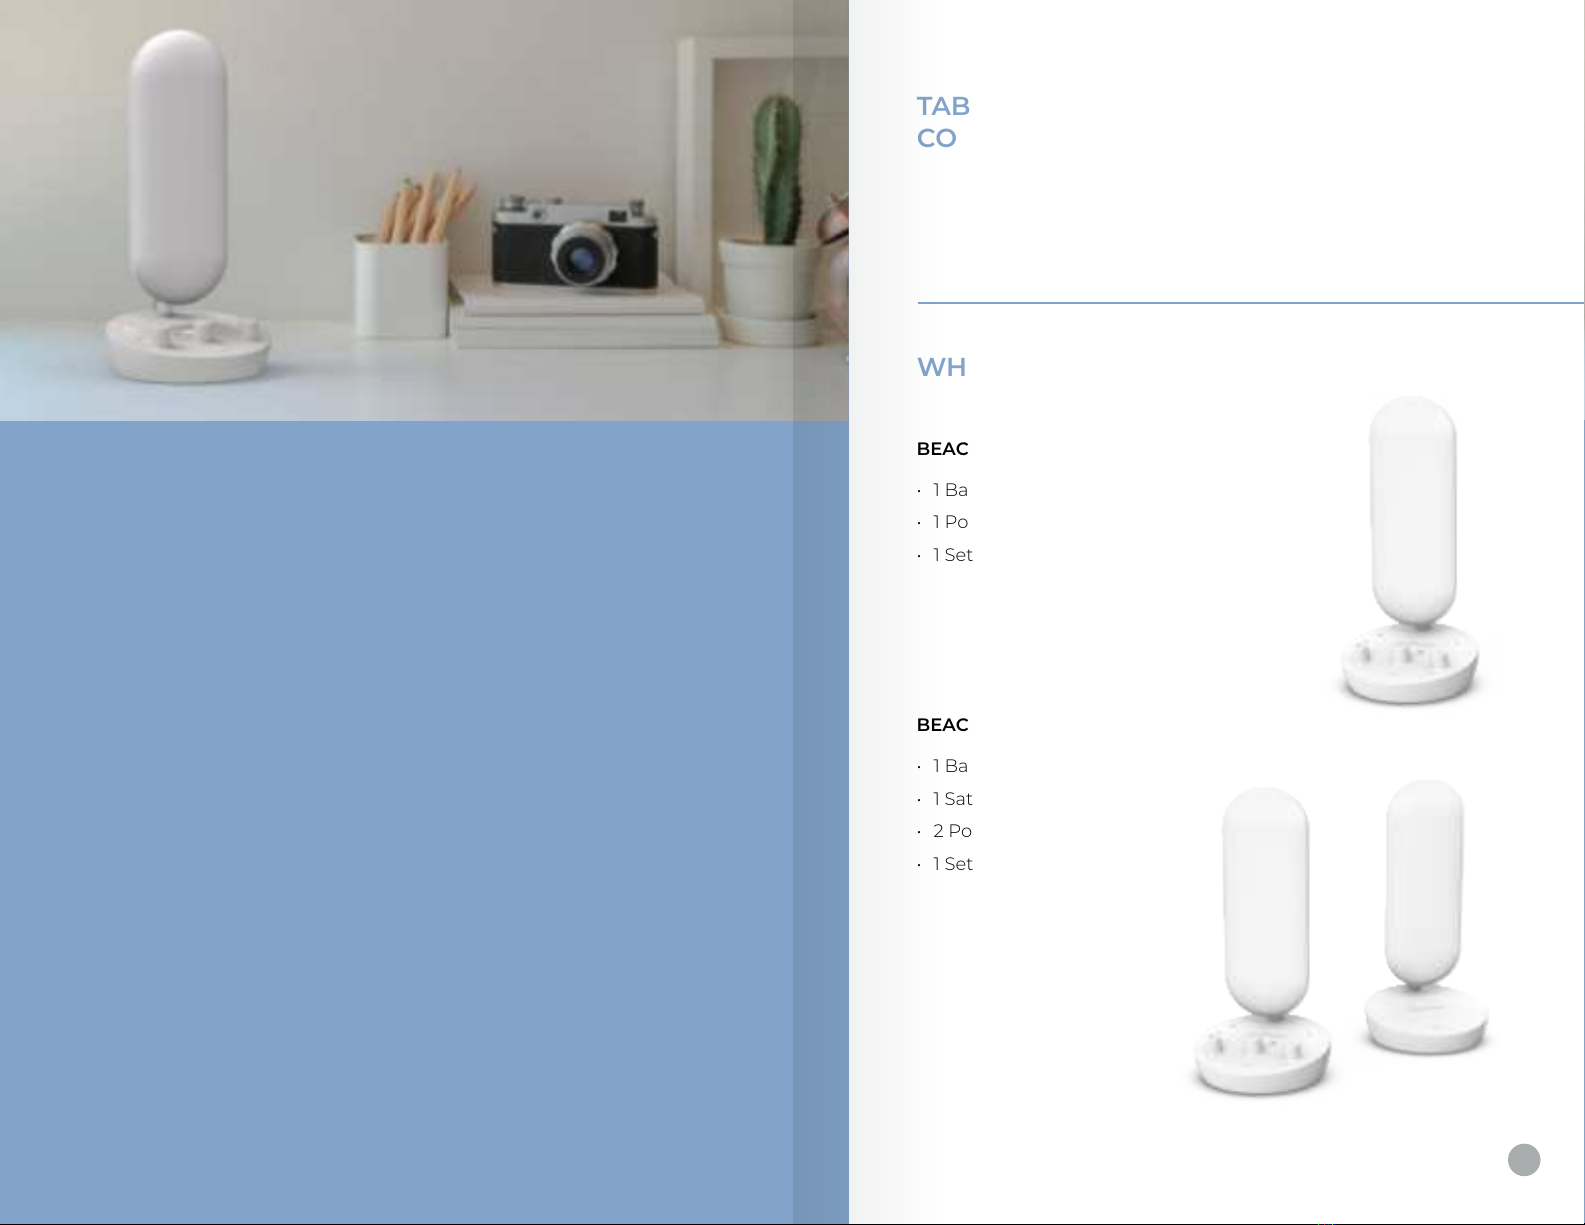
BEACON40®lights are designed to fit comfortably into home
and office environments. Use your lights while working, watch-
ing TV or reading.
Always consult your caregiver or doctor for best benefits.
Multiple BEACON40®light configurations can be set up for
home, office and wellness centers.
To order, please visit: GetMeBright.com/shop/beacon40

Instruction for WiFi connection of 40Hz treatment lamp
Install tuya smart APP on your phone
When opening the “tuya smart” APP for the first
time, register and log in the account according to
the APP guidance.
Power on the product and start it up. Long press
the power on button and press 5S to enter the dis-
tribution network mode. At this time, the LED will
display alternating flashes of warm and cold.
Enter the homepage of the APP “Home“, Click
“+” and select “Add Device”, the APP will scan the
smart devices in the network to be configured.
(Reminder: WiFi connection 2.4G network during
network configuration)
1.(If the device is not scanned, please
click “Manual Add” and select “Illumina-
tion” and “Light Source Wi-Fi” to manu-
ally add the device)
1.1 According to the interface prompts,
enter the password of the home wireless
network, and the therapy lamp will be
connected to the home wireless network
After the network is successfully configured, the
treatment lamp host recovers the flashing fre-
quency of 40Hz.
Set the name and location of the lamp. After com-
pletion, the device is added successfully
(After successfully adding the device, the smart
device will appear on the home page of the tuya
Smart App “Home”.Click the device on the home
page of APP, and enter the device control inter-
face to control the device.)
Note:
Android 4.3 or iOS 8.0 or above, any WiFi enabled
smartphone supports it.
Step 1
Step 2
Step 3
Step 4
Step 5
Step 6
Step 7

FCC InformationThis equipment complies with FCC RF radiation exposure limits set forth for an uncontrolled environment.This equipment should be installed and operated with minimum distance 20cm between the radiator & your body.This device complies with Part 15 of the FCC Rules, operation is subject to the following two conditions: (1) This device may not cause harmful interference, and (2) this device must accept any interference received, including interference that may cause undesired operation.• Warning: Changes or modifications to this unit not expressly approved by the party responsible for compliance could void the user’s authority to operate the equipment.• NOTE: This equipment has been tested and found to comply with the limits for a Class B digital device, pursuant to Part 15 of the FCC Rules. These limits are designed to provide reasonable protection against harmful interference in a residential installation. This equipment generates, uses and can radiate radio frequency energy and, if not installed and used in accordance with the instructions, may cause harmful interference to radio communications. However, there is no guarantee that interference will not occur in a particular installation. If this equipment does cause harmful interference to radio or television reception, which can be determined by turning the equipment off and on, the user is encouraged to try to correct the interference by one or more of the following measures:• Reorient or relocate the receiving antenna.• Increase the separation between the equipment and receiver.• Connect the equipment into an outlet on a circuit different from that to which the receiver is connected.• Consult the dealer or an experienced radio/TV technician for help.IC StatementThis device contains licence-exempt transmitter(s)/receiver(s) that comply with Innovation, Science and Economic Development Canada’s licence-exempt RSS(s). Operation is subject to the following two conditions:1. This device may not cause interference.2. This device must accept any interference, including interference that may cause undesired operation of the device.L’émetteur/récepteur exempt de licence contenu dans le présent appareil est conforme aux CNR d’Innovation, Sciences et Développement économique Canada applicables aux appareils radio exempts de licence. L’exploitation est autorisée aux deux conditions suivantes:1. L’appareil ne doit pas produire de brouillage;2. L’appareil doit accepter tout brouillage radioélectrique subi, même si le brouillage est susceptible d’en compromettre le fonctionnement. Cet équipement doit être installé et utilisé avec une distance minimale de 20 cm entre le radiateur et votre corps.
This manual suits for next models
1
Table of contents
Other BRIGHT Home Lighting manuals
Popular Home Lighting manuals by other brands

deVOL
deVOL THE CREAMWARE PLUG-IN LIGHT Assembly guide

Home Accents Holiday
Home Accents Holiday TY421-1811-1 Assembly instructions

JONATHAN Y
JONATHAN Y JYL1038A manual

Safavieh Lighting
Safavieh Lighting DRAVEN LIT4514A manual

JONATHAN Y
JONATHAN Y JYL3060 manual

John Lewis
John Lewis SWING ARM FLOOR LAMP user guide