www.brillanteiluminacion.com
8
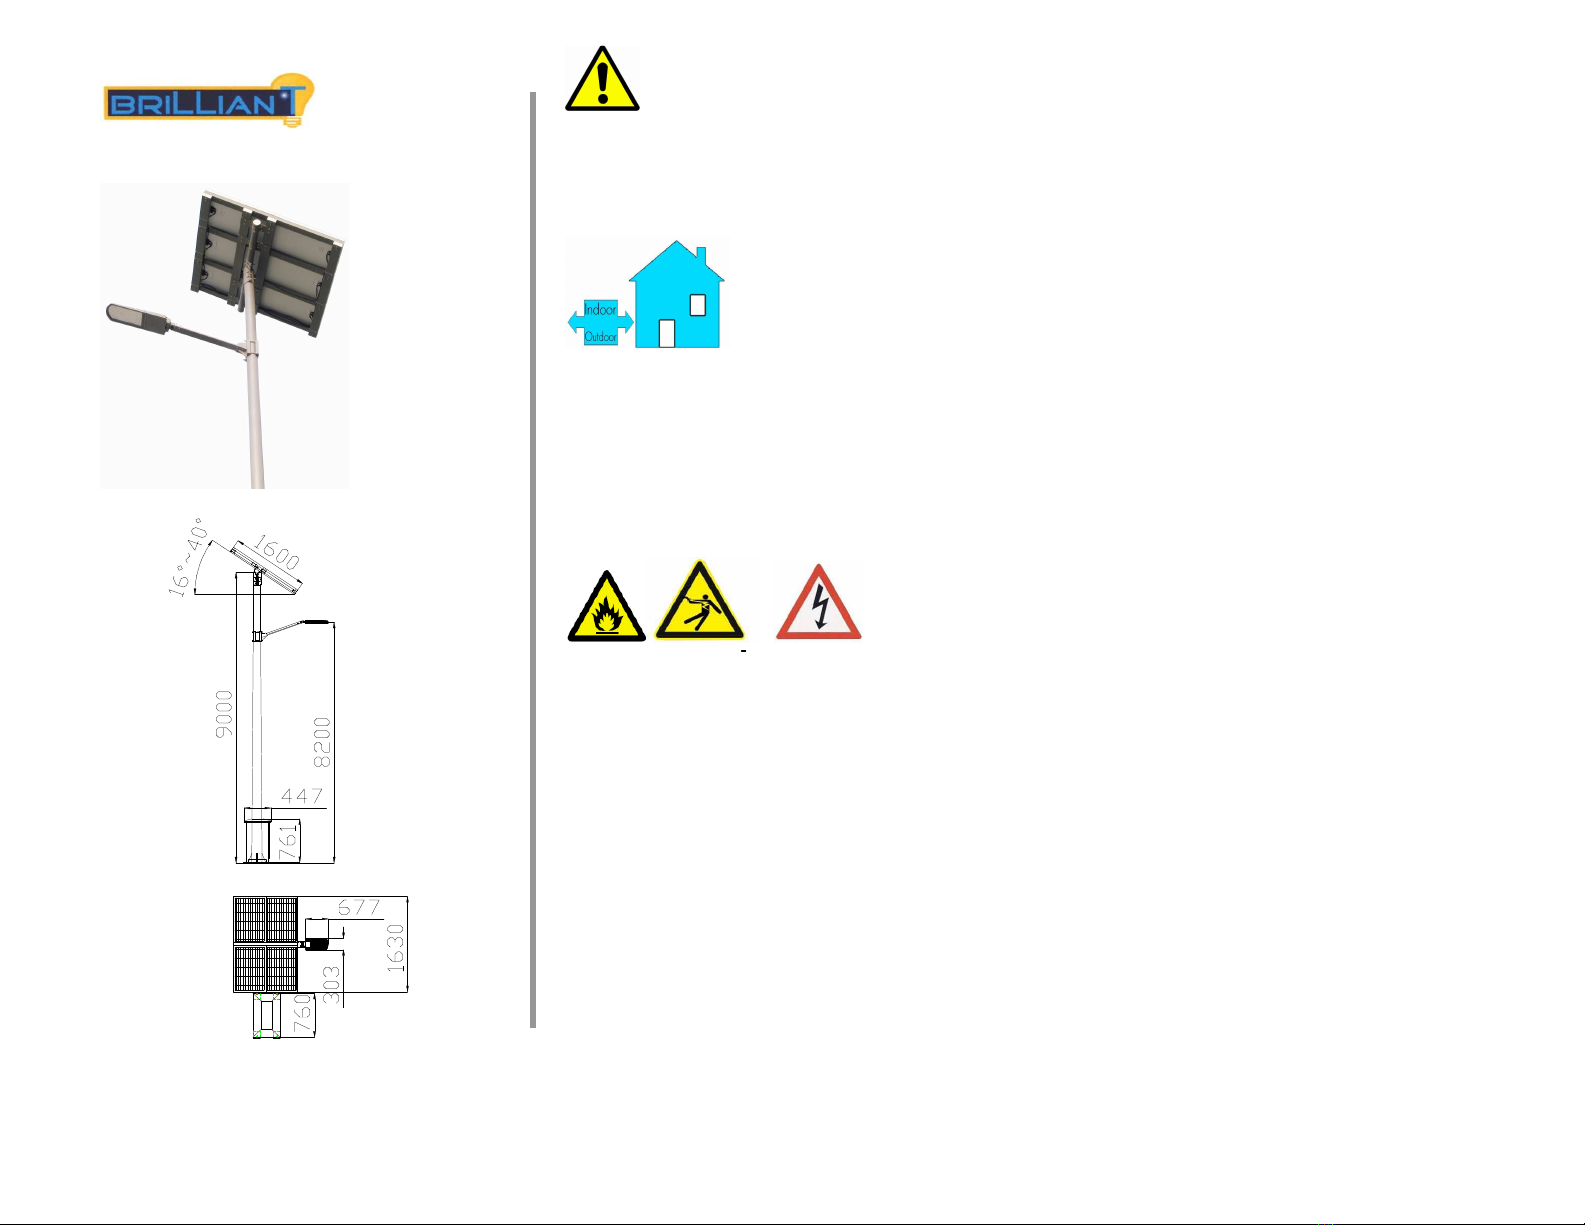
90 LED Solar Single Head Streetlight
LJ202011
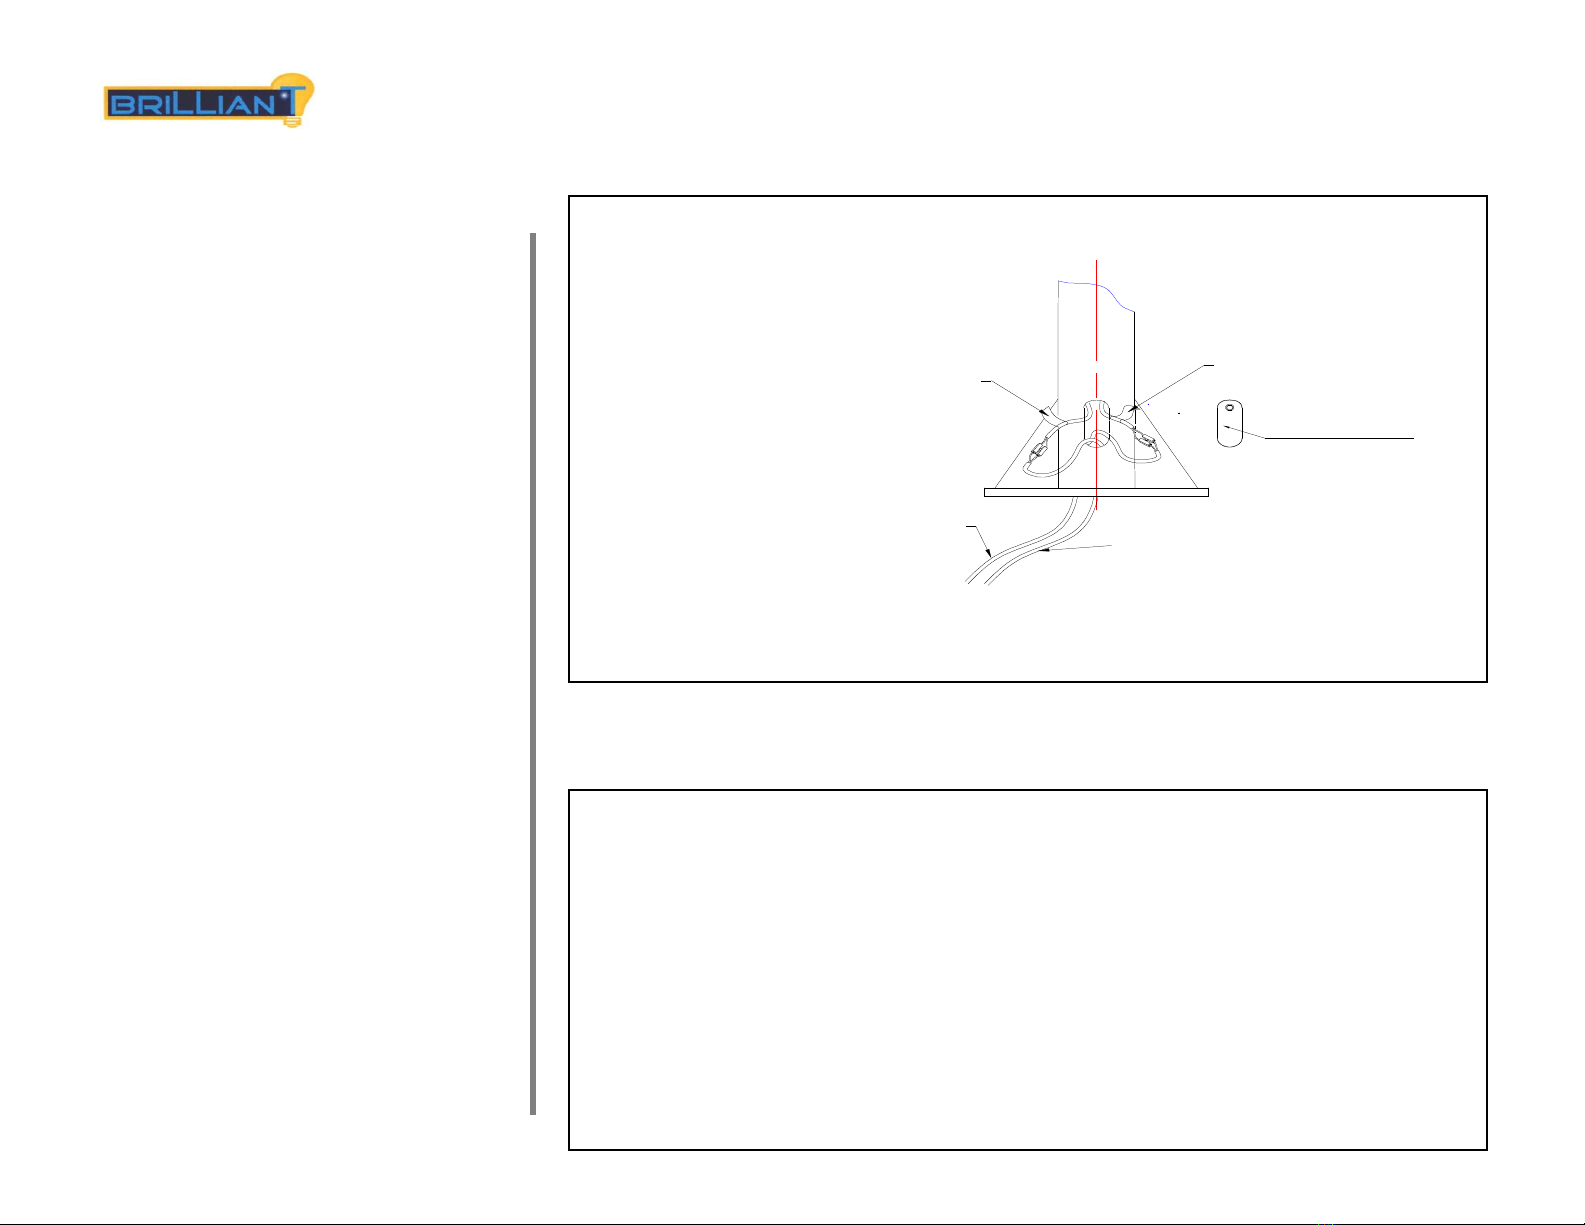
Connection of battery
1 Connection of battery:
All the connection cable should be provided by manufacturer with specification of 1.5mm2
1)Connect the anode of battery A and cathode of the battery B firmly with white wire;
2)Connect anode of battery B with red wire and the other side with the “+”connect of the controller
3)Connect cathode of battery B with white wire and the other side with ‘-’connector of the
controller.
Notice:POWER LED of the controller will be on, if not, check whether the anode and cathode are
correctly connected, whether the fuse is burnt, and whether we should change the fue to 10A/125V
or 10A/250V.
Connect black wire to the LOAD”+” connector on the controller
Connect the white wire (or blue wire) to the LOAD “-”connector on the controller
Notice: For first installation, if the streetlight is not no, please check whether the anode and cathode
are connected correctly. If yes, the battery is short of power.
Connect the black (or brown) wire of the solar panel to the SOLAR ” + ” CONNECT of the
controller。
Connect the white (or blue) wire to the SOLAR”-”connector of the controller.
Notice:’CHARGE LED’ on the controller will be on, and the streetlight will be off。
Connect the municipal electricity to the accordingly connector on the controller. The main
functions:When long rainy reason leads to inefficient battery storage, the streetlight will shift to
municipal electricity
Notice:for every 5 or 6 months, in the good whether, check whether the streetlight is functioning
when the municipal electricity is cut off
5 When all the wires are connected, fix the controller in the battery box