Bristolite Solar Breeze User manual

Installation Instructions
!
WARNING: Please take the time to read
through the ENTIRE instructions prior to
starting any work. Not following the
instructions will invalidate the warranty.
Installation should only be co pleted by individuals skilled with the necessary tools for installation. If you
doubt your skills, please consult a qualified installer.
Tools Needed...
n
Caulking Gun
n
Drill
n
Flat Bar
n
Hamm r
n
Marking P ncil
n
M asuring Tap
n
R ciprocating Saw
n
Saf ty Goggl s
n
Scr wdriv r
n
Stud Find r
n
String
n
Utility Knif
A
B C
A. Solar Br z attic fan unit
B. (6) #6 Phillips h ad stainl ss st l 1 1/2" scr ws
C. Caulk
Components and Hardware Parts List:
Important Precautions...
nThe Solar Breeze Attic Fan is fully functional out of the
box. THE FAN WILL OPERATE AS SOON AS THE SOLAR
PANEL IS EXPOSED TO THE SUN. PLEASE USE CAUTION
AND A OID THE FAN BLADES DURING INSTALLATION.
nEnsure normal safety precautions are taken when
using tools and walking on roofs.
nDo not cut any structural members in the house.
nMeasure twice and cut once.
Helpful Hints...
nWhen determining location of the unit, try to place the
flashing unit on the south side of the roof, also consider
potential problems such as objects shading the unit during
certain times of the day.
nInstallation of the unit should be centered on the roof.
nThe center of the unit should be about 2 feet down from the
roof ridge

STEP 1
Choose location for the Solar Breeze Attic Fan unit, south exposure
is best. If a southern exposure is not feasible for your installation,
the fan can be installed on any other exposure and the solar panel
adjusted to capture maximum sunlight.
Installation...
Please allow about an hour for installation. Components and
hardware are referenced in each step to the corresponding
letters on parts list (on front page).
IF POSSIBLE,
INSTALL UNIT
BETWEEN
ROOF RAFTERS
STEP 2
Hammer a nail at the center of the location chosen between rafters
for the Solar Breeze Attic Fan. The center of the unit should be
about 2 feet down from the ridge.
19" HOLE: Attach a string to the nail. Measure 9.5" of string and
attach a marking pen to the string, see diagram. Scribe a 19"
circle onto the roof shingles.
14" HOLE: Attach a string to the nail. Measure 7" of string and
attach a marking pen to the string, see diagram. Scribe a 14"
circle onto the roof shingles
1199""19"
STEP 3
With a reciprocating saw, cut the diameter of the hole. NEVER
CUT THROUGH ANY ROOF RAFTERS. LEAVE ALL FRAmiNG
mEmbERSiNpLACE.
19" HOLE: On 24" on center construction, center the fan between
the rafters.
14" HOLE: On 16" on center construction, the installer can either
cut a 14" hole between the rafters or cut a 19" hole with the roof
rafter running through the cut hole - do not cut the rafter (see
illustration below).
IMPORTANT: The Solar Breeze Attic Fan must be installed between
the roof rafters OR over a roof rafter. DO NOT CUT THROUGH AN
FRAMING MEMBER. Only remove roof sheathing.
DO NOT
CUT ROOF
RAFTERS
OPENING
BETWEEN
RAFTERS
IMPORTANT NOTE:
oof rafters are generally 16" or 24" on center. On 16" on center
construction, the installer can either cut a 14" hole between the
rafters or cut a 19" hole with the roof rafter running through the cut
hole. On 24" on center construction, cut a 19" hole between the
roof rafters. Follow the steps for the opening size needed for
your specific application.
14"14"14"
OPTION:
16" ON CENTER
WITH 19" HOLE
RECOMMENDED:
HOLE CUT
BETWEEN RAFTERS
▼
▼

STEP 5
Insert the reciprocating saw blade sideways at the three o’clock
position and start cutting the roofing nails up and around to the nine
o’clock position. This process removes the nails that will prevent the
flashing footprint from sliding up underneath the shingles.
STEP 8
At the 6:00 and 12:00 positions, caulk over the screw head, since
it will be exposed to the weather. Use remaining caulk to seal the
areas where the 4" slits were made and around the area where the
shingles meet with the raised area of the flashing.
STEP 9
emove the screw located on each side of the solar panel bracket.
Adjust the solar panel to the position it will collect the most
sunlight throughout the day. e-insert screws and tighten at the
desired position.
STEP 6
Caulk underside of flashing with the provided caulking material
(C). Two concentric rings of caulking material is sufficient.
NOTE: Installation on tile roofs will require the use of a skirt.
19" HOLE
14" HOLE
▼
▼
STEP 7
Taking care not to smear caulk on the exposed shingles, slide
flashing under tar paper and shin gles and force flashing up until
the shingles come in contact with the raised portion of the
flash ing. The bottom side of the flashing will be on top of the
shingles. Secure flashing with four Phillips head screws (B) at the
3:00, 6:00, 9:00 and 12:00 positions. The 3:00 and 9:00 positions
screws should go under the shingles. The 6:00 and 12:00 position
screws should go on top of the shingles.
STEP 4
19" HOLE: With a razor knife, cut a four inch slit through the
shingles and tar paper at the three and nine o’clock position of the
flashing. This allows for the foot print of the flashing to be inserted
under the shingles.
14"HOLE: Additional shingles may also need to be removed on
the high side towards the ridge to allow the flashing to slide over
the hole (see 14" HOLE Illustration above).

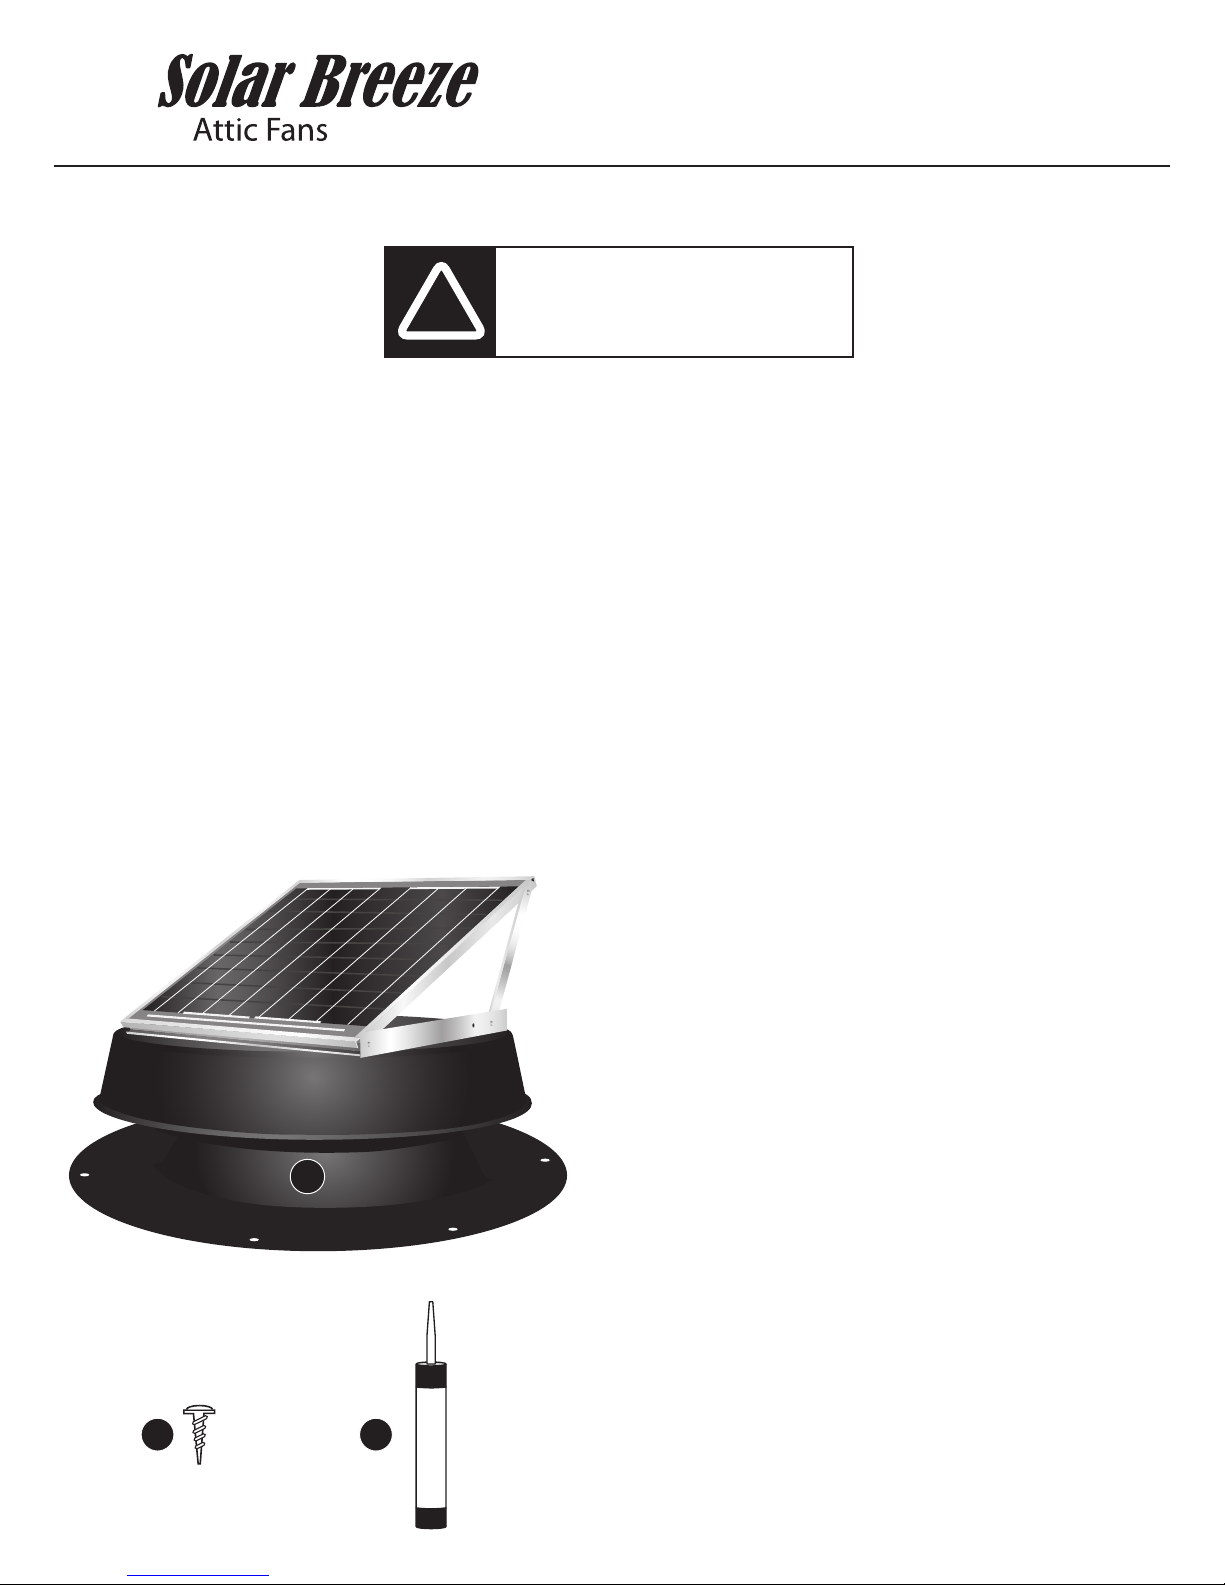
The Solar Breeze Attic Fan has a 25 year warranty
against manufacturers defects.
IMPORTANT: Pl as compl t and mail th r gistration card b low as soon as your
Solar Br z Attic Fan is install d. This warranty will s rv as proof of your purchas ,
should you misplac your original invoic .
Th manufactur r warrants this product and its compon nts to b fr from d f cts in
mat rial and manufactur r’s workmanship for a p riod of tw nty fiv y ars from th dat of
installation. This warranty is subj ct to prop r installation of th unit in accordanc with th
manufactur r’s writt n installation instructions. Th manufactur r will not b liabl for any sp cial,
incid ntal or cons qu ntial damag s in any way r lat d to, or arising out of,
d f cts in, or damag to, th Solar Br z Attic Fan.
This warranty giv s you sp cific l gal rights, and you may hav oth r rights which vary
from stat to stat conc rning xclusion or limitation of incid ntal or cons qu ntial damag s.
Dat purchas d: _______________
solar breeze warranty
registration card
Please fill out the date your purchased the Solar Breeze Attic Fan on the warranty certificate below and save for your records
Please fill out the
registration card
and mail to:
Solar Breeze Fan Registration
401 E. Goetz Avenue
Santa Ana, CA 92707
Customer name: __________________________________________________________________
Where unit was purchased:_________________________________ Date purchased: ____________
Street address: ___________________________________________________________________
City:_____________________________________ State:___________________ Zip: ___________
Phone:___________________________________ Email: _________________________________
Are you satisfied with the performance of the Solar Breeze Attic Fan? ❒Yes ❒ No
Are you interested in other eco-friendly home products? ❒Yes ❒ No
To help us improve our products, please include any comments:
______________________________________________________________________________
______________________________________________________________________________
______________________________________________________________________________
800.854.8618
www.bristolite.com
401 East Goetz Avenue, Santa Ana, CA 92707
– Please contact us if you have any questions or to purchase additional accessories. –
Table of contents
Popular Fan manuals by other brands

TLV
TLV VS1A instruction manual

Schuller
Schuller 329514D installation guide

Field Controls
Field Controls 46233500 Mounting template

Hunter
Hunter 21705 Parts guide

Van Air Systems
Van Air Systems AC-65 Installation, operation & maintenance instructions

Craftmade
Craftmade Ceylon CY52 installation instructions