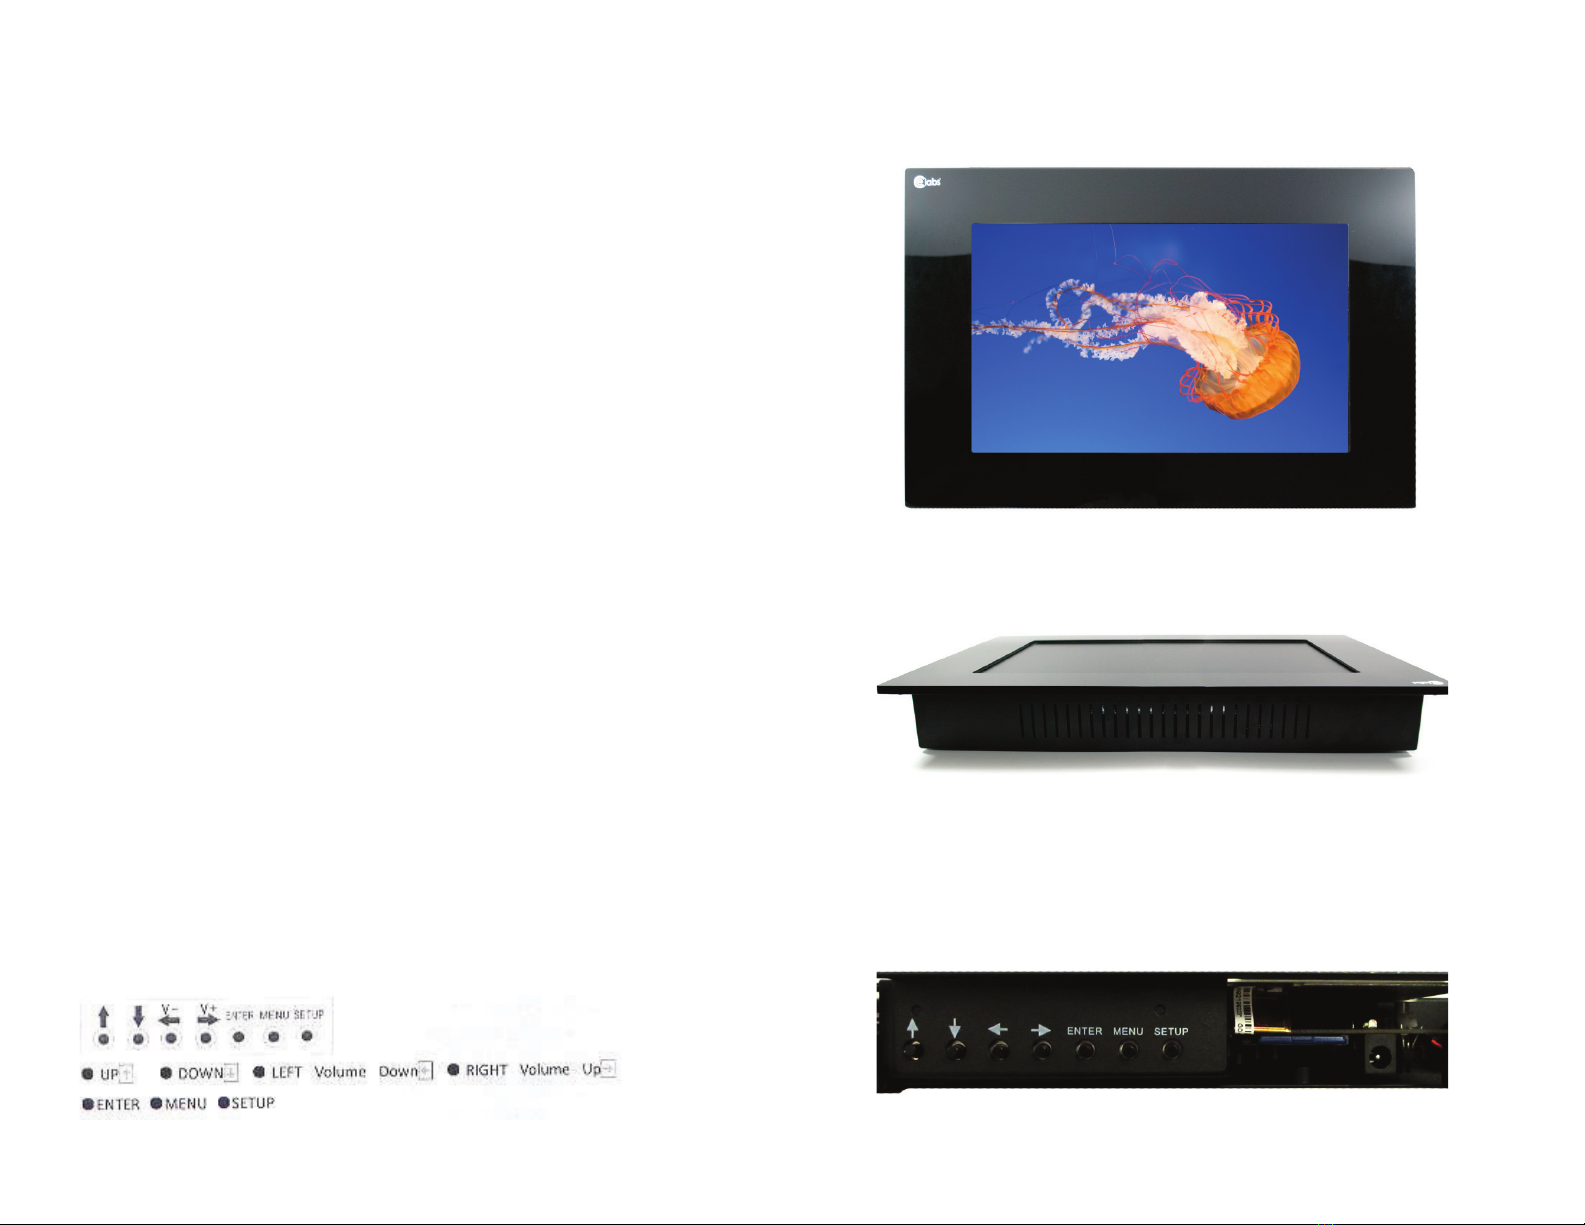
Cable Electronics AIO7 User manual

All-in-One Player
AIO7
Document: AIO7_manual.pdf
990-3520-01_Rev.B
Key Features:
LAUNAMNOITCURTSNI
3209 Wood Drive
Garland, TX 75041
Phone: (469) 429-9200
Toll free: (800) 767-6189
Fax: (469) 429-9205
www.celabs.net
WARRANTY
Cable Electronics, Inc. warrants this product to be free from defects in
material and workmanship, under normal use and service, for a period of
one year from the purchase by the original purchaser. If this product is
defective or malfunctions, Cable Electronics will replace or repair this unit (at
their option) within a reasonable time. No expressed or implied warranty is
made for any defects caused by immersion or exposure to liquids, abuse,
neglect, improper operation of unit, excess wear and tear and defects
resulting from unauthorized disassembly and or modification.
Video/photo playing on demand by pushing button, supports up to
7 flashing buttons
Auto standby by motion sensor detection
Supporting low power mode
Auto detect to update the firmware and content
Push buttons counter (Maximum 99999 times for each button)
Brightness and contrast adjustment
Automatic turn ON/OFF at certain time
•
•
•
•
•
•
•

General Specifications
Setup
• Resolution: 7 inch TFT (800x480), LED backlight LCD
Item Specification Unit
Contrast ratio 500:1 -
Response time 15 msec
Brightness 400 Cd/m2
Active area 150.48(W)x85.92(H) mm
Viewing angle 70/70/50/70 degree
Interface Digital -
Back light LED -
• Power: DC12V 2A
• Working current: 500mA-700mA; Standby: 300 mA; Power Off: 5mA
• Output: DC5V, 300 mA
• Speaker: 2x1W
• Languages: English/French/Spanish
• Working Temp: 32°F-122°F, Humidity: 20-80%
• Storage Temp: -15°-50°C
• Motion sensor active area
• Storage media to play: SD, USB drive and flash memory
• Decoding file formats: *.jpg, *.mpeg1/2, *.dat, *.avi, *.mp4
• Image Decoding:
• Super fast hardware decoding of JPEG picture
• Decodes BMP, PNG, GIF, TIFF and other popular picture formats via DSP
• Unlimited pixel resolution (currently tested with 100M pixel pictures)
• Supports scaling (zoom in or out), rotation, and transition effects
• Automatic image analysis and second generation dynamic image
correction (DIC-III)
• Video Decoding:
• Multi-standard codec video decoding engine controlled by a dedicated
video AMRISCTM processor
• Motion JEG (MJPEG) engine supports up to full frame rate (30 fps) VGA
quality movies
• MPEG-4 ASP and XVID compliant
• *.avi and *.mov file formats can be handled
Key definition
Additional Photos:

FIRMWARE UPDATE Language
Brightness
Press MENU to enter the main menu, and then
, move the cursor to LANGUAGE. Press
ENTER to enter Language selection, using or
to select, then ENTER to set the language
Move the cursor to BRIGHTNESS. Press ENTER
to select the level, press ENTER to confirm.
Contrast
Adjusted the same way as brightness.
Date
Set the same was as time.
Time Format
In 24h format by default, cannot be modified.
Clock and Auto ON/OFF
Time:
Move the cursor to CLOCK, press ENTER to enter
CLOCK SETTING.
Press or to select TIME, press ENTER to confirm.
Press or to select the digit.
Use or to adjust clock, press ENTER to confirm.
↓↓↑
↓↑
↓
↑
↓↑
Automatic Update Using USB Drive
Copy the firmware file named “upgrade.img” to the USB drive, then make a new TXT
file named “upgrade.txt,” put it into the USB drive, it can be blank. The progress bar
will display the procedure while updating. Turn off the power and then on after the
update.
Now, two restrictions for not updating:
1. While in the SETUP menu
2. Playing videos with buttons
Manual Update:
Copy the new firmware named “upgrade.img” to the USB drive or SD card, insert to
the port of ad player, press the MENU and then SETUP to update. Turn off the power
and then on after update.
Note:
a. DO NOT turn off the power or pull out the USB drive or SD card during the update,
or the flash memory may be damaged
b. DO NOT keep both “upgrade.txt” and “USB2SD.txt” in the USB drive, or it will
cause malfunctions.
Warning and Important Safeguards
1. If you are not a specialist, please don’t open the frame of the AD player for internal
inspection, we will not take any responsibility for any incidences.
2. DO NOT cut of the power during the updating process to avoid firmware and
dates missing.
3. DO NOT insert or pull out the SD card while it’s working.
4. DO NOT place heavy objects on the LCD screen, to avoid screen damage.
5. DO NOT expose the AD player to rain or moisture.
6. If the AD player doesn’t work for a long time, shut the power off.

Files Source
Button Count
Move cursor to the FILES SOURCE, press ENTER
to set the files source to play. Three sources can
be selected in SD, flash memory and USB drive.
Move the cursor to BUTTON COUNT, press
ENTER to display the options: ON and OFF.
Select ON to enable the button counting record,
and OFF to disable it.
After enabling this function, a text file named “Button_Count.txt” is generated in the
SD card or USB drive. It will record the counting times of each button pressed. The
maximum times is 99999.
Volume
The buttons or can be used to adjust the volume while the video is playing.
Requirements of File Storage
1. The default video files in the root folder.
2. Folders named 1, 2, 3... used to store files corresponding to the push buttons.
For example, if you want a video to be played after the button 1 is pressed, please
place the video file in the folder named 1.
3. the folder named 5 is used to store the files when motion is active.
Content Update
Use USB drive to update content. Please keep in mind not to enter the setup menu, or
it will not work.
1. Copy the files to the USB drive, refer to item 5, the requirement of file storage.
2. Make a TXT format file named “USB2SD.txt,” the content can be blank. Make sure
the SD card is not write-protected.
3. Insert the USB to the USB port of ad player, then it will start to update the content.
Automatic Power On Time Setting
PHOTO SETUP
In the menu of CLOCK SETTING, press or
to select POWER ON TIME, then press ENTER
to confirm. Press or to select ON, then
enable this function. Press ENTER to confirm.
Press or to select the hour and minute of
Auto-Power-On, press or to set them, press
ENTER to confirm.
Press MENU to enter the main menu, press to
move the cursor to the PHOTO, press ENTER to
enter the PHOTO, press or to select
DISPLAY MODE, press ENTER to list the
selection. Press or to select the display
mode: FIT TO SCREEN or FULL SCREEN, press
ENTER to confirm
Display Mode
Slide Show Interval
Adjusted the same way as Display Mode. Used
to set the interval time between two photos.
Sensor Time
Transition Mode
Used to control the transition performance
between two photos.
ADDITIONAL SETTINGS
Press MENU to enter the main menu, press to
move cursor to MORE SETTING. Press ENTER to list
the time to set, then press or to select time to
play after motion sensor active, select OFF to disable
the motion sensor.
↓↑
↓
↓↑
↓
↑
↓
↑
↓
↓↑
↓↑
↓↑
Popular Turntable manuals by other brands

Pro-Ject Audio Systems
Pro-Ject Audio Systems Primary E Phono Instructions for use

MRMC
MRMC MRMC-1579-01 quick start guide

Pro-Ject Audio Systems
Pro-Ject Audio Systems Juke Box E Setup guide

Pro-Ject Audio Systems
Pro-Ject Audio Systems Juke Box Instructions for use

Crosley
Crosley Gig instruction manual

Mood Media
Mood Media MBOX product manual