Carlton CPA12KH User manual

Use and Care Manual
AIR CONDITIONER
Model
CPA12KH

Introduction
1
Electrical Specifications
Thank you for choosing this air conditioner to provide you and your family with all of the "Home Comfort"
requirements for your home, cottage or office. The appliance can be moved from room to room within
your home and set-up in just minutes.
It is a multi-functional room air exchanging, air-processing appliance, designed to offer you the functions of:
Air Conditioning, Dehumidifying, and Independent Fan, and Heating.
This manual will provide you with valuable information necessary for the proper care and maintenance for
your new appliance. Please take a few moments and read the instructions thoroughly. If properly maintained,
your appliance will give you many years of trouble free operation.
1.All wiring must comply with local and national electrical codes and be installed by a qualified electrician
If you have any questions regarding the following instructions, contact a qualified electrician.
2.Check available power supply and resolve any wiring problems before installation and operation
of this unit.
3.For your safety and protection, this unit is grounded through the power cord plug when plugged into
a matching wall outlet. If you are not sure whether the wall outlets in your home are properly grounded,
please consult a electrician. Do not use plug adapters or extension cords with this unit
use alone if using with extension cord.
( available at most local hardware stores.)

Information andadvice
Safety first!!
2
If the air conditioner is knocked over during use, turn off the unit
and unplug from the mains supply immediately.
Your air conditioner should be used in such a way that it is
protected from moisture e.g. condensation and splashed water.
Do not place or store the unit where it can fall or be pulled
into water, or any other liquid.
Do not operate your air conditioner in a wet room such as a
bathroom or laundry room.
Do not touch the unit with wet/damp hands or when barefoot.
Do not press the buttons on the control panel with anything other
than your fingers.
Always transport your air conditioner in a vertical position and
stand on a stable, level surface during use. Do not allow the unit
to sit on top of the mains lead.
Do not remove any fixed covers. Never use this appliance if it is
not working properly, or if it has been dropped or damaged.
Do not wet the housing or control panel.
Do not place objects or let any person sit on top of the unit.
Do not operate the unit with damaged plug or loose socket point.
Always turn the unit off and remove the power plug from the
socket when cleaning.
Do not cover or obstruct the unit.
Never use the mains switch to start and stop the unit..
Always use the switch on the control panel or remote controller.
Turn off the unit when not in use. If the unit is not going to be
used over a long period of time, disconnect from the mains.
Always contact a qualified person to carry out repairs. If the
supply cord is damaged it must be repaired by a qualified person.
Do not use hazardous chemicals to clean or allow to come into
contact with the unit. Do not use the unit in the presence of
inflammable substances or vapour such as alcohol, insecticide,
petrol etc.
Do not allow children to operate the unit unsupervised.
Never use the unit without the filter.
Do not use the unit for functions other than those described in
this instruction manual.
Use a minimum of two people to move this unit safely.
Do not attempt to remove any part of the casing unless by an
authorised technician.
Use only the correct power supply AC220V-240V/50Hz.
NOTE:
Make sure that the back of the unit is at least 50cm or more from
a wall.
Do not place the unit in front of curtains or drapes incase they
fall against the back air intake.

Identification ofparts
Identification of parts
1. Airoutlet
2. ON / OFF switch
3.Evaporator air intake
4. Airinlet
5.Air outlet hose
6. Casters
7.Drainage pipe
8. Power supply
3
8
6
5
7
4
3

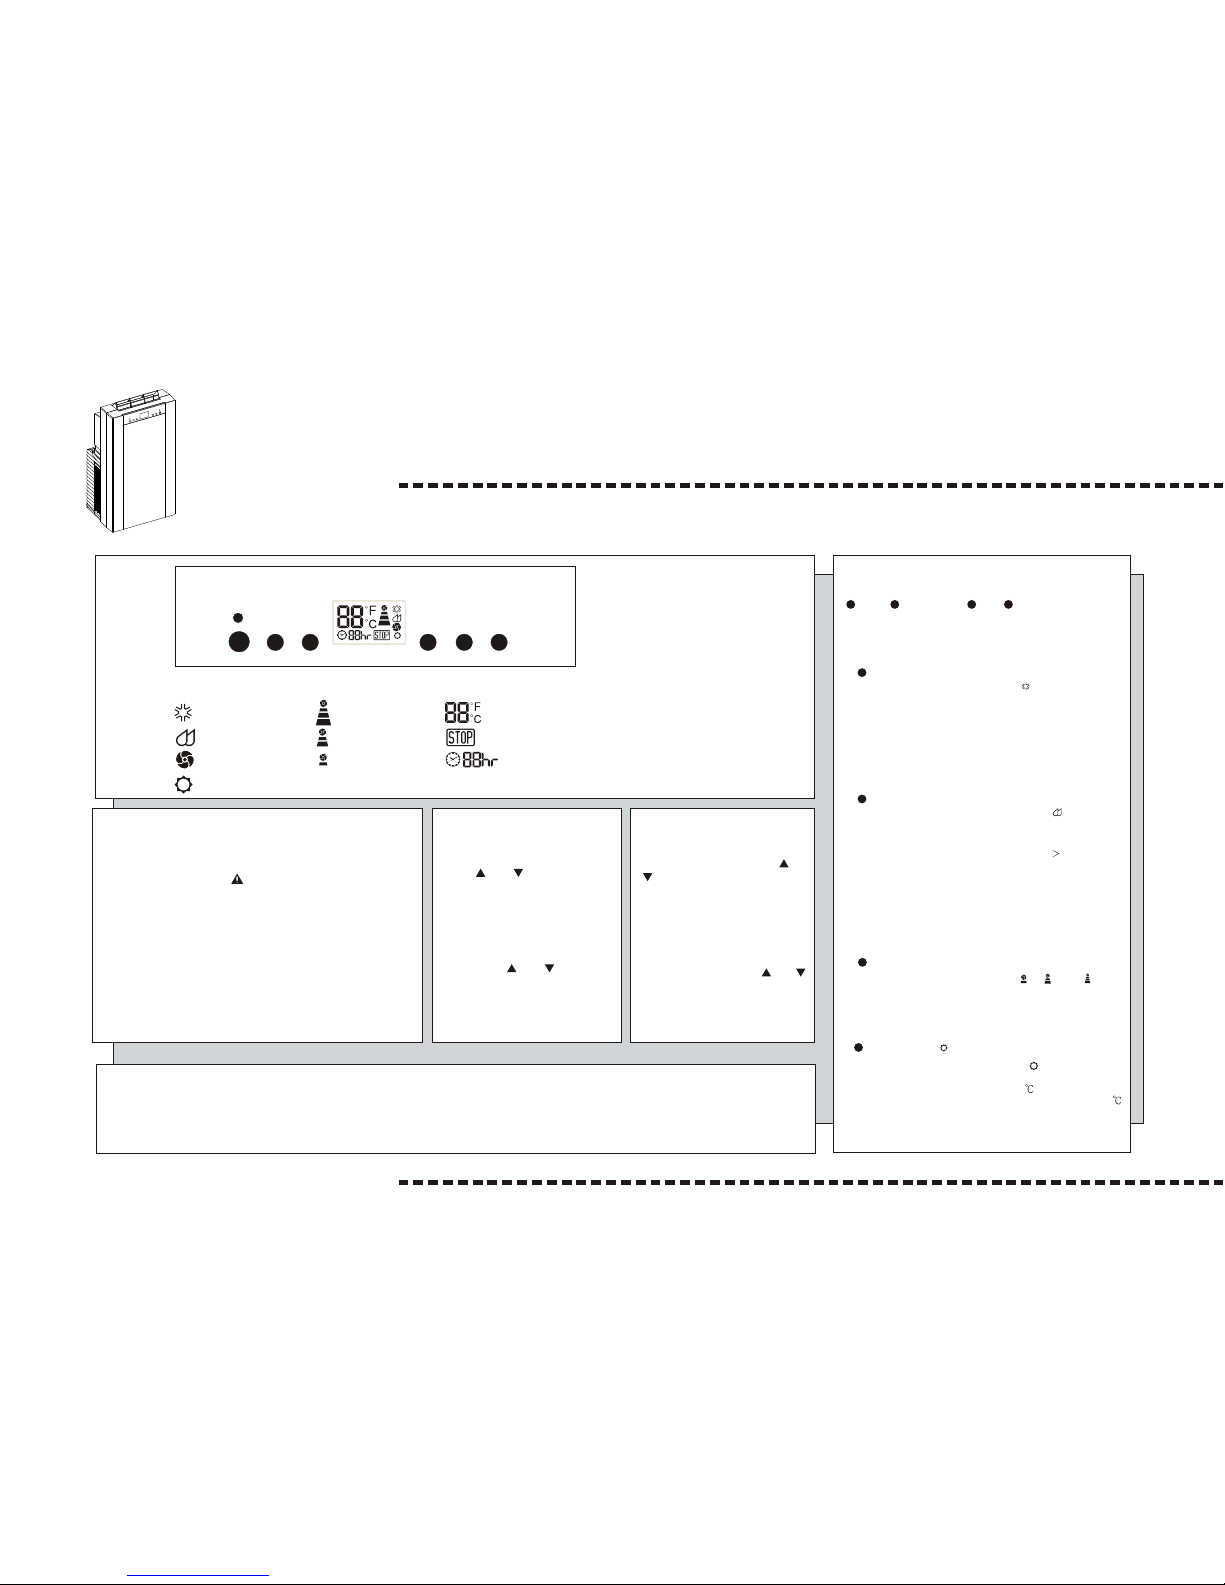
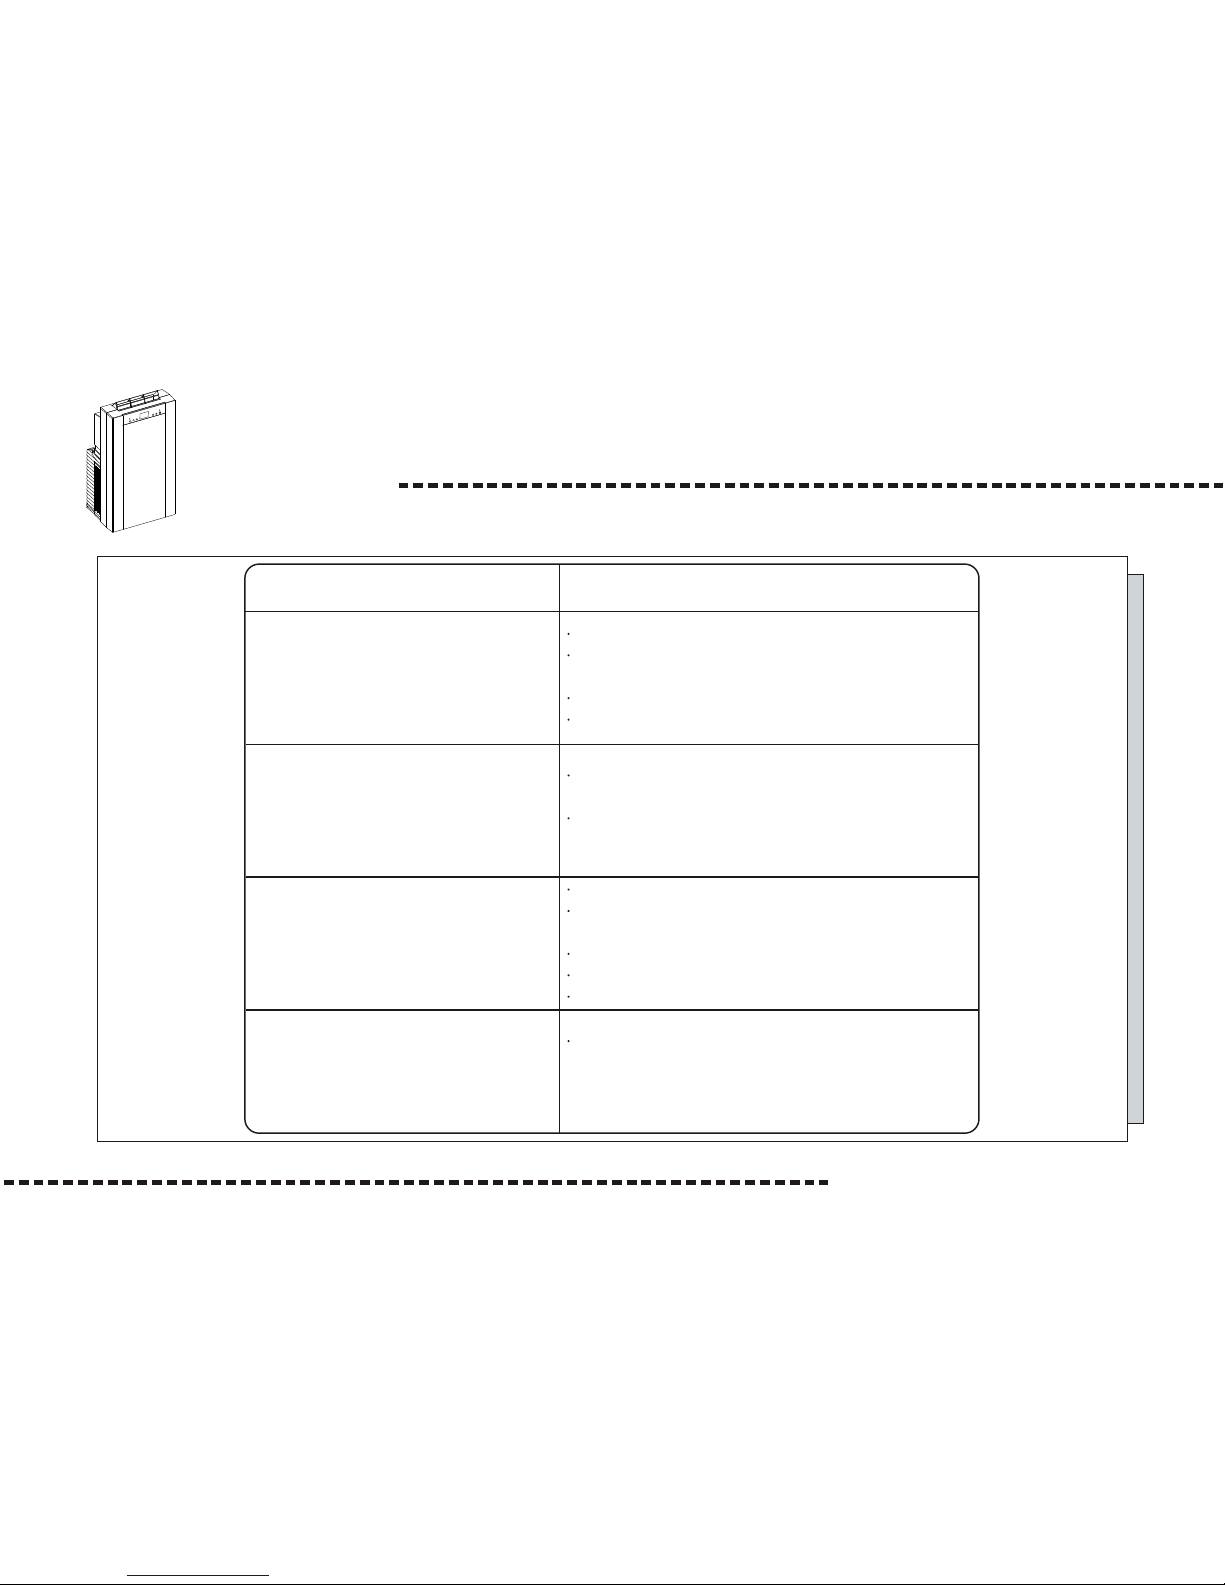
CONTROL PANELCONTROL PANEL
Operation
After switching the air conditioner off, you must wait 3 minutes before switching
it back on again.
Temperature controls
Used for adjusting the thermostat.
The default display is room temper-
ature. In cooling mode, when " " or
" " button is pressed, the set te-
mperature is displayed and may be
adjusted. After 15 seconds the dis-
play will revert back to room tem-
perature. Temperature is only adju-
stable in Cool mode.
Note : By pressing both " " / " "
buttons at the same time for more
than 3 seconds, the display will tog-
gle between Celsius and Fahrenheit.
Cooling mode
Dehumidify mode
Fan only mode
High fan speed
Med fan speed
Low fan speed
Display set temperature
Warning light
the machine will stop running
Display timer setting of auto switch on/off
Indication symbols on LCD :
Mode Control
The Mode Control has 4 settings:
Cool Dehumidify Fan Heating
The settings are adjusted with Mode Control
button. A light will indicate which setting is
currently being used.
Cooling Mode
When cool mode is selected, " " will show in
the LCD Display. he cooling mode theDuring t
air is cooled and hot air is exhausted to the
outside through the exhaust tube. Adjust fan
speed and air temperature to suit your desired
comfort level.
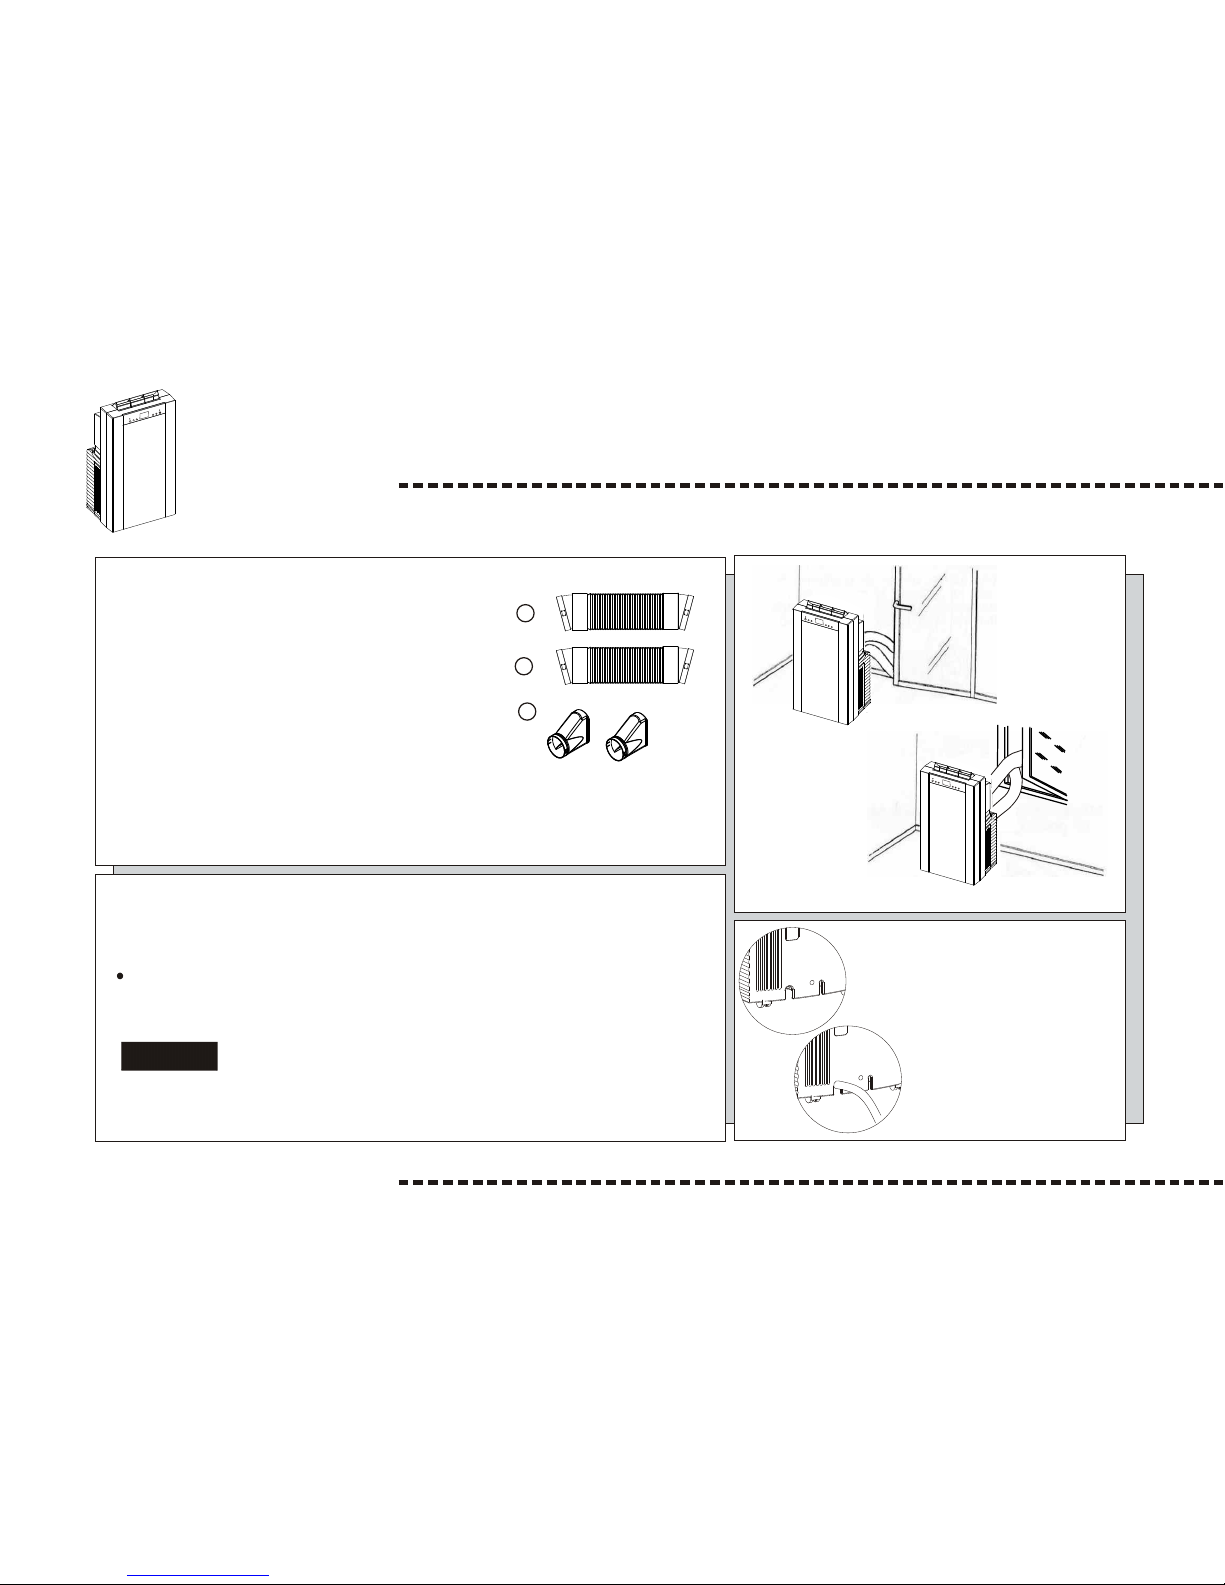
Note : The air exchange hoses must vent
outside the room when using cool mode.
Dehumidify Mode
When Dehumidify mode is selected, " " will show
in the LCD Display. Air is dehumidified as it
passes through the unit, without being in full
cooling mode. If room temperature is 25 degree
Fahrenheit, fan speed can be adjusted; otherwise
fan speed is fixed to " low ".
Note : The warm air exchange hoses must
vent inside the room when using Dehumidify
Mode, not outside as it does when cooling.
If the unit is vented outside some cooling
will occur.
Fan Mode
When Fan mode is selected, " ", " " or " "
will be shown in the LCD Display. Air is circulated
throughout the room with no cooling.
Note: unit does not need to be vented
in Fan mode
Timer control
Auto turn off :
With machine in running mode, press
timer button for setting timer control.
Press " " or " " to select number
of hours you would like the unit to
run before it automatically shuts off.
Auto turn on :
With machine in stand by mode, pr-
ess timer button for setting timer c-
ontrol. Press " " or " " to select
number of hours before the until
automatically starts running in airco-
nditioning mode.
Power Control
The power control turns the unit on and off.
Warning Light
Condensed water may accumulate in the unit. If
the internal tank becomes full, the Warning Light
will shine and the unit will not operate until the
unit has been drained.
Fan Speed Control
The Fan Speed Control has 3 settings: High,
Medium, And Low.
Fan Speed Control
The Fan Speed Control has 3 settings: High,
Medium, and Low.
Power Control
The power control turns the unit on and off.
Warning Light
Condensed water may accumulate in the unit. If
the internal tank becomes full, the Warning signal
in the LCD Display will light up and the unit will
not operate until the unit has been drained.
When heating modeis selected," "willshow in
the LCD Display. Heating isactivated only whenthe
ambient temperature isbelow 27 .In this mode,the
desired temperature canbe set between16 and 27
Note: When thedevice is inheating mode, bothair
hoses must beconnected and ledoutside.
ModeHeating
Heating mode
4
Table of contents
Other Carlton Air Conditioner manuals
Popular Air Conditioner manuals by other brands

Fujitsu
Fujitsu ASYG 09 LLCA installation manual

York
York HVHC 07-12DS Installation & owner's manual

Carrier
Carrier Fan Coil 42B Installation, operation and maintenance manual

intensity
intensity IDUFCI60KC-3 installation manual

Frigidaire
Frigidaire FAC064K7A2 Factory parts catalog

Sanyo
Sanyo KS2432 instruction manual

Mitsubishi Electric
Mitsubishi Electric PUHZ-RP50VHA4 Service manual

Panasonic
Panasonic CS-S18HKQ Service manual

Panasonic
Panasonic CS-E15NKE3 operating instructions

Gree
Gree GWH18TC-K3DNA1B/I Service manual

Friedrich
Friedrich ZoneAire Compact P08SA owner's manual

Daikin
Daikin R32 Split Series installation manual