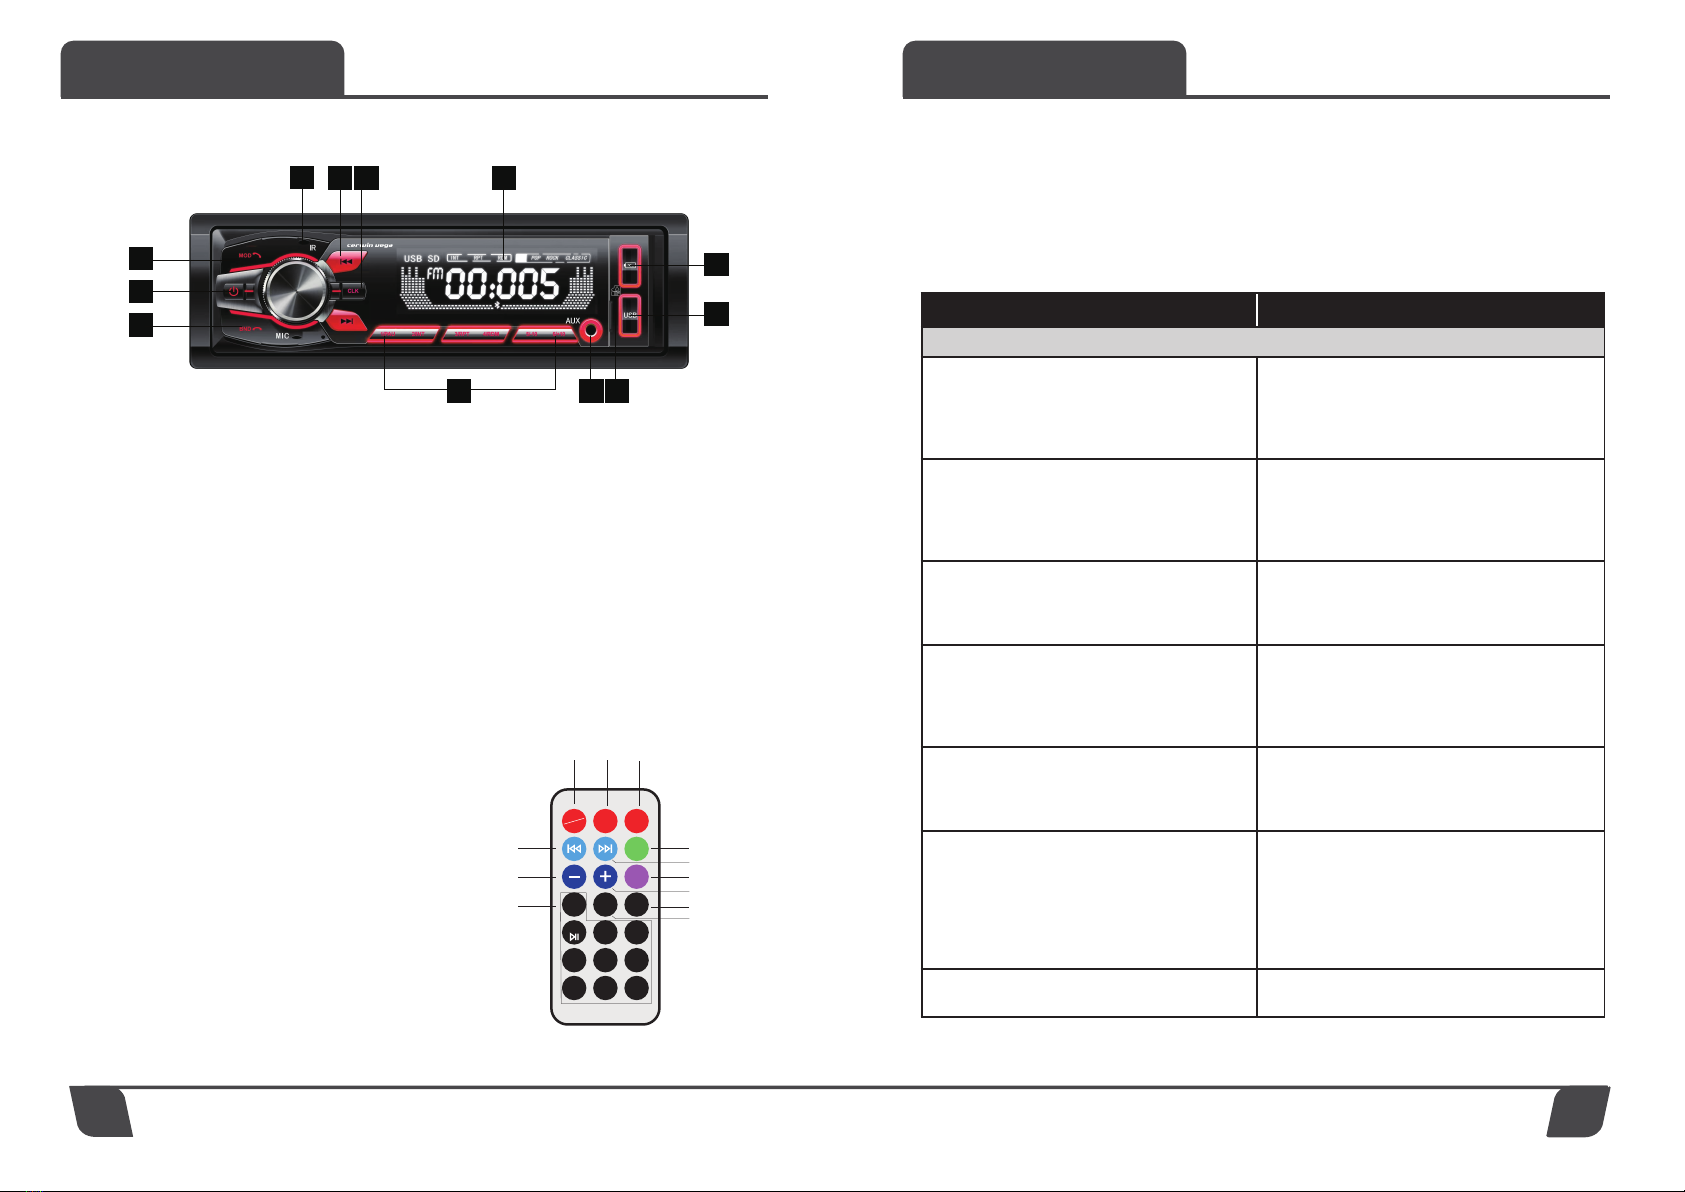
Operation Functions
45
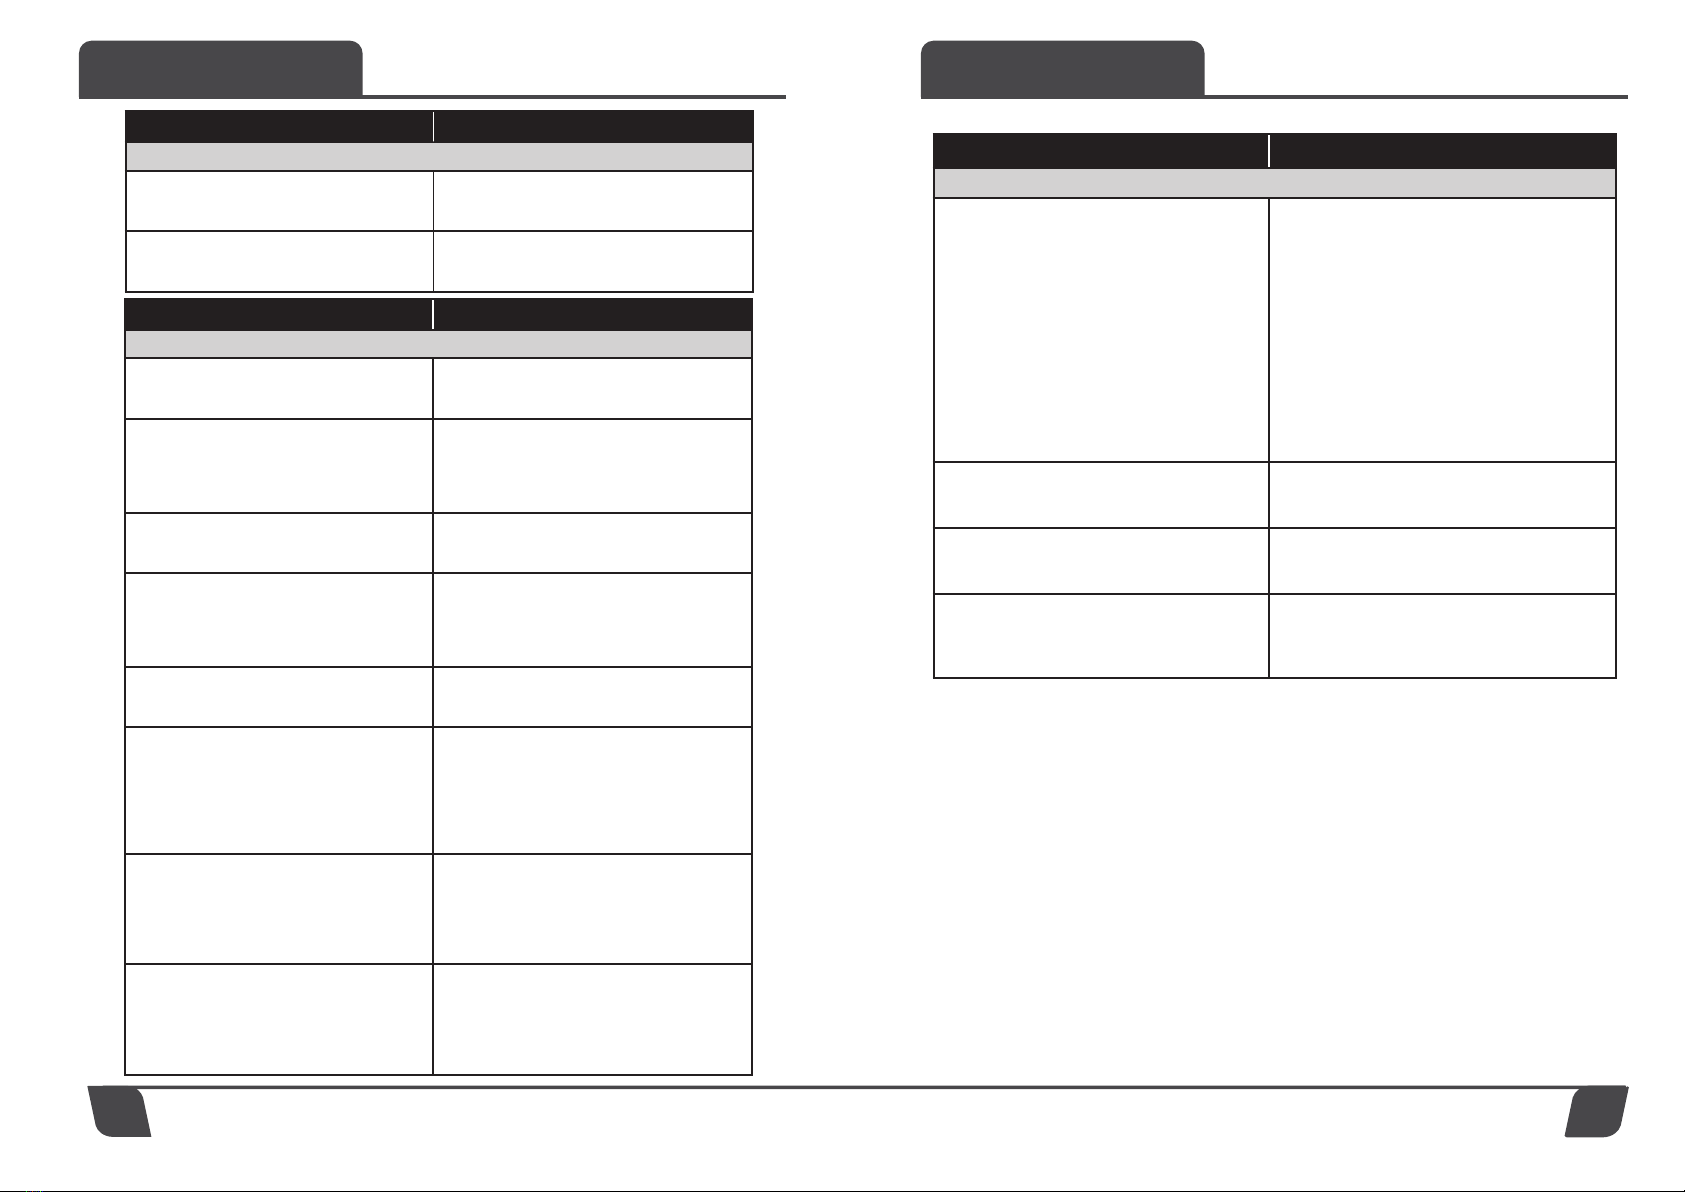
Issue Potential Cause/Solution
USB Issues
You cannot play items via a USB hub. This unit cannot recognize USB devices via a
USB hub.
A USB device takes longer to play. The USB device contains files with a
complicated tree structure.
Issue Potential Cause/Solution
Bluetooth Issues
The connecting device cannot detect this unit. Before the pairing is made, set this unit to
pairing standby mode.
Connection is not possible.
The connection is controlled from one side
(this unit or Bluetooth device), but not both.
- Connect to this unit from a Bluetooth
device or vice versa.
The name of the detected device does not
appear.
Depending on the status of the other device, it
may not be possible to obtain the name.
The talker’s voices are not audible.
The front speakers are not connected to the unit.
- Connect the front speakers to the unit. The
talker’s voice is output only from the front
speakers.
A call partner says that the volume is too low
or high.
Adjust the volume accordingly using Mic gain
adjustment.
Echo or noise occures in phone call
conversations.
• Lower the volume.
• If the ambient noise other than the phone
call sound is loud, try reducing this noise,
etc., is loud, shut the window. If an air condi-
tioner is loud, lower the air conditioner.
The phone sound quality is poor.
Phone sound quality depends on the reception
conditions of the cellular phone.
- Move your car to a place where you can
enhance the cellular phone’s signal if the
reception is poor.
The volume of the connected audio device
is low.
The volume level will differ depending on the
audio device.
- Adjust the volume of the connected audio
device or this unit.
Issue Potential Cause/Solution
Bluetooth Issues
The sound skips during playback of a
Bluetooth audio device.
• Reduce the distance between the unit and
the Bluetooth audio device.
• If the Bluetooth audio device is stored in a
case that interrupts the signal, remove the
audio device from the case during use.
• Several Bluetooth devices or other devices
which emit radio waves are in use nearby.
- Turn off the other devices.
- Increase distance from other devices.
• The playback sound stops momentarily when
the connection between this unit and the
cellular phone is being made. This is not a
malfunction.
The connected Bluetooth audio device cannot
be controlled.
Check thtat the connected Bluetooth audio
device supports AVRCP.
Bluetooth function cannot operate. Turn off the unit by pressing (Power) for more
than 2 seconds, then turn the unit on again.
No sound is output from the car speakers
during hands-free calls.
If the sound is output from the cellular phone,
set the cellular phone to output the sound
from the car speakers.