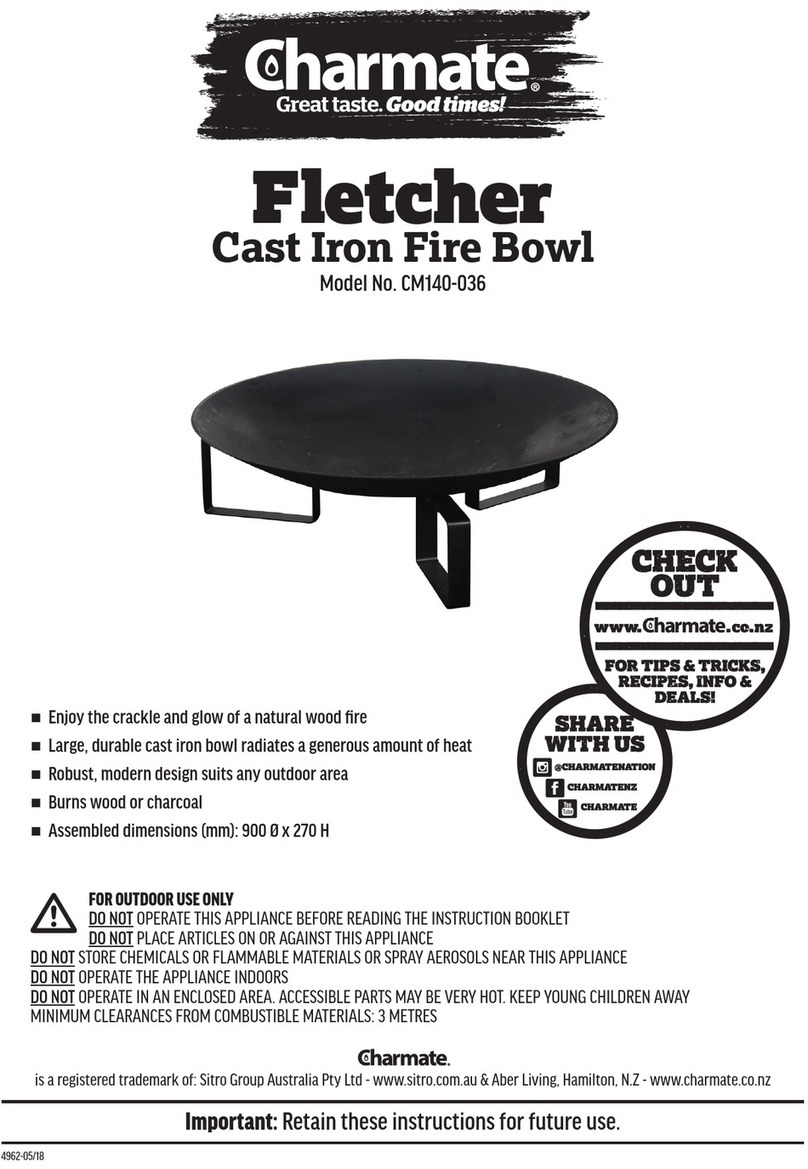
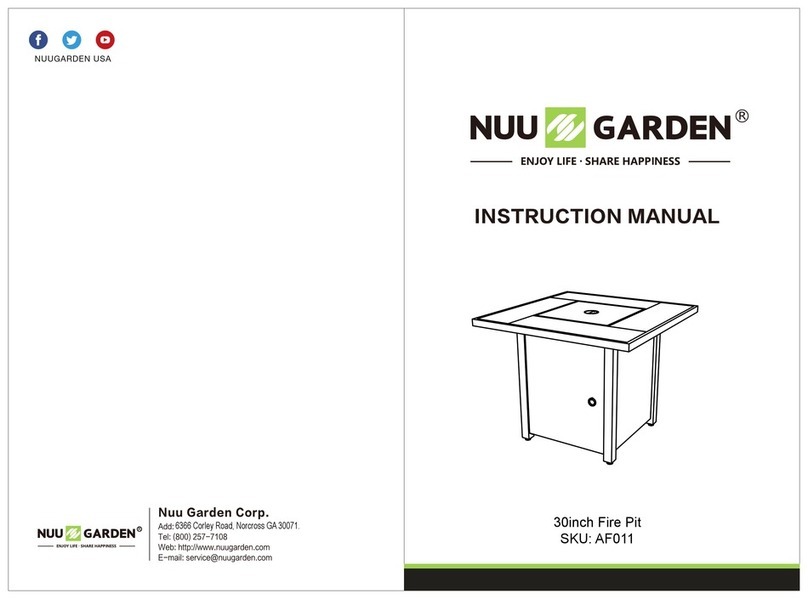
Charmate Mercer CM140-095 User manual

CHARMATE
CHARMATENZ
@CHARMATENATION
Mercer
Cast Stone Fire Pit
Model No. CM140-095
Create a warm central hub only a natural wood re can deliver
Hand-crafted, modern concrete design made from lightweight composite
Hard-wearing powder coated re bowl holds a large amount of wood
Mesh re guard oers protection from embers and sparks
Assembled dimensions (mm): 880 W x 880 D x 450 H
Wood grate and re tool included
FOR OUTDOOR USE ONLY
DO NOT OPERATE THIS APPLIANCE BEFORE READING THE INSTRUCTION BOOKLET
DO NOT PLACE ARTICLES ON OR AGAINST THIS APPLIANCE
DO NOT STORE CHEMICALS OR FLAMMABLE MATERIALS OR SPRAY AEROSOLS NEAR THIS APPLIANCE
DO NOT OPERATE THE APPLIANCE INDOORS
DO NOT OPERATE IN AN ENCLOSED AREA. ACCESSIBLE PARTS MAY BE VERY HOT. KEEP YOUNG CHILDREN AWAY
MINIMUM CLEARANCES FROM COMBUSTIBLE MATERIALS: 3 METRES
is a registered trademark of: Sitro Group Australia Pty Ltd - www.sitro.com.au & Aber Living, Hamilton, N.Z - www.charmate.co.nz
Important: Retain these instructions for future use.
5129-06/19

32
READ ALL SAFETY WARNINGS AND INSTRUCTIONS CAREFULLY
BEFORE ASSEMBLING AND OPERATING YOUR FIRE PIT.
• Only use this Fire Pit on a hard, level, non-combustible, stable surface (concrete, ground etc.) capable of supporting the weight of the
Fire Pit. Never use on wooden surface or other surfaces that could burn.
• Proper clearance of 3m between the Fire Pit and combustible material (bushes, trees, wooden decks, fences, buildings, etc.) or
construction should be maintained at all times when Fire Pit is in use. Do not place Fire Pit under a roof overhang or other enclosed
area. Not adhering to these clearances will prevent proper ventilation and may increase the risk of a re and/or property damage,
which could also result in personal injury.
• For outdoor use only. Do not operate Fire Pit indoors or in an enclosed area.
• For household use only. Do not use this Fire Pit for other than its intended purpose.
• Do not use gasoline, kerosene or alcohol for lighting the Fire Pit. Use of any of these or similar products could cause an explosion
possibly leading to severe bodily injury.
• Place Fire Pit in an area where children and pets cannot come into contact with unit. Close supervision is necessary when Fire Pit is
in use.
• Do not leave Fire Pit unattended when in use.
• Do not store or use Fire Pit near gasoline or other ammable liquids, gases or where ammable vapors may be present.
• Use caution when assembling and operating your Fire Pit to avoid scrapes or cuts from sharp edges of metal parts. Use caution
when reaching into or under Fire Pit.
• In windy weather, place Fire Pit in an outdoor area that is protected from the wind.
• Never leave ashes in Fire Pit unattended. Before Fire Pit can be left unattended, remaining ashes must be removed from Fire Pit.
Use caution to protect yourself and property. Carefully place remaining ashes in a non-combustible metal container and saturate
completely with water. Allow ashes and water to remain in metal container 24 hours prior to disposing.
• Extinguished ashes should be placed a safe distance from all structures and combustible materials.
• With a garden hose, completely wet the surface beneath and around Fire Pit to extinguish any ashes which may have fallen during
use.
• After each use, clean the Fire Pit thoroughly. Do not allow the Fire Pit to ll with rain water. Cover the Fire Pit to protect it from the
elements.
• Use caution when lifting or moving Fire Pit to prevent strains and back injuries.
• We advise that a re extinguisher be on hand. Refer to your local authority to determine proper size and type of re extinguisher.
• Store the Fire Pit out of reach of children and in a dry location when not in use.
• Although frost resistant, we strongly recommend storing your Fire Pit inside during winter.
• Properly dispose of all packaging material.
• Only use dry wood so you can achieve maximum warmth from your Fire Pit. Green wood will lead to a smoky cold re.
• Do not stack over-sized pieces of wood in the Fire Pit. Do not load Fire Pit above the solid base area of the Fire Pit. It is not a furnace
and roaring res are not recommended.
• Do not burn treated or painted wood as this may release toxins harmful to you and the environment.
USE CAUTION AND COMMON SENSE WHEN OPERATING YOUR FIRE PIT.
FAILURE TO ADHERE TO SAFETY WARNING AND GUIDELINES IN THIS MANUAL COULD RESULT IN
BODILY INJURY OR PROPERTY DAMAGE.
SAVE THIS MANUAL FOR FUTURE REFERENCE.
IMPORTANT SAFETY WARNINGS
WARNING

32
Assembly Instructions Parts List
For Easiest Assembly:
• To avoid losing any small components or hardware,
assemble your product on a hard level surface that
does not have cracks or openings. You may wish to lay
down a blanket or similar, to avoid possible damage to
the nish during assembly.
• Clear an area large enough to layout all components
and hardware.
• Great care has been taken during production to remove
sharp edges but you should handle all components
with care to avoid injury.
• Check you have all components before beginning.
• Follow all steps in order to properly assemble your
product.
Typical assembly: approximately 15 minutes.
Step 1
Place Fire Bowl into Base.
Step 2
Place wood grate into Fire Bowl.
Step 3
Lid sits on Fire Bowl.
No. Description Qty
1. Lid 1
2. Wood Grate 1
3. Fire Bowl 1
4. Base 1
5. Fire Tool 1
Exploded View
1
2
3
4
5

4
Operating Instructions
This Fire Pit is designed for use only with wood. Before
rst use make sure all labels, packaging and protective
lms have been removed from the Fire Pit.
Lighting
The secret to lighting the Fire Pit successfully is good
preparation of the re and using dry fuel.
1. Begin with a base of single sheets of dry newspaper
formed into st sized balls. Place these into the base of
the Fire Pit.
2. Get dry kindling about matchstick thickness. It is
important they are dry - manuka twigs are ideal. Place
this kindling on top of the newspaper taking care not
to crush the paper down as this will reduce the air gap
and starve the re of oxygen.
3. On top of the matchstick thick kindling add two good
handfuls of sticks about pencil thickness.
4. Finally have to hand a good supply of dry wood about
thumb thickness. Keep this to one side for now.
5. Now place a match or lighter to the dry paper at the
base of Fire Pit. You can light it in a couple of places.
The volume of smoke and ame will increase as the
paper catches the matchstick thick twigs alight and in
turn this lights the pencil thick twigs.
6. When the ames appear through the top of the loaded
Fire Pit fuel then you can add the thumb thick wood
with care, a few pieces at a time, to build up the
fuel supply in the Fire Pit. Once a good ember bed is
established thicker wood can be added.
Note: Split wood generally burns better than round wood.
All wood should be dry. Burning green wood will lead
to a smoky ‘cold’ re. Do not burn plastic as it gives o
harmful smoke for both you and the environment.
Extinguishing
• Allow re to burn itself out and don’t leave until the
re is fully extinguished.
• DO NOT use water to extinguish as this is dangerous
and can cause damage to this outdoor Fire Pit.
• If you must leave before the re burns itself out,
smother the re with a bucket of sand to extinguish.
Check the re is fully extinguished before leaving.
Cleaning and Care
CAUTION: All cleaning and maintenance should be done
when Fire Pit is cool and with the fuel supply removed.
Check the Fire Pit regularly to ensure it is safe to use. If
there is any sign of damage DO NOT use until repairs are
made.
Abrasive cleaners will damage this product. Never use
oven cleaner to clean any part of Fire Pit.
1. Wipe surfaces clean with mild dishwashing detergent
or baking soda.
2. For stubborn surfaces use a citrus based degreaser and
a nylon scrubbing brush.
3. Rinse clean with water.
When not in use store in a dry location, and if possible
cover the Fire Pit to protect it from the elements.
It is quite normal for the Fire Pit to develop an aged look
after several res. Over time it may develop surface
rust, which is normal and due to natural weathering,
particularly if it is left outdoors uncovered.
Other Charmate Outdoor Fireplace manuals
Popular Outdoor Fireplace manuals by other brands

Royal garden
Royal garden FWA19930 Assembly instructions

Landmann
Landmann GARDEN LIGHTS Charleston 26350 Assembly instructions
Hiland
Hiland AFP-RT owner's manual

for Living
for Living Augusta Assembly instructions

Bluegrass Living
Bluegrass Living PAG-1106FI owner's manual

Mosaic
Mosaic FSMVPT6012 Assembly instructions & user manual
Garden Oasis
Garden Oasis D71 M15145 Use and care guide

Extreme Fire
Extreme Fire 50003 Installation and operating instructions

Montigo
Montigo M38ODV-ST Installation & operation manual

Empire Comfort Systems
Empire Comfort Systems OL48TP10N-1 Installation instructions and owner's manual
BluDot
BluDot Smokey Assembly notes

Bond
Bond 50481 manual
