CHINON Sound 7500 User manual

CHINON
Sound
7500
INSTRUCTION MANUAL
ENGLISH

IMPORTANT SAFEGUARDS
WHEN
USING YOUR
PHOTOGRAPH
IC EQUIPMENT, BASIC
SAFETY PRECAUTIONS SHOULD ALWAYS
BE
FOLLOWED,
INCLUDING
THE
FOLLOWING:
1. READ
AND
UNDERSTAND ALL INSTRUCTIONS.
2.
CLOSE SUPERVISION
IS
NECESSARY
WHEN
ANY
APPLI-
ANCE
IS
USED
BY
OR
NEAR CHILDREN. DO
NOT
LEAVE
APPLIANCE
UNATTENDED
WHILE IN
USE.
3. CARE MUST
BE
TAKEN
AS
BURNS CAN OCCUR FROM
TOUCHING
HOT
PARTS.
4. DO
NOT
OPERATE APPLIANCE
WITH
A
DAMAGED
CORD
OR
IF
THE
APPLIANCE HAS BEEN DROPPED OR
DAMAGED
-
UNT
IL
IT
HAS BEEN
EXAMINED
BY A
QUALIFIED SERVICEMAN.
5. DO
NOT
LET CORD
HANG
OVER EDGE OF TABLE OR
COUNTER OR TOUCH
HOT
SURFACES.
6.
IF
AN
EXTENSION CORD
IS
NECESSARY, A CORD WITH
A SUITABLE CURRENT RATI
NG
SHOULD
BE
USED.
CORDS
~A
TED
FOR
LESS
AMPERAGE
THAN
THE APPLI-
ANCE
MA
Y OVERHEAT. CARE SHOULD
BE
TAKEN
TO
ARRANGE
THE
CORD SO
THAT
IT
WILL
NOT
BE
TRIP-
PED OVER OR PULLED.
7. ALWAYS UNPLUG APPLIANCE FROM ELECTRICAL
OUT
-
LET
WHEN
NOT
IN USE. NEVER
YANK
CORD
TO
PULL
PLUG FROM OUTLET. GRASP PLUG
AND
PULL
TO
DIS
-
CONNECT.
8. LET APPLIANCE COOL COMPLETELY BEFORE PUTTING
AWAY. LOOP CORD LOOSELY AROUND APPLIANCE
WHEN
STORING.
9.
TO
PROTECT AGAINST ELECTRICAL SHOCK, DO
NOT
IMMERSE THIS APPLIANCE IN WATER OR OTHER
LIQUIDS.
10.
TO
AVOID ELECTRIC SHOCK HAZARD,
DO
NOT
DISAS-
SEMBLE THIS APPLIANCE, BUT TAKE IT
TO
A QUALI-
FIED SERVICEMAN
WHEN
SOME SERVICE OR .REPAIR
WORK
IS
REQUIRED. INCORRECT REASSEMBLY
CAN
CAUSE ELECTRIC SHOCK
HAZARD
WHEN
THE
APPLI-
ANCE
IS
USED SUBSEQUENTLY.
SAVE
THESE
INSTRUCTIONS

NOMENCLATURE
1. Front Cover
2. Carrying Handle
3.
Take-up Reel Clip
4. Horizontal
Level
Control
5.
Sound Control Panel
6. Eleva
ti
on Control
7. Main Switch
8. Focusing Knob
9. Frame Control Knob
10
. Front
Arm
11. Reel Clip
12. Recording Le
vel
Met
er
13.
Auto
/Manual Recording Level Button
14. Monitor Jack
15. Line-out Jack
16
. Volume Control Knob
17
.
"Manual"
Warning Lamp
18.
Tone
Control Knob
19
. Sound-on-Sound Control
20. Sound-on-Sound Recording Lamp
21. Record Button
22. Record Button Safety Lock
23.
P.A
. Input Jack
24.
Aux
Jack
25.
Mi
c Jack
26
. Speed Selector
27
. Projection Speed Adjustment Knob
28. External Speaker Jack
29. Power Socket
30. Back Cover
31. Built-in Loudspeaker
32. Lamp Cover
33. Projector Lamp
34. Film Aperture Gate
35.
Pr
essure Guide
36. Entrance to Film Gate
37.
Zoom Lens
BEFORE OPERATION
(Except
the
model
for
U.S.A.
and Canada)
CORRECT VOLTAGE
Ensure that the correct
voltage
is
set at the mains
selector
by
checking that the number indicated
corresponds to your power supply (Fig. A).
If
the selector
is
incorrectly set, then remove the
back
cover
by
loosening the
two
retaining screws
(Fig.
B)
and reconnect the terminal
to
the
ap-
propriate voltage. If the loud-speaker connection
is
accidently
displaced,
do
not
forget
to reconnect
it before refitting the back cover (Fig.
C).
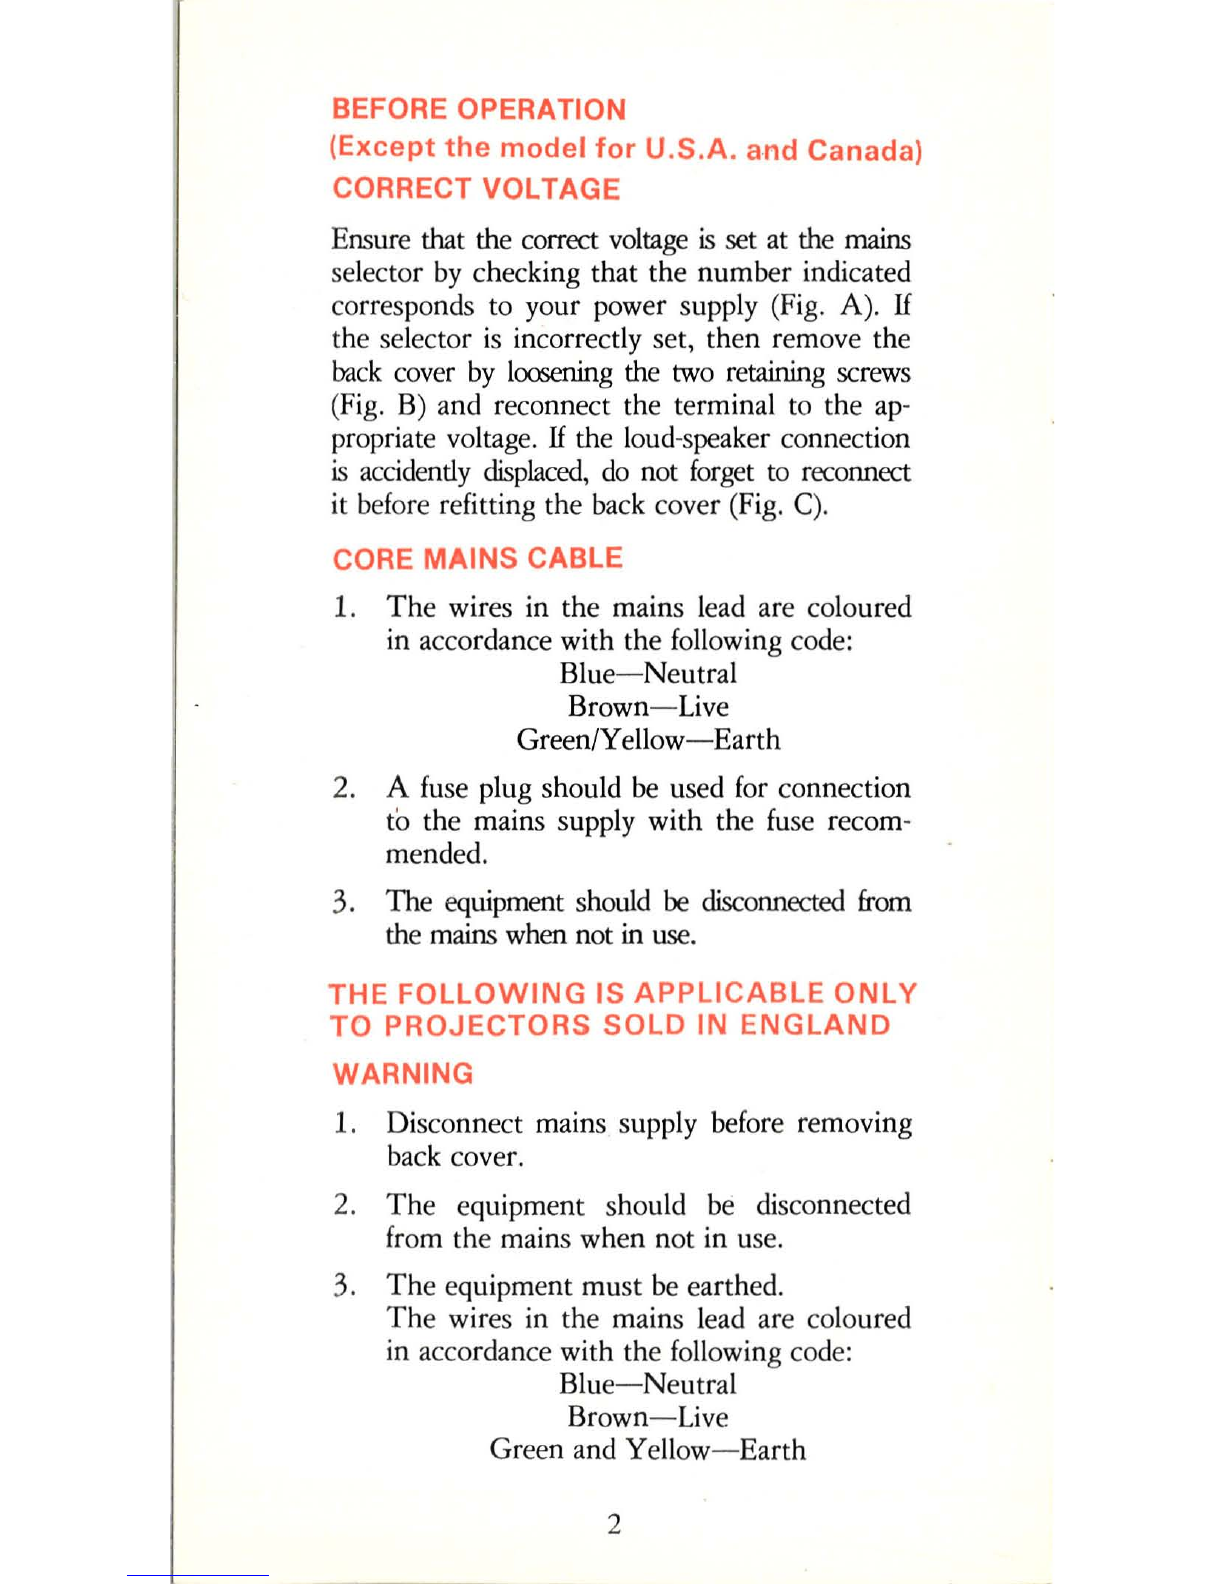
CORE MAINS CABLE
1.
The
wires in the mains lead are coloured
in accordance with the following code:
Blue-Neutral
Brown-Live
Green/Yellow-Earth
2. A fuse plug should
be
used for connection
to the mains supply with the fuse recom-
mended.
3. The equipment should
be
disconnected
from
the mains when not in
use.
THE
FOLLOWING
IS APPLICABLE
ONLY
TO
PROJECTORS
SOLD
IN
ENGLAND
WARNING
1. Disconnect mains supply before removing
back cover.
2.
The
equipment should
be
disconnected
from the mains when not in use.
3.
The
equipment must
be
earthed.
The
wires in the mains lead are coloured
in accordance with the following code:
Blue-Neutral
Brown-
Live
Green and
Yellow-Earth
2

The
wires in the mains lead
must
be con-
nected to the terminals in the plug
as
follows
:
Wire Colour
Green
and Yellow. . . . . . E
or
$-
or
Green
or
Green
and Yellow
Blue
......................
N or Black
Brown
......................
L or Red
The
equipment should be protected by a 3
amp fuse, preferably
by
using a
fu
sed plug.
4.
For safety we recommend the warning label
attached to
th
e lead is
not
removed.
POWER SWITCH OPERATION
This
switch is connected to the
AC
main
s.
Push
the button to engage and the electrical power
is
turn
ed on. When switching
off,
push the but-
ton again and
this
will
dis
co
nnect the power.
The
main operation switch can only
be
operated when
the power switch
is
in
the"ON"
position.
PREPARING FOR PROJECTION
1.
Connect the A.
C.
Cord of
the
projector to
th
e household power supply and
th
e pilot
lamp will light simultaneously.
At
the same
time the Projection Lamp
is
being preheat-
ed
(F
ig. 1).
2. Lift up the Front Reel
Arm
(Fig. 2).
3. Set the
Main
Switch to the Forward posi-
tion and the Projection Lamp will go
on
(Fig. 3).
4.
Aim
the projector at
th
e screen and adjust '
th
e height of the projector with the Ele-
vation Control. Next,
fill
the
screen with
the
projected light be adjusting
th
e
Zoom
Lens accordingly. Finally, adjust
th
e
Hor
i-
zontal Level Control if necessary (Fig. 4).
5. Return the Main Switch to
"Stop
"
(Fig.
5).
3

6. Attach the reels.
The
reel of
film
to
be
pro-
jected goes on the front, with the perfora-
tions on the right-hand side, and the empty
Take
-up Reel
is
mounted on the
Take
-up
Reel Clip (Fig. 6).
*
If
the reel
is
correctly loaded, the film will
come
off
the reel from the right-hand side.
If
the film comes
off
the reel from the left-
hand side, the reel requires rewinding.
*
The
reels should lock in place when attached
to the Reel Arms.
If
a reel does not secure-
ly lock in place, gently move the reel to and
fro
to a
ll
ow
the Reel Clip of the Reel
Arm
to properly engage in the ree
l.
7.
To
prepare your
film
for automatic thread-
ing, trim the leader of the film 3-4
mm
by
using the Film Cutter, (supplied with the
projector) (Fig. 7).
SOUND PROJECTION
1. Set the Speed Selector to desired speed (18
or
24
fps)
. Since
18
fps
is
normally used,
the Speed
Se
lector shou
ld
be
in the pro-
truding position (Fig. 8).
Projection speed can be
"fine
tuned" to
make up for any variance in the power
supp
ly
.
2. Set
the
Main Switch to
"THREAD"
(Fig. 9).
3. Insert the leader of the film into the Film
Gate entrance and the film will automat-
ically
attach
itself
to
the Take-
up
Reel
within
5 seconds (Fig. 10).
* Do not remove the
Main
Switch from the
"THREAD"
po
sition until the film
is
properly taken up onto the
Take
-up Reel.
4
*Use
the
special Take-up Reel
wh
ich comes
with yo
ur
Chinon Sound
7500
Pr
ojector.
4. Set the
Main
Switch to the Forward posi-
tion to
turn
on the Projection Lamp and
commence proj
ect
ion
of
the film.
(F
ig. 11
).
5.
Adjust
both the sharpness and the frame
line of the picture by turning the focusing
and
fr
aming co
nt
rols (Fig. 12).
6.
Ad
ju
st
the sound volume
by
rotating the
Vo
lume Control
Knob
and select the
mo
st
pl
easing tone
by
adju
st
ing the
Tone
Control
Knob
(Fig. 13).
If
the pict
ur
e jumps when
runnin
g,
turn
the
Ma
in Switch to
"LOOP
FORM",
and
then reset it to the
"FO
RW
ARD"
position.
SILENT PROJECTION
Use exactly the same procedure as for so
und
projection, but without using the Sound Volume
Contro
l.
The Volume Control should be
at
its
minimum
setting.
REVERSE PROJECTION
For
amusing effects such
as
people and a
ut
o-
mo
bil
es moving
ba
ckwards, or a person
jump
-
ing out of the water and on
to
a diving board,
reverse projection may be used.
To
use, move
th
e Main Switch to Reverse.
Wh
en
set
to this
reverse projection position, the
so
und amplifier
will a
ut
omatically be
turned
o
ff,
resulting in si-
le
nt
projec
ti
on (Fig. 14).
REWINDING THE FILM
Wh
en the film
is
over, rewind the film
onto
its
original reel
by
following the procedure outlined
below.
5

1. Set the Main Switch to
"Stop"
2. Insert the end
of
th
e
film
into the slit
of
the
original reel
(Fig.
15), making sure the
film
passes over the Rewind Roller.
The
film
should
be
inserted into the slit from
the bottom so that the original reel can ro-
tate counterclockwise (when
th
e control
panel faces you). .
3.
Set the Main Switch to
"REWIND"
(Fig. 16).
Wh
en rewinding, the Speed Selector may
be
set to
24
fps
for a faster rewind.
EXTERNALLOU~SPEAKER
An
exte
rnal
l
ou
d·
speaker
with
a
ma
x
imum
o
utpu
t
of
12W (for
the
m
odel
to
U.S
.A.
and
Canada,
15W
for
ot
her co
untri
es) (twice
that
of
the loud
speaker
built-in to
yo
ur
so
und
projector)
may
be co
nn
ec
ted
to
the
pro
j
ector
for
eve
n bett
er
so
und
qua
li
ty.
Mor
eover, if
the
externa
l lo
ud
speake
r is
pl
aced
n
ear
th
e
screen,
highl
y r
ea
li
st
ic
effects
are
possible.
To
use an external loud
-s
peaker, connect it to
the Loud-Speaker Jack
of
the projector (Fig. 17).
• When using an external loud speaker,
other than
th
at specia
ll
y designed
for
yo
ur
Chinon Sound
7500
Projector, use a RCA
type
(for
the
model
to
U.S.A.
a
nd
Ca
nada,
DIN
Type
for
other
co
un
tr
ies)
jack
adapter
if n
ecessary.
•
Th
e external loud
-s
peaker should have an
impedance
of
8-
16.0
.
To
avoid possible
damage to the amplifi
er
of
your sound pro-
jector, do not use a model with an imped-
ance
of
less than 8n.
RECORDING
Before attempting to record, please read this
section carefu
ll
y.
6

•
Ordin
arily, when
th
e Record
Butt
on is d
e-
pressed, previously recorded material on
th
e
film will be erased, and only
th
e new re-
corded material w
ill
remain.
• Addi
ti
onal so
und
e
ff
ects or na
rr
a
ti
on c
an
be added
to
the
film
during projec
ti
on with-
o
ut
er
as
ing
th
e
mat
e
ri
al pre
vi
ously record-
ed
by
using
th
e so
und
on so
und
system of
yo
ur
pr
ojector.
• Ordinary recording should
fir
st
be
m
as
tered
before attempting the more sophis
ti
cated
technique of sound on so
und
recording.
AUTOMATIC
OR
MANUAL ADJUSTMENT
OF RECORDING LEVEL
• For beginners, it would be wise to set
th
e
Aut
o/Manual Recording Level Control
Butt
on to the
Aut
o (protrudin
g)
p
os
ition.
Wh
en this is done,
th
e ALC
(Aut
omatic
Level Co
ntr
ol) circuit will
aut
omatically
adjust low or high so
un
ds to
th
e co
rr
ect
level for success
ful
recording.
•
Ad
va
nced amate
ur
s will enjoy using
th
e
manual adjustme
nt
of the recording level
in order to e
ff
ect subtle changes or elimi-
nate backgro
und
noise.
MIC JACK AND AUX JACK
• T he
mi
crophone is plugged into the Mic
Jack and used for recording na
rr
a
ti
on, live
mu
sic, or so
und
e
ff
ects.
Th
e microphone
should be he
ld
away from the so
und
pr
o-
jector to eliminate
th
e possibility of
pi
ck-
ing up noise.
• For noise-
fr
ee recording
fr
om a tape record-
er, ra
di
o, or phonograph, co
nn
ect
th
e in-
s
trum
e
nt
dir
ec
tl
y to yo
ur
so
un
d projecto
r'
s
Aux Jack.
7
• For recording a narration without mistakes,
first record it on a tape recorder and then
co
nnect the tape recorder to your projector.
RECORDING FOR THE FIRST TIME
B
eg
inners can practice on about 5 meters
of
film
(unexposed film may also be use
d)
.
WITH A MICROPHONE
1. Insert the microphone plug into the
Mic
Jack
of
the projector
(F
ig. 18).
2. Set the Sound on Sound Knob to
"NOR
-
MAL
"
(F
ig.
19
).
3.
Set the Auto/Manual Recording Level Con-
trol Button to th
e"
AUTO
" (protruding
~osition)
(Fig. 20).
4. Rotate the Main Switch clockwise to
th
e
Forward position (Fig. 21
).
5. While pushing d
ow
n on the Record Safety
L
oc
k,
si
multan
eo
usly push in on the Record
Button
(F
i
g.
22).
6. Commence recording by observing the
fol
-
lowin
g:
. • Hold the microphone
10
centimeters or
more away from the mouth.
•
If
the indicator needle of the Recording
Leve
l Meter
mov
es
in accordance with one's
voice, recording is correct.
•
To
ascertain proper recording, monitor with
an earphone
(F
ig.
23).
• Do not handle the microphone roug
hl
y
while recording.
8

7. Cease recording
by
observing the following
(Fig. 24).
• Push
in
on the Record Button to disengage
it, and it will return to its former position,
ending the recording.
•
If
the Main Switch
is
moved
off
the
(Forward) position, recording will automat-
ically cease.
MANUAL RECORDING LEVEL CONTROL
WITH A MICROPHONE
1. Set the Auto/Manual Recording
Level
Con-
trol Button to the
"MANUAL"
(depressed)
position (Fig. 25).
2. Push in on the Record Button (Fig. 26).
• Keep the main switch at the
"Sto
.
P"
posi-
tion.
• Both the Recording Level
Meter
and the
Manual Warning Lamp will illuminate.
3. Set the Volume Control
Knob
to its lowest
position, and then while speaking into the
microphone, slowly rotate the Volume
Control Knob clockwise until the indicator
needle
of
the Recording Level Meter fluc-
tuates to its maximum position without
entering the red area
of
the meter scale
(Fig. 27).
4. Rotate the Main Switch clockwise (to the
right) to the Forward position (Fig. 28).
When the Main Switch
is
moved, the
Record Button will automatically
be
dis
-
engaged, so
as
soon
as
the
film
begins to
move, push in on the Record Button once
again.
9
RECORDING FROM A TAPE RECORDER
OR
SIMILAR SOURCE
1.
Plug the recording cord into the Aux Jack
of
your Chinon Projector
and
the appropriate
jack (LINE OUT, MONI, EXT. SP.,etc.)
of
your tape recorder, radio, or phonograph
(Fig.
29).
2. Since the output
of
tape recorders, radios,
and similar sources vary from model to
model, the Volume Control
of
the external
source (e.g. tape recorder) should
be
used
for adjusting volume.
To
do
so, turn the
Main
Switch
to
"Stop",
plug
in an earphone
and monitor
by
depressing the Record But-
ton. While monitoring, adjust the Volume
Control
of
the external source until the re-
cording level
is
sufficiently loud and clear.
The above
applies
when recording with the
Recording
Level
Control set to
AUTO.
When setting the Recording Level Control
to
MANUAL
the following procedure
applies:
a)
Set the Main Switch to
"Stop".
b)
Set the Volume Control
of
your Chinon
sound projector to the MIDWAY
pOint
(the 12:00 o'clock position).
c)
Plug earphone into the Monitor Jack
of
the projector.
d)
Depress Record Button.
e)
While monitoring, adjust the Volume
Control
of
the tape recorder, excercising
care that the indicator needle
of
the
Recording
Level
Meter does not enter
the red zone
of
the scale
(Fig.
30).
3.
Rotate the Main Switch clockwise to the
Forward position (Fig. 31).
4. Reset the Record Button to the RECORD
(recessed) position (Fig. 32).
10
RECORDING DURING PROJECTION
The
Record Button can
be
depressed, and
re-
cording commenced, at any point during pro-
jection. Moreover, the Record Button can
be
instantly disengaged at any point during projec-
tion
by
merely pushing it in once again.
ERASING
To
erase a previously recorded
film
without re-
cording, proceed
as
follows:
1. Disconnect the cord
of
the microphone,
tape recorder, or other source from the
sound projector.
2. Set the Auto/Manual Recording Le
vel
Con-
trol Button to the
MANUAL
(recesse
d)
position (Fig. 33).
3. Rotate the Volume Control Knob complete-
ly
counterclockwise (toward
"LOW")
(Fig. 34).
4. Set the Sound on Sound
Kn
ob to "NOR-
MAL".
(Fig. 35).
5. Start the projector and depress the Record
Button (Fig. 36).
SOUND MIXING
A microphone and
tape
recorder can
be
connect-
ed to the sound projector
for
simultaneous re-
cording
of
a narration and background music,
for
.
ex
ample.
Of
course, in such a
case,
care must
be taken that the background music does not
overpower the narration. For b
es
t r
es
ults, pro-
ceed
as
foll
o
ws:
1.
Connect the tape recorder to the Aux
J
ac
k,
and the microphone to the Mic Jack
(Fig. 37).
II
2. Set the Sound
on
Sound
Knob
to
"N
OR
-
MAL
"
(F
i
g.
38).
3.
Adju
st the volume
of
the tape recorder.
4.
Start the tape recorder and begin the na
rr
a-
tion while monitoring with the earphone.
Readju
st
the volume of the tape recorder,
if necessary, to
bl
end we
ll
with the narra-
ti
on
(F
i
g.
39).
5. Co
mm
ence recording.
SIMPLE MIXING METHOD WITH ONE
MICROPHONE
Pl
aya
tape recorder
as
background music
(w
ith-
o
ut
connecting it to the projector) and speak
int
o the microphone for the narration.
Th
e
mu
sic or narration can be emph
as
i
ze
d simply
by
placing the
mi
crophone closer to one so
ur
ce
than the
ot
he
r.
Although this is not a perfect
system and some background noise m
ay
be
pi
ck-
ed
up
, the beginner may
wi
sh to start with such
a simple syste
m.
SOUND ON SOUND RECORDING
Th
e so
und
on sound system is used to add nar-
ration, b
ac
kground
mu
sic, or so
und
e
ff
ects to a
film witho
ut
erasing the
pr
e
vi
ously recorded
mate
ri
a
l.
However, if one mak
es
a
mi
stake with
the so
un
d
mat
erial added to the o
ri
ginal record-
ing, the mistake can not be er
as
ed without si-
multaneously erasing the o
ri
ginal recording.
Ther
efore, careful practice is necessar
y.
If
th
e o
ri
ginal recording level is very low
t
o.
begin with, an additional recording may
cancel out the o
ri
ginal, so exercise care.
If
yo
u record a narra
ti
on on a narration the
result may be gar
bl
ed so
that
neither is
un
-
derstoo
d.
Therefore, avo
id
such an attempt.
12
FOR SUCCESSFUL SOUND
ON
SOUND
RECORDING
FOllOW
THE PROCEDURE
OUTLINED BELOW
1. Set the Auto/Manual Recording Level Con-
trol Button to
the"
AUTO"
(protruding
position).
2. Move the Sound on Sound Knob complete-
ly
co
unt
erclockwise (to the left)
(F
i
g.
40
).
3. Rotate the Main Switch clockwise to the
Forward position
(F
ig. 41).
4. Depress the Record Button at the point in
the film where you wish to do sound on
sound recording.
Wh
en this is done, the
original sound track will no lon
ge
r
be
heard
(F
ig. 42).
5. Adjust the Sound on Sound Knob to a suit-
a
bl
e recording level
by
slowly rotating the
knob clockwise. Norma
lly
, setting the knob
to an approximate
ly
11:00
o'
clock p
os
ition
will res
ul
t in a favorable recording level;
to lower the level, rotate knob co
unt
er-
clockwise. M
ov
ing the Sound on Sound
Kn
ob to the
ri
ght (cl
oc
kwise) will result in
an increase in the recording level.
If
the
knob is moved a
ll
the way to the
"NO
R-
MAL
" position, normal recording will
occ
ur
, erasing the original recording and
leaving only the new recording
(F
i
g.
43).
6. Upon com
pl
e
ti
on of sound on sound record-
in
g,
rotate the
So
und on Sound Knob com-
pletely to the left and
di
sengage the Record
Button. If the
So
und on Sound Knob
is
then
reset to i
ts
former positon, sound on sound
recording can be started again merely by
pushing in on the Record Button
(Fig.
44).
13

FADE-IN/FADE-OUT TECHNIQUE
To
intersperse additional sound within the orig-
inal sound in a natural
manner
the following
Fade-in/Fade-out technique may
be
employed:
1. Rotate the Sound on Sound Knob complete-
ly
counterclockwise, and depress the Record
Button (Fig. 45).
2. Gently rotate the Sound on Sound
Knob
clockwise (with the additional sound source
connected to the projector) until it comes
to the
"NORMAL"
position and continue
recording (erasing the original sound).
3. Next, when you wish to have the original
sound gradually
fade
back in, rotate the
Sound on Sound Knob gently counterclock-
wise until it comes to a stop. This can
be
repeated to intersperse additional sound
within the original recording (Fig. 46).
THE LINE OUT JACK
When
connecting the sound projector to an am-
plifier and external loud-speaker combination,
the
Line
Out Jack
is
used.
For copying the sound
track of your film, a tape recorder is plugged
into this jack. When using an external amplifier
and loud-speaker, proceed
as
follows:
1. Connect the Line
Out
Jack of the projector
with the
AUX
(Line In) jack of the exter-
nal amplifier (Fig. 47).
2. Connect the amplifier to the external speaker.
3. Adjust volume with the volume control of
the amplifier.
14

PAINPUTJACK
The
PA
Input Jack can serve three useful pur-
poses:
•
The
projector can
be
used
as
a public
address system
by
plugging in the micro-
phone and adjusting the volume
of
the
projector (Fig. 48).
•
The
microphone can
be
plugged into the
PA Input Jack and used
for
narration during
projection completely independent
of
the
recording system.
• Silent movies can
be
made to come to
life
by
adding narration in the above manner,
or
by
connecting a tape recorder for sound
effects.
When a
tape
recorder
is
used, volume
should
be
adj
usted
by
the volume control
of
the tape recorder (Fig. 49).
MAINTENANCE
PROJECTOR CARE
A. REPLACING PROJECTOR LAMP
Disconnect AC cord. Allow lamp
ro
cool before
changing it. Set the Main Switch
of
"Stop".
To
remove front cover: 1. Raise the Reel
Arm.
2. Hold both sides
of
front cover and, using
thumbs against projector body
for
le
ve
rage, pull
off
cover. Loosen the two screws on top
of
the
lamp cover, then slide the lamp cover to the left
and pull it
off
over the screw heads (Fig. 50).
Push
up the lamp retaining spring (Fig. 51).
Grasp the lamp base between thumb and fore-
finger and remove
by
pulling it towards you
with a firm, even movement.
15
Use
only
a
DNE
ISO-watt 120-volt
tun
gs
ten-
halog
en (for
the
model
to
U.S.A.
and
Cana-
da
,
ISO
-
watt
IS-volt
quartz
halog
en
for
other
co
untri
es)
replacement
lamp
.
Grasp
the
new
lamp
by the
base
only
and
in
sert
it into
the
socket
as
shown
in
Fig.
52.
Push
it in all
the
way
and
lock it
in
position with the lamp retaining spri'ng. Slide
the lamp cover in place over the screw heads
and tighten the screws. Replace front cover
by
inserting three pins on cover into corresponding
holes in projector and pressing cover in until
all three pins snap into place.
DO
NOT
TOUCH
LAMP. Handle it
by
the
bas
e or the outside
of
reflector only,
If
the
lamp
is
accidentally touched, wipe away all
fingerprint
s.
(Except the model for U.S.A. and Canada)
Push down the lamp retaining spring. Take out
the lamp and then carefully disconnect it from
the socket. When replacing with a new
lamp
~,
reverse the above procedure. Make sure to place
the notch
of
the lamp
ba
se to the cut-out part
of
the lamp holder.
B.
Cleaning the film aperture gate and
the projection lens
FILM APERTURE GATE:
1. Disconnect the projector from the mains
supply.
2. Set the main switch to the
"Stop"
position
and remove the front cover
by
pulling it
towards you.
3.
Turn
the focusing knob to move the pro-
jection lens to the right.
4. Slide the
film
pressure guide plate (located
above the focusing knob) to the right to
open the film aperture gate. Clean the film
16

gate with the brush supplie
d.
To
reset the
guide plate,
turn
the main switch to the
right (Fig. 53).
PROJECTION LENS:
1.
To
clean the projection lens,
fir
st pull the
focusing knob to
wa
rds you then remove
the projection lens from the projec
tor
(Fig. 54).
2.
To
rep
la
ce the proj
ec
tion lens again reverse
the above proced
ur
e.
T he projection lens is set properly
if
it
moves ho
ri
zo
nta
lly
when turning the
focu
s-
ing knob.
C.
Replacement
of
the fuse
(Except
the
model for
U.S.A.
and Canada)
1. Disconnect the projector from the mains
suppl
y.
2. Take
off
the back cover
by
removing
the
two retaining screws. Be careful not to
di
sco
nn
ect the loudspeaker cord from the
bo
dy
when removing the back cover
(Fi
g.
55
).
3. Remove the old fuse and replace with a new
one.
17
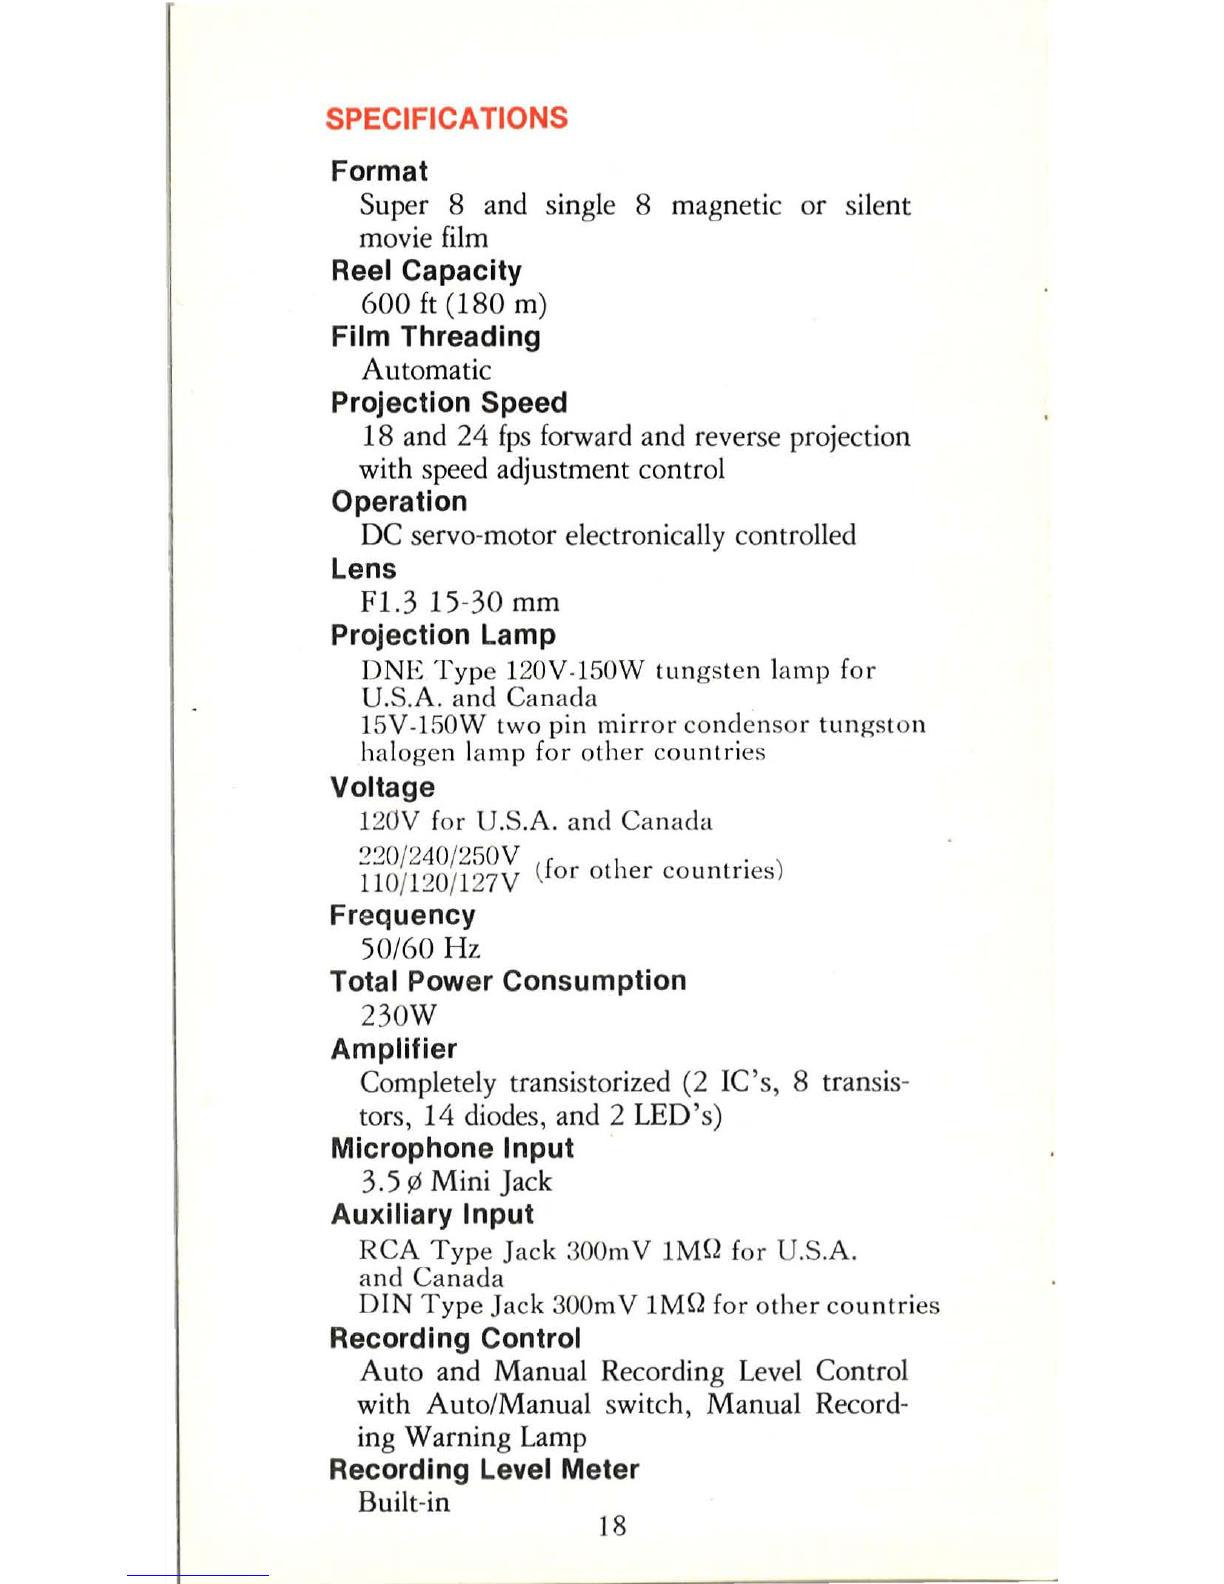
SPECIFICATIONS
Format
Super 8 and single 8 magnetic or silent
movie film
Reel Capacity
600
ft
(180
m)
Film Threading
Automatic
Projection Speed
18
and 24
fps
forward and reverse projection
with speed adjustment control
Operation
DC servo-motor electronically controlled
Lens
F1.3 15-30
mm
Projection Lamp
DNE
Typ
e 120V·150W tungsten lamp f
or
U.S.A.
and
Canada
15V-150W two pin
mirror
condensor
tung
ston
halogen l
amp
for oth
er
countries
Voltage
120V for U.S.A. and
Canada
~~
O
/
2
40
/
25
0V
fl'
)
llO
/120/1
27
V l
or
ot 1er co
untn
es
Frequency
50/60
Hz
Total Power Consumption
230W
Amplifier
Completely transistorized (2
IC's
, 8 transis-
tors,
14
diodes, and 2 LED's)
Microphone Input
3.5 ¢ Mini J
ac
k
Auxiliary Input
RCA
Type
Jack 300mV
IMQ
for U.S.A.
and
Canada
DIN
Typ
e Jack 300mV
IMQ
for
other
co
untri
es
Recording Control
Auto
and Manual Recording Level Control
with Auto/Manual switch,
Manual
Record-
ing Warning Lamp
Recording Level Meter
Built-in 18
Table of contents
Other CHINON Projector manuals


