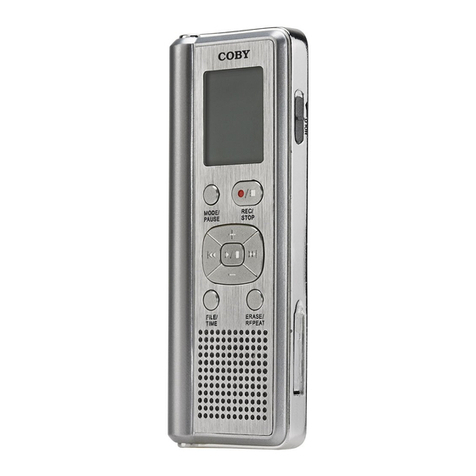
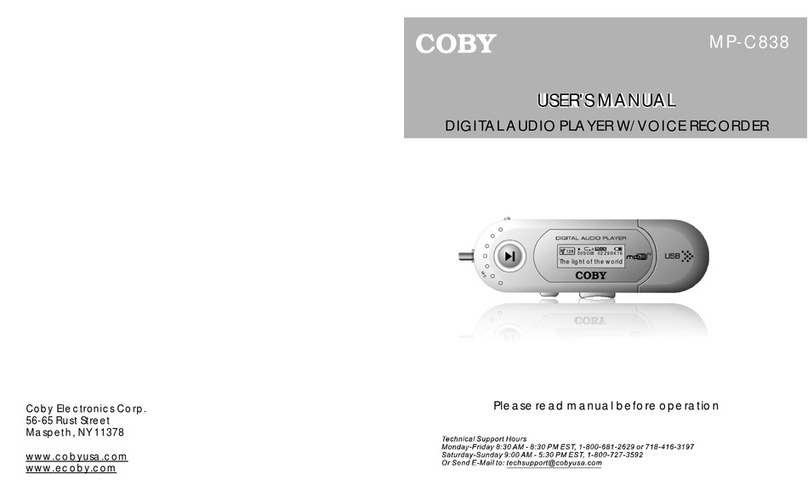
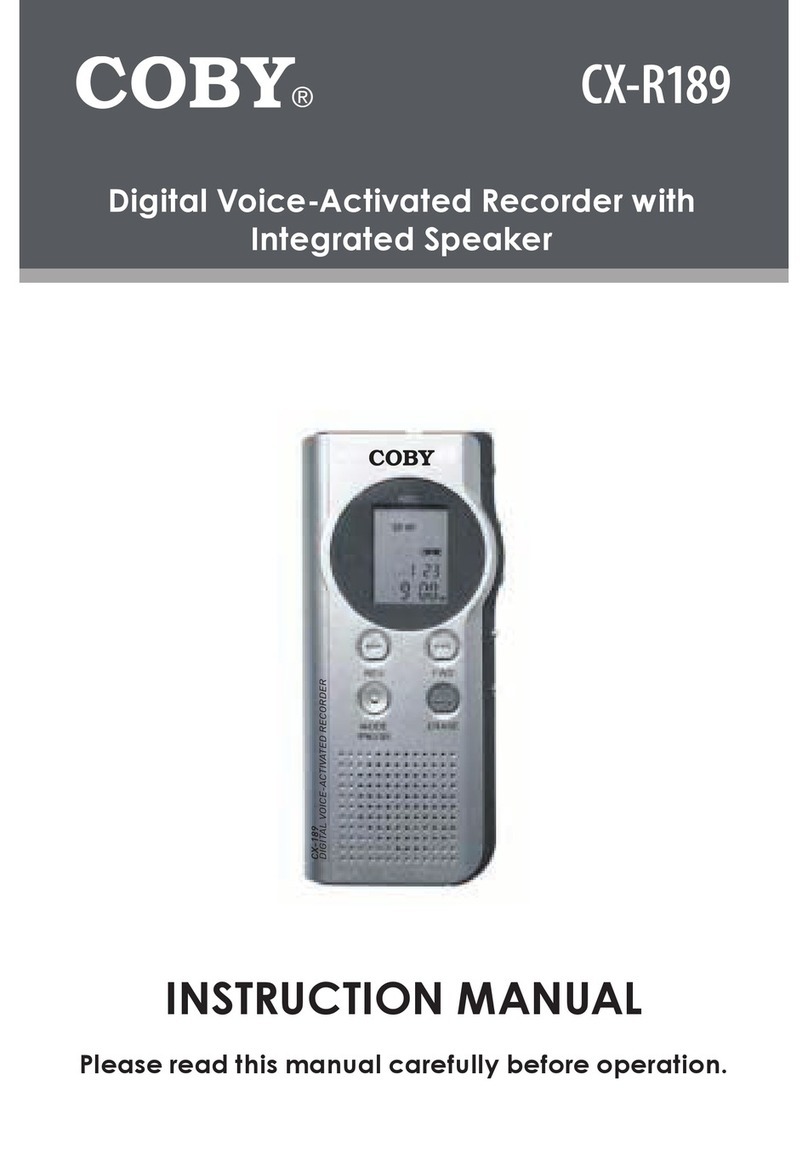
Coby CX-R188 User manual

COBY
CX-R188
Digital Voice Recorder

90DAY LIMITED;WARRANTY
COBY ELECTRONICS CORP (;* COBY" )warrants this product to
ihe original purchaser to be |free from defects in material or
Workmanship under normal use for 90 DAYS from the date of original
purchase. COBY aggress undenthis warranty, to repair or replace it
With anew or reconditioned *product at no additional charge,
pur warranty does not cover any product which has been subject to
pe gleet, unreasonable use. Accident, violation of operating
Instructions ,or any pro duct that lias been repaired or modified by an
Unauthorized service agent.
To obtain factory service ,retunn this unit freight -prepaid to the
address shown below within tl\e duration of this warranty. Enclose
S6.00 for each item in for each item in form of money order made
payable to COBY ELECTRONICS CORP. to cover the cost of
shipping and handling .Also include acopy of the sales receiptto
show proof of purchase and a!detailed description of the problem.
The units must be packaged in si)ch away as to reasonably protect
it from possible shipping damaged .For further information write to:
!COBY ELECTRONICS CORP.
!CustomerjService Dept
!56-65RpST street
;maspet;h (nyii378
POSY'S liability under any legal theory for any loss or damage in any!
Way related to this product shall not be exceed the for any incidental
Of consequential damages resulting from the use of this product, or!
jnability to use this product. Repair of replacement as provided!
Jjnder this warranty is the exclusive right ofthe consumer. \
Except to the extent prohibited by law, no express or implied*
Warrant/ of merchant ability or fitness for aparticular purpose on this!
product shall be extended beyoifd the period of this warranty. Some!
states prohibit the exclusion or limitation of incidental or!
Consequential damages, so thaj the above limitations or exclusion!
fray not apply to you, This warranty gives you specific rights, and!
.Vj)M_G^aJts!S aJlflM °J6.JI rights ttTgt mayvary fLqm_State toJ3tate_. [
Directory
Features: I(1$
IDescriptions of LCD Interfaces! (2^
IlLBttteiy \(4^
Iv+Basic operations \(4#
1.Sleep condition f(4^
2-Working Conditions ](4^
1) Manually fetich for voice message: (4>
2)*Pl4yingvoiceiness*gt (4)
3) Recording voice message--* (5>
4).Voice RepeatRmctions—|(5%
5).Book inark j(6^
3. FVmctionMenu Setting J(6)
1).Ehtiy uid exit f\mc tioninenu (6)
2)+Voice mailbox selection when the LCD display (6)
3),Recording Quality selection (7)
4)+Recordmg Sensitivity Contlrol (7^
5) Settingvoice-activate dree ordingfunction (7)
6) .Check remainingmemory Wft (7Ji
7)+Deleting one voice niessagj (8J
S). Deleting allrec codings-
9).Settmgtnnepiraneter-*
10) .Sayhello setting
11) Key tone switch
VCommunication with PC-
VI Main Specifications of DIGITAL VOICE RECORDER»(14{

CX-R1 88 RECORDER Manual
i
j*
J. Features:
3Three voice directories; Each directory is capable of
;127pieces of voice messages The three directories;
;combined can hoi da total of 200 voice messages
5. Connectswith computers via serial interface for j
!uploading and downloading music or voice files.
p< Two recording quality selections (LP andSP).
jl. Capable of direct recoidingDVD, VCD andCD.
5. Recording time and remaining recording time traceable v
fi.Voice repeating, following, comparison and tab ]
!function ;
|7. Voice -activatedrecortling function (Five -grade;
!rec or dingvolum e sensi\ivi ty sele ction)
.
8+Nine-grade volume adjustment.
9Time andalarm clock. I
30. Recording time (day/h;our/minute) display
JlFour- grade battery laVel display with low -level;
alarm (undei 2scales). ;
12. Telephone recording. !
13. Bui11in highquallty mictophone
+
34. Built-in speaker, ;
1

II.Descriptions of LCD Interfaces
1Voife-attivatedretoxding indicator
3. \foic* mailbox indicator
5. Low quality mode indicator
7. Phying indicator
9. Digit indicator
1L Repeating indicator
13. Comparison indicator
15, K*vlock indicator
-'Battery capacityindicator
41Highqualityinode indicator
6l "'-J i.iniil-. H-ut!'-. i.liil icuiid •unbcrutihuftif
Si Reccadmg sndKUcr
id Ubrkparolindicator
1? Following speaking indicator
14 Volume indicator
ltj Alarm clock indicator
n

CX-R1
1. |(Microphonic)
2. 0(Earphone;)
3. Computer Interface
4. SET/REP i
5. FOL/CMP !
6. REC/STOP i
7. MODE/MENU
3. Bookmark/PC connection
9.«h»(UP/PILAY/PAUSE/DOWN)
10 ON/OFF i
11. Keylock j

III. Battery !
;1Slide openbattery cover onback. i
;2Insert two AAAbatteriesfacmgthe proper direction* .AB:almei*
Jsug£«rt*d Closecover. !
;3.Eaiphoneuse is recommended tc(*ave power.
>4*If thebatteiypower istinder lscale^productwillnotfunction.
i
j
IV Basic operations
1Sleep Condition ;
-Under sleep condition the LCDwiJlnot tunxon,however it willnot
affect the function of the alarm The unit will change from standby
mode to sleep condition if there hasbeenno operationin 3minutes To
change theimit to sleep conditionni«nual]y,press andhoIdthe |>fcey+
To change back to standby inode >pr^ss <i>andholdany otiterkey at the
tune time,
j
2Working Conditions
Under standby mode >the screen will display the cinrent voice inailbox
length andrecordnumberfor 2second* The record date and time willbe
displayednext After 4sec onds die \uui will enter into clock mode
.
l) M*nu*IEy idrchArvoii tmejstg* nse^flor t*ltey to change
last or next message voice message Press andhold Mor WKey
forfastreverse orforward .j
I) Playmj voic tme*sag* |
Press the Mkeytoplay cuirentv^ice message *The screen will
display the length of the message (Diagram 1)
'Dxtringplay.yoti canpre ss th»J Mlcey to pause
Press Hkey again to resume* play. Press
"REC/STOP" lcey to stop play andretunxto
standby mode
.
(2 -Duringplaymode press and hold the 4401 w
Keysto fast reverse orfastforward*

r!
:3) .Recording voice message
.Using built-in microphone or external microphone for
recording !
Align the microphone with thejsound source. Press and hold the
*"R EC/STOP 11 key for more than one se cond to st art re cording.
If you want to pause recording, just press the Mkey. Pressing
the Hkey again will continue recording. To stop recording
>
press "REC/STOP "key. j
Telephone recording j
Separately connect the external
telephone line and telephone J
fcet line to telephone converter
(Diag am 2). Press the "REOSTOP"
key to start recording .(under
telephone recording condition!,
turn on the VOR function will
;save memory, j
If .Direct Recording frOIH \
External Device |
(Qagram2j
Connect the audio cutput From |the external device to the external1
micrcphone. Then simultaneousIV press the Mand HREC/5TCP" key
of external device. The machine will start reccrding* (To avoid the)
Failure of recording* please do arecordng test in advance on the!
external device).
Is.Descriptions of recording Voice boxes.
If current voice directcry No. is A|or 8press and hdd the "REOSTOP" >
(<ey to start reccrding. j
4).Voice Repeat Functions

Repeat f<ar Paragraph
Din ingplay mode *press "SET/feEP" hey to set current point tine
as the rttrtpoint of repeat* Now^jA—^flashes, indicating die start
point ofrepeat has been set >Pre£s "SET/REP" hey agam LCD
willdisplay A—»B,in* dicatingrepeatfroinpoint Ato point B
>*• .FcUowaiul Compm I
Xnrepeat mode press the "FOLiCWP" hey to enter Follow Status
Record your own voice andpressdie "FOL/CMP" hey again. The
player will automatically play yj>ur voice first and then the original
for comparison !
E.fareptitmod* Pressdtehey "JSETJREP" toretmntoplaysUtus,
Tl\e player will playfrom the ei(d point of Repeat andset the end
pointas anew startpointfor nex|repeat*
?). Bookmark !
Puringplayinode press "TM3/PC" hejftoinarhpoint Whenthe TAB£>C
key is pressed again in standby mode! dw unit will play agamfrouithe
marhedpoint.
3Function Menu Setting;
1) Entryand*>it functionmenu !
bx standby state, press the "MODE; /MEUU "hey for
*bout 2seconds to see the LCD screen showingfiinction
memi Press 44or wKey to selectmemvoption and confirm
theinodificationbyusing nhey Press Jhe "REC/STOP "
}ceyandyoiiwillreturnto worh condition After enter the
ineim,SEL DIR will be displayed (Diagram3)
I) Voiit mailbox stleifion when Ttit* LCD display
SBL DIR ;
tress to enter Press 4*or i*heyto selecjdw difference voice
mailbox Pressd\e nhey toconfimi.or ^ress "REC/STOP"
hey to cancel die clung? Then return to
(Diagram 4)
function nwrcu state
dif

i
3).Recording Quality selcctio?i(SEL CODEC)
Use 4*or>^keyto SEL CODEC *n*lpressto Hewn Press
'^01 frttceyto se 1*ct LP or SP tndpre ss to Mconfinn,orpress
;"REC/STOP" ltey to cuxcel the ;ch*nge .Then retain to
function menu st*te In xThieh^SIJ ishigh qiulity «\d LPis
low quality (Dx*gr«n5)
4).Re cording Sensitwiiy !
When the number is Urger the sensitivity ishighei Choose
high-i sensitivity when the soimtf source is farther *w«y
{Dugrtinti) J
?).VORMODE ;
Jjse the moi *lcey to VORMODfi.the sound control icon
JfillthenfUsh. Press HI to enter VORMODE.Use the Mas
key to select the ONor OFFoption. Pfessthe II keyto confirm
or press die "REC/STOP "to cancel and return tofunetion
pienu If flu setting is ON *the unit will only record vrhen
there is voice. The sensitivity will^ffectthe VORfunction
tDi*gr«n7) ;
6% Clieckremaining memory feft
(MEMORY LEFT)
Use the 44oi »fcey to see left.press hi to confirm
;
If recording quality is dunged* the remaining !
iu emor/ time willchinfipifco Press EfiC*<>TOP' to ;
return the functioninenu state .(Diagram S,9) I
SB

?X Deleting onevoKeme.ssage(DEL ONE)
JJse die 44or key to select DEL OfflE Presto HI enter,
(ff current mailbox mnuberis A,B or D, commonniesstge
willbe deleted). Use the 44crikey to se^ct* voice message
to be deleted Press UieHkey to confiningpress REDSTOP
hey to cancel After deletiontniitwillretunitofunctionmenu
When there is i\o message available t^iis function will be
Rocked and inaccessible (Diagram 10) !
PX Deleting allrecordings (DEL ALL)
JJse 41 or >frkey to DEL ALL (Diagram 11). Press to Hi
fitter If you confirm that til recording: need to be
deleted *dienuse 44or wkey to select (o delete directory
or (FLASH) and press to It ccaifinn. After all recordings
•re deleted^the device will automatical^ return to function
menu state 'Mien tliere isnovoice niefsage .this function
become inaccessible. \
f»). Setting timeparameter (SETTIME)
Use or *keyto SET TIME (DitgrtmllS) Press to Henter
press 44orH>to change tlie number acc ordmg to tl\e order of
^ear/mcaidi/day/hoiu/minute ,After chajngmgthe number
representing minute >you mty press >key to conform
br press "REC/STOP" to cancel allchtnges andretmnto
the functionnienustate
.
10 XSAY Hello setting
U-Hoi'H>keyto SAYHELL0(Diagi>in 13). Press to M
enter Use Hkey to select digit arid press 41or w
to change the number. After changing the number
representing minute *you niay press n\ key to conform
tlie setting or press "REC/STOP *+ to oancelallchanges
anduse4ior>*key to select ONor Off option Press Wkey
i
i-
m4&
£1
5Ft
5W
mis

to conformorpress "REC/STOP Bkey to retiimtothe functioninenii;
Jrtate .;
11)JCey tone switch !
Press andholdthe "SETVREPl*keyfor abo\H2 secondsto cancelkey
;
tone j
limeout auto- step If nokejy ispressedfor 30 seconds during
functioninemi operation,the* device will automatic*!!;/ disregard '
setting change s*nd re turn to) standby state
Ktvboaxil lc clang In any mode push the lock switch up to lock;
keys push the lock switchd}3wnto unlock keyboard
Batt«y reminder The devx(e will beep and show alow battery^
symbol when the battery poller is insufficient Record and play
modes will not operate on low batter}' power .
Message saturation The device willautoinatically stop recording
if there is no more space for messages. If youpress the REC key;
tlxe device willbeep indie atingthatthere is message saturation. !
V* CommunicntionwithPC!
3Equipment needed [
APC running on WINDOWS* operating system, aCD carrying
fommimication software and asetialportcommunic ations cable .
JInstallation ;
Put in CD*ROMto install the program and then enter directory name
fxxd shortcut name as instructed by computer to complete the!
installation !
» 1
11
1 1
» 1

3. Connection
Insert the plug of the coimuunic*ticats cable into the socket limited
ivith PC with the computer. Pre** **nd hold the PC key to see the
iuoiutor showing Lo*dmg and the w^rkpinelrouting (Ditgrun 14).
Click the corresponding DVR shortcut icon in stut menu* the interface
Jike diagram 15 willbe displayed. 1
•* -i *>»-* *
SKV S5I
^*i—-ii* ;
3b.
4+Click die CONNECTbuttoninthe &VR.EXEwindow and you will
findoption* CD Ml and COM2 are showninthe window. According
to tl\e serialportusedselect corresponding C0M1 or COM? and the
press the OK buUcav Upon successful coimection, the CONNECT
button in the communication interfacie will change to DISCONNECT
button (Diagram 16).
——V-
!'
:'t

FitterfateinVro3ucijon
Computer communications interface tan be divide dinto two part*, Hu
Je ftpart shows management space jor coinputerfilesand the right part is!
formula gmgRECORDER f rl* s!
A. Mwiging computerfiles mtlxe leftpartof die interface
1)DIREC TORY File mm*ge melit
Adick of it will pop up astandard WINDOWS dire cton* option
window, where you can operate* according to WINDOWS operations^
and can select different folders Stored md\e computer In the big bos,
til files and file information (name, size, type and creating Ume)<
containedmdie sele ctedfolder aTe 4omi.( Diagram 17)
0) TRANSFORM Format transform
IThis function can change die SP;andLPfonnats into WINDOWS WAV;
*format and vice versa *It can alio change an MPS file into SP,LP or
JWAVformat If you want to change files of other formats into SP or LP
*format, please first use other software, such as the CD converter tit
;Super Decoder program, to coftvertitmto WINDOWSWAVfonnat^
>FVom the left box choose a tile to be converted and circle the-
JTRANSFORM button to pop yjp asubwindow, where yoxi can select
Icorresponding file name, click the OK key to convert it to a file in;
'WINDOWS WAVfonnat, Yoxicajnuse software ,such as mediaplay ID
;
;to directlyplay (Diagram IS). !

3Y DELETE? seieVt Yfi'le in the!big box'ind click* this key*will!
delete the file from the computer.)
4)R£FRESH hts the refreshing fiuution just the stmt *s *v
WINDOWSsystem, !
6,Computer oper»tionkey j
1) CONNECT/DISCONNECTkej\
Press ti\e —key to download the selected file mdie left to»
RECORDERJre^tlu —key to \ij)lo*dthe selected file mthe right
to tlu couq>uter i
2) BANDRATE; Commiuucttirfn r*te. The preset BANDRATE
setting is 11520Obit /f ^if there is t-problein during trtnsinissiar\*the!
rtte willttitomttictlly chtiige to $60Gbit/s +

3) ABOUT: Ccouimuucttions softiftire information !
1) EXIT To exit !
CRECORDERfile mtiMgemera Ipch in the right p*rtof the Interface is)
!pulled down* the Iteyboud will be xutiodtedln the tipper box J
RECORDER,cuirentfy selected folders A,B *nd C*ndreui4uui\g
;meiuoiy sptce mthe RECORDER *re shorn* In the big box to the;
!right,4list of files stored mthe SECORDER ud\om\
3) INITIALIZE: ! I
;Pressingtl\islceyforiiiiti4h24tioiiwillsife^'fonn4ttlu RECORDER I
2) DELETE: !
Select * file fromtl\e bigboxuxdpj'ess thiskey.thefile willbe deleted, [
i
i
;
i
:
i
i
:
I
I
!
I
I
:
I
I
:
i
i
:
i
3]

i
VIMain Specifications of DIGITAL VOICE RECORDER:
Fecadatj
Tke
HgiQialiyPlayiig Abort ^maites
Hole LP
lO^LJx&Wnt 175(T)mm
iwjgp ji cellsexcixledt
iucelk.DClW'AAA1
<ffeettdfi dmesses127 |
*"nfrtt ittwi'imflvi
Jieqaicyiaig} <f
Reeadigisplayiig
sa&taboutl olm
(Up* "?tereo e^iplraievaboiit3?oltui
woe :
Opxa> omdefi&cllm&, feleptow hiE, coimam&cat»ii
In-line,Sleieo eaqfoiE
Other manuals for CX-R188
1
Table of contents
Other Coby Voice Recorder manuals

Coby
Coby CX-R190 User manual

Coby
Coby MP-C858 - 512 MB Digital Player User manual

Coby
Coby MP-C838 - 128 MB Digital Player User manual

Coby
Coby MPC848 - 256 MB Digital Player User manual

Coby
Coby CXR190-1G User manual

Coby
Coby R189 - CX 128 MB Digital Voice Recorder User manual

Coby
Coby CX-R188 User manual