Conestoga Shedarick User manual

&RQHVWRJD/RJ&DELQVFRP LQIR#&RQHVWRJD/RJ&DELQVFRP
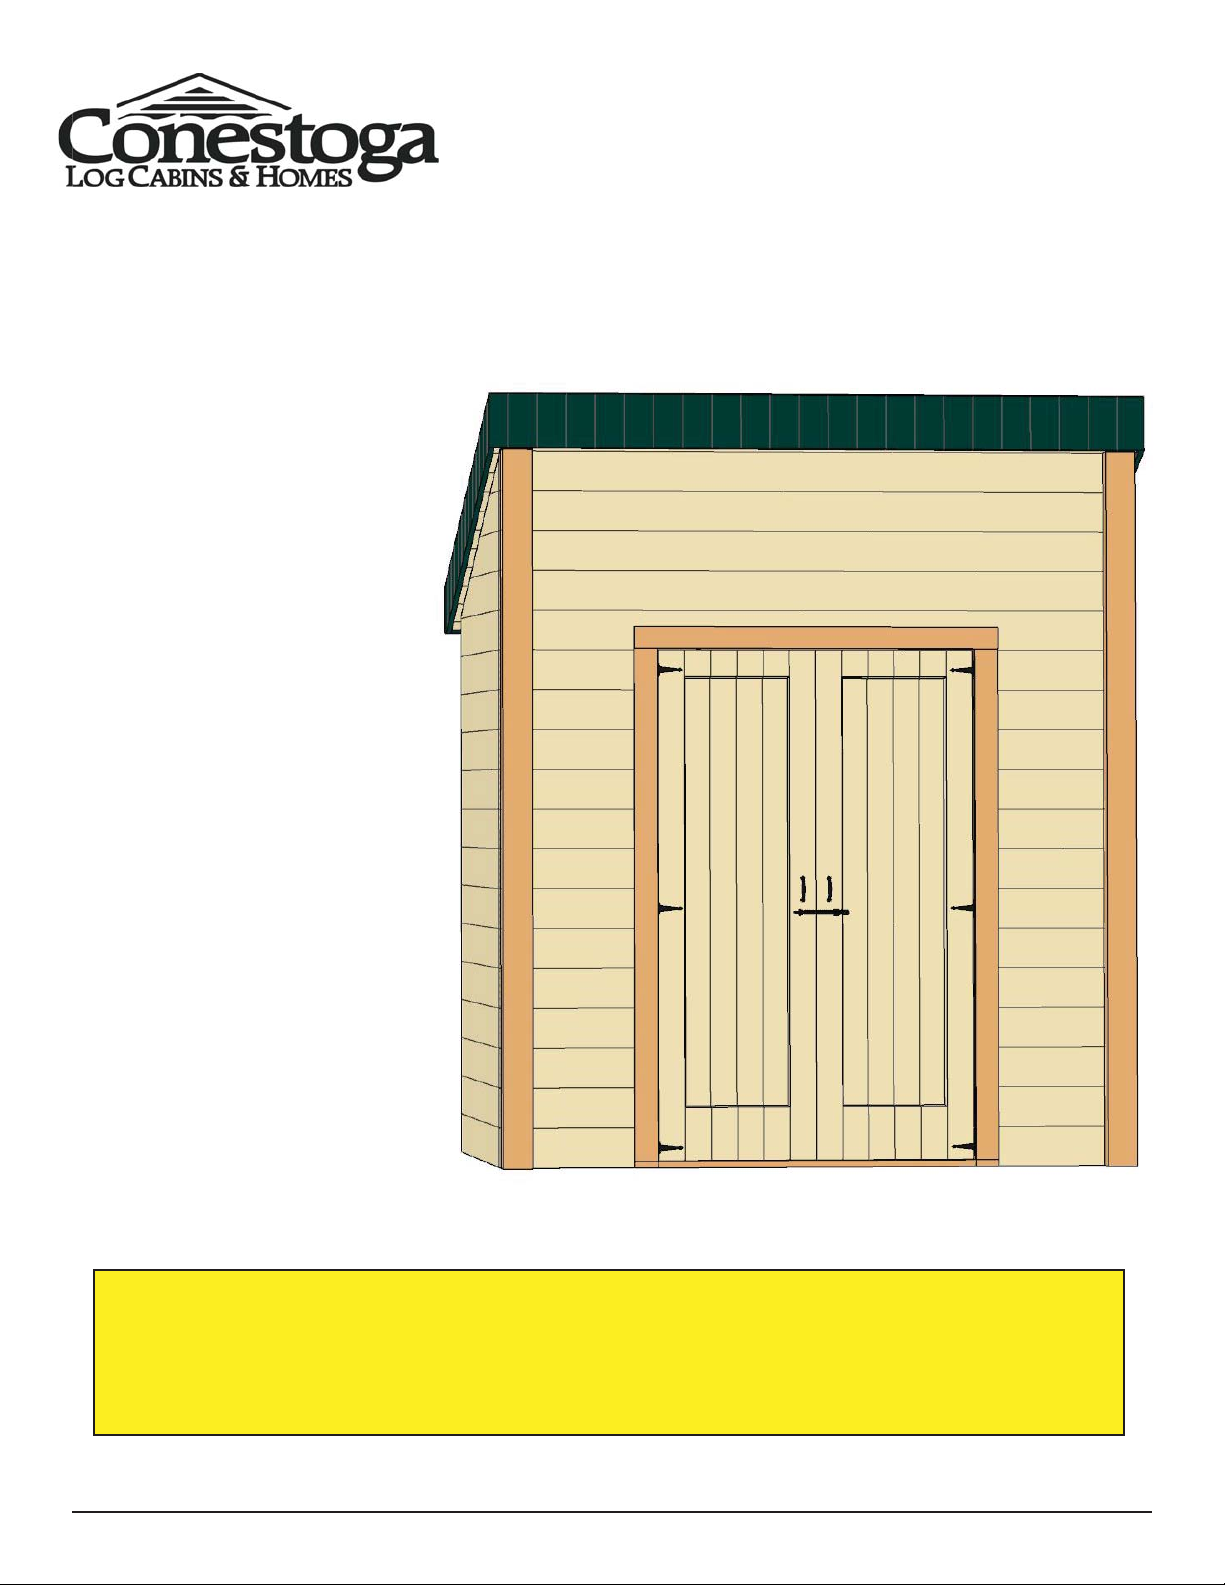
8'x4'6KHGDULFNGarden Shed
Assembly Manual
November
,QWKHHYHQWRIDPLVVLQJRUEURNHQSLHFHVLPSO\FDOOWKH&RQHVWRJD/RJ&DELQV+RPHV
&XVWRPHU6XSSRUW /LQH DW ZLWKLQ GD\V RI WKH GHOLYHU\ RI
\RXU SXUFKDVH ,W LV RXU FRPPLWPHQW WR \RX WR FRXULHU UHSODFHPHQW SDUWV IUHH RI
FKDUJH ZLWKLQ EXVLQHVV GD\V RI WKLV QRWLILFDWLRQ 5HSODFHPHQW SDUWV ZLOO QRW
EH SURYLGHGIUHHRIFKDUJHDIWHUWKHGD\JUDFHSHULRG
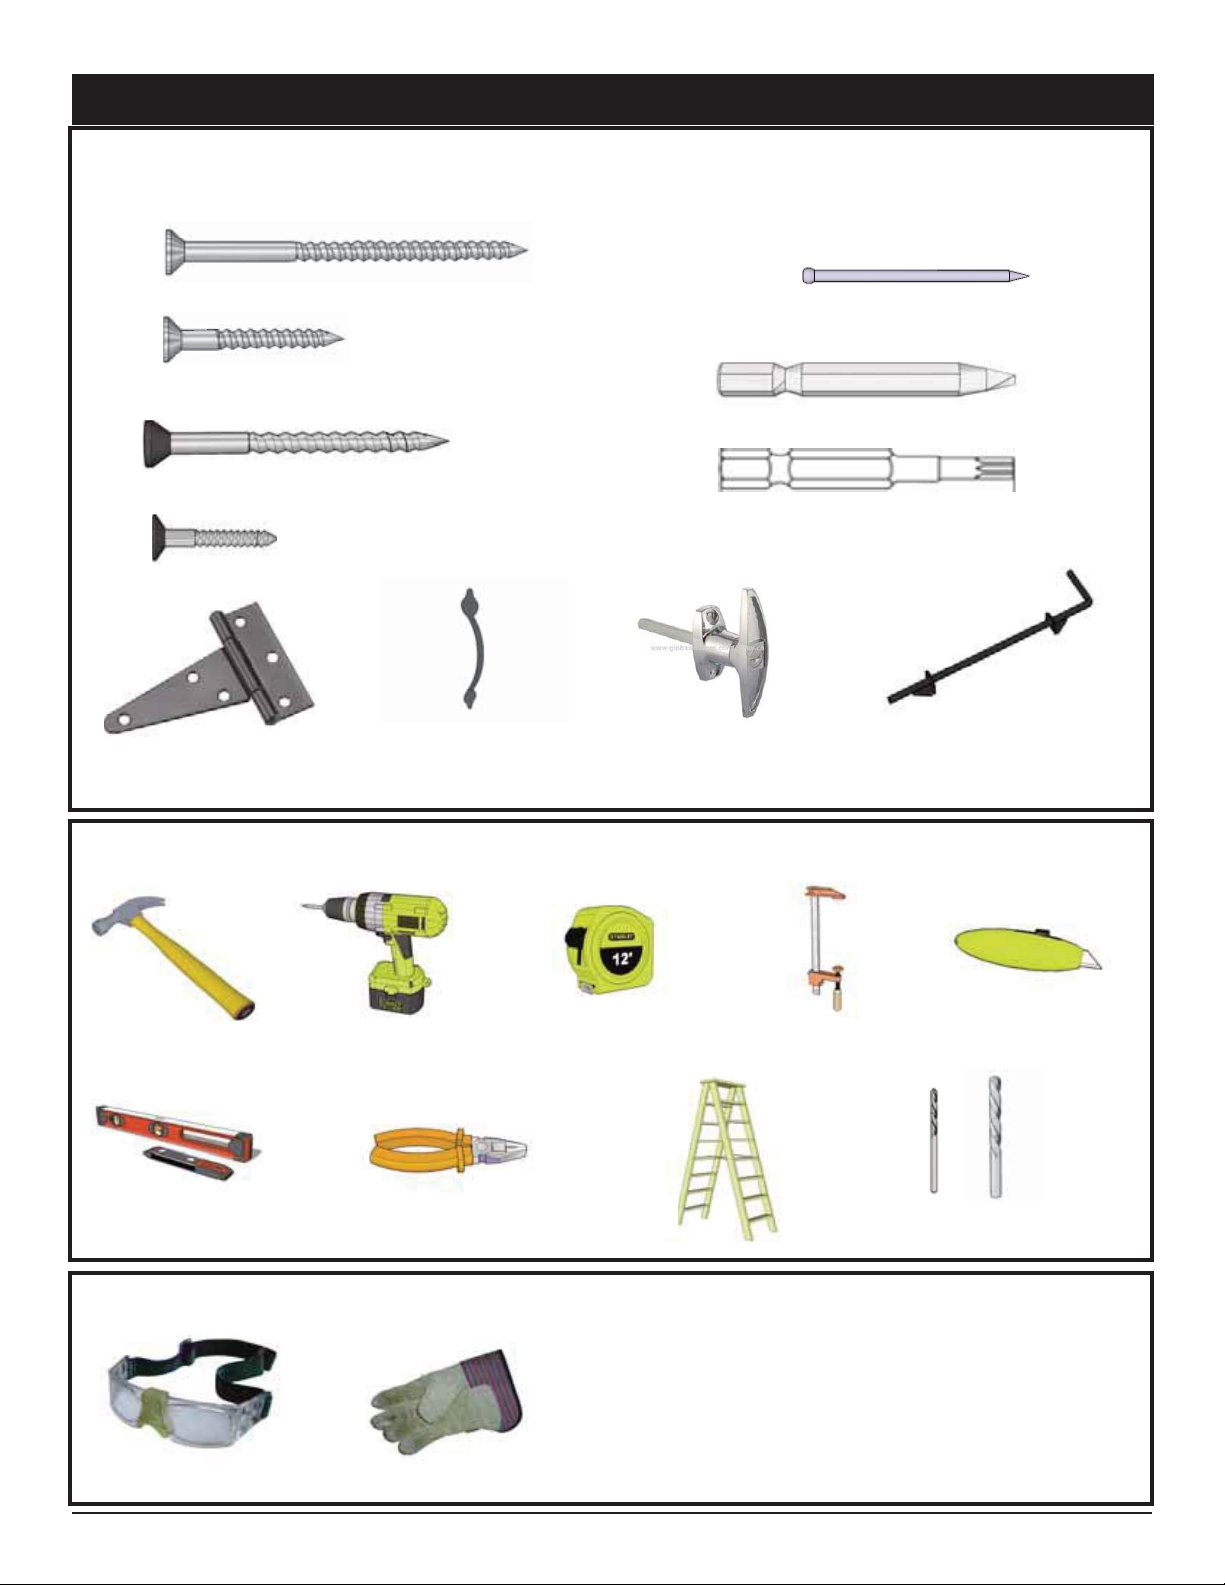
Thank you for purchasing
an 8x4 SKHGDULFN Garden
Shed. Please take the time
to identify all the parts prior
to assembly.
Please be aware that it is the
customers’ sole responsibility
to acquire the necessary
building permits and or obtain
approval from their local
county, municipality or HOA
prior to purchasing. Generally,
shed structures under 100
square feet do not require
permits in most jurisdictions
in the United States and
Canada.

&RQHVWRJD/RJ&DELQVFRP LQIR#&RQHVWRJD/RJ&DELQVFRP
8x4 S+('$5,&. HARDWARE PACKAGE
Door Handle x 2
Square Drive Bit
Hardware Kit (Provided)
Safety Glasses Work Gloves
Safety Equipment Required (Not Provided)
Ladder
Screw Gun/Drill Tape Measure
Hammer Wood Clamp
Level Pliers
Tools Required (Not Provided)
1/8” & 1/2” Drill Bits
/RFN Bolt
Utility Knife
2 1/2”
1 1/4”
3/4”
2”
Cane Bolt
1 1/2” Finishing Nail
100 Pcs.
60 Pcs.
24 Pcs.
38 Pcs.ZKLQJHV
245 Pcs.
Tee Hinge x 6
Black Headed
Black Headed
Star Drive Bit

1
ConestogaLogCabins.com info@conestogalogcabins.com
Base Platform
Starting with the small back panels, flush up the side and the back panel with the
platform. Secure with 6 –2 ½ inch deck screws, one (1) on either side of studs.
Take second panel and do the same, making sure panels are tight together. Line up
your top edges so they are flush with each other. Secure with 8 –2 1/2 deck screws,
4 on either side.

2
ConestogaLogCabins.com info@conestogalogcabins.com
INSIDE BACK WALL
FRONT
Take one (1) side panel and flush it up with your back panel and platform. Secure
to floor with 6 –2 1/2-inch deck screws. Flush up the tops of back panel and side
panel and secure with 8 –2 ½ inch deck screws. Do the same on opposite side.
BACK
RIGHT
SIDE
WALL
LEFT
SIDE
WALL

3
ConestogaLogCabins.com info@conestogalogcabins.com
BACK WALL
Attach front wall to floor, making sure panel is flush with platform and tight against side
panel. Secure with 4 –2 ½ inch deck screws. Making sure the tops of side wall and
front wall are even. Secure together using 12 –2 ½ inch deck screws. Do the same
on opposite side.
FRONT WALL

4
ConestogaLogCabins.com info@conestogalogcabins.com
INSIDE FRONT WALLS
After both sides of front panels are secure, flush up middle section and secure with 4 –
2 ½ inch deck screws. Then take door header and mount to doorway opening. Secure
with 8 –2 ½ inch deck screws.
HEADER FOR DOOR

5
ConestogaLogCabins.com info@conestogalogcabins.com
Attaching the Roof Joist
Top View
Line up roof joist panel with the top, bottom and side. Secure with 6 2 ½ inch screws
as shown.

6
ConestogaLogCabins.com info@conestogalogcabins.com
Attaching the Roof Joist
Top View
Placing the second roof joist, secure with 6 2 ½ inch deck screws. Lining up the
middle sections, making sure they are flush with each other, secure together with 6 2
½ inch deck screws. Finish securing the outer edges of roof joist using 8 –2 ½ inch
deck screws.

7
ConestogaLogCabins.com info@conestogalogcabins.com
Attaching the Trim
Use the first 2 pieces of trim to attach to back wall. 1 x 3

8
ConestogaLogCabins.com info@conestogalogcabins.com
Attaching the Trim
Third piece of trim across the top. Fourth piece down the center. 1 x 3

9
ConestogaLogCabins.com info@conestogalogcabins.com
Attaching the Trim
Fifth and sixth pieces of trim go from edge of back trim to front edge of shed. Same for
the other side.
1 x 6

10
ConestogaLogCabins.com info@conestogalogcabins.com
Attaching the Trim
1 x 6
Seventh piece of trim goes from edge to edge on top. Leave door trim until after door
is in place. All corners can be trimmed out and finished.

11
ConestogaLogCabins.com info@conestogalogcabins.com
Attach the 3 1x3 strips on bottom edge, top edge and middle using 7 –1 ¼ drywall
screws in each board.

12
ConestogaLogCabins.com info@conestogalogcabins.com
Attach corner metal trim on back wall using 7 –1 ¼ roofing nails on roof area.

13
ConestogaLogCabins.com info@conestogalogcabins.com
Starting on the back right side, place first metal roof piece roughly 5/8 of an inch over
side. Bottom should be 1 inch past the shed wall. Use 6 –1-inch metal roof screws to
hold in place.

14
ConestogaLogCabins.com info@conestogalogcabins.com
The second roof sheet overlaps 2 seams making sure the bottom edges are even at 1-
inch overhang. Secure with 9 –1-inch metal roof screws.

15
ConestogaLogCabins.com info@conestogalogcabins.com
The third and last roof sheet should fit with roughly 58⁄ to ¾ inch overhang on side
with a 1-inch overhang on the bottom. Secure with 12 –1-inch metal roof screws.

16
ConestogaLogCabins.com info@conestogalogcabins.com
Using the wide metal trim, making sure the bottom is even with the metal roof, secure
the bottom of the trim with 1 –1-inch metal roof screw. Go to the top and square up
piece by eye and then secure with the remaining 5 –1-inch metal roof screws with 3 on
top and 3 on side. The other side is the same way.

17
ConestogaLogCabins.com info@conestogalogcabins.com
Attaching the front piece of metal trim to the front side of shed, use 8 –1-inch metal
roof screws to secure piece to shed, keeping trim even across the front.

18
ConestogaLogCabins.com info@conestogalogcabins.com
Making sure trim is even across the roof line, secure trim with at least 7 –2-inch metal
roof screws by screwing through the high ribs of the metal roof panels as shown.
Table of contents
Popular Outdoor Storage manuals by other brands

ABSCO SHEDS
ABSCO SHEDS J30232G Assembly instructions

Backyard Products
Backyard Products Yardline BRAMPTON 10 x 8 Assembly manual

Arrow
Arrow VD1012-D1 Owner's manual & assembly instructions

KMART
KMART 43267750-490LITRE Assembly instruction

Asgard
Asgard ACCESS quick start guide

Suncast
Suncast Vista BMS7402 Assembly instructions