SERVICE MANUAL
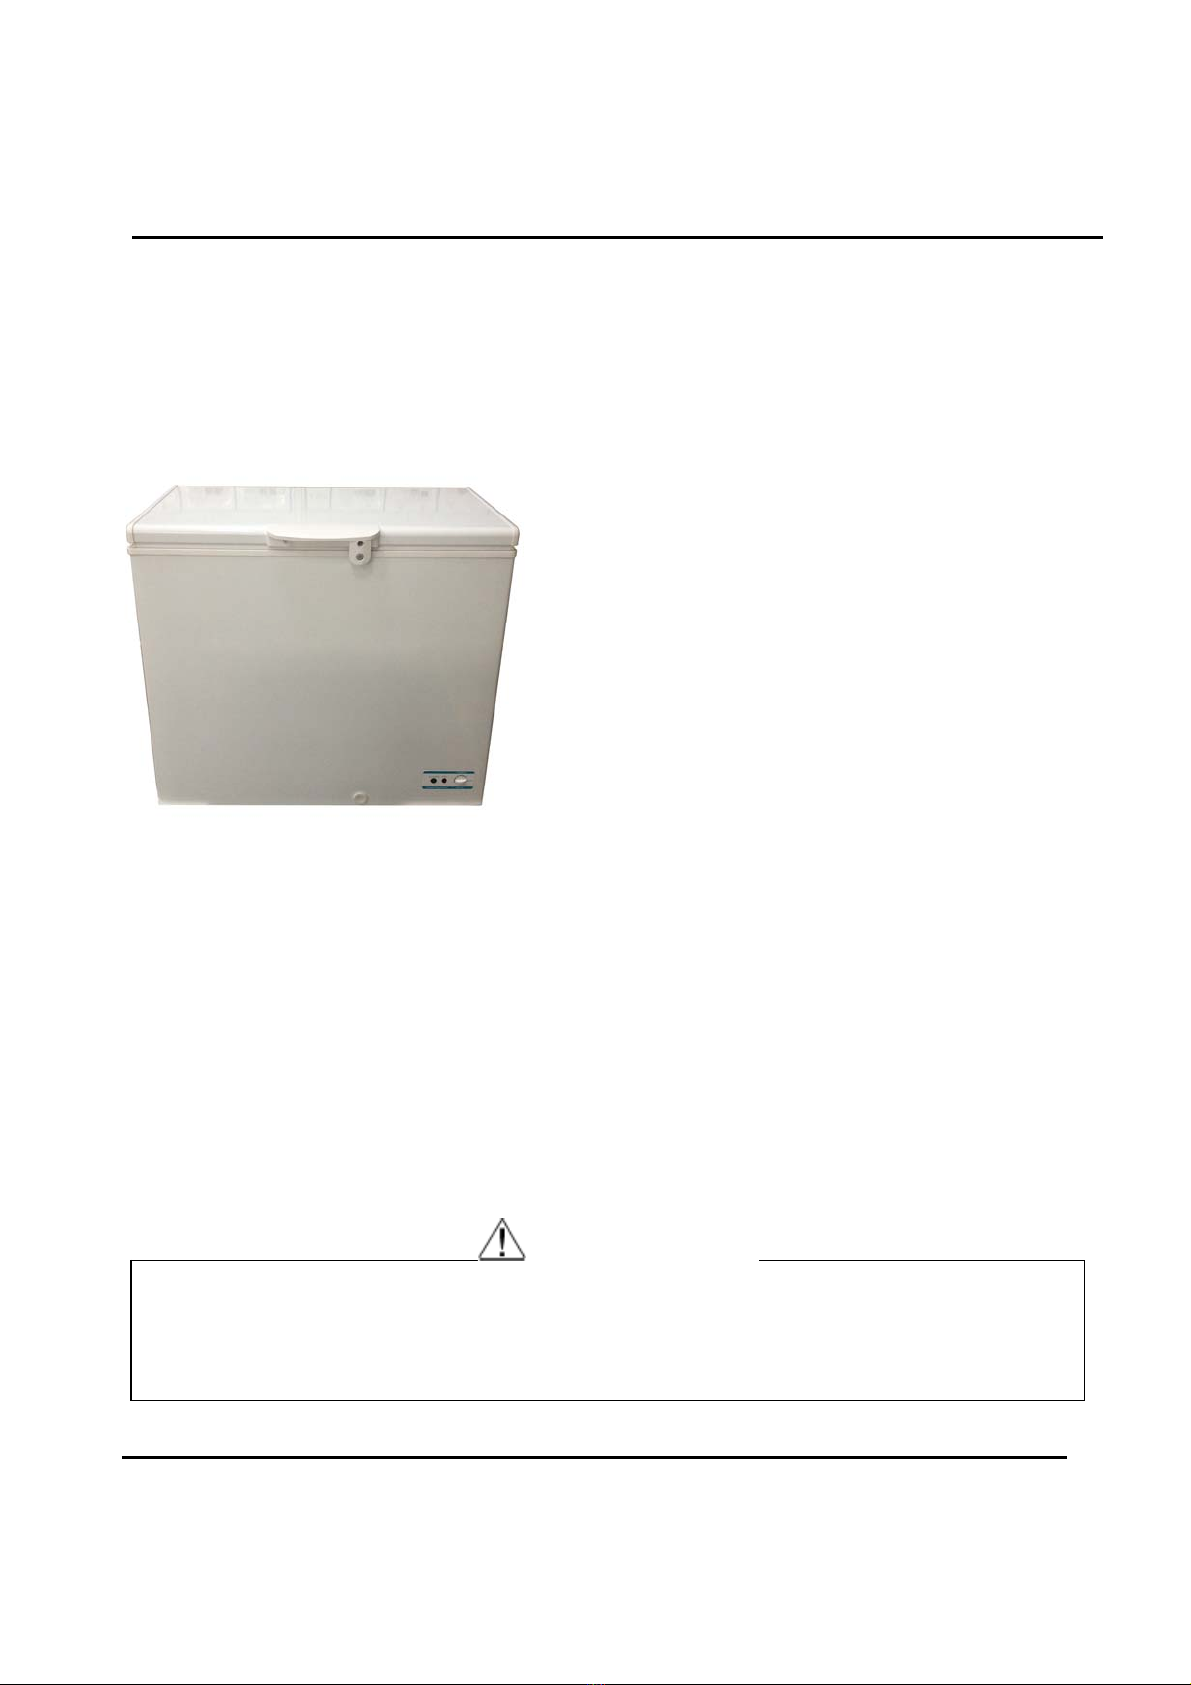
Model:CHM11BPL1 /CHM15BPL1 2
Issue 2017-6-30
REV Ref1706S016V0
Contents
Chapter 1 General Information .............................................................................................................3
1-1. General Guidelines........................................................................................................................3
1-2. Insurance Test...............................................................................................................................3
1-3. How to read this Service Manual...................................................................................................4
Chapter 2 Product Feature ...................................................................................................................5
2-1. SPECIFICATIONS.........................................................................................................................5
2-2. External views ...............................................................................................................................6
Chapter 3 Installation, adjustments and maintenance ..........................................................................7
3-1. Installation .....................................................................................................................................7
3-2 Defrosting and Draining..................................................................................................................7
3-3 Cleaning the Freezer......................................................................................................................8
Chapter 4 Disassembly.......................................................................................................................10
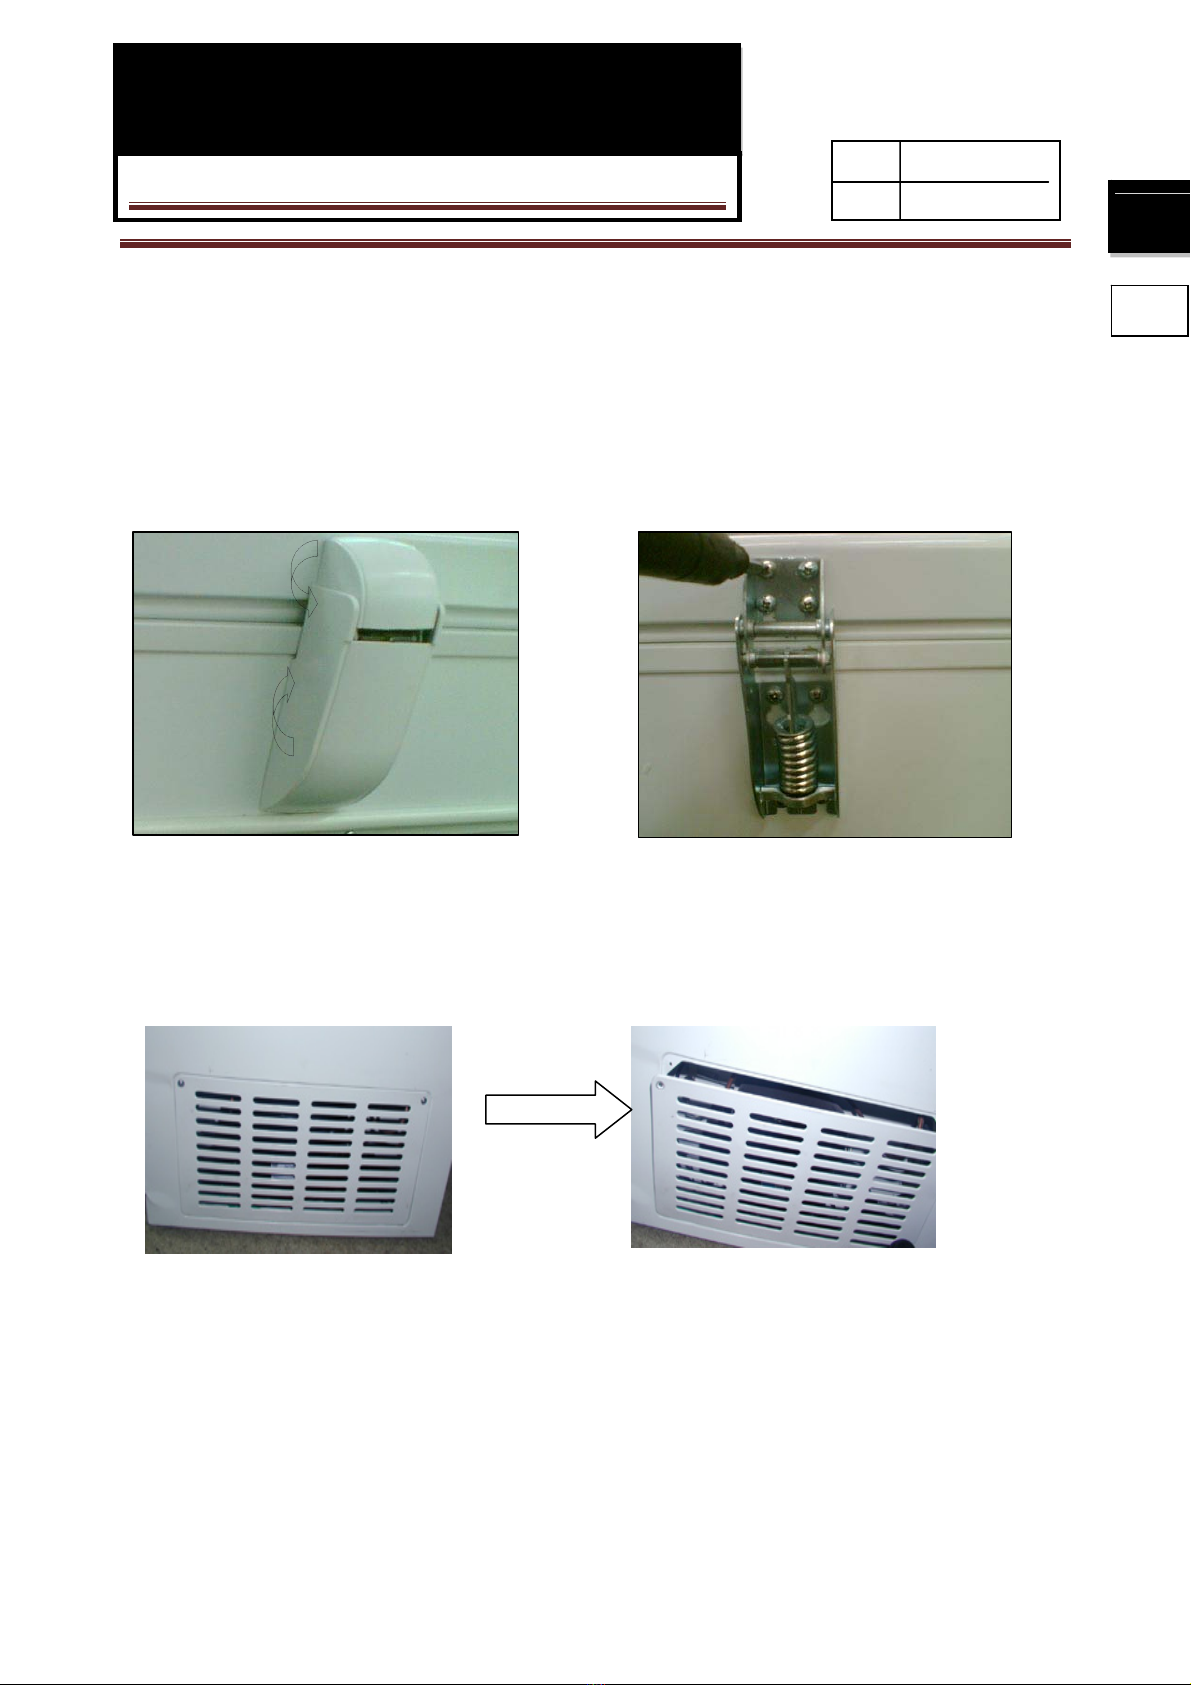
4-1. Door assembly (Door, hinge, hinge cover) ..................................................................................10
4-2. Compartment Grill assembly .......................................................................................................10
4-3. Control panel assembly (Panel, cover board, knob, indicator light).............................................10
4-4. Thermostat assembly ..................................................................................................................11
4-5.Disassemble the handle ...............................................................................................................12
4-6.Disassemble the fan.....................................................................................................................12
Chapter 5 Control and display system................................................................................................13
5-1. Control panel ...............................................................................................................................13
5-2. Starting the Freezer.....................................................................................................................13
Chapter 6 System flow principle .........................................................................................................14
6-1. Refrigeration flow chart................................................................................................................14
6-2. Refrigeration flow scenograph.....................................................................................................15
Chapter 7 Circuit diagram...................................................................................................................15
7-1. Brief principle diagram.................................................................................................................16
Chapter 8 Trouble shooting ................................................................................................................17
8-1. Normal phenomena.....................................................................................................................17
8-2. Abnormal phenomena..................................................................................................................19