manuals.online logo
Brands
  1. Home
  2. •
  3. Brands
  4. •
  5. Cookology
  6. •
  7. Hob
  8. •
  9. Cookology TCH601 User manual

Cookology TCH601 User manual

Other Cookology Hob manuals

Cookology CIF600 Specification sheet

Cookology

Cookology CIF600 Specification sheet

Cookology SEP600BK User manual

Cookology

Cookology SEP600BK User manual

Cookology GH601WH User manual

Cookology

Cookology GH601WH User manual

Cookology TCH603 User manual

Cookology

Cookology TCH603 User manual

Cookology GH306SS User manual

Cookology

Cookology GH306SS User manual

Cookology SEP602BK User manual

Cookology

Cookology SEP602BK User manual

Cookology CET301 User manual

Cookology

Cookology CET301 User manual

Cookology SEP301SS User manual

Cookology

Cookology SEP301SS User manual

Cookology CIH602 User manual

Cookology

Cookology CIH602 User manual

Cookology TCH301 User manual

Cookology

Cookology TCH301 User manual

Cookology GGH700BK User manual

Cookology

Cookology GGH700BK User manual

Cookology CIBP600 User manual

Cookology

Cookology CIBP600 User manual

Popular Hob manuals by other brands

PreCise BI-2000T user manual

PreCise

PreCise BI-2000T user manual

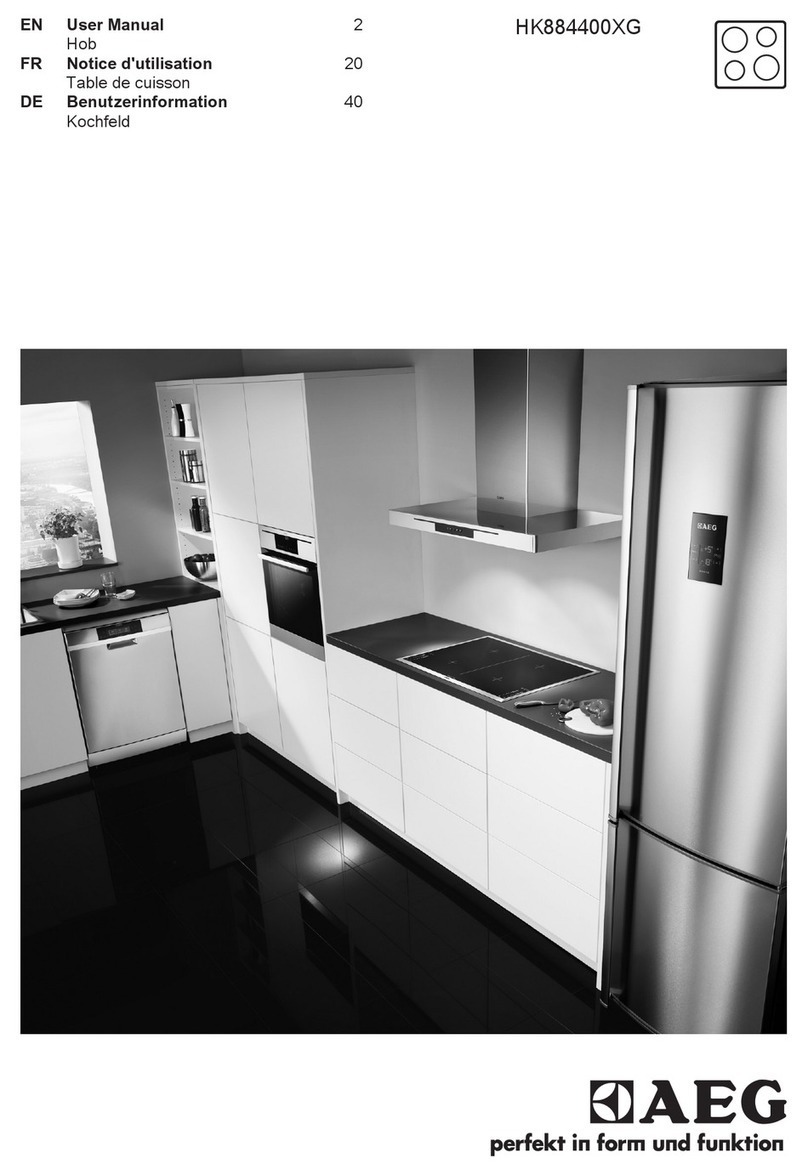
AEG HK884400XG user manual

AEG

AEG HK884400XG user manual

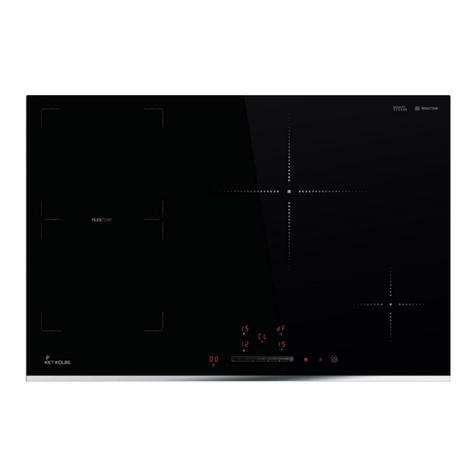
KKT KOLBE IFZ772EDF Instruction and installation manual

KKT KOLBE

KKT KOLBE IFZ772EDF Instruction and installation manual

premiere PG4VQ255FTN instruction manual

premiere

premiere PG4VQ255FTN instruction manual

AEG HK614000CB user manual

AEG

AEG HK614000CB user manual

Klarstein 10033282 manual

Klarstein

Klarstein 10033282 manual

Zanussi ZGF 782 CTN Instruction booklet

Zanussi

Zanussi ZGF 782 CTN Instruction booklet

Asko H6 Use and care guide

Asko

Asko H6 Use and care guide

Eurotech ED-C3 02 instruction manual

Eurotech

Eurotech ED-C3 02 instruction manual

IKEA Livsgnista manual

IKEA

IKEA Livsgnista manual

Dacor DTT36M974 user manual

Dacor

Dacor DTT36M974 user manual

AEG HKP75410XB user manual

AEG

AEG HKP75410XB user manual

Siemens EX875KYV1E INFORMATION FOR USE

Siemens

Siemens EX875KYV1E INFORMATION FOR USE

AEG CERAMIC HOB 6010 K Installation and operating instructions

AEG

AEG CERAMIC HOB 6010 K Installation and operating instructions

Zanussi ZGF 6420 Instruction booklet

Zanussi

Zanussi ZGF 6420 Instruction booklet

G3 Ferrari Energy user manual

G3 Ferrari

G3 Ferrari Energy user manual

Award H903BG user manual

Award

Award H903BG user manual

Bosch PIN64 T1 Series instruction manual

Bosch

Bosch PIN64 T1 Series instruction manual

manuals.online logo
manuals.online logoBrands
  • About & Mission
  • Contact us
  • Privacy Policy
  • Terms and Conditions

Copyright 2025 Manuals.Online. All Rights Reserved.

1
TCH601
60cm Ceramic Hob Black
Instruction manual
2
CONTENT
1……………………………………….Notice
2………………………………………. Installation
3………………………………………..Description of the Ceramic
hob surface layout
4………………………………………..Using the ceramic hob
5………………………………………..Hob guidelines
6…………………………………………Maintenance and cleaning
7…………………………………………Environmental note
3
1.Notice
Caution!
Do not use the ceramic hob until you have read this instruction manual.
The ceramic hob is intended for household use only.
The appliance becomes hot during operation. Take care not to touch the
hot surface.
Always keep children away from the ceramic hob.
While in operation direct contact with the ceramic hob may cause burns!
Ensure that small items of household equipment, including connection
leads, do not touch the hob as the insulation material of this equipment
is usually not resistant to high temperatures.
Do not leave the ceramic hob unattended when frying. Oils and fats may
catch fire due to overheating or boiling over.
Do not switch on the hob until a pan has been placed on it.
Do not put pans weighing over 25kg on the hob.
Do not use the ceramic hob in the event of a technical fault. Any faults
must be fixed by an appropriately qualified and authorized person.
In the event of any incident caused by a technical fault, disconnect the
power and report the fault to the service centre to be repaired.
The rules and provisions contained in this instruction manual should be
strictly observed. Do not allow anybody who is not familiar with the
contents of this instruction manual to operate the ceramic hob.
The ceramic hob should not be cleaned using steam cleaning equipment.
IMPORTANT: The adjacent furniture or housing and all materials used
in the installation must be able to withstand a minimum temperature of
85°C above the ambient temperature of the room it is located in, whilst
in use.
Any damage caused by the appliance being installed in contravention of
this temperature limit, or by placing adjacent cabinet materials closer
than 4mm to the appliance, will be the liability of the owner.
This appliance complies with all current European safety legislation. We
do wish to emphasize that this compliance does not remove the fact that
the appliance surfaces will become hot during use and retain heat after
operation.
Child Safety
We strongly recommend that babies and young children are prevented
from being near to the appliance and not allowed to touch the appliance
at any time.
4
If it is necessary for younger family members to be in the kitchen, please
ensure that they are kept under close supervision at all times.
General Safety
Children less than 8 years of age shall be kept away unless continuously
supervised.
This appliance can be used by children aged from 8 years and above and
persons with reduced physical, sensory or mental capabilities or lack of
experience and knowledge if they have been given supervision or
instruction concerning use of the appliance in a safe way and understand
the hazards involved. Children shall not play with the appliance.
Cleaning and user maintenance shall not be made by children without
supervision.
NEVER try to extinguish a fire with water, but switch off the appliance
and then cover flame e.g. with a lid or a fire blanket.
WARNING: Danger of fire: do not store items on the cooking surfaces.
Means for disconnection must be incorporated in the fixed wiring in
accordance with the wiring rules.
Do not allow electrical fittings or cables to come into contact with areas
on the appliance that get hot.
Do not use the appliance to heat the room it is located in or to dry
clothing.
Do not install the appliance next to curtains or soft furnishings.
If the supply cord is damaged, it must be replaced by the manufacturer,
its service agent or similarly qualified persons in order to avoid a hazard.
The appliance is not intended to be operated by means of an external
timer or separate remote-control system.
This product can be worked but not through outside timer and remote
control.
Warning: If the surface is cracked, switch off the appliance to avoid the
possibility of an electric shock, the hob surfaces are ceramic glass or
similar material which protect the live parts.
Warning: a steam cleaner is not be used.
CAUTION: The cooking process must be supervised. A short-term
cooking process must be supervised continuously.
WARNING: Unattended cooking on a hob with fat or oil can be
dangerous and may result in a fire.
This appliance should be connected to a circuit which incorporates an
isolating switch which can accessible by the user after installation
providing full disconnection from the power supply. The disconnection
may be achieved by incorporating a switch in the fixed wiring in
accordance with the wiring rules.
5
Warning: Before obtaining access to terminals, all supply circuits must be
disconnected.
WARNING: Use only hob guards designed by the manufacturer of the
cooking appliance or indicated by the manufacturer of the appliance in
the instructions for use as suitable or hob guards incorporated in the
appliance. The use of inappropriate guards can cause accidents.
WARNING: The appliance and its accessible parts become hot during
use.
Care should be taken to avoid touching heating elements.
Power cord will not be accessible after installation.
For Installation instructions, please go to the section marked Installation.
2. Installation
Installing the ceramic hob
The kitchen area should be dry and aired and equipped with efficient
ventilation. When installing the ceramic, easy access to all control
elements should be ensured.
This is a Y-type design built-in ceramic, which means that its back
wall and one side wall can be placed next to a high piece of furniture
or a wall .Coating or veneer used on fitted furniture must be applied
with a heat-resistant adhesive (100 ℃).This prevents surface
deformation or detachment the coating.
Hoods should be installed according to the manufacturer’s
instructions.
Assembly of ceramic hob :
Make an opening with the dimensions given
in the diagram for the hob to be mounted on
the worktop.
Check seal for perfect fit and overall cover.
Lower the ceramic hob into place and align
correctly.
Using a standard screwdriver, tighten the
tension clamps evenly starting at the centre and moving diagonal,
until the built-in rim is tight on the worktop.
Cut a hole in the worktop that corresponds with the drawing shown
above.
6
IMPORTANT: You must observe the
ventilation requirements shown in the drawing
opposite.
IMPORTANT: There are ventilation holes
around the outside of the hob. YOU MUST
ensure that these holes are not blocked by the
work top, when you put the hob into position
(see drawing opposite).
IMPORTANT: Do not use a silicon sealant to
seal the appliance against the aperture. This will
make it difficult to remove the hob from the
aperture in future, particularly if it needs to be
serviced.
Carefully turn the hob back over and then gently lower it into the
aperture hole that you have cut out.
There are holes on the base or the sides of the hob that you can fix the
four brackets to. There are three holes in each one of the brackets.
You should place the bracket on the underneath of the hob, in a
position that is appropriate for the aperture that you have cut out.
Using the screws provided, fix the bracket to the hob. These screws
MUST be securely tightened.
Fitting guidelines
The ceramic hob is manufactured to work with one-
phase alternating current.The voltage rating of the
ceramic hob heating elements is 220-240V. Adapting
the ceramic hob to operate with two-phase current is
possible by appropriate bridging in the connection
box according to the connection diagram below. The
connection diagram is also found on the cover of the
connection box. Remember that the connection wire
2
1
7
should match the connection type and the power rating of the ceramic
hob.
The connection cable must be secured in a strain-relief clamp.
Warning!
Remember to connect the safety circuit to the connection box terminal
marked with .The electricity supply for the ceramic hob must have a
safety switch which
enables the power to be cut off in case of emergency. The distance
between the working contacts of the safety switch must be at least 3mm.
Before connecting the ceramic hob to the power supply it is important to
read the information on the data plate and the connection diagram.
wires for each domino hob with touch control models
model
Adaptive voltage range and
wires
The wiring diagram
220-240 1N
~
50-60Hz
380-415 2N
~
50-60Hz
KADO K 1/5
AHW-4D-
60-1
H05VV-F
3G2.5
H05VV-F
4G2.5
The cable connections must be in accordance with the diagram
located on the bottom of the hob.
You should use a good quality screwdriver to carefully, fully tighten
ALL of the terminal screws.
If when the hob is first switched on, only two of the zones work, you
should recheck that the terminal screws are all fully tightened. This
should be done before contacting the Customer Care Department.
IMPORTANT: The appliance must NOT be connected to the mains
supply by means of a 13A plug and socket.
This appliance must be wired into a 30 A double pole switched fused
spur outlet, having 3 mm contact separation and placed in an easily
accessible position adjacent to the appliance. It should not be located
above the appliance and no more than 1.25m away from it.
The cable can be looped if necessary, but make sure that is not kinked
or trapped when the hob is in position. Care must be taken to avoid
the cable being in contact with hot parts of the appliance.
8
Replacing the mains supply cable
If the mains supply cable is damaged, then it must be replaced by an
appropriate replacement.
The mains supply cable should be replaced in accordance with the
following instructions:
Switch the appliance off at the
control switch.
Open the terminal block on the
underside of the hob.
Unscrew the terminal screws
fixing the cable.
The “green-yellow” earth wire
must be connected to the terminal
marked . It must be about 10
mm longer than the live and neutral wires.
The “blue” neutral wire must be connected to the terminal marked
with letter (N) - the live wire must be connected to the terminal
marked with letter (L).
3. Description of the Ceramic hob surface layout
4 zone ceramic hob schematic diagram
Surface layout table
Model
Furnace
plate 1
power
(
kW)
Furnace
plate 2
power
(
kW)
Furnace
plate 3
power
(
kW)
Furnace
plate 4
power
(
kW)
Total
power
(
kW
)
AHW-
4D-60-1
1.2 1.8 1.2 1.8 6.0
Note
:
1.2 kW hyperspeed zones (diameter 165 mm)
;
1.8 kW
hyperspeed zones (diameter 200 mm).
9
Control panel layout
1. Cooking zone rear left select button
2. Cooking zone front left select button
3. Cooking zone rear right select button
4. Cooking zone front right select button
5. minus button
6. Timer indicator
7. ON/OFF button
8. Safety lock button
9. Plus button
10. Cooking zone indicator of rear left
11. Cooking zone indicator of front left
12. Cooking zone indicator of rear right
13. Cooking zone indicator of front right
14. Timer display
4. Using the ceramic hob
Before first use
IMPORTANT: You should clean the ceramic hob surface (see
“Maintenance and cleaning” section).
You should switch on one cooking zone at a time, for 5 minutes at the
maximum setting. This will help to eliminate any new smell that
exists and evaporate any humidity that has formed on the heating
elements during transit.
Do not burn off more than one zone at once.
You must place a saucepan filled half full with cold water on each
zone as you burn it off.
Touch controls:
All operations are performed by means of the touch controls that can
be found on the control panel.
10
Each touch control has a visual display that corresponds to it.
Switching the hob top on
Press the ON/OFF button(7) to switch on the
appliance.
The hob will beep once and all of the cooking zone
indicators will light briefly, then go out.
This means that the hob has entered stand-by mode.
Switching on a zone and setting a power level
IMPORTANT: A zone must be selected within 1 minute of switching
the hob on.
Press the cooking zone plus button (1) - (4) of the
zone that you want to use.
Adjust the zone between power levels 1 and 9,
using the plus (9) and minus (5) buttons. By
holding down either of these buttons, the value on
the zone indicator (10) or (11), (12), (13) will
adjust up or down.
Switching off a zone
Press the cooking zone, then press the minus
button (5) of the zone that you want to switch off.
Hold the button down until the number in the
cooking zone indicator reaches “0”. After a few
seconds, the zone will switch off automatically.
The letter “H” will show in the cooking zone
indicator, (see the section on the “residual heat indicator” below).
Switching off the hob
Once you have switched off all of the cooking
zones, you should turn off the hob.
Press the ON/OFF button (7).
It is possible to turn the hob off at any time by
pressing the ON/OFF button (7).
Residual heat indicator
After a zone is switched off, the corresponding
cooking zone indicator (10)or (11), (12), (13) will
show a flashing letter “H”. This means that the