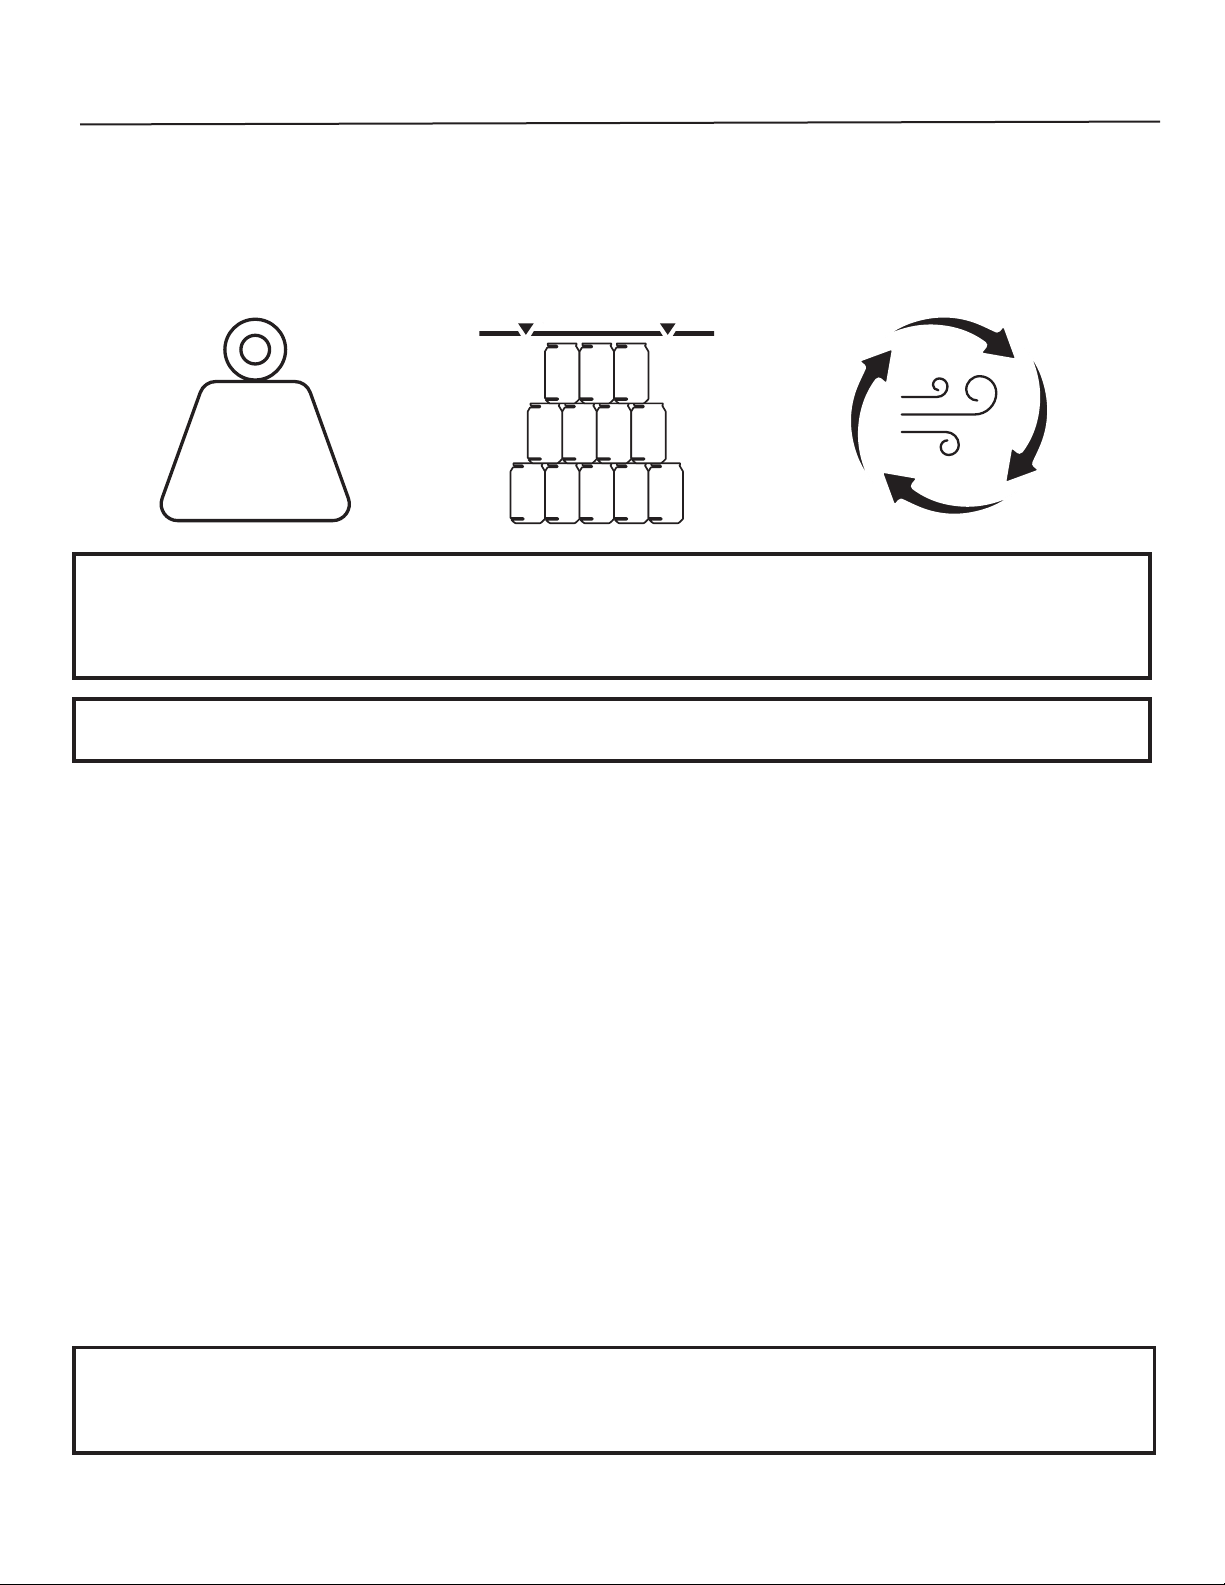
COOL Avanto 55 Series User manual

USER MANUAL
Avanto
55 Series

Congratulations on the purchase of your new
Cool Display Solutions premium product!
At Cool Display Solutions, we develop products with complete
devotion to quality and ease of use. That’s our passion. To obtain
the best results, we advise you to read this user manual* carefully.
Even though this product has been designed according to the highest
standards, it is important to use and maintain your appliance correctly.
Bob Jones
CEO and Founder, Cool Display Solutions
*Cool Display Solutions constantly works on the further development of all models. Therefore please
understand that we have to reserve the right to make design, equipment and technical modications.

Table of Contents
1.) SAFETY INSTRUCTIONS............................................................................................................... 4
2.) PUTTING INTO OPERATION.......................................................................................................... 7
3.) USE OF THE APPLIANCE...............................................................................................................8
4.) CLEANING AND MAINTENANCE................................................................................................ 10
5.) TECHNICAL SPECIFICATIONS.....................................................................................................11
6.) TROUBLESHOOTING....................................................................................................................12
7.) TAKING THE UNIT OUT OF SERVICE...........................................................................................15
8.) ENVIRONMENTAL POLICY & RECYCLING.................................................................................15
9.) DISPOSING OF THE APPLIANCE.................................................................................................15
3

1.0 Safety Instructions
Please read this operating and maintenance manual carefully.
We suggest to keep the guide in your possession during the
entire life cycle of the product.
After delivery, immediately check the appliance for possible
transport damage and make sure it works properly. All safety
devices must be present and functional before operating the
appliance.
Do not leave children without supervision. Ensure that they do
not play with the appliance. In the case of appliances provided
with locks, the key must be kept at a site where children cannot
have access to it to avoid unintentional locking.
The appliance always has to be transported
and displayed vertically.
The appliance is designed for inside use only.
The surroundings should not transcend the following conditions
(based on a standard environment):
• 25°C / 77°F temperature
• 60% humidity
• 0,2 m/s air speed
Installation and Use
4

1.0 Safety Instructions
Keep a minimum distance of 10 cm/3.9 inches between the
appliance and neighbouring surfaces (walls, roof, furniture etc.).
Keep clear of obstructions all ventilation openings in the
appliance enclosure or for built-in structure.
Before connecting the device, check:
• The power rating (on the type plate)
• The relevant local electrical safety regulations
Do not use an extension cord to connect the appliance
to the electrical circuit.
Make sure that power cable and plug are undamaged before
connecting the appliance. The damaged cable can only be re-
placed with a cable identical to the original part.
After delivery, keep the appliance in a warm ambient
temperature for 2 hours before starting it.
Do not use electrical appliances inside the storage compartments
of the appliance, unless they are of the type recommended
by the manufacturer.
2Hrs
5

1.0 Safety Instructions
Do not store explosive substances such as aerosol cans with
a ammable propellant in the appliance. The user is solely
responsible for damages to properties or products, or injuries to
persons resulting from careless and improper use of the appliance.
Do not expose the appliance into direct sunlight. Do not heat the
appliance to more than 70°C/158°F.
Only authorised service specialists may perform work on the
electrical and refrigeration systems. If this is not observed, all
warranty and liability claims become invalid.
Damaging the refrigerant circuit can lead to severe injuries.
Do not damage the refrigerant circuit!
Make sure that the appliance is thoroughly cleaned and dried.
Proper cleaning prevents corrosion and mould formation.
Appliances out of use may be dangerous for children, therefore
position the appliance in such manner that no person can get
locked up.
When disconnecting the appliance from the power supply,
always take hold of the plug. Do not pull the cable.
1.2 Defects
1.3 When Not In Use
6

2.0 Putting Into Operation
Position the device where it is protected from sunlight and other
heat sources, since operation may be disturbed if the ambient
temperature exceeds +25°C/77°F.
The appliance should not be operated in rooms where the
temperature drops below +10°C/50°F since this disrupts the
lubrication of the compress
Leave at least 10 cm/3.9 inches space between the appliance’s
side walls/roof/back and neighbouring surfaces such as other
devices, walls, furniture and ceiling to provide free air ow be-
hind the device to enable proper operation.
If the furnishing of the room allows positioning only close to the
heat source the following minimum clearances must be kept: or.
• Put a 0.5-1cm/0.393 inches thick insulation board between
two devices if they are 3 cm/1.18 inches or less apart.
• Min. 30 cm/11.8 inches from oil or coal-red ovens.
The appliance may be connected to 110 V mains via proper-
ly mounted grounded socket. Check if the voltage meets the
local voltage and make sure that the connecting cable isn’t stuck
anywhere.
A fuse/circuit breaker of 10 A is required for the operation
of the appliance.
If the connection cable is damaged or it has to be extended,
the job must be done by a qualied electrician to avoid the
dangerous situations.
Do not use an extension cord! The appliance must be positioned
in a way that the main plug is easily accessible.
2.2. Electrical Connection
IMPORTANT!
Never move the appliance by grasping the sides.
2.1. Installation
7
WARNING!
Keep all ventilation openings in the appliance clear of obstructions.

3.0 Use of the Appliance
1. Make sure that all packaging material and foreign objects
are removed from the appliance.
2. Clean the appliance with detergent before switching it on,
dry it with a soft, clean cloth and let it ventilate for a while.
3. It is advised to keep the appliance in an upright position
for at least 2 hours after transport before using it.
4. It is advised to switch on the appliance and check its
operation before positioning it at the nal place.
5. See separate instructions for detailed guidelines on the
promotional display appliance assembly. In case the
instructions are missing, please contact the seller or
your local service provider.
6. Place the shelves on the shelf holders.
7. It is advised to switch on the appliance and check its
operation before positioning it at the nal place. Connect
the plug into the socket.
8. Leave the appliance connected in an empty state for 2
hours to check the functioning before adding goods for
the rst time. Do not load food to be chilled before
the temperature display reads +6°C.
9. Apply brakes to prevent the appliance from moving.
1. Attach shelf supports to shelf rails at the desired height.
2. Slide the shelf into the appliance and mount it on supports.
3. Make sure the shelf stays stable on its supports.
IMPORTANT!
All packaging materials are recyclable.
IMPORTANT!
Wear safety gloves during the installation.
3.1. Starting Up
1
2
3.2 Shelf Installation
8

3.3 Filling
FILL LINE
Lbs/Kg
Max
FILL LINE
To achieve optimal cooling, it is advised to ll up the appliance
when it is less frequently used.
1. Check the maximum load.
2. Do not overload the device with products.
3. Be careful not to block air circulation.
1. 2. 3.
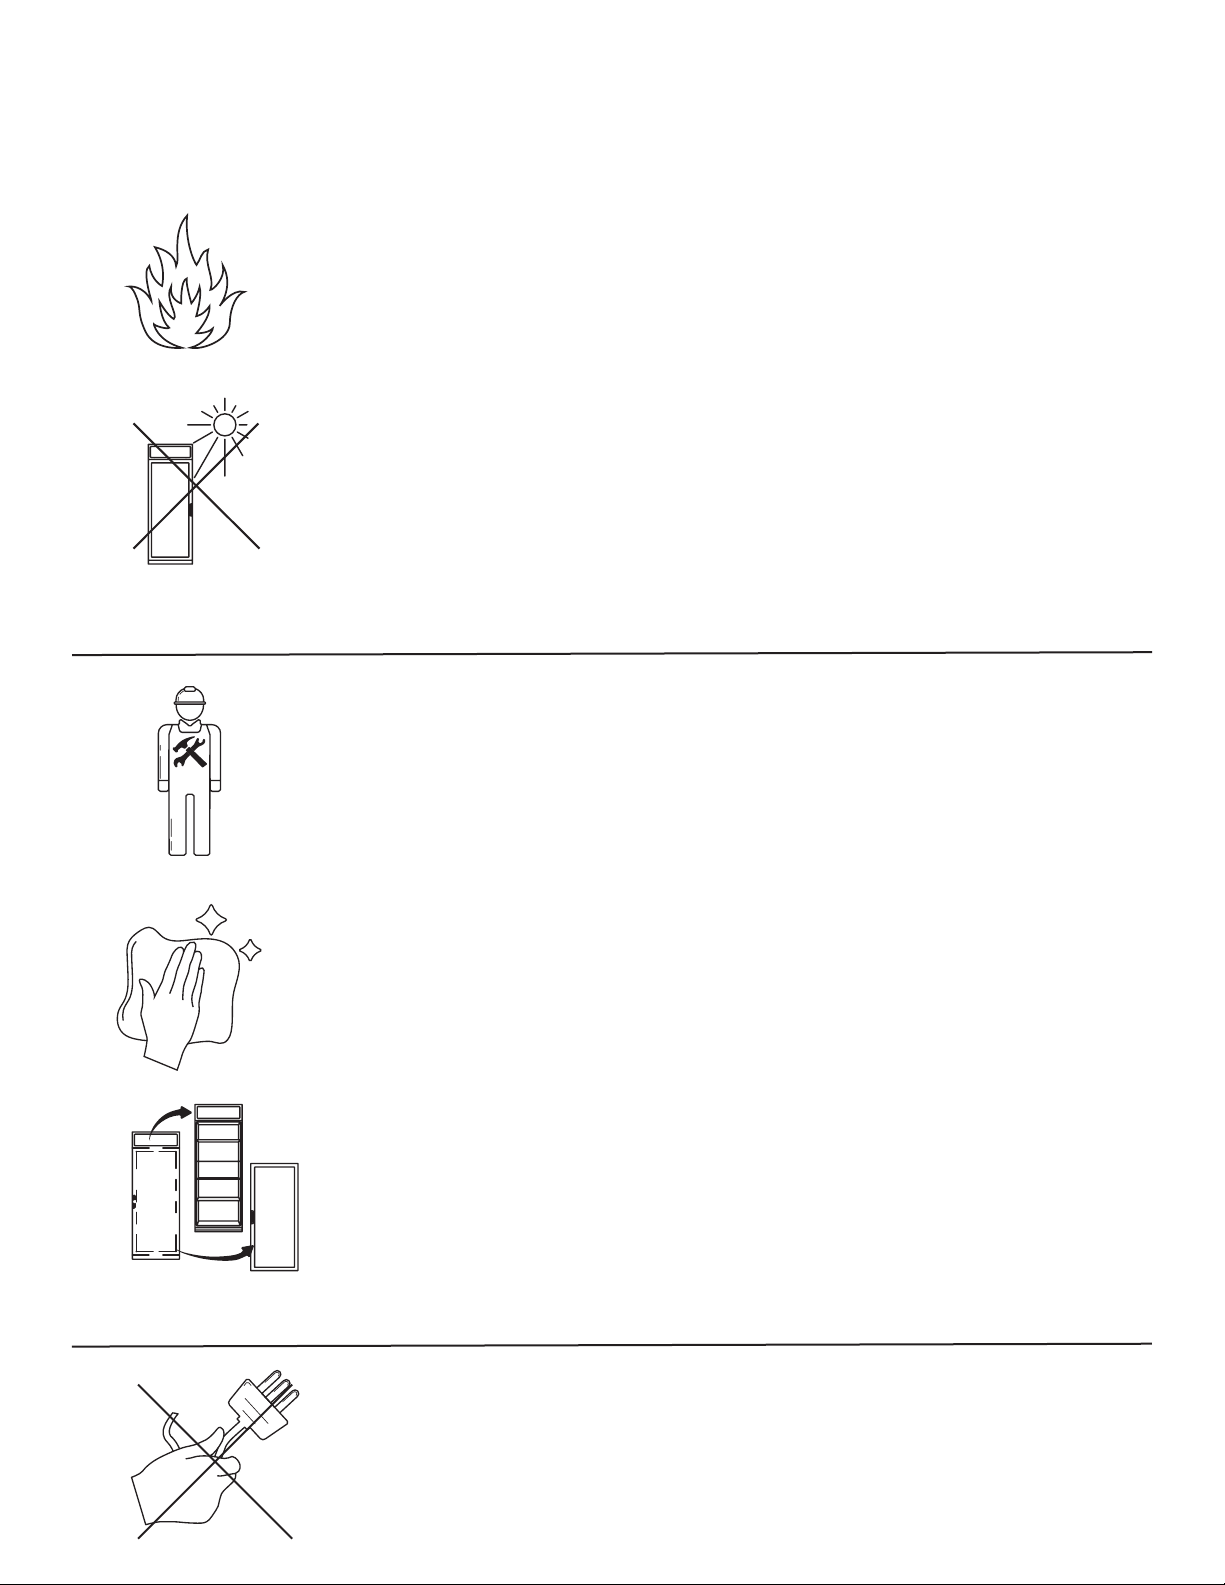
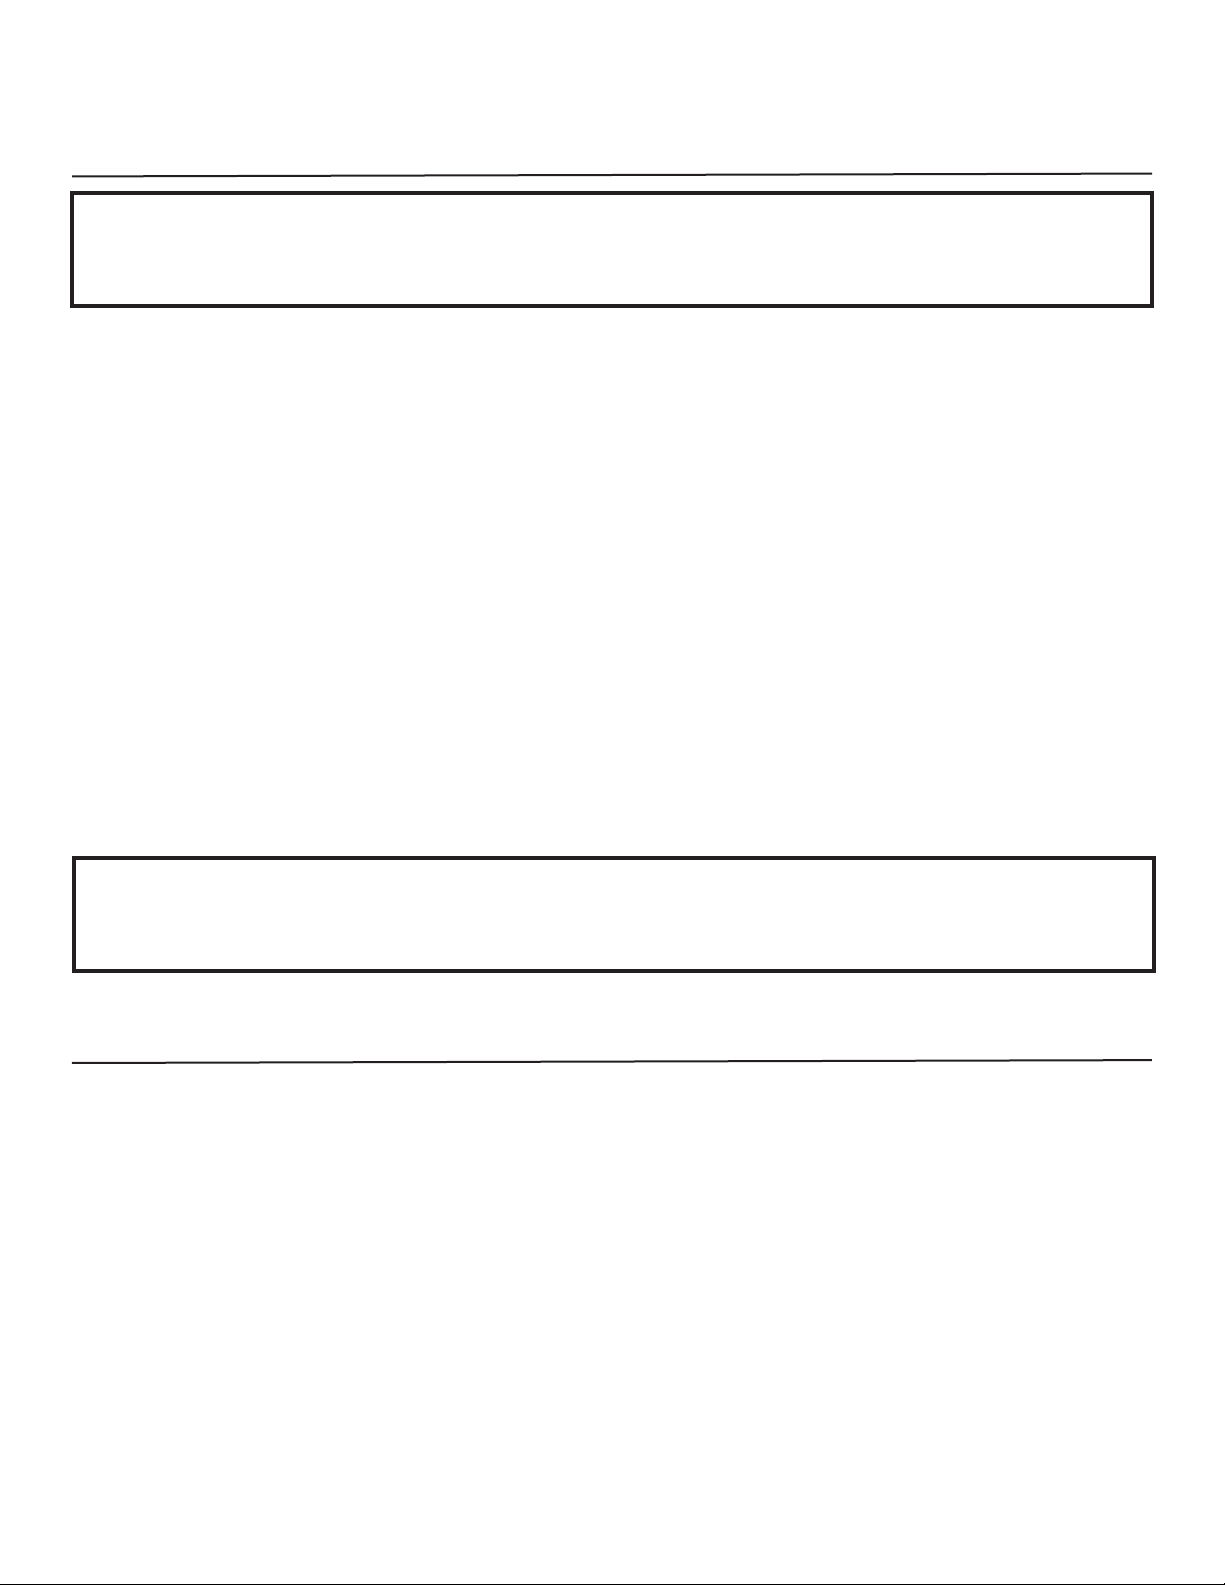
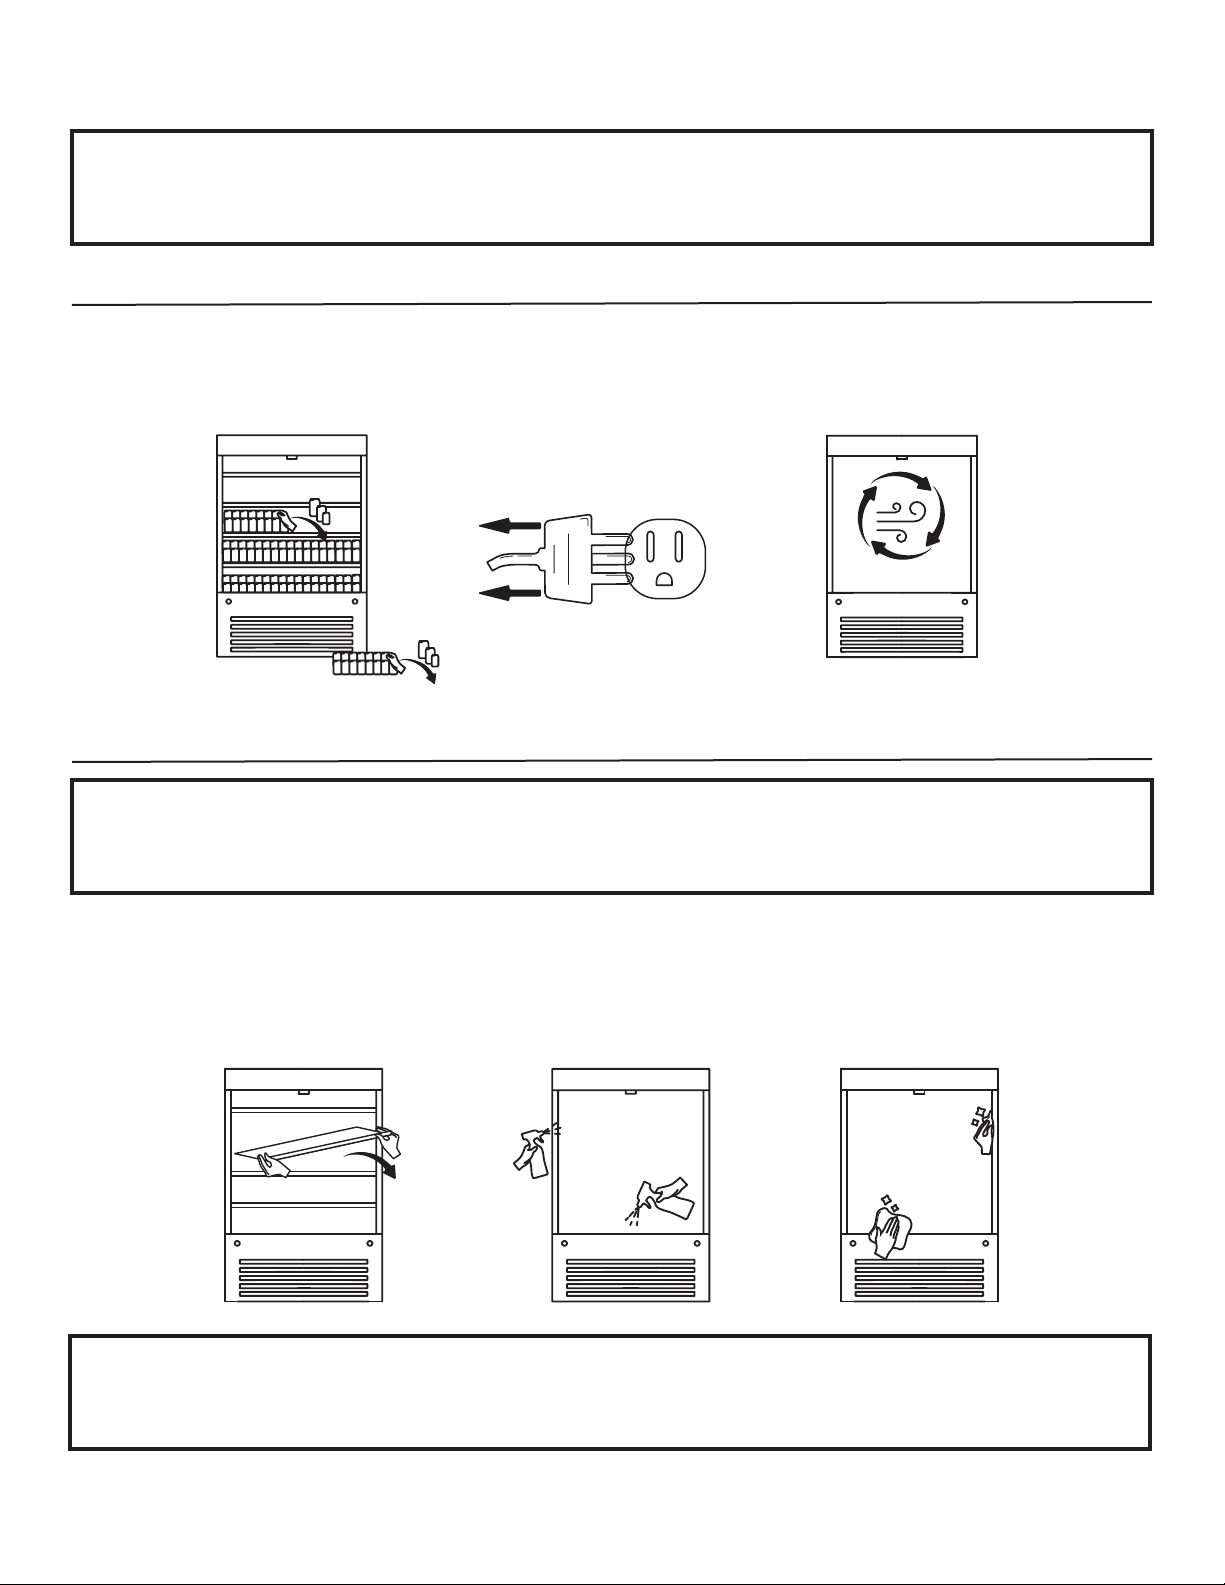
Once the appliance is switched off, or in case the power is cut
off, wait for at least 5 minutes before plugging in again to avoid
damaging the compressor or cooling system of the appliance.
IMPORTANT!
Do not place the appliance in direct sunlight, HVAC outlets or
near heat-producing appliances (like ovens, boilers and heat-
ers).The appliance reaches its top efciency when it works 24/7,
do not switch it off during the night.
Keep your appliance clean and well maintained: dust
on the condenser or any unsolved problem can cause
increased energy consumption.
Fill the appliance according to the prescribed instructions to
allow energy-efcient operation.
Wipe goods dry before placing them in the appliance.
This cuts down on moisture build-up inside the appliance.
Turn off the interior lighting of the appliance for the night.
Maintain and clean the appliance in a proper way. If the
condenser coil is not cleaned at least 2 times per year,
the efciency of the appliance will decrease signicantly.
Use the ECO frame provided with ECO models to
increase the efciency of the appliance*.
3.4 Energy Saving Tips
9
Do not point spotlights at the unit.
IMPORTANT!
Do not place the appliance in direct sunlight, HVAC outlets
or near heat-producing appliances (like ovens, boilers and
heaters).
HINT!

4.0 Cleaning & Maintenance
4.2. Clean Inside & Outside
IMPORTANT!
Lack of maintenance will cause the appliance to break down.
IMPORTANT!
Do not clean the appliance with high-pressure or steam cleaners.
IMPORTANT!
Wear safety gloves to avoid the danger of injury during cleaning.
4.1. Preparation
1. Remove or relocate appliance’s contents.
2. Disconnect the appliance from the mains.
3. Let the appliance defrost for 12 hours.
5. Remove shelves to reach all surfaces.
6. Clean the inside and outside of the appliance
with water and non-aggressive detergent.
7. Dry previously cleaned surfaces with a
soft, clean and dry cloth.
5. 6. 7.
10
1.
2.
3.

5.0 Technical Specications
Overall Dimensions 17.5"x 17"x 55"
44.5 x 44.5 x 165.1cm
Weight 220 lbs / 100Kg (approximate)
Gross Volume 9.42 cubic ft. / 267L
Power Input (W) 110 V
Lighting 2 x Vertical LED Lighting
Compressor Danfoss R290
Temperature +2
o
C - +6
o
C / 35.6
o
F - 42.8
o
F
Defrosting Automatic
Evaporator Type Finned Coil
Condensor Type Low Maintenance
Temperature Control Electronic
Ambient Maximum 22
o
C - 72
o
F / 60% Humidity
Shelving x 2 pieces 15.25"x 12.375"(adjustable)
38.73cm x 27.94cm
Bottom Layer 16.375"x 12.375"
41.59cm x 31.43cm
11

6.0 Troubleshooting
The appliance does not operate. The appliance is not switched ON. Switch ON the appliance
The power plug is not plugged
in correctly
Reconnect the appliance to the
power supply in a correct way
Power relay tripped Wait for at least 5 minutes then
restart the appliance
The power cable/plug is
damaged
Contact the seller or your local
service provider
The airow is restricted Check the distance between
the appliance and its surround
-
ings /Nothing blocks the air
-
ow inlets/outlets / Condenser
is not dirty
The fuse is blown/the circuit
breaker tripped
Replace the fuse/reset the
circuit breaker
The digital controller may be
defective
Contact the seller or your local
service provider
Water condensation on
surfaces
Too high ambient temperature
and/or relative humidity %
Install the appliance in an
adapted environment
Appliance gets too cold Too low ambient temperature Install the appliance in an
adapted environment
The temperature regulation
may be incorrect
Contact the seller or your local
service provider
LED lights do not operate The appliance is not switched
ON
Switch ON the appliance
Lights are turned OFF Switch ON lights using the
digital controller
LED lights are burned out Contact the seller or your local
service provider
Problem Possible Causes Solution
12

6.0 Troubleshooting
Unpleasant smell Re-evaporation tray is dirty. Contact the seller or your local
service provider
Appliance’s performance level
of cooling is not enough
Too high ambient temperature
and/or relative humidity %
Install the appliance in an
adapted environment
The airow is restricted Check the distance between
the appliance and its surround-
ings /Nothing blocks the airow
inlets/outlets / Condenser is not
dirty
A large number of goods
inserted
Fill the appliance according to
instructions
Wrong temperature setting Check settings using digital
controller
The cooling system may be
defective
Contact the seller or your local
service provider
Disturbing noise/
Disturbing vibration
The gurgling sound is
produced by the ow of
refrigerant
Such sound is normal
Appliance gets too cold Popping and cracking sounds
are produced by the contraction
and expansion of refrigerant
Such sounds are normal
The surface under the
appliance is not at enough
Position the appliance steadily
on a at surface
The appliance is not levelled
correctly
Level the appliance to ensure
that its position is steady
The digital controller does not
operate
The appliance is turned OFF Switch ON the appliance
The electronic board may be
defective
Contact the seller or your local
service provider
Problem Possible Causes Solution
13

6.0 Troubleshooting
Excessive ice formation in the
evaporator area
Too high ambient temperature
and/or relative humidity %
Install the appliance in an adapted
environment
Problem Possible Causes Solution
In case the malfunction is not caused by any of the above-mentioned factors or persists over a long
period of time or in order to order spare parts*, please contact the seller, your local service partner or get
*The minimum period during which spare parts, necessary for the repair of the appliance is 8 years
after placing the last unit of the model on the market.
IMPORTANT!
Secure loose parts and empty the drain of the appliance before moving it
into storage.
7.0 Taking the Appliance Out of Service
Empty the appliance’s contents and pull out the power plug.
Empty the appliance’s contents and pull out the power
plug. Remove the corrugate sleeve if present.
Release the brakes. Empty the appliance to the oor drain or
a water container by gently tilting the appliance backwards.
Make sure that the appliance is thoroughly cleaned and
dried. Thus mould formation and corrosion are prevented.
The appliance out of use may be dangerous for children,
therefore position the appliance in such manner that no
person can get locked up.
14

8.0 Environmental Policy & Recycling
9.0 Disposing of The Appliance
The warranty** terminates upon:
• outside & wrong usage
• not following the instructions
• negligence of maintenance
Environmental awareness is key throughout the complete
life cycle of our products: from designing to producing it to
nally recycling it.
We keep a close eye on the economical and effective use
of new environmentally friendly materials in our products
and production. Our target is to minimise the use of non-
renewable natural resources.
We are convinced that sustainable production is the only
correct way of working with respect for our customers,
consumers and our planet today and in the future.
We strongly advise you to visit www.cooldisplaysolutions.
com to check the optimal storing temperatures for food
and beverages. Incorrect temperature setting may result in
spoilage and food waste.
WARNING!
Thermal insulation material is EPP.
The appliance contains some reusable materials and
should be disposed of properly — not simply with unsorted
household refuse. Appliances which are no longer needed
must be disposed of in a professional and appropriate way,
in accordance with the current local regulations and laws.
Please check your obligations in accordance with the national
WEEE* provisions and the local WEEE disposal partner.
Ensure that the piping is not damaged in the process.
Both insulating material and the coolant of the appliance
bought by you are environment-friendly materials, which do
not damage the ozone layer around the globe in any form.
*Waste Electrical and Electronic Equipment Directive
**The minimum duration of the warranty is 12 months. For more information, please contact the seller, your local service
15
Table of contents