manuals.online logo
Brands
  1. Home
  2. •
  3. Brands
  4. •
  5. GE
  6. •
  7. Refrigerator
  8. •
  9. GE ZIF36NMFRH User manual

GE ZIF36NMFRH User manual

This manual suits for next models

20

Other GE Refrigerator manuals

GE GTK17JBXBS Manual

GE

GE GTK17JBXBS Manual

GE GBSC3HBX Manual

GE

GE GBSC3HBX Manual

GE GTR12GBEWW Manual

GE

GE GTR12GBEWW Manual

GE Profile PFSF6PKX Original instructions

GE

GE Profile PFSF6PKX Original instructions

GE GSHS6PGYSS Manual

GE

GE GSHS6PGYSS Manual

GE GFSS2KEXSS Manual

GE

GE GFSS2KEXSS Manual

GE ZISS480NHSS User manual

GE

GE ZISS480NHSS User manual

GE Profile PGSS5NFYSS Manual

GE

GE Profile PGSS5NFYSS Manual

GE 200D8074P037 Safety guide

GE

GE 200D8074P037 Safety guide

GE Side by Side 22 Dispenser User manual

GE

GE Side by Side 22 Dispenser User manual

GE Monogram ZIBI240 User manual

GE

GE Monogram ZIBI240 User manual

GE Profile ENERGY STAR PFSS6PKW Manual

GE

GE Profile ENERGY STAR PFSS6PKW Manual

GE Profile PGCS1RKZ How to use

GE

GE Profile PGCS1RKZ How to use

GE Monogram ZIS42N User manual

GE

GE Monogram ZIS42N User manual

GE GTS18KBP User manual

GE

GE GTS18KBP User manual

GE Beaumark 23 Safety guide

GE

GE Beaumark 23 Safety guide

GE Profile PSSS9RGX User manual

GE

GE Profile PSSS9RGX User manual

GE TFX25PRBABB User manual

GE

GE TFX25PRBABB User manual

GE GFSL2KEXLS Manual

GE

GE GFSL2KEXLS Manual

GE Appliances 19 Training manual

GE

GE Appliances 19 Training manual

GE ENERGY STAR GTH18CCDBB Manual

GE

GE ENERGY STAR GTH18CCDBB Manual

GE Monogram ZIRS36N LH User manual

GE

GE Monogram ZIRS36N LH User manual

GE GTN18BBCWW Manual

GE

GE GTN18BBCWW Manual

GE Profile Series Operating instructions

GE

GE Profile Series Operating instructions

Popular Refrigerator manuals by other brands

Frigidaire FRS26TS7DW2 Use & care manual

Frigidaire

Frigidaire FRS26TS7DW2 Use & care manual

Fisher Scientific 10ECEEFSA manual

Fisher Scientific

Fisher Scientific 10ECEEFSA manual

Summit FF22BDRSS user manual

Summit

Summit FF22BDRSS user manual

Frigidaire FFRU17B2QWE use & care

Frigidaire

Frigidaire FFRU17B2QWE use & care

Hotpoint ENBGH 19xxx FW operating instructions

Hotpoint

Hotpoint ENBGH 19xxx FW operating instructions

Hitachi R-SG28KPH instruction manual

Hitachi

Hitachi R-SG28KPH instruction manual

Dometic RMH 7390 L operating instructions

Dometic

Dometic RMH 7390 L operating instructions

AEG S71700TSW0 user manual

AEG

AEG S71700TSW0 user manual

Electrolux ENB3669 Instruction book

Electrolux

Electrolux ENB3669 Instruction book

Electrolux ERN 2930 Instruction book

Electrolux

Electrolux ERN 2930 Instruction book

Beko GNE 60520 X user manual

Beko

Beko GNE 60520 X user manual

Jenn-Air JUR248LBES00 Use & care guide

Jenn-Air

Jenn-Air JUR248LBES00 Use & care guide

Dometic RGE 4000 Installation and operating manual

Dometic

Dometic RGE 4000 Installation and operating manual

Dometic L-0191B Brochure & specs

Dometic

Dometic L-0191B Brochure & specs

LG LRBP1031W - 10 Cu. Ft. Cabinet Depth Bottom Freezer... owner's guide

LG

LG LRBP1031W - 10 Cu. Ft. Cabinet Depth Bottom Freezer... owner's guide

Daewoo RN-33 Series user manual

Daewoo

Daewoo RN-33 Series user manual

Haier RF-8888-174 Service manual

Haier

Haier RF-8888-174 Service manual

Blaupunkt 5CK2 Series user manual

Blaupunkt

Blaupunkt 5CK2 Series user manual

manuals.online logo
manuals.online logoBrands
  • About & Mission
  • Contact us
  • Privacy Policy
  • Terms and Conditions

Copyright 2025 Manuals.Online. All Rights Reserved.

OwneF_s
Manual
Built-In
36" Single Door
Refrigerators
and
36" Single Door
Freezers
www.monogram.com
Monogram._
Consumer Infbrnlafion
R@'igerator/Freezer
lntrvduction Your new Monogram refl'igerator/fl'eezer makes an eloquent statement of style, convenience
and kitchen planning flexibility: Whether you chose it tor its pm'ity of design, practical storage
arrangements or assiduous attention to detail--or tkw all of these reasons--you'll find that wmr
Monogram reti'igerator/fl'eezer's superior blend of torm and flmction will delight you fin" years
to COlile.
The Monogram refl'igerator/fl'eezer was designed to provide the flexibility to blend in with
vom" kitchen cabinetry. Decorative door insert panels allow it to match wmr kitchen cabinets
or blend with vom" kitchen decor. Custom handles are also available to flu'ther personalize
yore" refl'igerator/fl'eezer. Through a series of product and trim kit choices, the Monogram
refl'igerator/fl'eezer can be beautiflflly integrated into the kitchen.
Since this is designed to be a built-in product, custom panels are required on the fl'ont of
the Monogram refl_igerator/fl'eeze_: Consult yore" kitchen designer or cabinetmaker t0r vour
customized look.
The information on the fi)llowing pages will hel I) you operate and maintain vom"
refl'igera tor/fl'eezer properly.
If you have any other questions, visit ore" Website at: www.monogram.com.
Contents Consumer Services
hnportant Phone Nmnbe_ ................ 19
Model and Serial Numbers ................. 3
Problem Solver . ...................... 16, 17
Product Registration ...................... 3
SafeD' Instructions ...................... 4-7
Wm'anlv ........................ Back Cover
Care m_d Clemlhag
Cleaning--Outside and Inside ............. 13
Condenser . ............................. 13
I,ight Bulb Replacement .................. 14
Vacation ................................ 14
Operating Instructions
Automatic Icemaker . ...................... 9
Shelves .............................. 11, 12
Storage Drawe_ ......................... 10
Temperature Controls ..................... 8
_,V_ter Filter Accessory ..................... 9
Wine Rack .............................. 11
Preparation
Clea ra n ces .............................. 15
i,eveling ................................ 15
I,ocation ................................ 15
Be/ore
using
your
refrigerator/
.f}_eezer
Read this manual careflflly. It is intended to
hel I) you operate and maintain your new
refl'igera tor/fl'eezer i)roperly.
Kee I) it handy fin" answers to your questions.
If you don't trade,stand something or
need more hell), there is a list ol toll-fl'ee
consumer service nmnbe_ included in
the back section of this manual.
OR
Visit our _,Vebsite at: www.monogrmn.com
Write
down the
model &
serial
n _!lfl_l beys
You'll see them on a label inside the
refl'igerator/fl'eezer under the storage drawers.
These nmnbers are also on the Consumer
Product Owne_Mfip Registration Card included
with this manual.
Before sending in this card, please write these
numbers here:
Model Number
Serial Number
Use these numbe_5 in an) correspondence or
serxice calls concerning }our refl]gerator/ffeezer.
l.f you
received a
damaged
fi4gerato i
.fF(?ezer
The warrant} does not coxer damage caused
after delix err. hnmediatelv contact the dealer (or builder)
that sold xou the refrigerator/fl'eezer,
Save time
& money Before )ou request service, check the Problem It lists causes of minor operating problems that
Solxer in the back of this manual, you can correct yourself.
If you
need
service
To obtain se_wice, see the Consumer Services
page in the back of this manual.
X_'e're proud of ore" service and want vou to be
pleased. Iffi)r some reason you are not hai)py
with the service you receive, here are steps to
fl)llow fl)r flu'ther hell).
For customers in the USA:
FIRST, contact the people who se_wiced vom"
appliance. Explain why you are not pleased.
In most cases, this will solve the problem.
NEXT, if you are still not pleased, write all the
details--including your phone nmnbe_--to:
Manager, ()lstomer Relations
GE Appliances
Appliance Park
I,ouisville, KY 40295
For customers in Canada:
FIRST, contact the people who serviced vom"
appliance. Explain why you are not pleased.
In most cases, this will solve the problem.
NEXT, if wm are still not pleased, write all the
details--including your phone nmnber to:
Manager, (_onsumer Relations
Camco Inc.
1 Factory I,ane, Suite 310
Moncton, N.B. El(; 9M3
IMPORTANT SAFETY INSTRUCTIONS
READ AND SAVE 7"HESE INS TR UCTIONS
WARNING-x, hen.singthis
appliance always exercise basic satiety
precautions, including tile fi_llowing:
• Use this appliance only for its intended
purpose as described in this Owner's Manual.
•This refrigerator/freezer must be properly
installed in accordance with the Installation
Instructions before it is used.
• Do not allow children to climb, stand or hang
on the shelves in the refrigerator/freezer.
Thev could dalnage tile refrigerator/fl'eezer
and seriously iqjure thelnselves.
• Do not touch the cold surfaces in the freezer
compartment when hands are damp or wet,
Skin may adhere to these extrelnelv cold
S/lI'J[_l ces,
•Do not store or use gasoline or other
flammable vapors and liquids in the vicinity
of this or any other appliance.
• If your freezer has an automatic icemaker,
awfid contact with tile inoving parts of tile
ejector n/echanisln, or with tile heating
elelnent located on tile bottom of tile
icelnaker. Do not place fingers or hands on
the autolnatic icelnaking inechanisn/while
tile reti'igerator/freezer is i)lugged ill.
•Unplug your refrigerator/freezer before
clemfing and making repairs. NOTE: X_'e
strongly recolnlnend that any servicing be
i)erfl)rlned by a qualified individual.
•Before replacing a burned-out light bulb,
tile refl'igerator/fl'eezer should be tmi)lugged
in order to awfid contact with a live wire
filament. (A burned-out light bulb may break
when being replaced.) NOTE: Turning
control to (-)FF does not YeIllOVe l)oweI" to
tile light circuit.
• Do not refreeze frozen foods which have
thawed completely.
ii DANGER." RISK OF CHIIJ) ENTRAPMENT
Child entral)inent and stdtocation are not
i)roblelns of tile past..]unked or abandoned
refl'igerator/freezers are still dangerous...even
if they will sit fi_i" "just a few days." If you are
getting rid of your old refl'igerator/fl'eezer,
please fi_llow the insti uctions below to hel I)
i)revent accidents.
Before You Throw Away Your Old
Refrigerator/Freezer or Freezer:
• Take off tile doors.
• i,eave tile shelves in place so that children
max not easilx clilnb inside.
t ?,Ft Gt?,t NTS
All refl'igeration products contain refl_igerants,
which under federal law inust be relnoved prior
to product disposal. If you are getting rid of an
old refrigeration product, check with tile
company handling tile disposal about what
to do.
LIRE ET CONSERVER CES INSTRUCTIONS
AVERTISSEMENT :
I,oI_que vous utilisez le r_liJg_rateur/coi_g-_lateui;
observez toujours certaines prg_cautions de
base, notaululent :
• N'utilisez l'appaxeil que pour son usage
prOvu, coullne d_crit dans le i)r_sent malmel
de 1'utilisa teur.
• Installez le r6frig6rateur/cong61ateur
conform6ment aux directives d'installation
avant de l'utiliser.
•Ne laissez pas les enfants grimper, s'asseoir,
se tenir debout ni se pendre aux clayettes du
r6frig6rateur/cong61ateur. Ils i_ourraient
endoummger le r_fl'ig_rateur et se blesser
gravem ent.
• Une lois le cong61ateur en marche,
ne touchez pas les surfaces froides du
cong61ateur, surtout si vous avez les mains
humides ou mouill6es :la peau risque
d'adh_rer fi ces surthces tr_s ti'oides.
•N'entreposez et n'utilisez pas d'essence ou
autres vapeurs et liquides inflmumables _t
proximit6 de cet appareil ou de tout autre
appaJeeil 61ectrom6nager.
Pour les r6frig6rateurs dot6 d'tme machine h
glagons automatique, 6vitez le contact avec les
pi_ces inobiles du nlg_canislne _jecteur
ou avec l'(dg_u_ent clmutthnt situ(_ _'lla partie
infiXrieure de la umchine fi gla(:ons. Ne posez
pas les doigts ou les umins sur le u_calfiSlne
de la machine fi gla(:ons pendant que le
r_flJg_rateur/cong_lateur est branch,.
• D6branchez votre r_frig6rateur/cong61ateur
avant de le nettoyer et de le r6parer.
REMARQUE :Nous wins recolnlnandons
viveu_ent de courier toute r_i)aratioi_ _'lun
techlficien qualifi_.
• Avmlt de remplacer tree ampoule gfill6e, le
r_liJg&'ateur/cong_lateur doit &tre d_branch_
afin d'_viter tout contact avec un fil sous
tension. (Une ami)oule grill_e peut se briser
i)endant l'op_ration). REMARQUE : Ix)rsque
vous placez la commande sur <,0,, (_teint),
l'alimelm_tioi_ _lectrique de l'ami)oule n'est
pas couple.
• Ne fares PAS recongeler des aliments
surgel6s qui ont compl&tement d6gel&
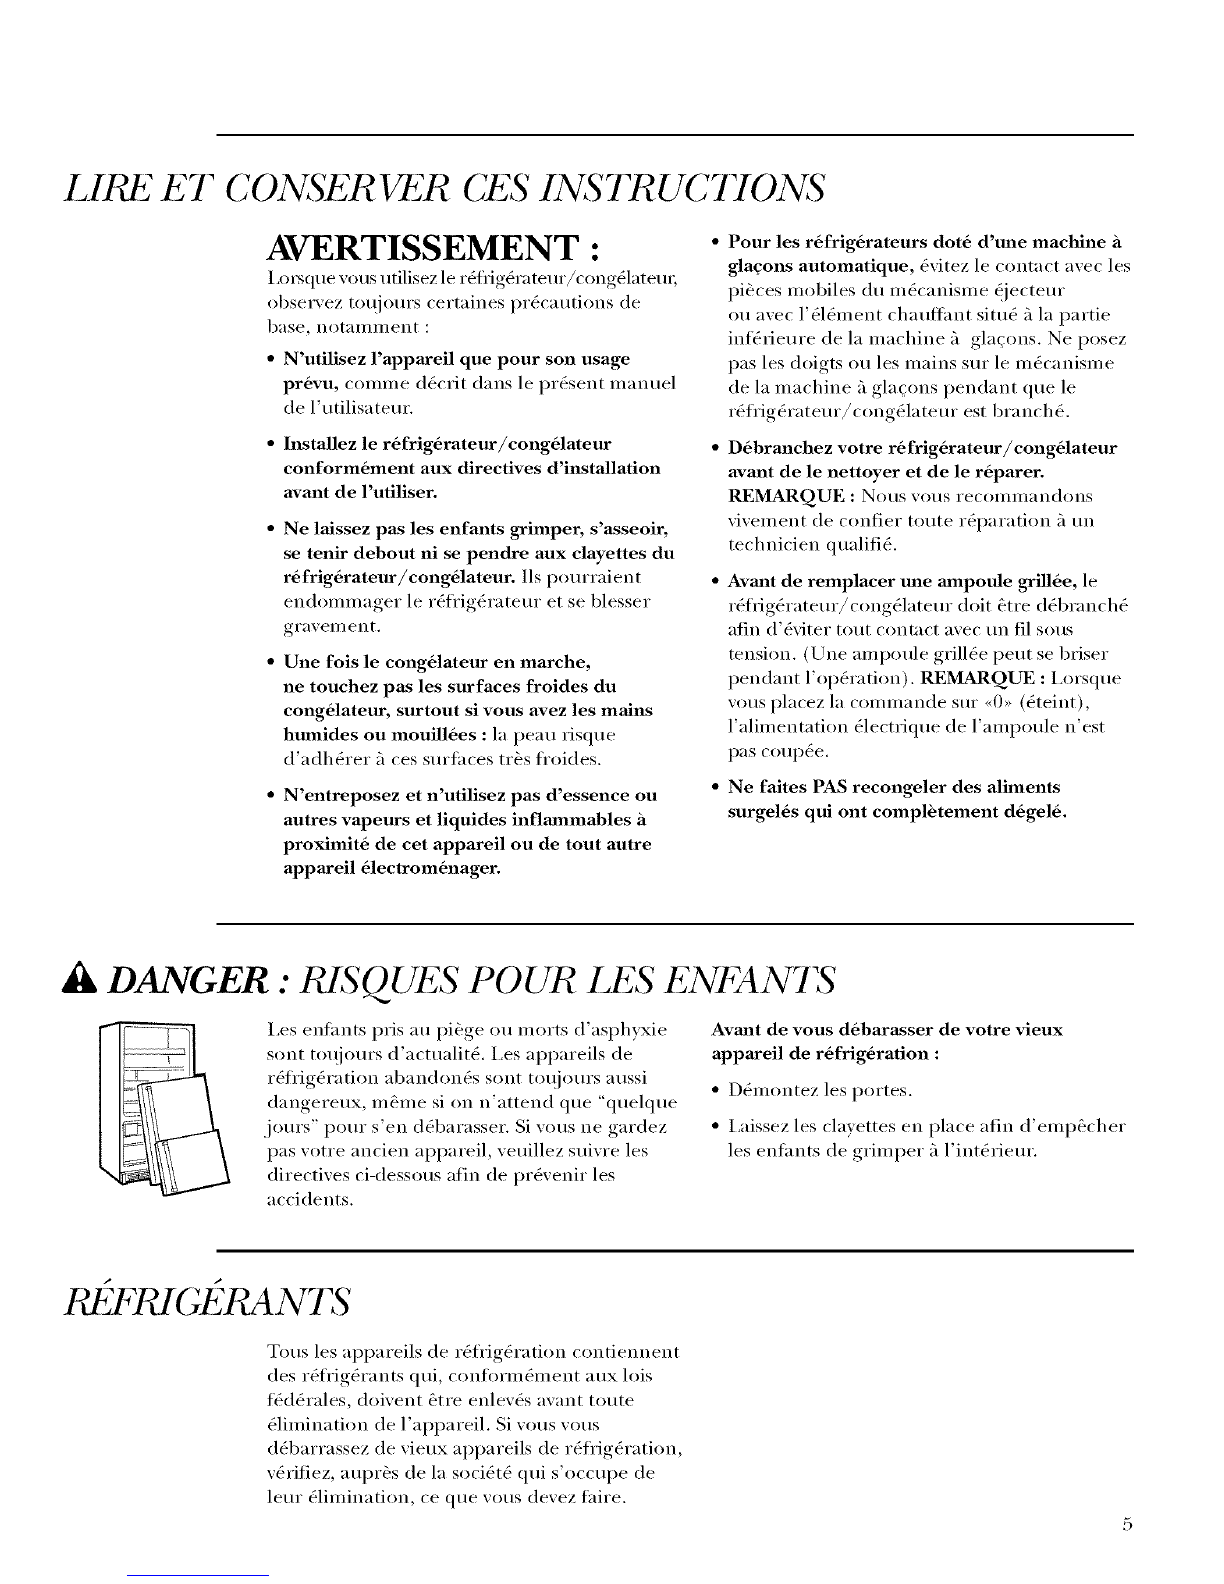
ii DANGER : RISQUES POUR LES ENFANTS
I,es elffants pris au pi&ge ou inorts d'asphyxie
sont toujours d'actualit_. I,es appareils de
rg_fl'ig_ratioi_ abandong_s sont toqjours aussi
dangereux, n_&ine si on n'attend que "quelque
jours" pour s'en d_barasser. Si vous ne gardez
pas votre ancien appareil, veuillez suivre les
directives ci-dessous afin de i)r_venir les
accidents.
Avmit de vous d6barasser de votre vieux
appaJceil de r6frig6ration :
• Dg_montez les portes.
• I,aissez les clavettes en place afin d'emp_cher
les enlhnts de griml)er _'_l'ii_t_rieur.
REFRIGERANT S
Tous les appareils de r_fl'ig_ration contiennent
des r_fl'ig_rants qui, confiwm&nent aux lois
fiXd_rales, doivent _tre enlev_s avant toute
_limilmtion de l'appareil. Si vous vous
d_barrassez de vieux appareils de r_frig&'ation,
v&'ifiez, aupr&s de la soci_t_ qui s'occupe de
leur _limilmtion, ce que vous devez taire.
IMPORTANT SAFETY INSTRUCTIONS
HOW TO CONNECT EIJ ?,CTRICITY
Do uot, under ally circmnstauces, cut or
remove the third (gromld) prong from the
power cord. For personal safety, this appliance
must be properly gromlded.
The power cord of this appliance is equipped
with a 3-prong (grounding) plug which mates
with a standard 3-prong (grounding) wall
outlet to minimize the possibility of electric
shock hazard from this appliance.
Have the wall outlet and circuit checked by
a qualified electrician to make sure the outlet
is properly grotmded.
Where a standard E-prong wall outlet is
encountered, it is your personal responsibility
and obligation to have it replaced with a
properly grounded 3-prong wall outlet.
The reti'igerator/freezer should always be
plugged into its own individual electrical outlet
which has a voltage rating that matches the
rating plate.
DO NOT USE AN ADAPTER PLUG TO
CONNECT THE REFRIGERATOR/FRI_:ZER
TO A 2-PRONG OUTLET.
DO NOT USE AN EXTENSION CORD
WITH THIS APPLIANCE.
This provides the best pertimnance and also
prevents overloading house wiring circuits
which could cause a fire hazard from
overheated wires.
Never tmphlg your refl'igerator/fl'eezer bv
pulling on the power cord, Always grip plug
fi_mlv and pull straight out fi'om the outlet,
Repair or replace immediately all power
cords that have become fl'ayed or otherwise
damaged. Do not use a cord that shows cracks
or abrasion damage along its length or at
either end.
X_hen moxing the refrigerator/freezer away
fl'om the wall, be careflfl not to roll oxer or
damaoe_ the power cord.
SAVE THESE
INSTRUCTIONS
RA CC0 RDEMEN T EIJ ?,C7"RIQUE
Ne coupez _firetirez en auctm cas la troisibme
broche (raise a la terre) de la fiche du cordon
d'alimentation. Pour votre s6curit6, cet appaJceil
doit 6tre correctement mis ii la terre.
I,e cordon d'alimentation de cet appareil est
muni d'une fiche 5 3 broches (raise 5 la terre)
qui se branche darts une prise mural ordinaire
5 3 alvg_oles (raise 5 la terre) pour rg_duire au
minimum les risques du chocs (_lectriques.
Faites examiner la prise de courant et le circuit
par un (_lectricien qualifi(_ pour wins assurer
que la prise est correctement raise 5 la terre.
Si la prise murale est du type standard 5
2 alv&_les, il vous incombe de la thire
remplacer par une prise 5 3 alvgu)les
correctem ent raise 5 la terre.
I,e r(_fl'ig(_rateur/cong_lateur doit toujours _tre
branch(_ darts sa propre prise de courant, dont la
tension nominale est identique 5 celle indiqug_e
sur la plaque signal_tique.
N'UTILISEZ PAS UNE FICHE
D'ADAPTATION POUR RACCORDER
EE R_:FRI G]_:RATEUR/C ON G_:LATEUR
DANS UNE PRISE MURALE A2 ALVEOLES.
N'UTIL1SEZ PAS DE CORDONS
PROLONGATEURS AVEC CET APPAREIL.
Cette precaution est recommandg_e pour
garantir un rendement optimum et _viter
une surcharge des circuits (_lectriques de la
r4sidence, ce qui pourrait crg_er un risque
d'incendie par su_chauflb des ills.
Ne d_branchezjamais l'appareil en tirant le
cordon d'alimentation. Saisissez refinement
la fiche du cordon et tirez droit pour la retirer
de la prise.
R_parez ou remplacez immg_diatement tout
cordon efliloch_ ou endommag_. N'utilisez pas
un cordon fendill(_ ou pr(_sentant des signes
d' tlS/lI'e.
i,orsque xous dg_placez l'appareil du tour, faites
attention de ne pas la taire fouler sur le cordon
d'alimentation afin de ne pas l'endommager.
CONSERVEZ CES
DIRECTIVES
Operating Instructions
I¢_/rit_'erator/Freezer
Set the
temp_ ature
control
WHEN YOU FIRST TURN THE
REFRIGERATOR/FREEZER ON,
SET THE CONTROL AT 5.
9 is tile coldest setting, 1 is tile wannest.
For colder or waYiner teillperattlres, a(!itlst
tile control one nt/Illbev }It }1 tiIlle.
IMPORTANT: When first setting the control,
or adjusting it, allow 24 hours for the
refrigerator/freezer to get cold.
NOTE: Turning the control to the OFF
position stops cooling in the refrigerator/
freezer, but does not shut off power to
the refrigerator/freezer.
(_5 IS NORMAL
9 ISCOLDEST
How to test
temp_atures
Use the milk test for the refrigerator. Place a
container of milk on tile top shelf. Check it a
day later. If tile milk is too warm or too cold,
a@_st tile temperature control.
Use the ice cream test for the freezer. Place
a container of ice cream in tile center of the
fl'eezer. Check it after a day. If it's too hard
or too soft, a@_st tile temperature control.
Always allow 24 hours for the refrigerator/
freezer to reach the temperature you set.
Automatic Icenlaker (fleezer models)
R(/)'ig'eralor/Freezer
Automatic
icemako
qreezer modds )
A newly-installed freezer may take 12-24 hours
to begin making ice.
The icemaker will produce seven cubes per
cycle--ai)i)roximately 100-130 cubes in a
24-hour period, dei_ei_ding on the fl'eezer
telllpei'attu'e, i'ooi11 tell/i)ei'attwe , ntli]lbei" of
door ol)enings and other rise conditions.
If your fl'eezer is operated before the water
COlmection is inade to the icelnaker, set the
power switch to O (off).
When the fl'eezer has been connected to the
water supply; set the power switch to I(on).
The green light will come on.
The icelnaker will fill with water when it cools
to 15°F. A newly-installed fl'eezer inav take
12-24 hours to begin nmking ice cubes.
Throw awav the first few batches of ice to allow
the water line to clear.
Be sure i_othing interteres with the sweep of
the teeler am_.
When the bin fills to the level of the teeler
arln, the icelnaker will stop producing ice.
PowerSwitch
Gr__ r
PowerLight FeelerAne
It is nornml fl_r several cubes to b%joined
togeth er.
If ice is not used fl'equently, old ice cubes will
become chmdy, taste stale and shrink.
If ice cubes get stuck in the icelnaker, the green
power light will blink. To correct this,
set the power switch to O (off) and relnove the
cubes. Set the power switch to I(on) to restart
the icelnaker.
After the icelnaker has been turned on again,
there will be a delay of about 45 ininutes before
the icelnaker resulnes oi)erations.
NOTE: In holnes with lowei=than-average water
l)ressure, you inay hear the icelnaker cycle
InultiI)le tilnes when nmking one batch of ice.
Wato filter
(I€€gssor_
The water filter is an option at extra cost and
is available fl'Oln your dealei; GE Parts and
Accessories, 800.626.2002 or GEAl)pliances.coln.
Specit)' your choice of either GXRI,Q or GXITQ.
Both have COlnplete installation instructions and
install on 1/4" O.D. water line.
Both water filters require rel)lacen_elK
cartridges, Rei)lacen/ent cartridges are available
through (;E Parts and Accessories,
800,626,2002, or GEAi)pliances,com,
Replacement
Model No. Cartridge No.
(;XRLQ GXRTQR
GXITQ GXITQR
In-LineRefrigerator/IcemakerFilter
Model#GXRLQ
RefrigeratorWaterFilterKit
Model#GXITQ
r
St() age Drawers
R@'i g'era 1or/Fre ezer
R rigerator
Storage
drawers
The upper drawers have individual, a(!iustable
hmniditv controls that let wm control the
amount of cold air entering the drawers.
Slide the control all the way to the High setting
and the drawer provides higher hmnidity levels
recommended fl)r most leat}' vegetables.
Slide the control all the way to the Low setting
and the drawer provides lower humidity levels
recommended ti)r most ti nits.
Excess water that ma) accumulate in the
bottom of the drawers should be emptied
and the drawers wiped dry.
Refrigerator--
Seah?d snack
paTgs
The sealed snack pans retain high hmnidiw
tot the convenient storage ofhmch meats and
cheese, hors d'oeuw'es, spreads and snacks.
To remove a snack pm_, pull the pan out and
lift the front of the pan up tmtil it snaps out of
the wire holder.
To replace a snack pm_, place the back of the
pan in the wire holder, i,ower the fl'ont of the
pan, then push down until the fl'ont of the pan
snaps into the wire holder:
Drawer
removal
Drawers in the refl'igerator/freezer will
stop befin'e coming all the way out, to hel I)
prevent contents fl'om spilling onto floor.
To remove a drawer, pull the drawer out and lilt
the fl'ont of the drawer up and out of the wire
holder. I,ilt the back of the drawer up and out.
To remove the upper drawers when the door
cmmot be opened fully, the shelf above the
drawers must be removed. Push the shelf back,
then lilt up. Tilt the cover and take it out.
To replace a drawer, place the back of the
drawer in the wire holder, making sure the
extensions of the side of the drawer fit into
the back of the wire holder. I,ower the fl'ont
of the drawer into the wire holder. Press
firmly on the top of the drawer.
II
10