Cosmo Bio ACE mini User manual

Operations Manual
Ver.2.0
ACE mini INCUBATOR
(ACE test®Biological Indicator)
H8100, H8200
Thank you for purchasing the ACE mini INCUBATOR. This manual for users
contains function and operation of the instrument. In order to use the instrument
properly, please read this manual carefully before using the instrument.

Please check the instrument and appendix with the packing list when you first
open the instrument packing case. If you find there is something wrong with
the instrument and the appendix, do contact the vendor or the producer.

Contents
Safety precautions ............................................................................................ 1
Package contents............................................................................................... 1
Structure description ........................................................................................ 2
Display............................................................................................................... 3
Specification ...................................................................................................... 3
Operation guide................................................................................................. 4
Temperature calibration ................................................................................... 6
Trouble shooting................................................................................................ 8
Maintenance and cleaning................................................................................ 8

1
Safety precautions
Caution
●Do not use voltage other than its designated voltage.
●Do not use AC adapter other than the attached AC adapter.
●The instrument should be put in the place of low temperature, little dust, no
water and no sun or strong lamp. What’s more, the place should be good
aeration, far away from flammable liquid or gas, central heating, camp stove
and other hot resource. Do not put the instrument in wet and dusty place.
●Do not open or repair the instrument.
●Do not touch the plug and the switch with wet hands.
●Do not use it when power supply cord was damaged.
Note
●Do not damage, process, bend forcibly, pull, twist or bundle the power supply.
●Do not drop it, knock it down, or give a high impact.
●Power off when you finish your work. Pull off the connector plug when there is
long time no use of the instrument and cover it with a cloth or plastic to prevent
from dust.
Package contents
Main unit
Incubator×1
Accessories
Thermal lid clear type×1
AC Adapter×1
Power cord×1
Tool kit×1
Operations manual×1

2
Block
Structure description
Power Switch
電源スイッチ
Power Connector
Slitting attachement
H8100
H8200
Display
Panel

3
Display
Specification
Model
ACE-Mini
Power supply
DC12V
Max Power
35 W
Average Power
5 W
Temperature range
RT+5℃~80℃
Timing range
0~99h59m
Accuracy of the
temperature
≦±0.5℃
Display accuracy
0.1℃
Heating time
(from 20℃to 80℃)
≦12min
Ambient temperature
5℃~35℃
Dimensions
(WxDxH)
110mm×150mm×110mm(with a lid)
Weight
0.5kg
P2 56.0℃12:30h
Process mode
処理中モード
Current temperature
Time
残り時間

4
Operation guide
This instrument can memorize a combination of temperature and the time as
nine programs. The program of the temperature and the time set beforehand is
memorized as P1, P2, ... P9.
Initial Setting
Program
Temp
Time
Applicable sterilization
P1
56.0℃
24:00h
Vapor, Hydrogen peroxide, LTSF,
Formalin
(Indicator bacteria:Geobacillus
stearothermophilus)
P2
56.0℃
48:00h
P3
56.0℃
0:00h
P4
35.0℃
24:00h
EO gas, dry-heat sterilization,
Formalin
(Indicator bacteria:Bacillus atrophaeus)
P5
35.0℃
48:00h
P6
35.0℃
0:00h
P7
37.0℃
24:00h
115℃Vapor
(Indicator bacteria:Bacillus subtilis)
P8
37.0℃
48:00h
P9
37.0℃
0:00h
Note:「 00:00h」→Time that has not been yet entered.
1. Switch it on and you hear a beep and see the
right display.
2. Then it shows ”P1”at the display. The right
example “35.5℃”is current temperature of
aluminum block. The instrument starts to heat
automatically. It shows “NOTOK”at the display.
3. Press “PROG.”key to select the program.
You can select P1, P2, ・・・P9. The temperature
of the instrument slowly starts to raise or
decline. When it reaches the target temperature,
you hear a beep and it shows “OK”at the
display.
P1 35.5℃NOTOK
System-Testing
P2 56.0℃OK

5
4. Insert ACE test®and close the lid. Press
“Start/Stop”key and the program start to count
down. You hear a beep and the sign “:”
flickers.
You can stop the program by doing a long
press “Start/Stop”key.
5. When the time reaches 0, you hear a long
beep and the display appears PROGRAM
END. P1 makes the sound once, P2 makes
twice…P9 makes nine times.
6. Press any key and you see the right display.
If you press “Start/Stop”key, the timer starts to
countdown again.
Control elements for temperature and time
Prog. →various programs show up
➡→select the program
△▽ →set the temperature and the time
It is saved automatically after 3 seconds.
P3 56.0℃00:00h
PROGRAM END
P2 56.0℃48:00h
P2 56.0℃OK

6
Temperature calibration
The temperature of the instrument has been calibrated before it is sold. But if
there is deviation between the actual temperature and the displayed
temperature due to some reasons, you can do as follows to correct the error.
The instrument uses double temperatures adjustment to ensure its veracity.
This means it is linearly calibrated on 40℃and 80℃two points. The
temperature veracity will be within ±0.5℃after the double temperature
adjustment. The circumstances should be lower than 35℃.
Note:The temperature of the instrument has been calibrated
before it is sold, so do not usually use calibration
function.
Calibration method
1. After the startup of the instrument, it enters waiting interface. Make sure the
temperature in display is below 35℃. If the temperature is higher than 35℃,
you should wait until the temperature is below 35℃.
2. Inject olefin oil into one of the cone-shaped wells, and then put a thermometer
into this well(make sure the precision of the thermometer should be within
0.1℃and the temperature ball should be absolutely immerged into the
cone-shaped well). Heat insulation material is needed on the block to
separate it from the circumstance (see below).
Adiabatic Board
断熱板
Thermometer
Mineral oil
Cone-shaped well
ウェル

7
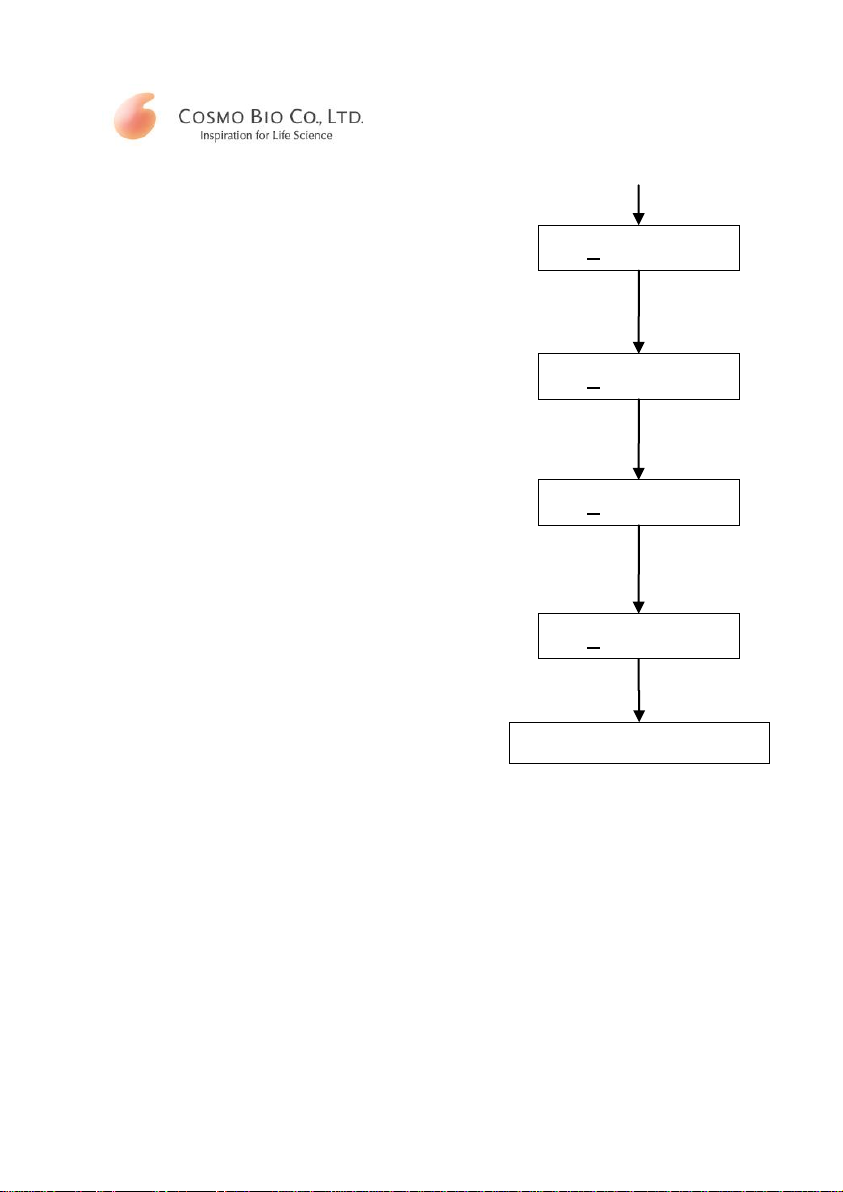
3. Press “△”and “▽”key simultaneously, and
the temperature rises to 40.0℃at once, and
at the same time the sign “*”flickers
ceaselessly. When the practical temperature
reaches 40.0℃, the sine “Adj”and “*”flicker
ceaselessly together.
4. When the actual temperature of thermometer
is 38.8℃after 20 minutes, then press “△”
or ”▽”key to amend the display value to 38.8,
then press “start”key to confirm. Then rise to
80.0℃automatically and “*”flickers
ceaselessly.
5. When the practical temperature reaches
80.0℃, the sign “ADJ”and “*”flicker
ceaselessly together.
6. When the actual temperature of thermometer
is 79.0℃after 20 minutes, then press “△”
or ”▽”key to amend the display value to 79.0,
then press “Start/Stop”key to confirm.
7. Then the screen returns to the display as the
right chart.
Note:
1) Start calibration 20 minutes after the temperature reaches 40℃( or 80℃), and
the sign “Adj”and “*”flicker ceaselessly together.
2) If you press ”△”and “▽”key simultaneously during Temperature calibration,
the calibration will be canceled. The system keeps the former calibration.
40.0Adj
38.8 Adj
80.0 Adj
79.0 Adj
P1 74.5℃NOTOK
「▽」
「Start/Stop」
「▽」
「Start/Stop」

8
Troubleshooting
Error
Cause
Solution
No display
No main power connection
Plug in mains cable on both
sides.
Check the mains fuse.
Power failure
Contact service.
Controller failure
Contact service.
“OPEN”in the display with a
beeping sound
Broken sensor or loose
contact of the module
Contact service.
“SHO”in the display with a
beeping sound
The sensor is short
Contact service.
No heating of the block
Heater failure
Contact service.
Press invalid
Keyboard failure
Contact service.
Maintenance and cleaning
The well in the block should be cleaned by the cloth stained with alcohol to
assure good heat translation between the block and the test tube and no
pollution. If there are smutches on the instrument, clean them with cloth.

9
Manufacturer
Distributor
This manual suits for next models
2
Table of contents