Cowfish Technologies VanPlayer User manual


Page 2
PREFACE AND COPYRIGHT
Cowsh Technologies Pty Ltd reserves the right to revise this publication
and to make changes in the content hereof without obligation to notify any
person or organization of such revisions or changes.
Manual Revision V1.1
Cowsh Technologies and the Cowsh logo are trademarks or registered
trademarks of Cowsh Technologies Pty Ltd in Australia. VanPlayer and
the VanPlayer logo are trademarks or registered trademarks of Cowsh
Technologies Pty Ltd in Australia. All other company or product names
mentioned herein are trademarks or registered trademarks of their respective
companies.
Copyright © 2021 Cowsh Technologies Pty Ltd.
All rights reserved. This publication may not be reproduced, in whole or in
part, without prior expressed written permission from Cowsh Technologies
Pty Ltd.
Page 2
Table of Contents
PREFACE AND COPYRIGHT 2
PACKAGE CONTENTS 4
INTRODUCTION 5
PRECAUTIONS BEFORE USE 8
INSTALLATION 8
CONFIGURATION 9
FIRST START 15
CONNECT TO YOUR GOOGLE ACCOUNT 20
PRE-INSTALLED APPLICATIONS 21
INSTALLING ADDITIONAL APPLICATIONS 26
ADVANCED OPTIONS 29
FACTORY RESET DEVICE 30
FREQUENTLY ASKED QUESTIONS 31
TROUBLESHOOTING 34
TECHNICAL SPECIFICATIONS 35
PRODUCT WARRANTY 36
Page 3
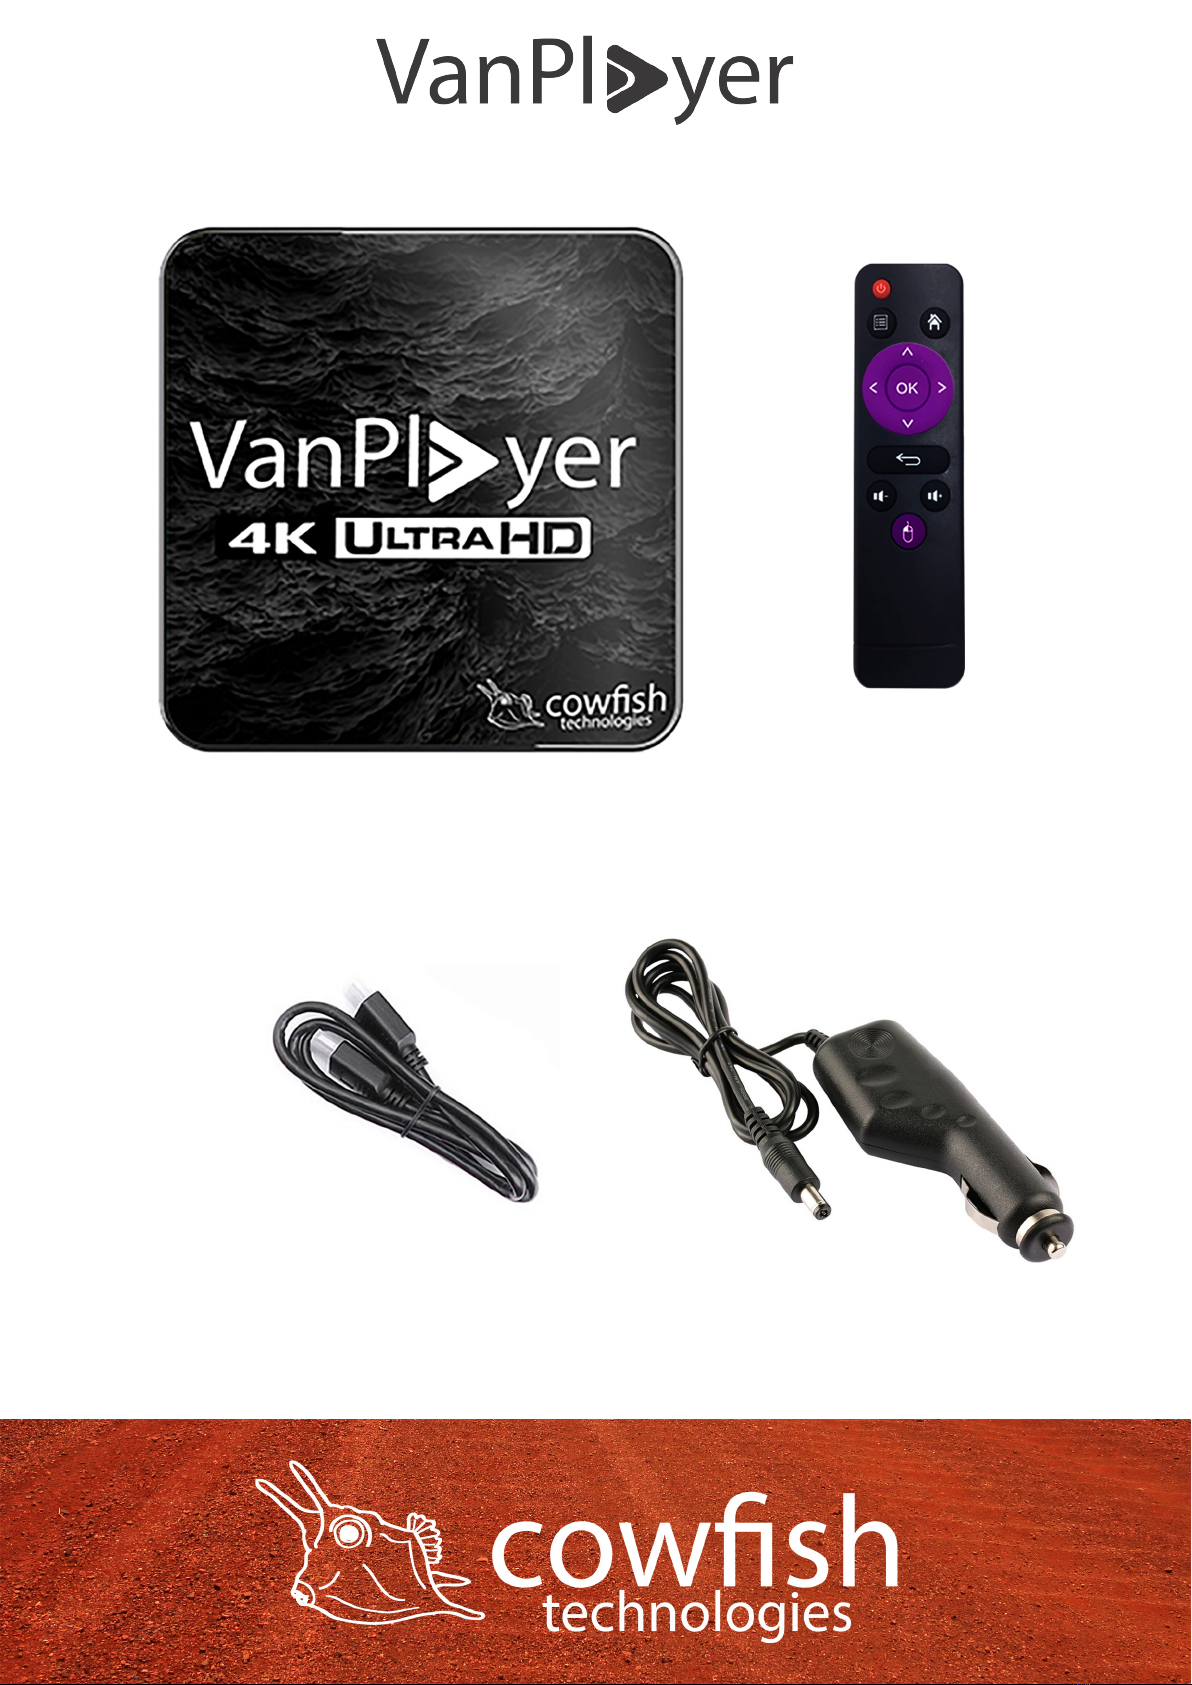
PACKAGE CONTENTS
Page 4
HDMI cable
Remote
VanPlayer Console
12V Power cable

INTRODUCTION
The Cowsh VanPlayer turns your caravan TV into a full blown Media Player.
Powered by Android TV, the VanPlayer gives your TV the smarts to connect
to the internet and stream your favourite content from Netix, YouTube and
other online streaming providers. Connect the VanPlayer to your WiFi network
and stream all your favourite content whilst on the road.
Through Netix and other streaming services, you also have the option to
download movies and TV shows onto your device so that you can watch them
at a later stage. Simply download your favourite content when the caravan is
sitting on your driveway and you can watch your movies and shows later in
your trip, even when you do not have any internet.
You can also play movies and music from a USB storage device directly
plugged into the VanPlayer, or even stream it over your wireless network with
the Cowsh VanConnect system.
With the Google Play Store pre-installed you are able to download your
favourite 2D and retro games and turn the VanPlayer into a lightweight
Gaming System. Ideal for keeping you and the kids entertained on those rainy
days.
Page 5

Page 6
HARDWARE OVERVIEW

IMPORTANT
Some apps on the Google Play store have not been optimised for Android TV.
If you are having trouble navigating through an app using the D-pad (arrow
keys), please change to mouse mode and navigate through the app that
way.
Note: the volume buttons on the VanPlayer are to increase or decrease the
volume level on the VanPlayer unit, not the volume level on your TV. The
VanPlayer comes standard with the volume set to medium. Use the VanPlayer
remote to set the volume of the VanPlayer to your desired level. If you unable
to hear any sound, please check the volume setting of the VanPlayer AND the
volume setting of your TV, as these are separate.
The VanPlayer remote is an IR (infrared) remote controller. Point the remote
to the VanPlayer to use the remote controller. The VanPlayer has a sensor
located at the front of the unit behind a window.
Page 7

PRECAUTIONS BEFORE USE
To prevent re, electric shock and damage to the product, please do not let
the unit come into contact with rain, moisture or other liquids.
To ensure good ventilation and cooling, please do not put the unit in a
conned space. Keep the unit in a well ventilated place to prevent the unit
from overheating and potential re or electric shock. Do not open the unit up.
Unplug the power cord before cleaning the unit. Use a slightly damp rag to
clean the unit. Do not use liquid detergents or solvents.
INSTALLATION
1. Connect one end of the HDMI cable to the HDMI output interface of the
VanPlayer, and the other end to the HDMI input interface of the HD TV.
2. Turn on the TV and select HDMI as “source”.
3. Connect the VanPlayer to power. After a few seconds you will see the
startup screen.
If you cannot see the startup screen, please wait 2 minutes until the startup
nishes and press ‘Source’, ‘Input’ or ‘Display’ on your TV remote to switch
to HDMI input. If there is still no image, please check the connection of the
HDMI cable and the video input port of the television.
Note: please aim at the receiving window when operating the remote control.
The HDMI connection can output sound and video at the same time, without
the need for an additional audio cable. If your HD TV does not support this
function you can use the AV connection for audio to the TV, or use this to
connect the VanPlayer to an external amplier like a Fusion system or similar.
Page 8
CONFIGURATION
The rst time you start the VanPlayer you will be greeted with a setup screen.
Follow the steps to set the device language, calibrate the screen size and
connect the VanPlayer to your WiFi network.
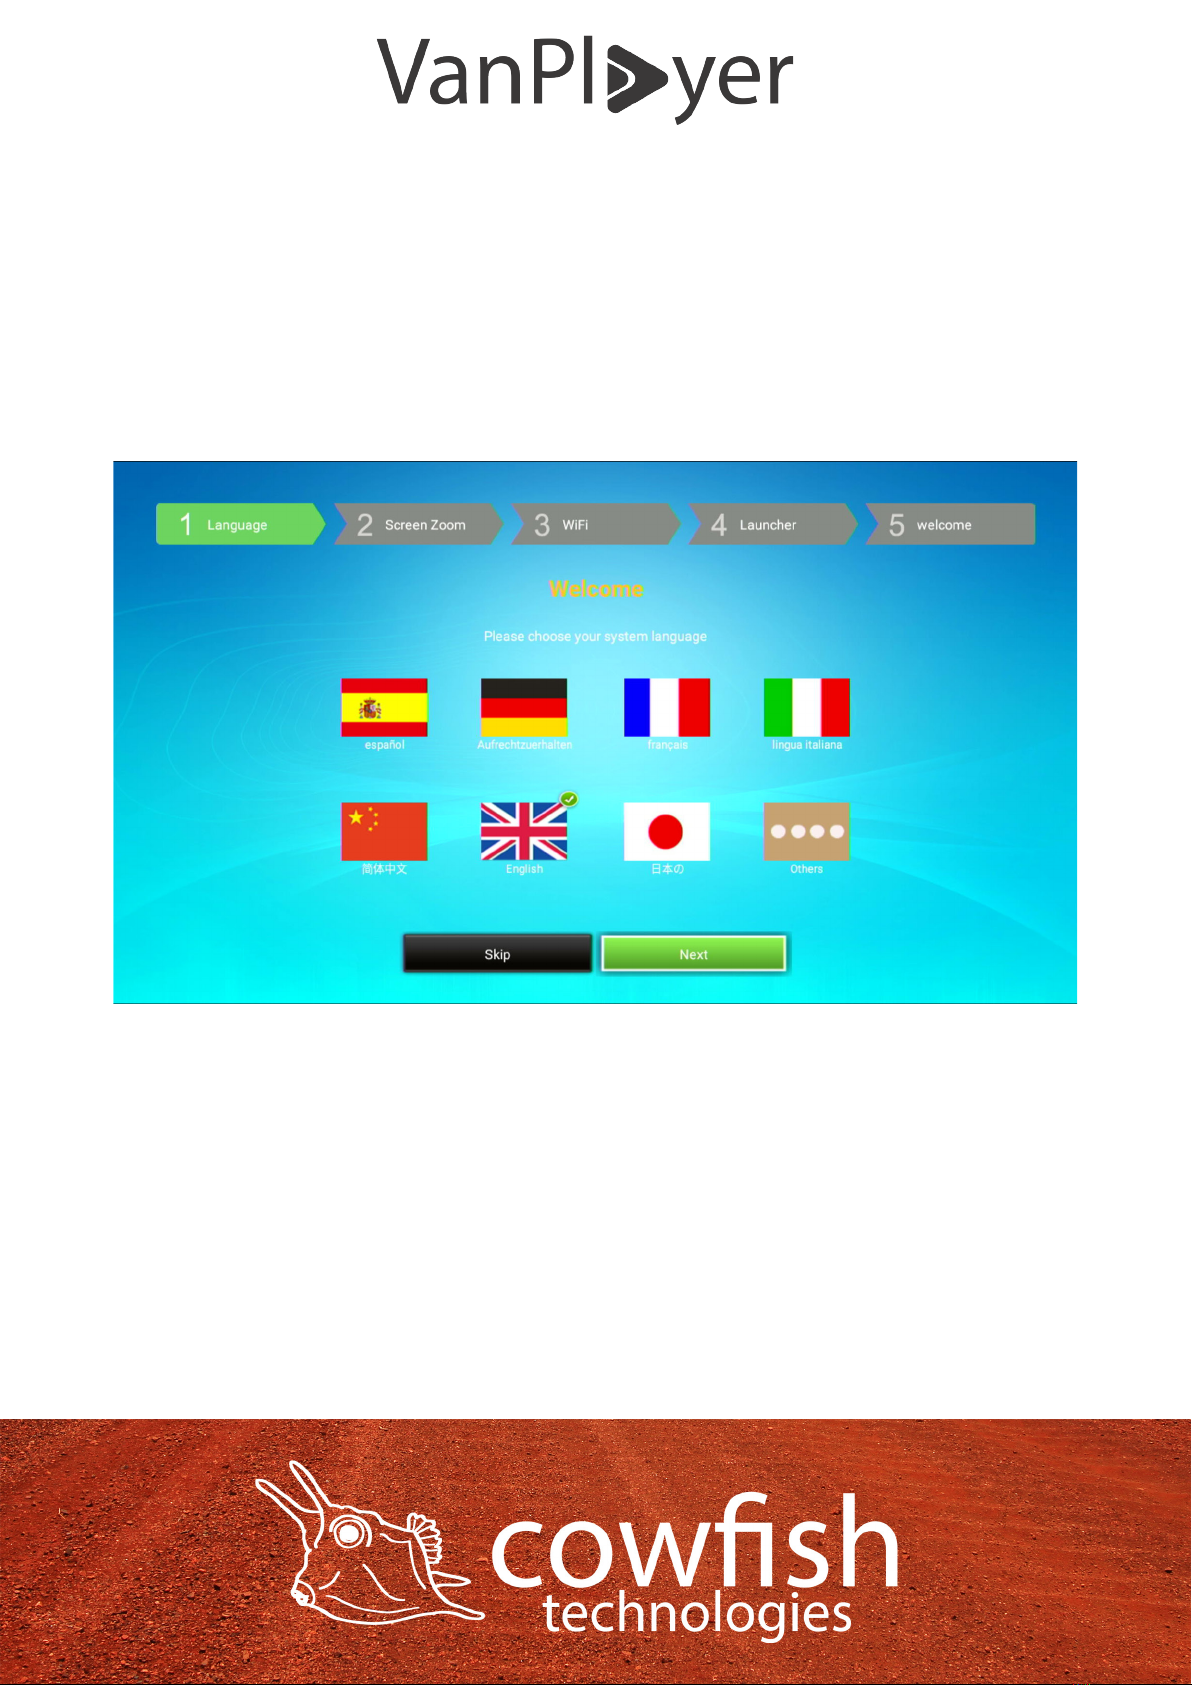
STEP 1
Select your preferred language and select ‘NEXT’.
Page 9
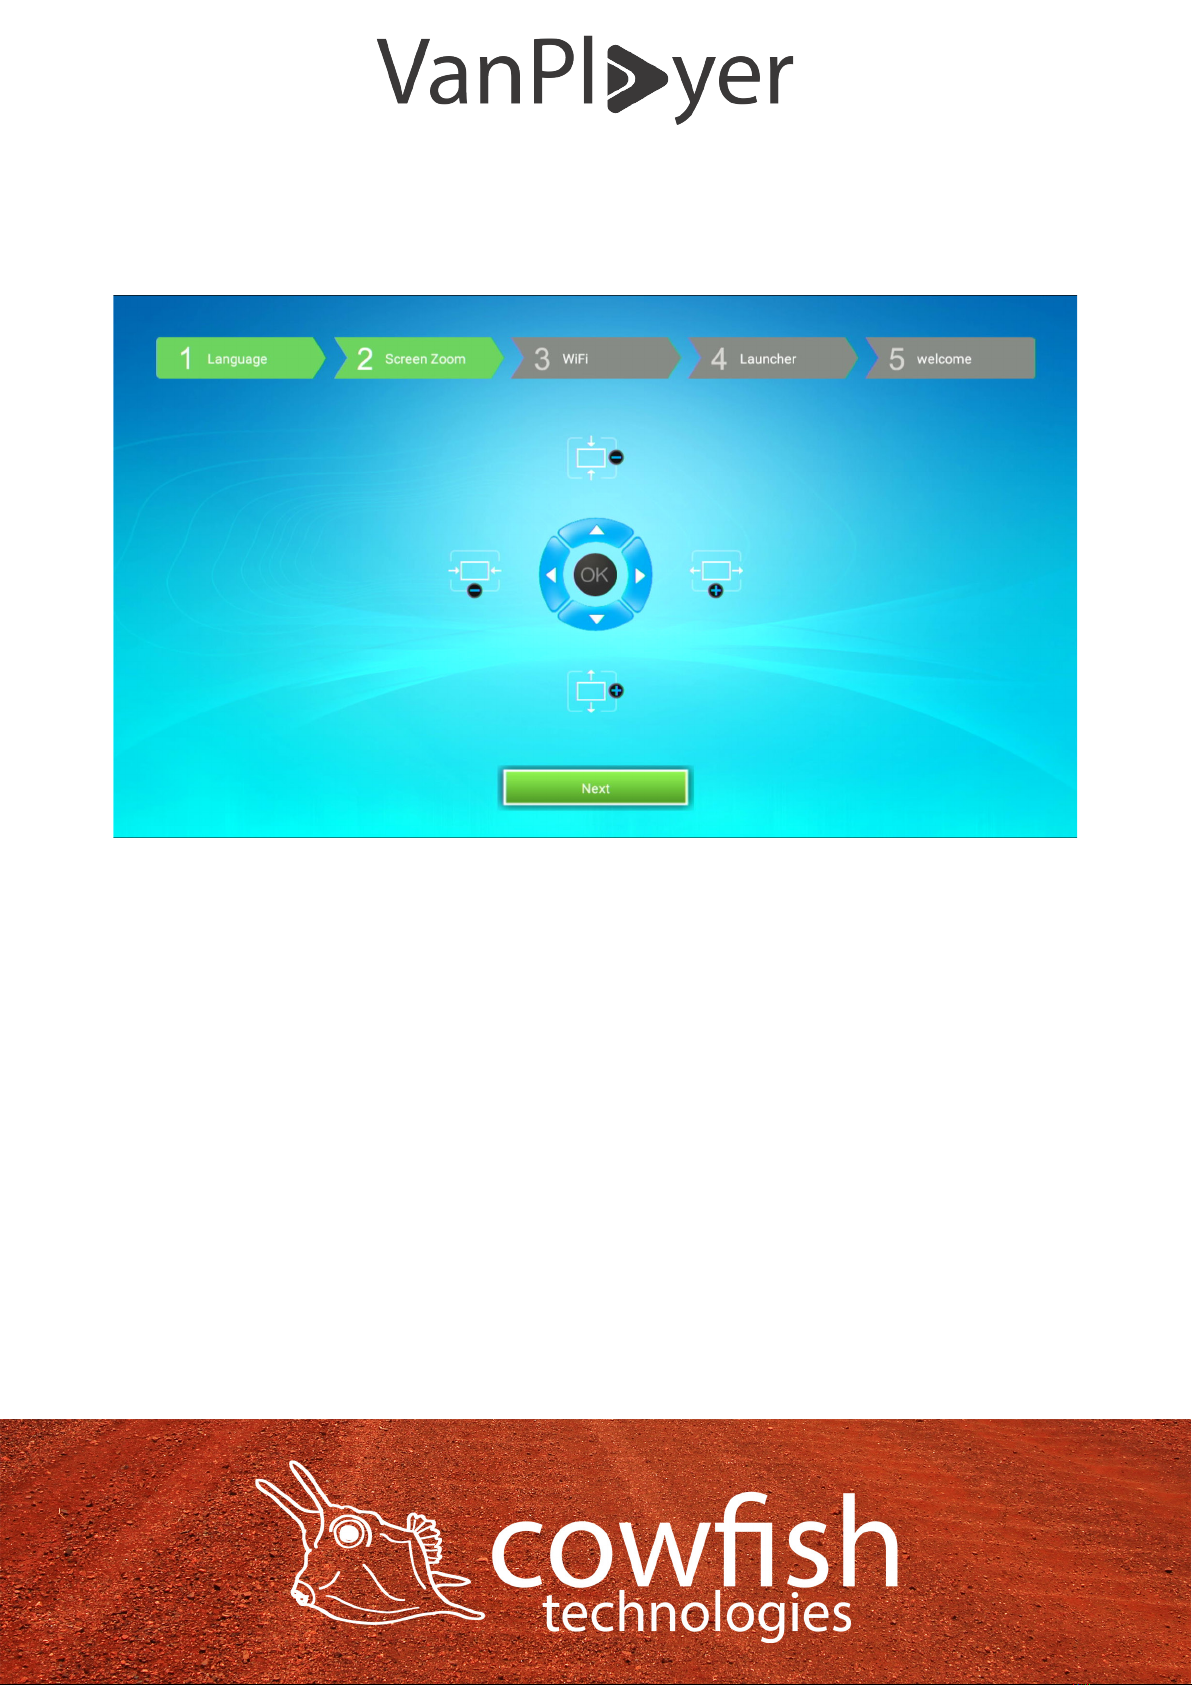
STEP 2
Use the arrow keys on your VanPlayer remote to calibrate the screen
dimensions to suit your television screen. This is only required if the VanPlayer
does not automatically detect your television screen size and resolution.
STEP 3
Connect to your WiFi network. The VanPlayer will automatically search for all
nearby WiFi networks and present a list of available networks.
Select your WiFi network with the arrow keys on your VanPlayer remote and
select ‘OK’.
Page 10
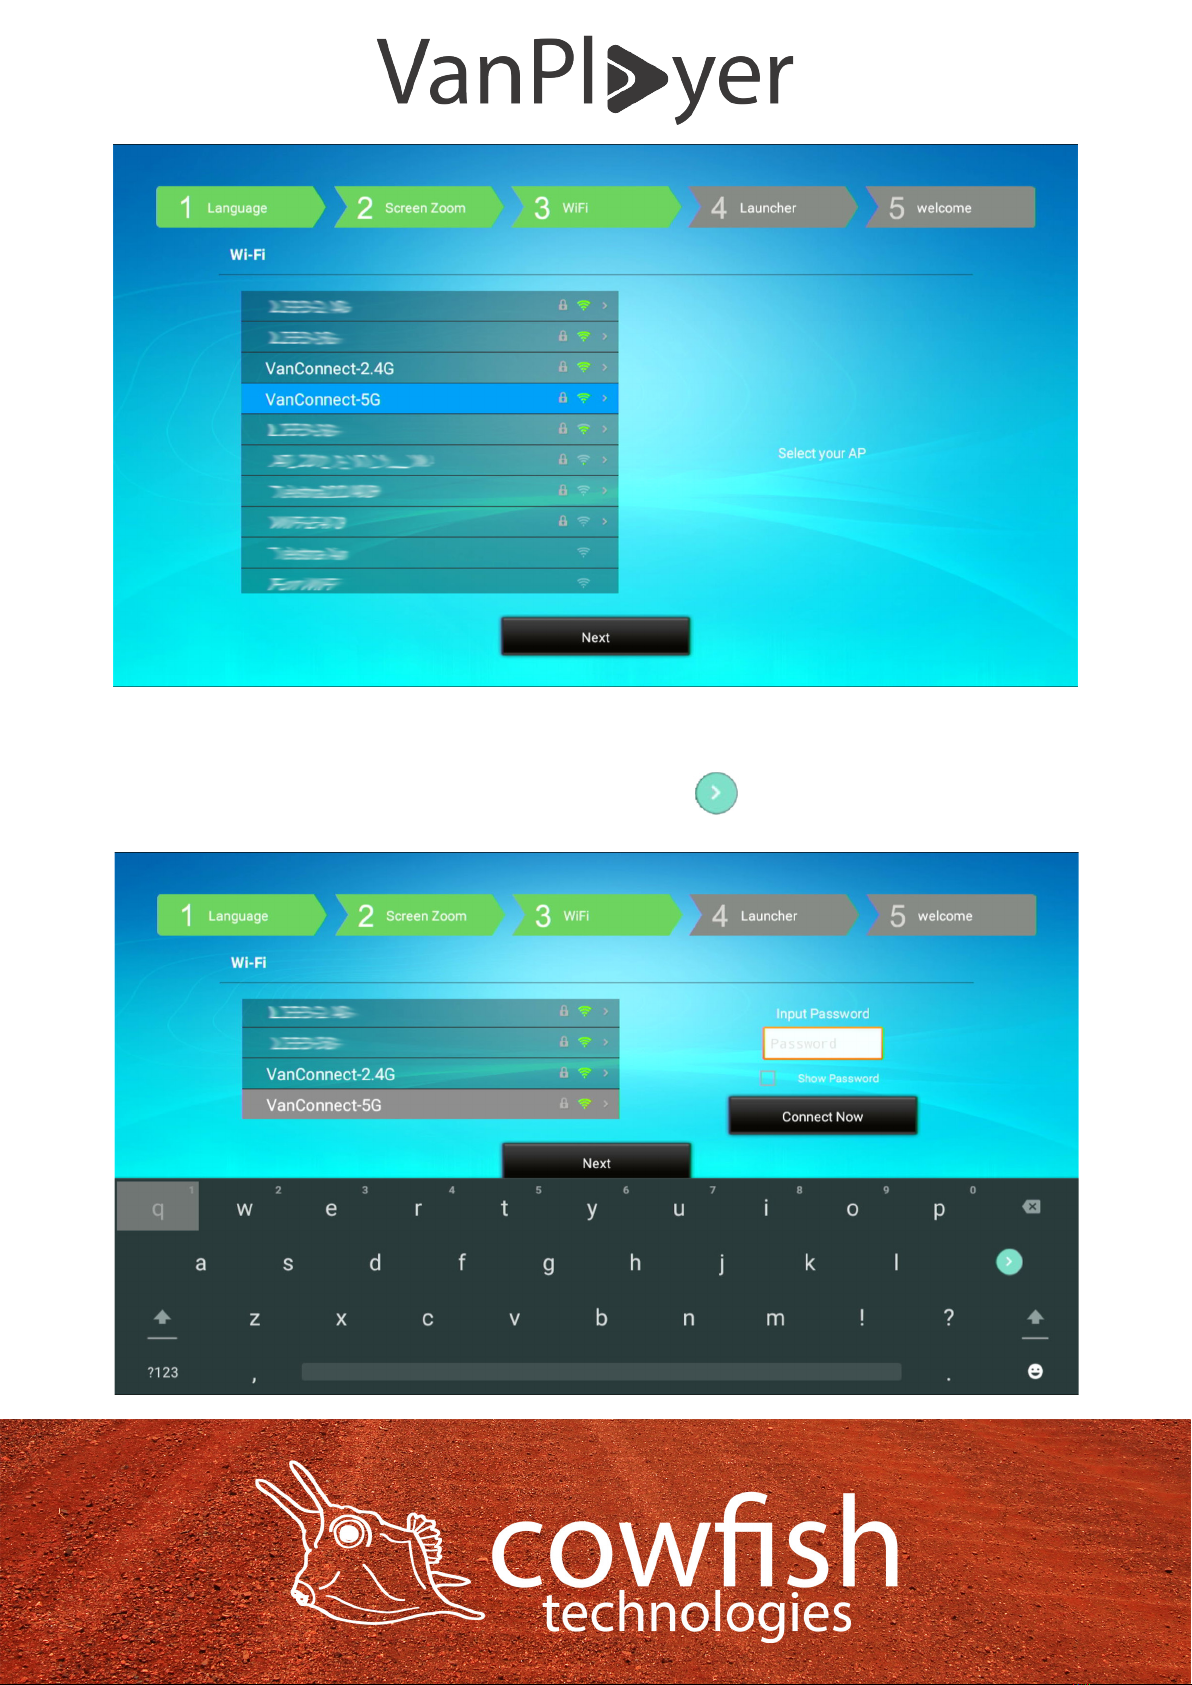
You will be prompted to enter your WiFi password. Enter the password using
the on-screen keyboard, click on the enter key and then select ‘Connect
Now’.
Page 11
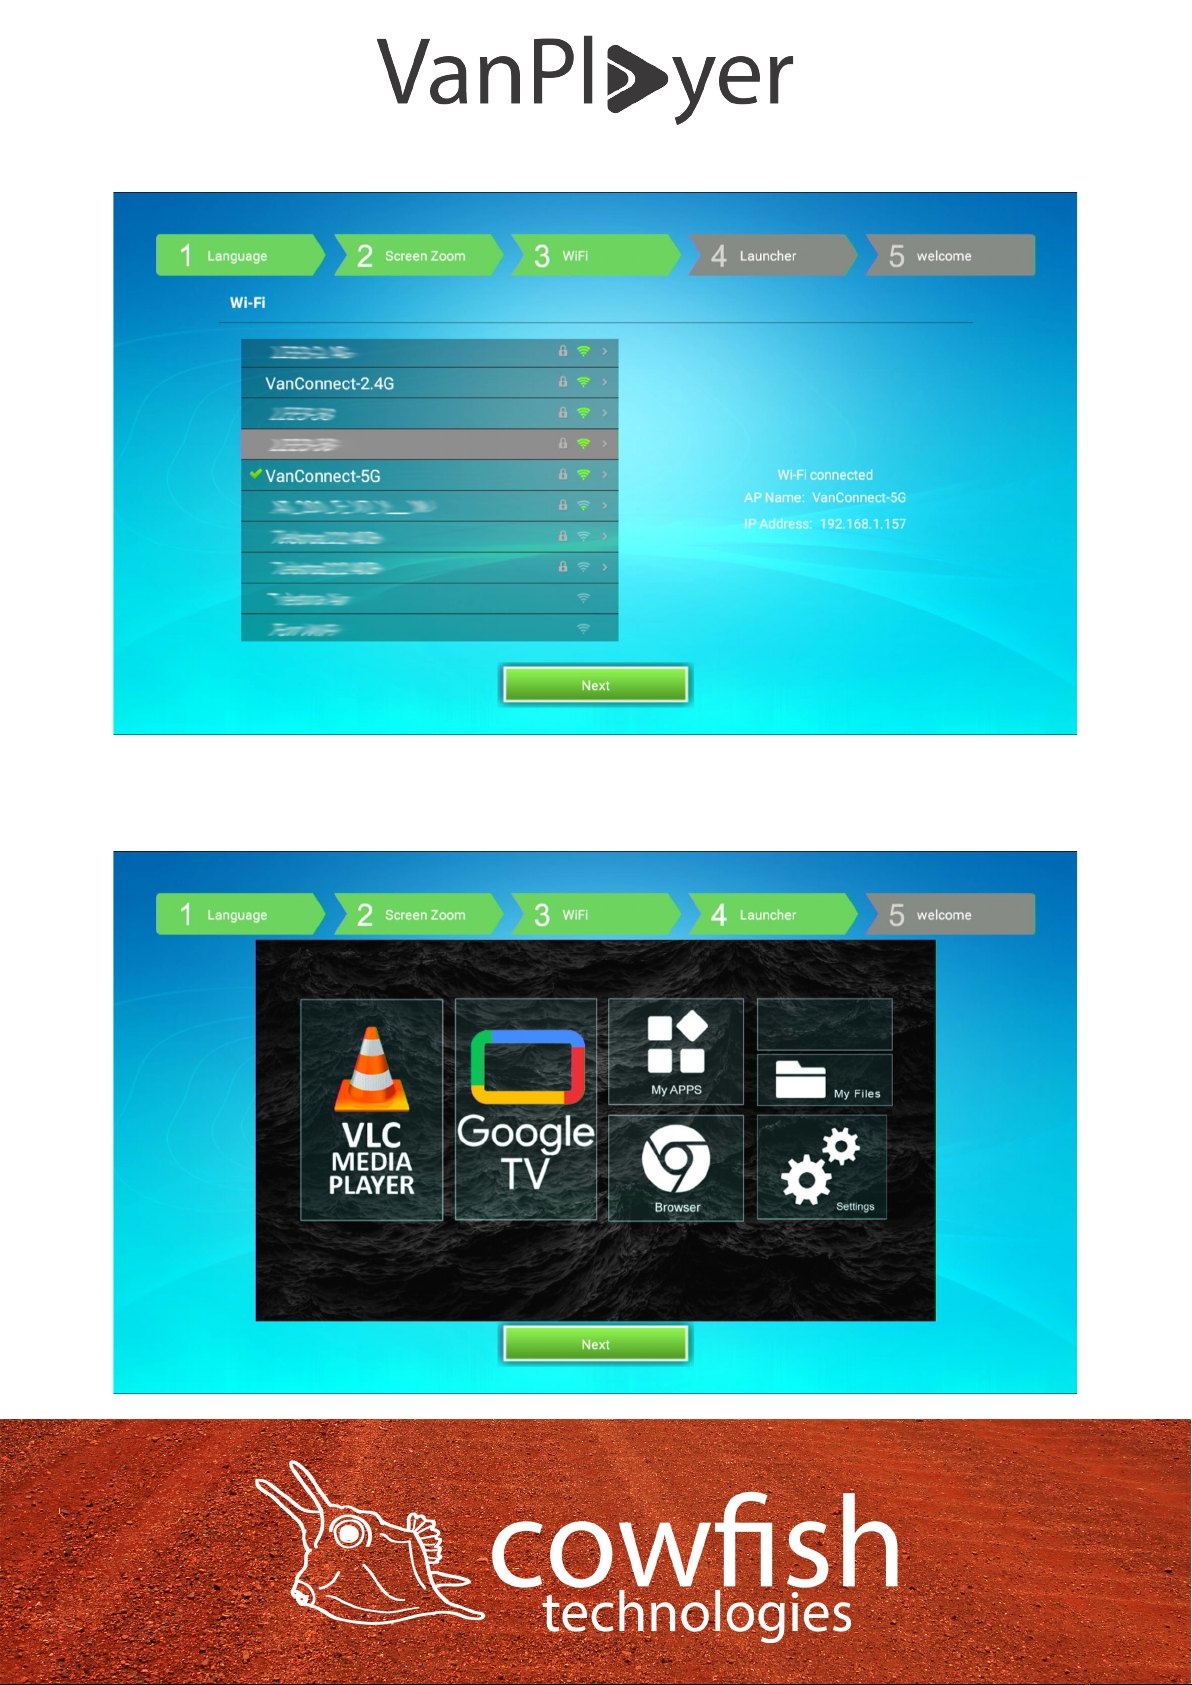
After you have succesfully connected to your WiFi network select ‘Next’.
STEP 4
Conrm the launcher by selecting ‘Next’.
Page 12
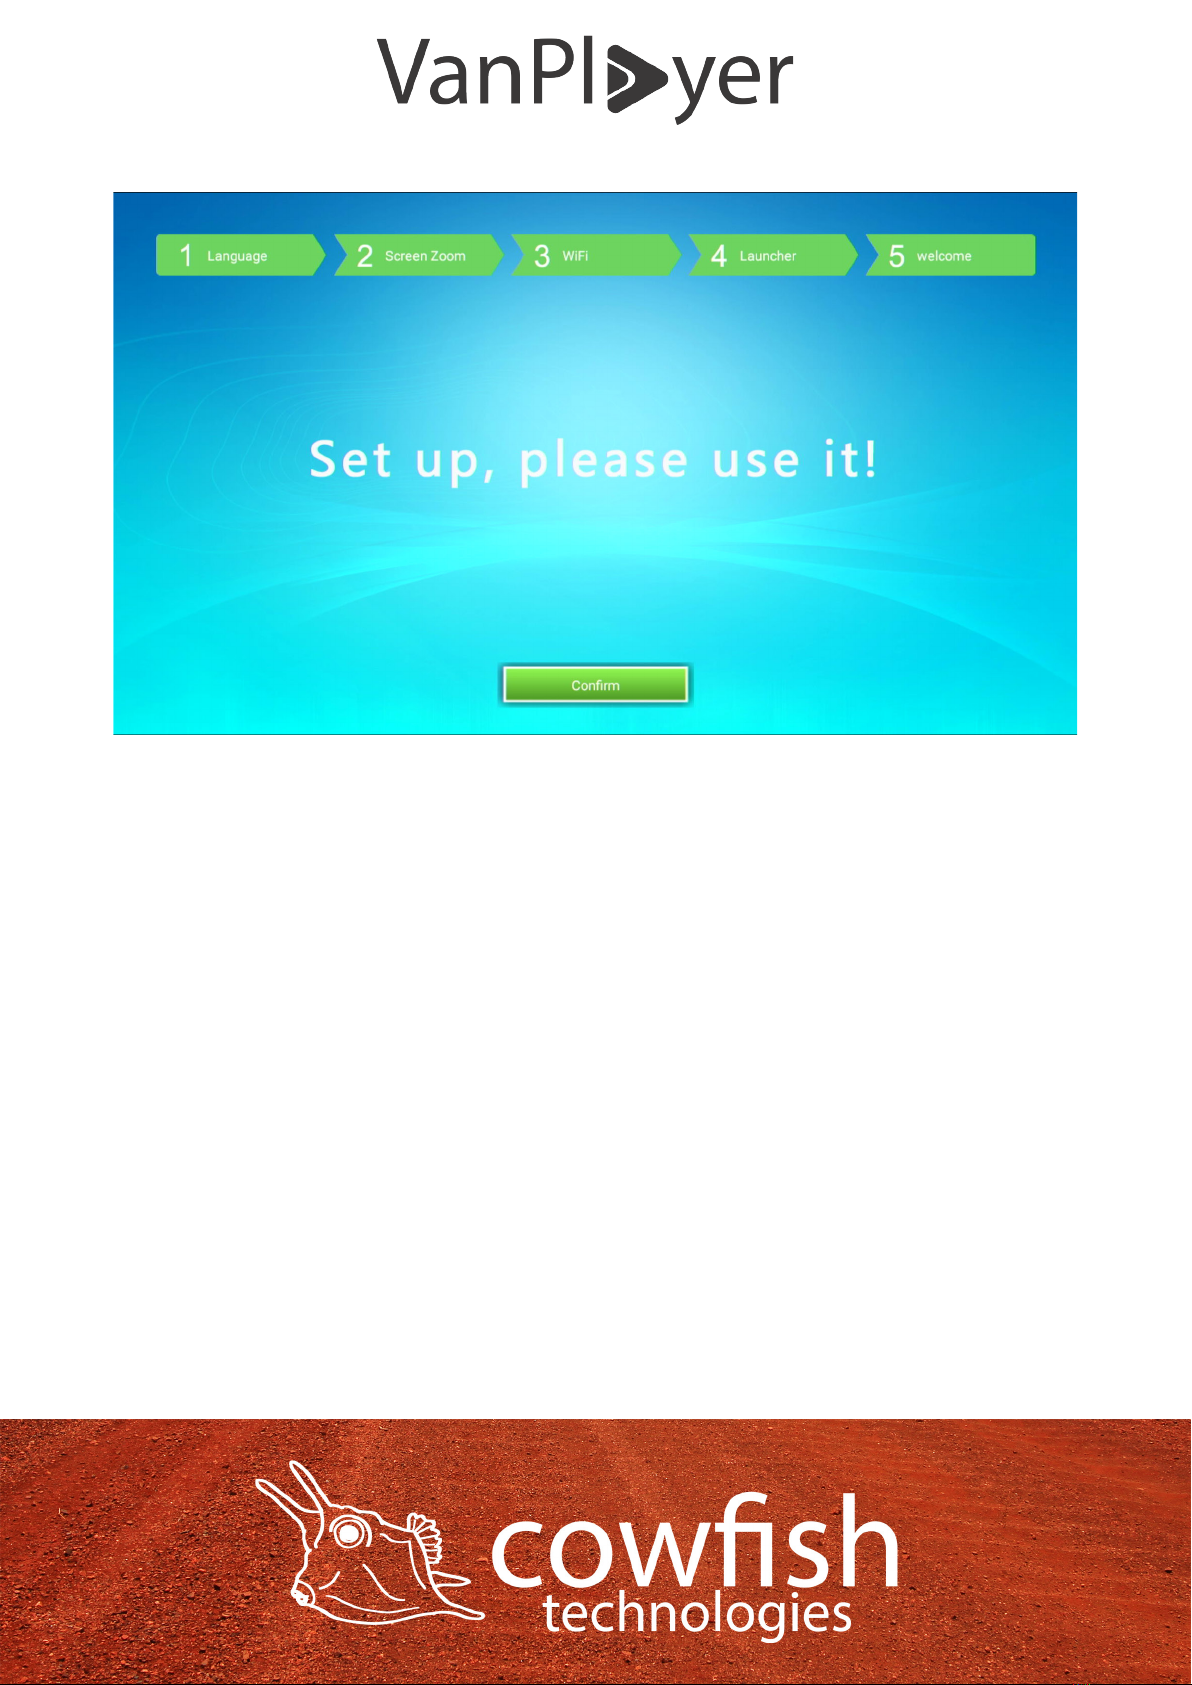
You have now completed the setup wizard for your VanPlayer.
Page 13
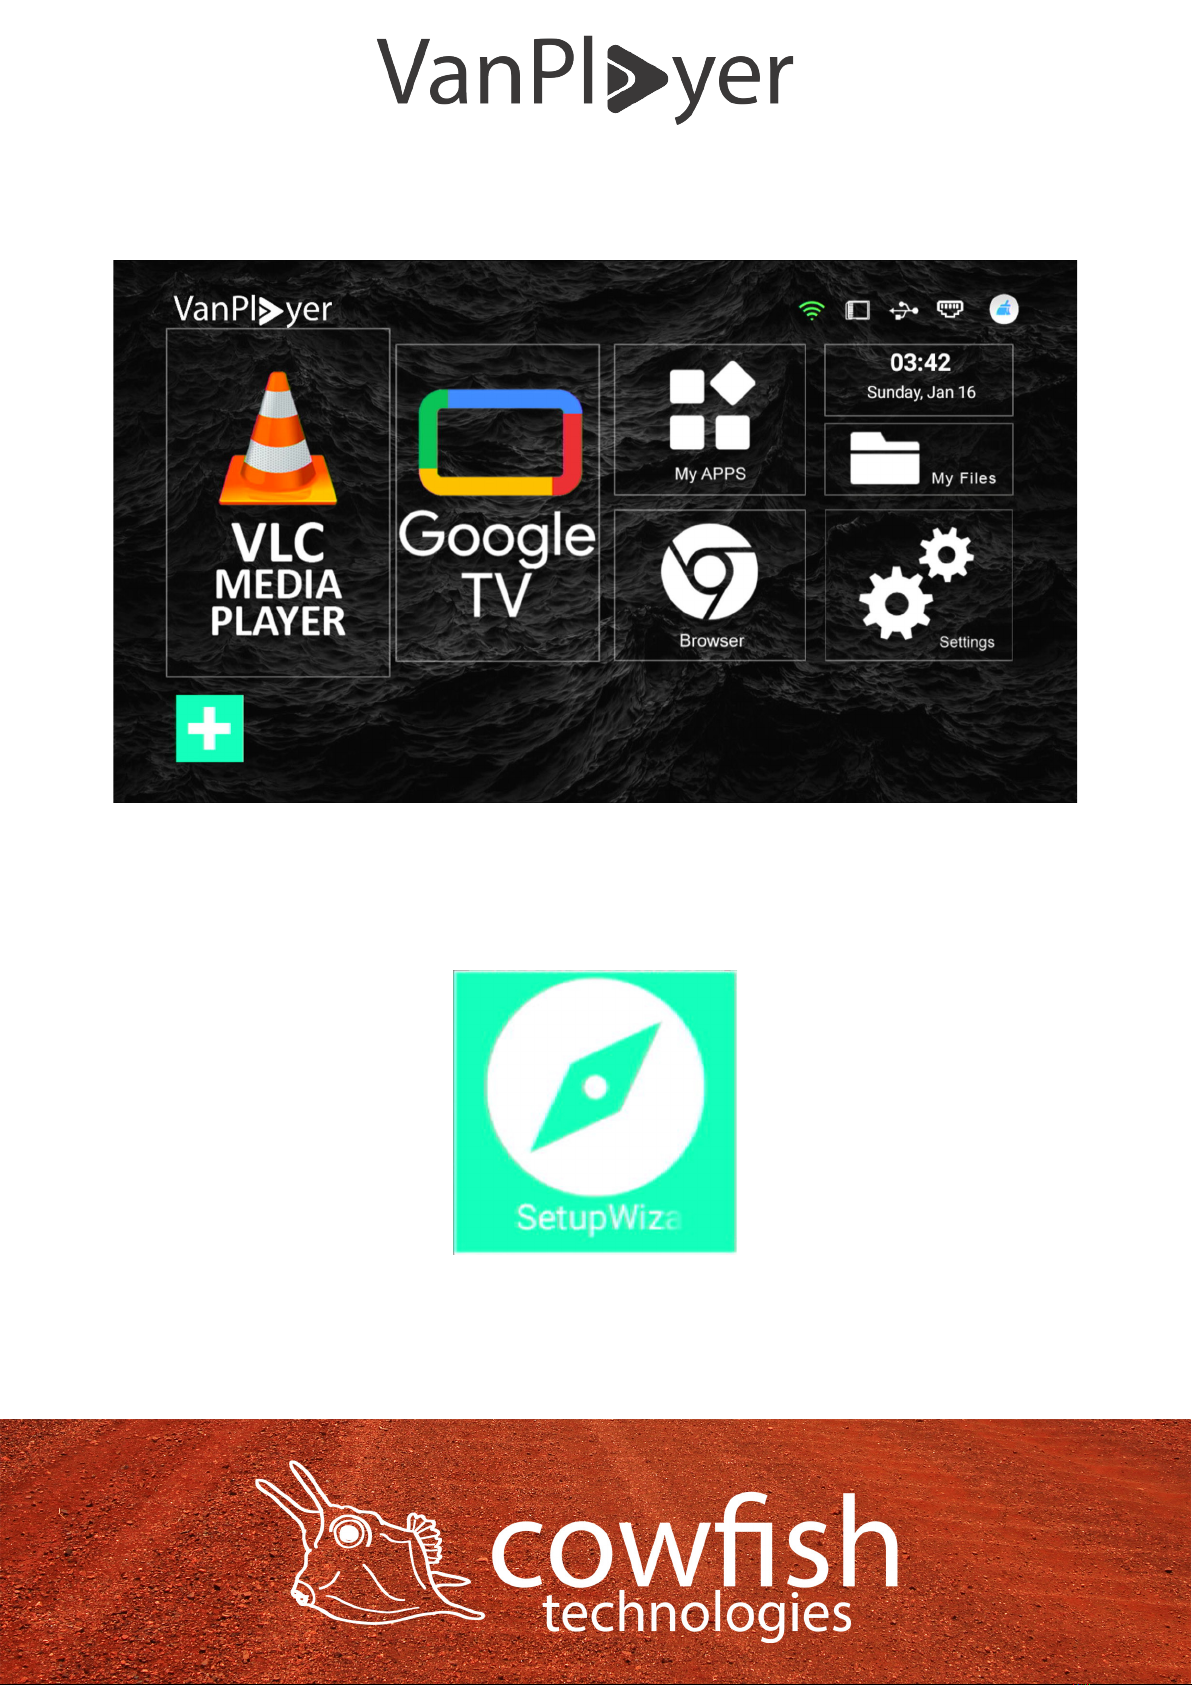
After completing the initial setup, you will be presented with the VanPlayer
launch screen. This is your normal start screen and will appear each time you
start the VanPlayer.
Should you wish to change the screen alignment at a later stage, or connect
to a different WiFi network, simply launch the setup wizard again by selecting
the ‘SetupWizard’ from ‘My Apps’.
Alternatively you can use the ‘Settings’ menu on the launch screen and
navigate to ‘Device Preferences’ to change a setting on the VanPlayer.
Page 14

Page 14
FIRST START
When you power on your VanPlayer you are presented with the launch
screen. From here you can launch VLC Media Player and Google TV, go to
your Apps, go to the device Settings, go the Files stored on the device, launch
the web browser or launch any shortcut of your favourite app.
The rst time your VanPlayer starts up it will install and verify the pre-loaded
applications. It takes up to 2 minutes for the VanPlayer to complete this on
rst boot.
Page 15

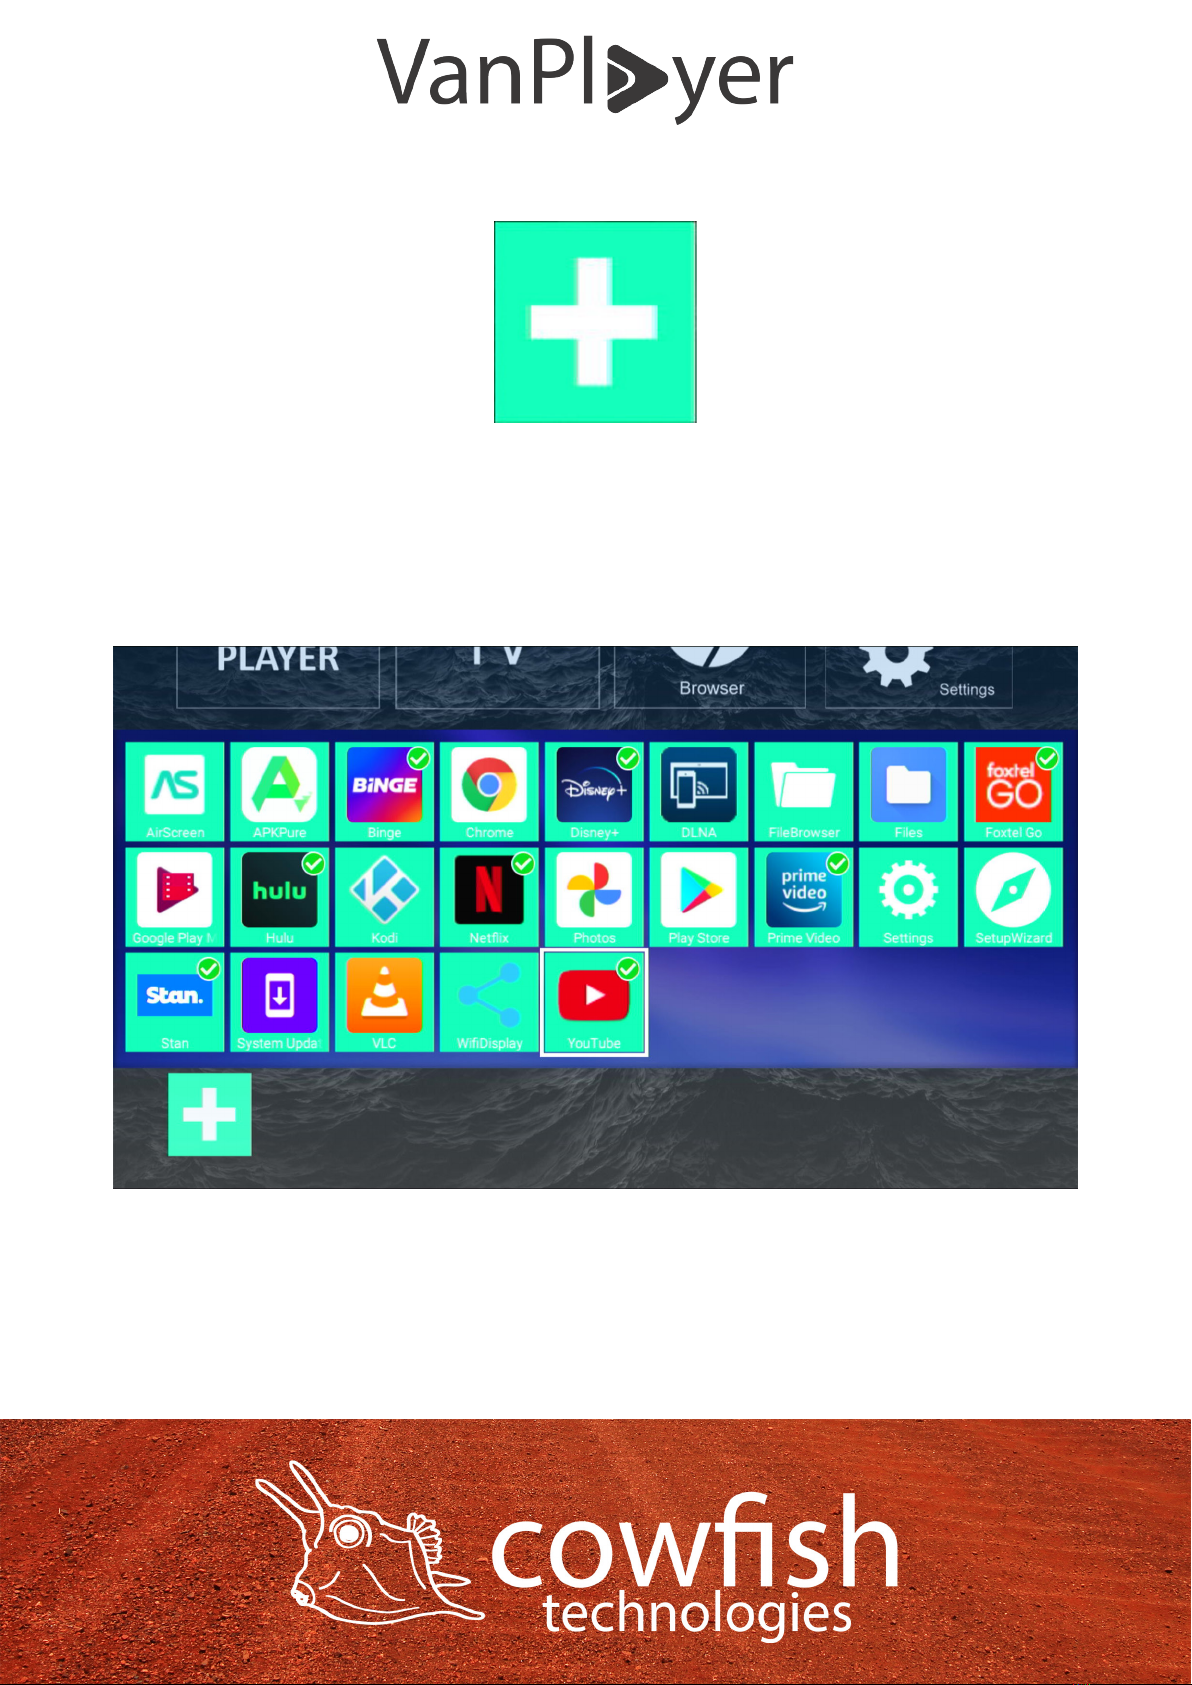
Selecting the ‘My App’ section on the home screen will give you a list of all
the installed applications on your VanPlayer.
Your VanPlayer comes with 24 pre-installed apps, consisting of online
streaming services, media players, le browsers and screen casting apps. Apps
and games that you install through the Google Play Store will automatically
appear in this list.
Page 16
You are able to customise the launch screen of your VanPlayer and add
shortcuts to your favourite apps.
Select the ‘Add shortcut’ icon and you will be presented with a list of all
installed apps on your VanPlayer.
Navigate through your apps with the D pad and select any app you wish to
add to your shortcut list with the ‘OK’ button.
Page 17

When you are nished selecting your apps, press the ‘Return’ button and your
apps will be loaded to the shortcut bar on the Launch screen.
Page 18

The launch screen also provides you with information as to the status of
the WiFi connection, SD card connection, USB device connection and LAN
connection. When a connection has been established, the corresponding icon
will turn green.
The rst time you insert a USB drive or a SD card, the VanPlayer will create the
following le structure on your storage device:
The last icon on the status bar is used to free up system memory on your
VanPlayer. This feature will close all unused apps in order to free up system
memory on the device. This can be useful if you have opened up a lot of
applications and you are noticing a slowdown of the device when starting a
new application.
Page 19

CONNECT TO YOUR GOOGLE ACCOUNT
In order to use the Google Play store, Google Photos and other applications
from the Google ecosystem, you will have to connect the VanPlayer to your
Google account.
When selecting a Google application, you will be presented with a Google
login screen. Depending on the selected app, you will have to use the mouse
mode to start the login process.
1. Enter your current email address and click Next.
2. Enter your password and click Next.
Alternatively, you can go to the ‘Settings’ menu on the launch screen. Then
select ‘Accounts & sign-in’ from the options and follow the prompts on
screen.
1. If you haven’t already, set up a Google account (see below).
2. Open your device’s ‘Settings’ menu.
3. Tap ‘Accounts & sign-in’.
4. Follow the instructions to add your account.
5. If needed, repeat steps to add multiple accounts.
If you do not have a Google account, you will have to create one to access
the Google Play Store. Please follow the below steps to create a new Google
Account.
Tip: You don’t need a Gmail address to create a Google Account. You can use
your non-Gmail email address to create one instead.
Create an account with a new G-mail e-mail address.
1. Go to the Google account Sign In page.
2. Click Create account.
3. Enter your name.
4. In the “Username” eld, enter a username.
5. Enter and conrm your password.
6. Click Next.
7. Optional: Add and verify a phone number for your account.
8. Click Next.
Page 20
Table of contents


