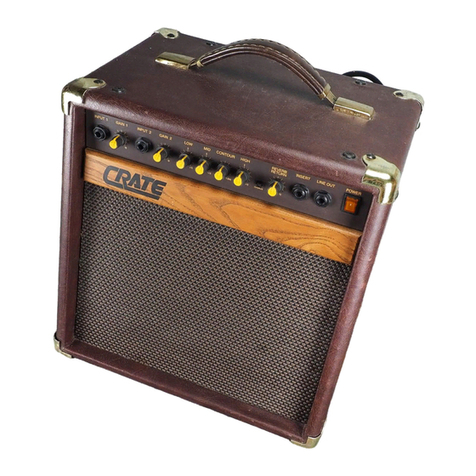
1: INPUT: Connect your guitar here using a
shielded instrument cable.
OVERDRIVE CHANNEL: A high gain chan-
nel giving you sounds from a slight edge to
serious overdrive.
2: GAIN: This control sets the amount of
compression and distortion from the amplifi-
er. With the control towards far left, the
sound will have a thick compressed quality.
As you turn the control to the right the
amount of distortion increases. Crate’s
exclusive “Flex-Wave” circuitry uses sequen-
tial cascading gains to deliver distortion
which is rich in harmonics and “touch sensi-
tive.” Use this control along with the Level
(#3) to create a wide variety of sounds.
3: LEVEL: This control sets the output vol-
ume level from the Overdrive channel: in the
far left position there will be no output; as you
turn the control to the right the output
increases. Use this control along with the
Gain control (#2) to create a wide variety of
sounds.
4: OVERDRIVE SELECT: When this push-
button switch is pressed in the Overdrive
channel is engaged. The clean channel is
selected when this switch is out.
CLEAN CHANNEL: A normal gain channel
designed to give you crystal clear sounds to
medium distortion.
5: LEVEL: This control sets the output vol-
ume level from the Clean channel: in the far-
left position there will be no output; as you
turn the control to the right the output level
increases. The far right setting is maximum
output - as you increase the level, roll back
the Low control (#6).
EQUALIZATION
6: LOW: Adjust the low frequency output
level with this control: turning the control to
the left reduces the low frequency output;
turning it to the right increases the low fre-
quency output. The Low control allows a
total range of 25dB of boost or cut at 80Hz.
Due to the massive amount of low end avail-
able, you may want to “roll off” the bass at
high volumes.
7: MID: Adjust the mid frequency output
level with this control: the center position is
“flat” (no boost or cut). Turning the control to
the left reduces the midrange output; turning
it to the right increases the midrange output.
The Mid control allows for 19dB of boost or
cut at 900Hz.
8: HIGH: Adjust the high frequency output
level with this control: in the center position
the high frequency output will be “flat” (no
boost or cut). Turning the control to the left
reduces the high frequency output; turning it
to the right increases the high frequency out-
put. The High control allows a total range of
23dB of boost or cut at 5kHz.
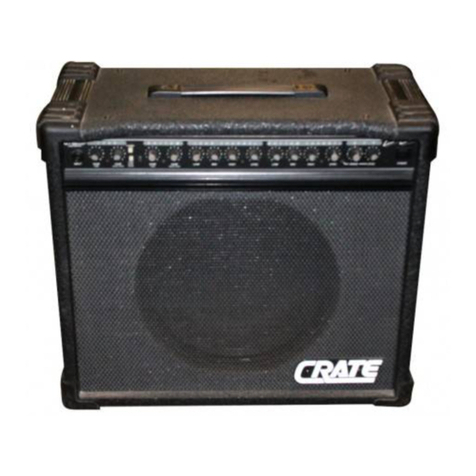
GFX-15 Amplifier
9: DSP MODE: Select the type of digital
effect(s) desired with this control. Each cat-
egory and its central location is called out
(delay, flange, etc.) by the markings around
the control, with variations, as follows:
• Bypass (DSP off)
• Slapback delay
• Long delay w/regeneration
• Flange
• Slow Chorus
• Fast Chorus
• Chorus w/small room reverb
• Small room reverb
• Large room reverb
10: HEADPHONES: For private practice
sessions, plug a pair of stereo headphones
into this jack. The internal speaker is discon-
nected whenever headphones are being
used.
11: EXTERNAL SPEAKER*: You may con-
nect the GFX-15 to an external speaker with
a rated impedance of at least 4 ohms using
this jack. The internal speaker is disconnect-
ed whenever an external speaker is used.
12: ON LED: The on LED will glow when
you turn on the GFX-15, showing you that
the amplifier is activated and ready to play.
13: POWER: This heavy-duty rocker-type
switch is used to turn the amplifier ON in the
up position, off in the down position. The ON
LED (#12) works with this switch as a visual
indicator.
14: POWER CORD: (Rear panel, not
shown: This heavy-duty, grounded, three-
wire power cord is to be plugged into ONLY
a safely-wired, grounded 120 volt, 60 cycle
AC power outlet. DO NOT attempt to defeat
the ground connection of this cable! If your
GFX-15 was purchased outside the United
States, see the unit’s rear panel for its power
rating and follow the above guidelines.
