Crutchfield 000SPKRIG User manual
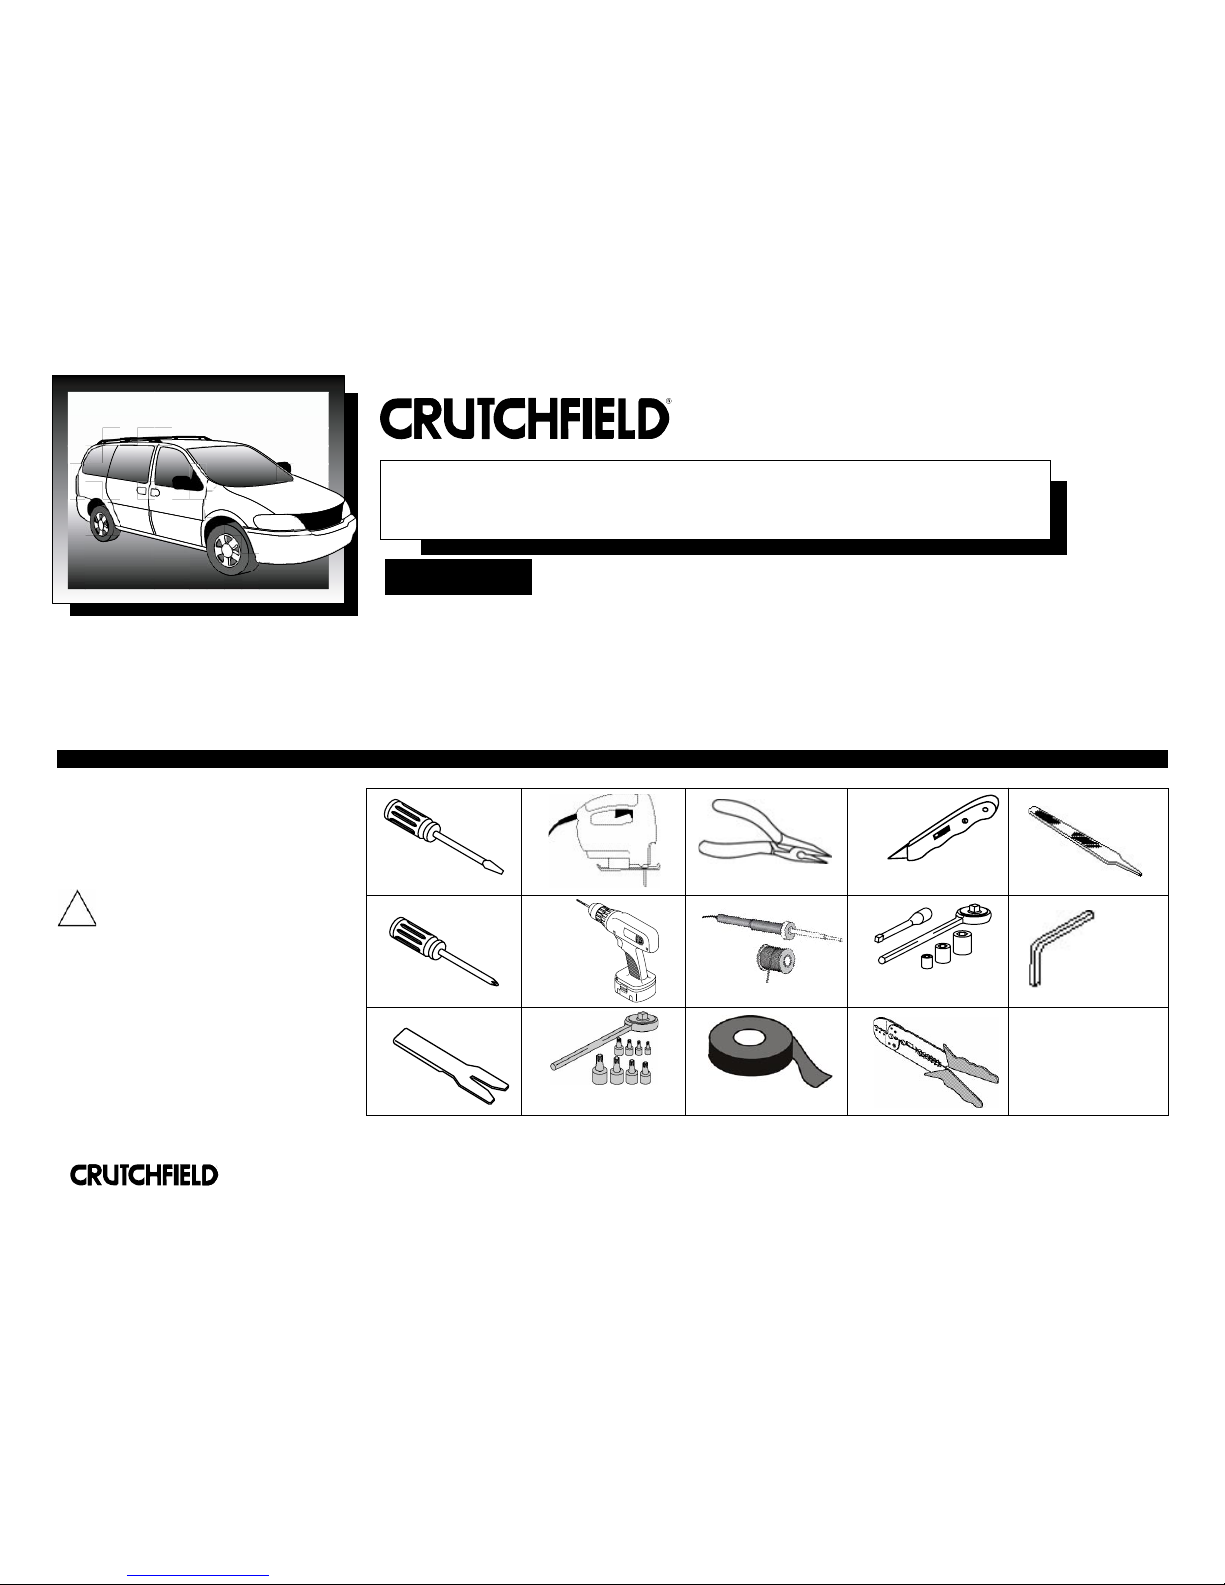
Tools Needed:
(depending upon vehicle)
000SPKRIG
Revision 3/15/05
▲
*000SPKRIG*
Full-range Speakers Installation Guide
Flat Blade
Screwdriver
Phillips
Screwdriver
Panel Tool
Drill &
Bit Set
Utility Knife
Soldering
Iron
Electrical Tape
Socket
File
Wire Cutters
Allen Wrenches
Jig Saw
Torx Drivers + Bits
Wire
Stripper
®
Copyright 2005 Crutchfield Corporation
IMPORTANT
Before starting, compare items on your invoice with items received. Carefully
check through packaging material. If any item is missing, please call:
Crutchfield Customer Service at 1-800-955-9091
Although reasonable attempts are made to verify the accuracy of the information contained in this guide, it is presented without warranties or
guarantees of any type due to the constantly changing nature of this type of information and running changes in vehicle production. Any person or entity
using this information does so at his or its own risk. If you find that our instructions do not apply to your vehicle, or if you have questions, do not con-
tinue with your installation. Contact our toll-free technical support for assistance (Tech support phone number is on your invoice).
As with any car audio/video
installation, your first step is to
disconnect the negative terminal of your
car battery to prevent short circuits. Check
your Crutchfield MasterSheet™ (available
for most vehicles) or vehicle owner’s manual
for specific directions. In some vehicles,
disconnecting the battery may require you to
re-enter a security code or have the dealer
reset the internal computer.
!

000SPKRIG
2
®
Copyright 2005 Crutchfield Corporation
Installing Speakers: Easy and Effective
Installing new speakers is the single most cost-effective
improvement you can make to your vehicle’s audio/video
system. Not only are aftermarket speakers relatively
inexpensive, they are usually not difficult to install, thanks
to the free brackets, wiring harnesses, and detailed
Crutchfield
MasterSheet™
instructions (available for most
vehicles) you get when you buy your speakers from us. Of
course, each car is different, but let’s take a look at some
of the more common speaker mounting locations, and
what you might expect when installing speakers there.
Types of Installations
It's helpful to think of speaker installation as falling into
one of two categories:
1. Easy Fit
This describers speakers that fit your factory
speaker openings and use factory speaker grilles
and brackets.
Occasionally, you will need to use a special set of
brackets or adapters to install these speakers in
your vehicle.
2. Modify Fit
These speakers require more extensive modifications
such as cutting or filing metal, plastic, or pressboard.
These installations are more complicated and require
more tools and time.
Most speakers matched to your vehicle will fit directly into the existing factory speaker opening.
You will sometimes need a bracket to
fit the speaker properly into the existing
factory opening.
Some speakers may
require additional steps
such as filing a plastic
speaker basket to allow for
a larger magnet structure
(right). In rare cases, a
speaker may require you to
cut a new speaker opening
(below).
Always be careful when drilling or cutting in a vehicle.
Be aware of things such as wiring, windows, fuel lines
and safety devices. Check drilling/cutting depth and
location to avoid damage to vehicle appearance.
CAUTION:
!
000SPKRIG
3
®
Copyright 2005 Crutchfield Corporation
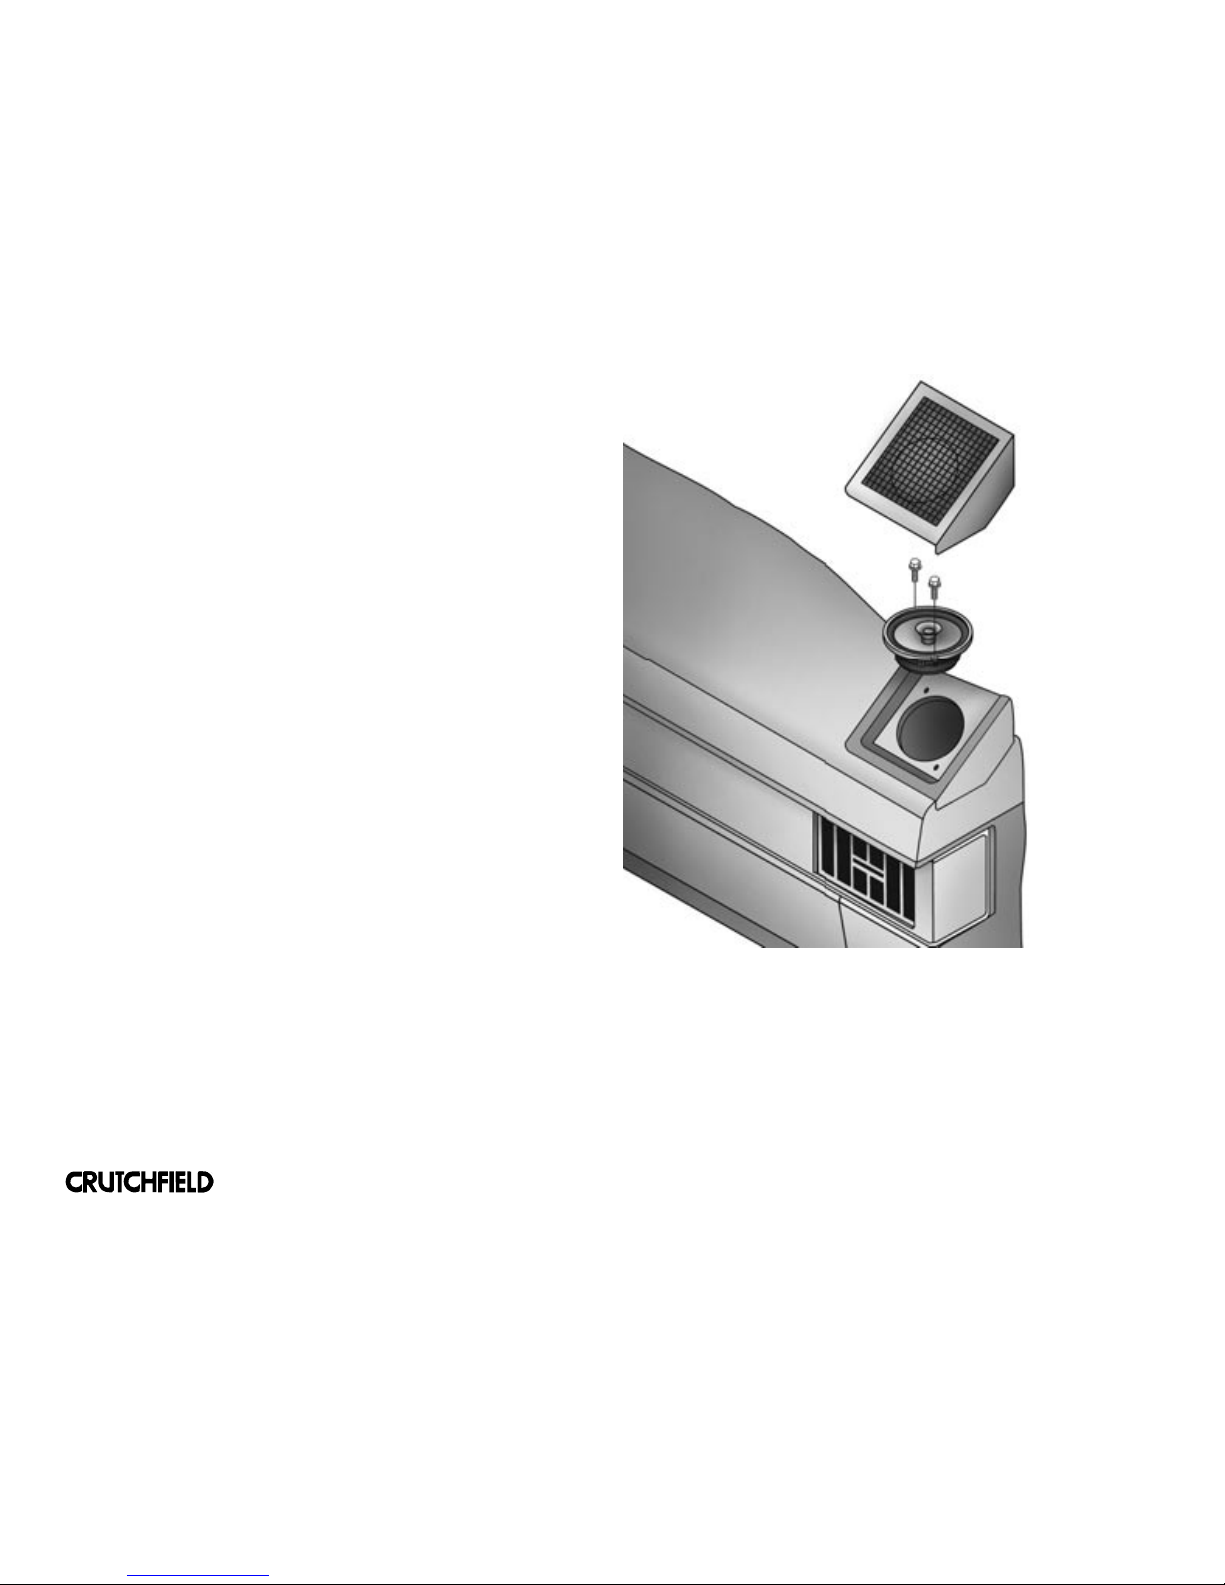
Replacing Dash Speakers
Although they can be tough to reach occasionally, most dash speakers are
small and relatively easy to replace. In some vehicles, all you need to do is
remove the grilles, which are usually held down by screws or friction fittings.
If your grilles use friction fittings (you’ll know because there won’t be any
screws evident), carefully pry them up from the edges. To avoid marring or
cracking the surrounding area, put a broad, flat item (like a panel tool or putty
knife) underneath the tool you’re using to pry up the grille.
Other vehicles, however, require that you remove the entire dashboard panel
to access the connections. Fortunately, most dash panels are held in place
by just a few screws. Once you’ve removed the screws, carefully pull off the
panel, making sure you don’t catch any wires or ducts in the process. You’ll
find an offset screwdriver or stubby Phillips screwdriver useful to get at the
screws near the windshield.
Remove the old speakers and make sure to note the polarity of each
terminal. The speaker’s positive terminal is the larger of the two, and is
usually marked with a “+” or a colored dot. If your speakers came with a
Crutchfield wiring harness, use it to connect to your factory wiring. If not,
you’ll want to crimp or solder the connections from your new speakers to
the wiring in the vehicle. Don’t secure the wires with electrical tape, which
can deteriorate rapidly because of the temperature extremes in your car. It’s
also a good idea to test the speaker to be sure everything works before you
secure it tightly and put the dash back in place.
Most dash speakers are small and relatively easy to replace.

000SPKRIG
4
Replacing Door Speakers
Doors are the most common location for car speakers and, in
many cars, the speakers found there are fairly easy to replace.
Most late-model cars have a notch at the bottom of the speaker
grille. Simply insert a screwdriver into this slot, pop out the grille,
and remove the factory speaker. In some cars you may only need
to remove a few screws to get the grille out of the way.
In still others, though, you’ll have to remove the entire door
panel to get the factory speaker out. Your Crutchfield
MasterSheet™ (available for most vehicles) will walk you
through the specific procedure for your vehicle, but it’s generally
a straightforward process.
Start by removing the window crank handles. Some are secured
with a screw at the pivot point — usually hidden by a piece of
snap-on trim — while others are held in place with a spring
clip around the base. Crutchfield carries an inexpensive tool to
help remove this clip, but it can be done with a small flat-blade
screwdriver (use a shop rag to prevent scratching the crank).
Depress the surrounding door panel, look behind the
window crank, and rotate the handle until you can see the ends
of the spring clip. Gently push it off with the
screwdriver or tool. (The clip will pop off, so keep a close eye
on it.) After removing the crank, take off the armrest (usually
held on by a few screws), and the trim that fits around the
handle. The only thing holding the door at this point should be
the friction fittings around the edge of the panel and a few more
screws.
With the screws removed, start at a bottom corner and pull the
panel corner straight out. Use a panel tool around the fittings to
pry out the panel. Try not to pull so hard as to break one of the
friction clips. Once a corner is loose, work across the bottom
and up both sides. The panel should now be hanging by the trim
that hangs off of the window well. Lift straight up and it should
come free.
Removing a speaker grille from the door. Once you have removed the grille, most
factory door speakers can be removed
with a Phillips screw driver.
With some models of cars, you may need to remove the door panel to install new door speakers.
®
Copyright 2005 Crutchfield Corporation
✔ Check that wires do not interfere with window operation.
✔ Test window and door lock operation.
SAFETY CHECK
!
5
000SPKRIG
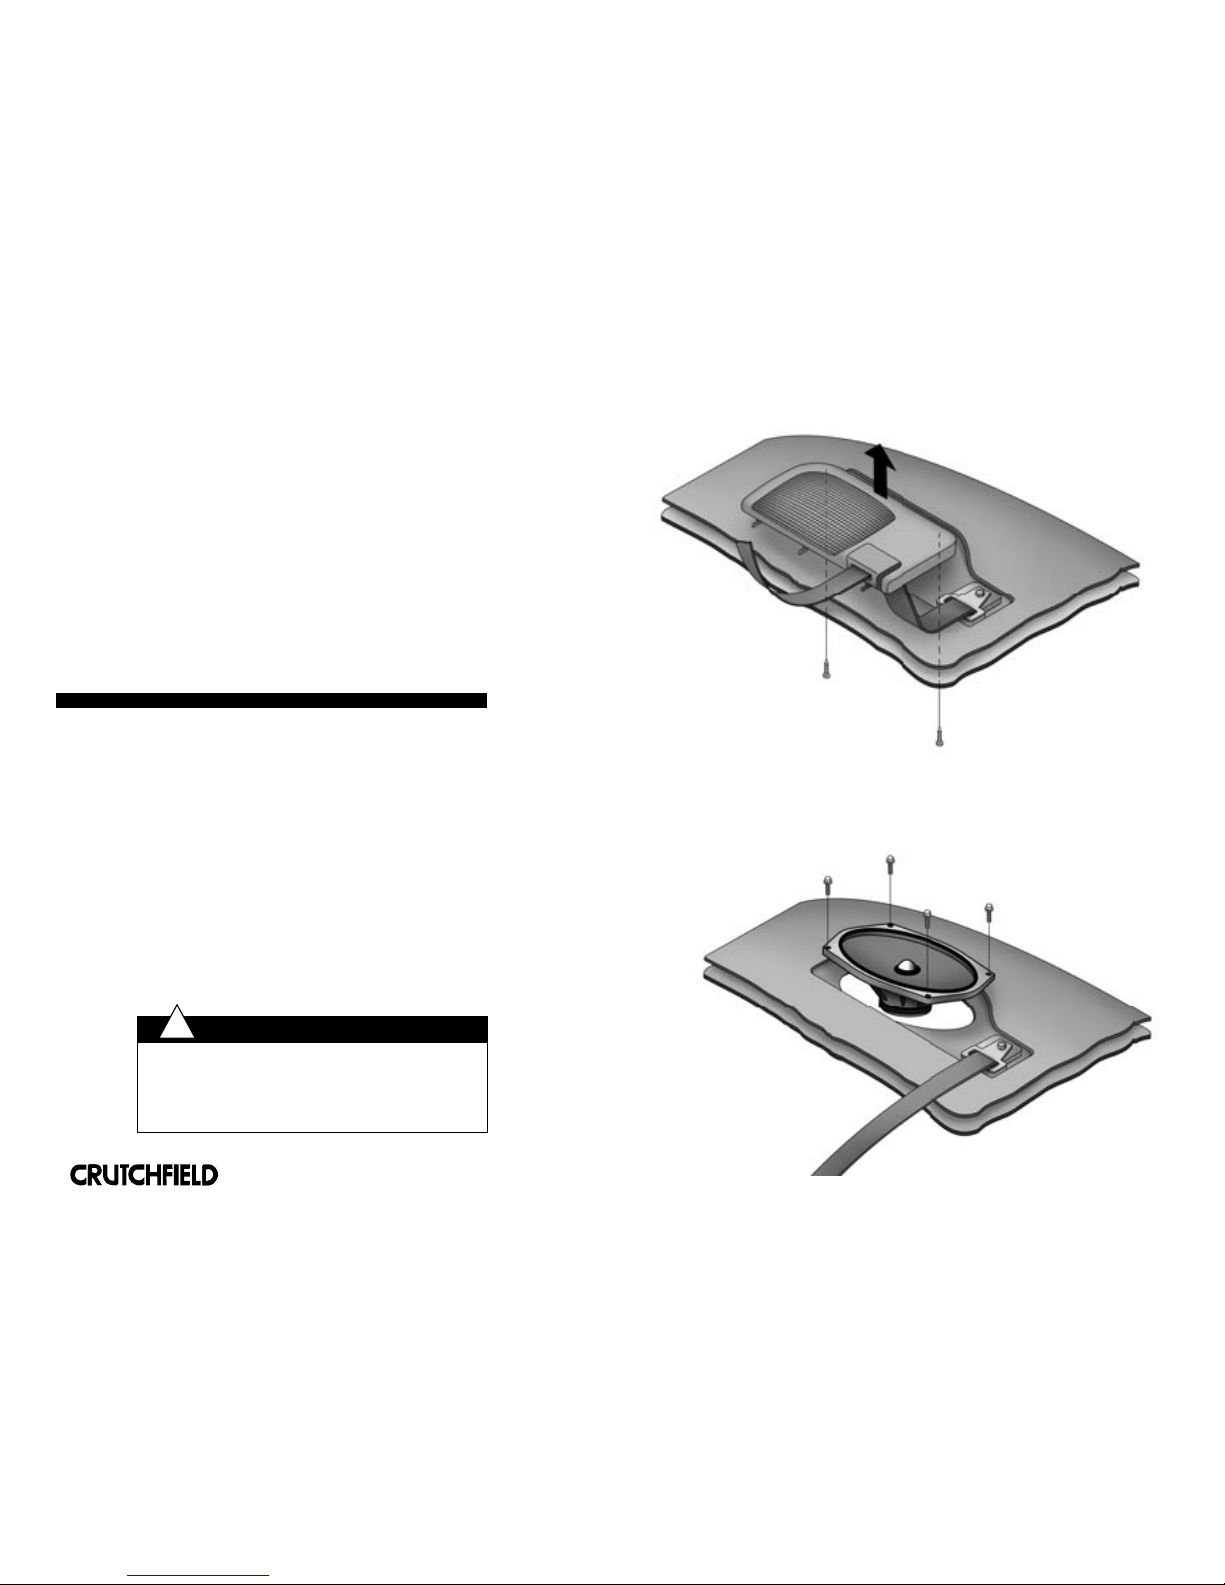
Rear Deck Speakers
Installing rear deck speakers presents many of the same challenges as
door speakers. In many cases the grilles on the rear deck can be easily
pried up or unscrewed. Other times, they can be removed from underneath,
via the trunk.
In some cars, however, the entire rear deck panel must be removed to access
the speakers. Often, this means removing the rear seat to access the deck
panel. (Some seats are bolted in place, while others pop in and out.) With
the seat out, you should be able to pry up the rear deck and work with the
speaker openings in the same fashion as door or dash mounting locations.
A look at a typical rear deck
speaker installation.
®
Copyright 2005 Crutchfield Corporation
✔ Check that wires do not interfere with window operation.
✔ Test window and door lock operation.
✔ Make sure seats and seat belts are secured to
manufacturer's specifications.
✔ Check brake light wiring connection and test operation.
SAFETY CHECK
!
Tech Tips
•Speakers are classified as a fit if they meet the size and shape of the factory
speaker opening. Speaker screw holes may not line up exactly with factory
holes. A mounting bracket or drilling may be required to match screw hole
patterns.
•Select Infinity speakers are supplied with a metal mounting bracket. In some
vehicles, the metal bracket must be used along with mounting brackets that
Crutchfield supplies.
•if using a supplied speaker mounting bracket, speed clips will need to be
used to mount the speaker to the bracket. This is done by spreading the clips
apart and sliding them over the screw holes on the bracket. The clips provide
a thread for the screws to go into.
Table of contents
Popular Car Speakers manuals by other brands

Pioneer
Pioneer TS-G4643R installation manual

MB QUART
MB QUART Discus DKG 110 installation manual

Qlogic
Qlogic QL-C1PTC210 installation instructions

EMPHASER
EMPHASER UNIVERSE EM-MBSUBR2 manual

Power bass
Power bass AUTOSOUND L2-462 Application guide

Diamond Audio Technology
Diamond Audio Technology VSP4BMW owner's manual


 Product guide")