mienta o llave colocada en una pieza giratoria de la herramienta eléctrica puede resultar en lesiones
personales.
e) No se estire. Mantenga la postura y el equilibrio en todo momento. Esto permite un mejor control
de la herramienta eléctrica en situaciones inesperadas.
f) Vista adecuadamente. No use ropa suelta o joyas. Mantenga su cabello, ropa y guantes alejados
de las partes móviles. La ropa suelta, joyas o cabello largo pueden quedar atrapados en las piezas
móviles.
g) Si se proporcionan dispositivos para la extracción y recolección de polvo, asegúrese de que estén
conectados y se utilizan adecuadamente. El uso de estos dispositivos puede reducir los peligros
relacionados con el polvo.
h) Mantener los mangos secos, limpios y libres de aceite y grasa. Las manos resbalosas no pueden
controlar con seguridad la herramienta eléctrica.
Uso y cuidado de la herramienta eléctrica
a) No fuerce la herramienta eléctrica. Utilice la herramienta eléctrica correcta para su aplicación. La
herramienta correcta hará el trabajo mejor y más seguro a la velocidad para la que fue diseñada.
b) No utilice la herramienta eléctrica si el interruptor no la enciende y apaga. Cualquier herramienta
eléctrica que no pueda controlarse con el interruptor es peligrosa y debe ser reparada.
c) Desconecte el enchufe de la fuente de alimentación y / o el paquete de baterías de la herramienta
eléctrica antes de realizar cualquier ajuste, cambiar accesorios o almacenar herramientas eléctricas,
estas medidas de seguridad preventivas reducen el riesgo de arranque accidental de la herramienta.
d) Guarde las herramientas eléctricas fuera del alcance de los niños y no permita que personas no
familiarizadas con la herramienta eléctrica o estas instrucciones operen la misma. Las herramientas
eléctricas son peligrosas en manos de personas inexpertas.
e) Mantenga las herramientas eléctricas. Verifique la alineación de las piezas móviles, rotura de
piezas y cualquier otra condición que pueda afectar el funcionamiento de la misma. Si está dañada,
reparar la herramienta eléctrica antes de su uso. Muchos accidentes son causados por herramientas
eléctricas con un mantenimiento pobre.
f) Mantenga las herramientas de corte afiladas y limpias. Las herramients mantenidas correctamente
son menos propensas a trabarse y son más fáciles de controlar.
g) Utilice la herramienta eléctrica, accesorios, útiles, etc., de acuerdo con estas instrucciones y de la
manera prevista para el tipo particular de herramienta eléctrica, teniendo en cuenta la condición de
trabajo y el trabajo a realizar. Utilizar la herramienta para una operación distinta de la indicada podría
dar lugar a una situación peligrosa.
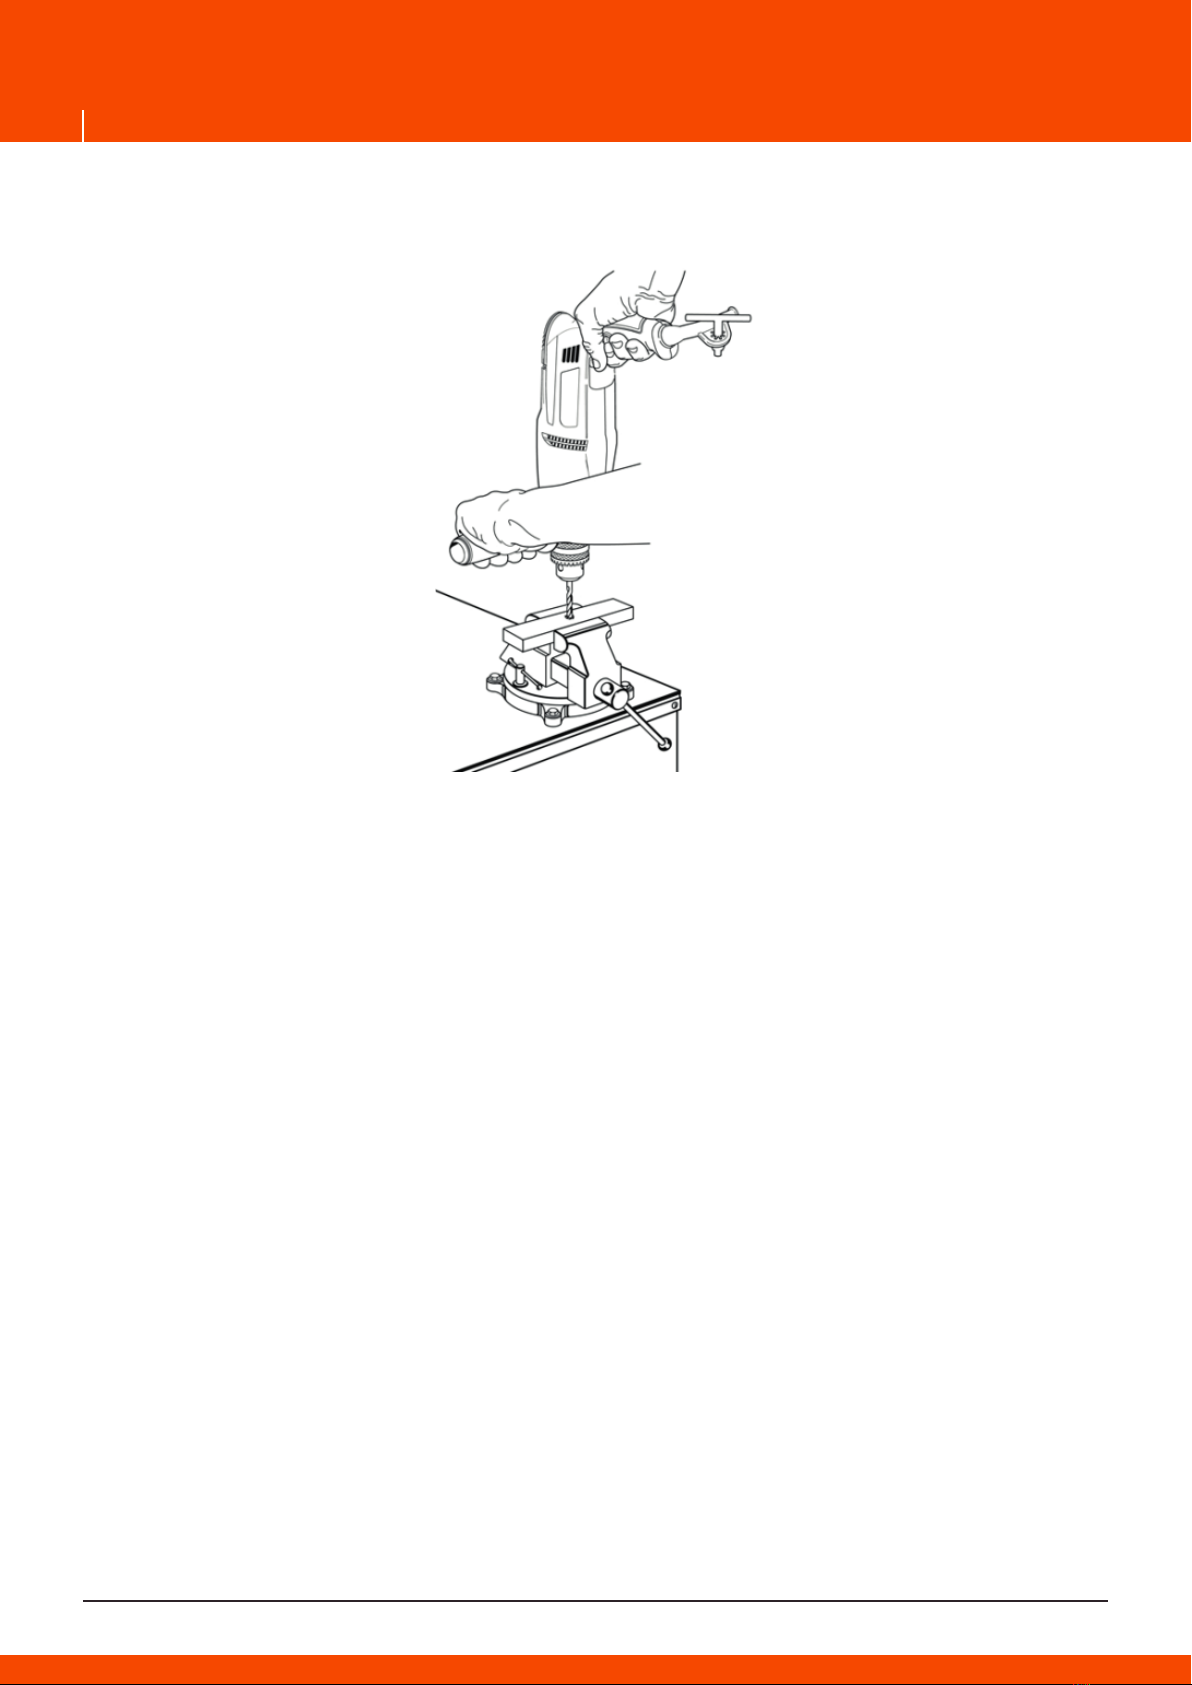
h) Utilice abrazaderas u otro modo práctico de fijar y soportar la pieza de trabajo en una plataforma
estable. Sujetar la pieza con la mano o contra su cuerpo es inestable y puede conducir a la pérdida
de control.
i) Vacie el depósito de polvo con frecuencia, especialmente en el lijado de la madera con poliureta-
no, barniz, laca o superficie con revestimiento similar. Las partículas finas de polvo de lijado puede
auto inflamarse y provocar un incendio.
Servicio
a) Haga el servicio de su herramienta eléctrica por un experto cualificado que utilice sólo piezas de
repuesto idénticas. Esto garantizará la seguridad de la herramienta eléctrica.
b) Desarrollar un programa de mantenimiento periódico de la herramienta. Cuando limpie una herra-
mienta, tenga cuidado de no desmontar ninguna parte ya que los cables internos pueden estar mal
o se pueden montar de forma incorrecta. Ciertos agentes de limpieza tales como gasolina, tetraclo-
ruro de carbono, amoniaco, etc. pueden dañar las piezas de plástico.
c) Sujete la herramienta por las superficies de agarre aisladas cuando realice una operación en que
el accesorio de corte pueda hacer contacto con cables ocultos o con su propia costa. Accesorio de
corte en contacto con un cable "vivo" exponen las partes metálicas de la herramienta eléctrica y
3
mienta o llave colocada en una pieza giratoria de la herramienta eléctrica puede resultar en lesiones
personales.
e) No se estire. Mantenga la postura y el equilibrio en todo momento. Esto permite un mejor control
de la herramienta eléctrica en situaciones inesperadas.
f) Vista adecuadamente. No use ropa suelta o joyas. Mantenga su cabello, ropa y guantes alejados
de las partes móviles. La ropa suelta, joyas o cabello largo pueden quedar atrapados en las piezas
móviles.
g) Si se proporcionan dispositivos para la extracción y recolección de polvo, asegúrese de que estén
conectados y se utilizan adecuadamente. El uso de estos dispositivos puede reducir los peligros
relacionados con el polvo.
h) Mantener los mangos secos, limpios y libres de aceite y grasa. Las manos resbalosas no pueden
controlar con seguridad la herramienta eléctrica.
Uso y cuidado de la herramienta eléctrica
a) No fuerce la herramienta eléctrica. Utilice la herramienta eléctrica correcta para su aplicación. La
herramienta correcta hará el trabajo mejor y más seguro a la velocidad para la que fue diseñada.
b) No utilice la herramienta eléctrica si el interruptor no la enciende y apaga. Cualquier herramienta
eléctrica que no pueda controlarse con el interruptor es peligrosa y debe ser reparada.
c) Desconecte el enchufe de la fuente de alimentación y / o el paquete de baterías de la herramienta
eléctrica antes de realizar cualquier ajuste, cambiar accesorios o almacenar herramientas eléctricas,
estas medidas de seguridad preventivas reducen el riesgo de arranque accidental de la herramienta.
d) Guarde las herramientas eléctricas fuera del alcance de los niños y no permita que personas no
familiarizadas con la herramienta eléctrica o estas instrucciones operen la misma. Las herramientas
eléctricas son peligrosas en manos de personas inexpertas.
e) Mantenga las herramientas eléctricas. Verifique la alineación de las piezas móviles, rotura de
piezas y cualquier otra condición que pueda afectar el funcionamiento de la misma. Si está dañada,
reparar la herramienta eléctrica antes de su uso. Muchos accidentes son causados por herramientas
eléctricas con un mantenimiento pobre.
f) Mantenga las herramientas de corte afiladas y limpias. Las herramients mantenidas correctamente
son menos propensas a trabarse y son más fáciles de controlar.
g) Utilice la herramienta eléctrica, accesorios, útiles, etc., de acuerdo con estas instrucciones y de la
manera prevista para el tipo particular de herramienta eléctrica, teniendo en cuenta la condición de
trabajo y el trabajo a realizar. Utilizar la herramienta para una operación distinta de la indicada podría
dar lugar a una situación peligrosa.
h) Utilice abrazaderas u otro modo práctico de fijar y soportar la pieza de trabajo en una plataforma
estable. Sujetar la pieza con la mano o contra su cuerpo es inestable y puede conducir a la pérdida
de control.
i) Vacie el depósito de polvo con frecuencia, especialmente en el lijado de la madera con poliureta-
no, barniz, laca o superficie con revestimiento similar. Las partículas finas de polvo de lijado puede
auto inflamarse y provocar un incendio.
Servicio
a) Haga el servicio de su herramienta eléctrica por un experto cualificado que utilice sólo piezas de
repuesto idénticas. Esto garantizará la seguridad de la herramienta eléctrica.
b) Desarrollar un programa de mantenimiento periódico de la herramienta. Cuando limpie una herra-
mienta, tenga cuidado de no desmontar ninguna parte ya que los cables internos pueden estar mal
o se pueden montar de forma incorrecta. Ciertos agentes de limpieza tales como gasolina, tetraclo-
ruro de carbono, amoniaco, etc. pueden dañar las piezas de plástico.
c) Sujete la herramienta por las superficies de agarre aisladas cuando realice una operación en que
el accesorio de corte pueda hacer contacto con cables ocultos o con su propia costa. Accesorio de
corte en contacto con un cable "vivo" exponen las partes metálicas de la herramienta eléctrica y