EN
3
2. GENERAL SAFETY RULES
The purpose of the safety rules is to attract your attention to possible dangers. The safety symbols
and the explanations with them, require your careful attention and understanding. The safety war-
nings do not by themselves eliminate any danger. The instruction or warnings they give are not
substitutes for proper accident prevention measures.
WARNING: Failure to obey a safety warning can result in serious injury to yourself or to others.
Always follow the safety precautions to reduce the risk of re, electric shock and personal injury.
Save owners manual and review frequently for continuing safe operation and instructing others who
may use this tool.
WARNING: This machine produces an electromagnetic eld during operation. This eld may
under some circumstances interfere with active or passive medical implants. To reduce the risk of
serious or fatal injury, we recommend persons with medical implants to consult their physician and
the medical implant manufacturer before operating this machine.
WARNING: The operation of any tool can result in foreign objects being thrown into your eyes,
which can result in eyes severely damaged. Before beginning power tool operation, always wears
safety goggles or safety glasses with side shields and a full face shield when needed. We recom-
mend Wide Vision Safety Mask for use over eyeglasses or standard safety glasses with side shield.
IMPORTANT
Read carefully before use.
Keep for future reference.
1. Read the instructions carefully. Be familiar with the controls and the proper use of the equipment;
2. Never allow children or people unfamiliar with these instructions to use the lawnmower. Local
regulations can restrict the age of the operator
3. Never mow while people, especially children, or pets are nearby;
4. Keep in mind that the operator or user is responsible for accidents or hazards occurring to other
people or their property.
5. While mowing, always wear substantial footwear and long trousers. Do not operate the equipment
when barefoot or wearing open sandals; Avoid wearing clothing that is loose tting or that has
hanging cords or ties.
6. Thoroughly inspect the area where the equipment is to be used and remove all objects which can
be thrown by the machine.
7. Before using, always visually inspect to see that the blades, blade bolts and cutter assembly are
not worn or damaged. Replace worn or damaged blades and bolts in sets to preserve balance.
Replace damaged or unreadable labels.
8. Before use check the supply and cord for signs of damage or worn. If the cord becomes dama-
ged during use, disconnect the cord from the supply immediately. DO NOT TOUCH THE CORD
BEFORE DISCONNECTING THE SUPPLY. Do not use the appliance if the cord is damaged or worn.
9. mow only in daylight or in good articial light;
10. avoid operating the equipment in wet grass, where feasible;
11. Always be sure of your footing on slopes;
12. Walk, never run;
13. For wheeled rotary machines; mow across the face of slopes, never up and down;
14. exercise extreme caution when changing direction on slopes;
15. Do not mow excessively steep slopes;
16. Use extreme caution when reversing or pulling the lawnmower towards you;
17. Stop the blades if the lawn mower has to be tilted for transportation when crossing surfaces
other than grass, and when transporting the lawn mower to and from the area to be mowed;
18. Never operate the lawnmower with defective guards, or without safety devices, for example
deectors and/or grass catchers, in place;
19. Start or switch on the motor carefully according to instructions and with feet well away from the blades;
20. Do not tilt the lawnmower when starting switching on the motor, except if the lawnmower has to
be tilted for starting. In this case, do not tile it more than absolutely necessary and lift only the part
which is away from the operator;
21. Do not start the motor when standing in front of the discharge chute;
22. Do not put hands or feet near or under rotating parts, Keep clear of the discharge opening at all times
23. Never pick up or carry a lawnmower while the motor is running;
24. Stop the motor and Pull out the key, Make sure that all moving parts have come to a complete stop.
• Whenever you leave the machine;
• Before clearing blockages or unclogging chute;
• Before checking, cleaning or working on the lawnmower;
• After striking a foreign abject. Inspect the lawnmower for damage and make repairs before
restarting and operating the lawnmower;
If lawnmower starts to vibrate abnormally (check immediately);
• Inspect for damage.
• Replace or repair any damage parts.
• Check for and tighten any loose parts.
25. Stop the mower:
• Whenever you leave the lawnmower;
26. keep all nuts, blots and screws tight to be sure the equipment is in safe working condition;
27. check the grass catcher frequently for wear or deterioration;
28. Replace worn or damaged parts for safety;
29.No to use the lawnmower if the cords are damaged or worn
30. Not to connect a damaged cord to the supply or touch a damaged cord before it is disconnec-
ted from the supply. A damaged cord can lead to contact with live parts.
31. Not to touch the blade before the machine is disconnected form the supply and the blade have
come to a complete stop
32. To disconnect the supply (i.e. pulling the plug from the socket)
• Whenever leaving the machine unattended.
• Before clearing a blockage.
• Before checking, cleaning or working on the machine.
• After striking a foreign object.
• Whenever the machine starts vibrating abnormally.
33. Children are not allowed to use the machine.
34. This appliance is not intended for use by persons with reduced physical, sensory or mental
capabilities, or lack of experience and knowledge, unless they have been given supervision or
instruction concerning use of the appliance by a person responsible for their safety.
35. Be careful during adjustment of the machine to prevent entrapment of the ngers between
moving blades and
xed parts of the machine.
36. Always allow the machine to cool before storing.
37. When servicing the blades be aware that, even though the power source is switched off, the
blades can still be moved.
38. Replace worn or damaged parts for safety; Use only genuine replacement parts and accessories.
39. Be careful during adjustment of the appliance to prevent entrapment of the ngers between
moving blades and xed parts of appliance.
40. If the supply cord is damaged, it must be replaced by the manufacturer, its service agent or
similarly qualied persons in order to avoid a hazard.
3. GENERAL IDENTIFICATION
WARNING
Read and understand all instructions. Save these instructions. Failure to follow all instructions listed
below may result in electric shock, re and/or serious injury. The term ‘power tool’ in all of the
warnings below refers to your mains-operated (corded) power tool.
KNOW YOUR LAWN MOWER
Read this manual carefully, observing the recommended safety instructions before, during and after
using your lawn mower. Following these simple instructions will also maintain your lawn mower in
good working order. Familiarize yourself with the controls on your mower before attempting to
operate it, but above all, be sure you know how to stop your mower in an emergency. Retain this
user manual and all other literature with your mower for future reference.
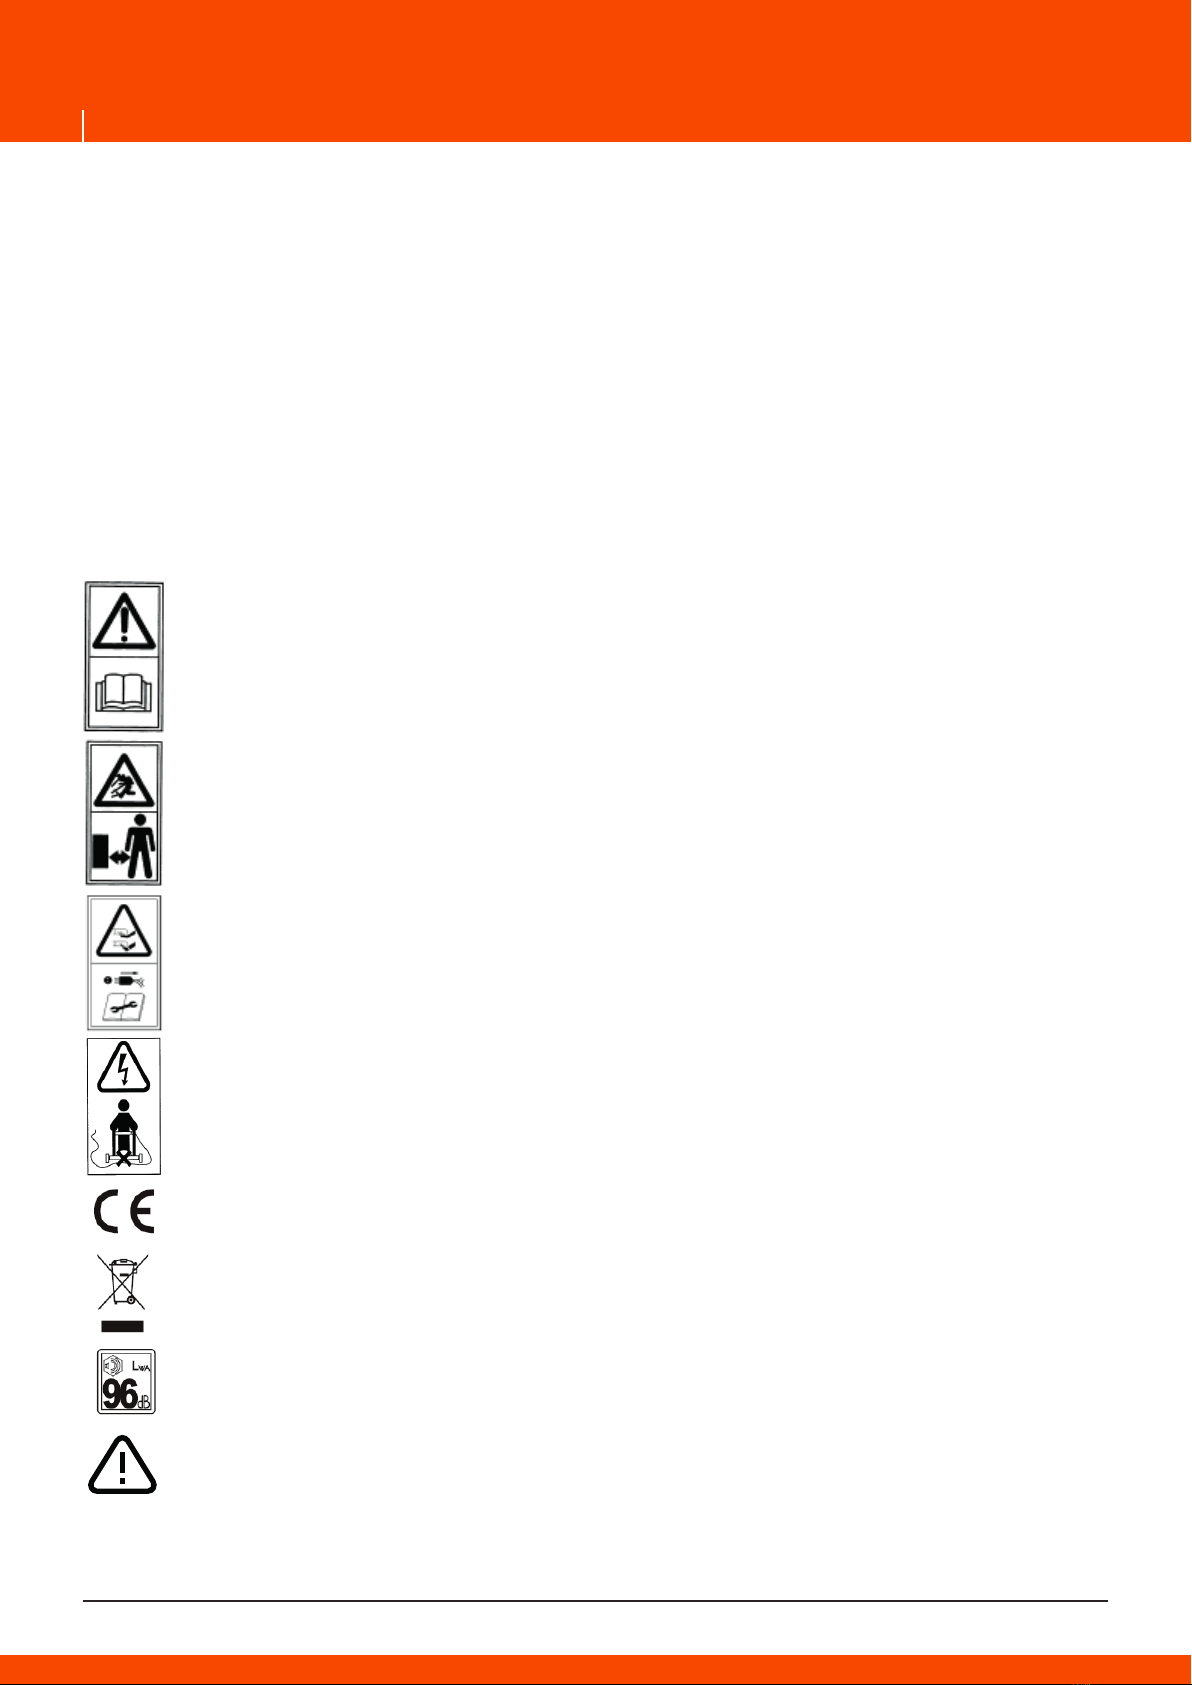
1. SYMBOLS MARKED ON THE PRODUCT
Read this instruction book carefully before using the lawn mower and keep it in a safe
place for future reference.
Keep bystanders away.
Beware of sharp blades. Blades continue to rotate after the motor is switched off.
Remove the key from the machine before maintenance or if cord damaged.
Keep the supply exible cord away from the cutting blades.
CE Marking
The product meets demands and regulations set by the European Community.
CAUTION! Unusable power tools do not belong with domestic waste. They must be taken
to a communal collecting point for environmentally friendly disposal in accordance with
local regulations.
Noise level marking
Your tool noise is not more than 96dB.
SAFETY ALERT SYMBOL: Indicates caution or warning may be used in conjunction with
other symbols or pictures.