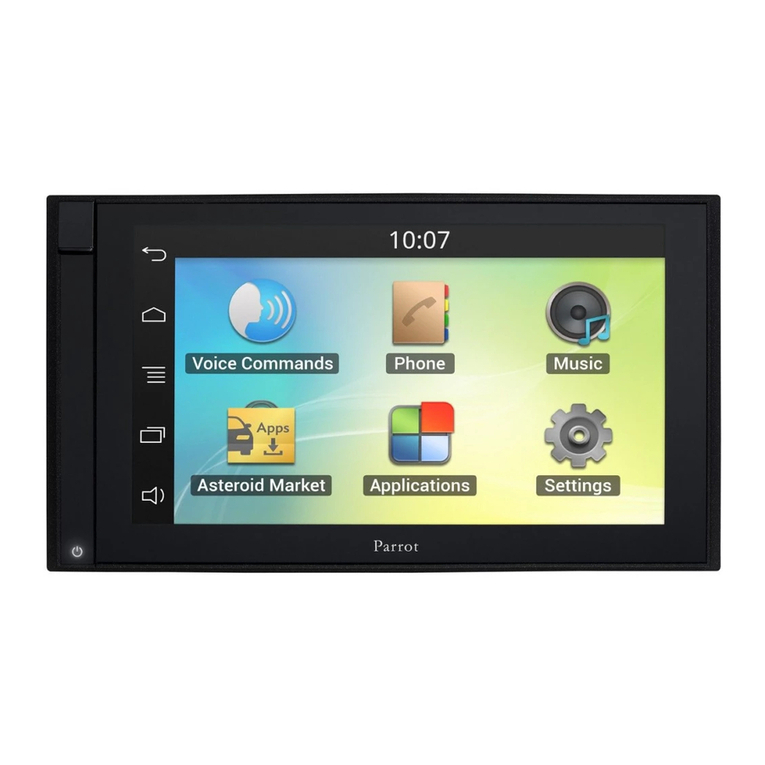
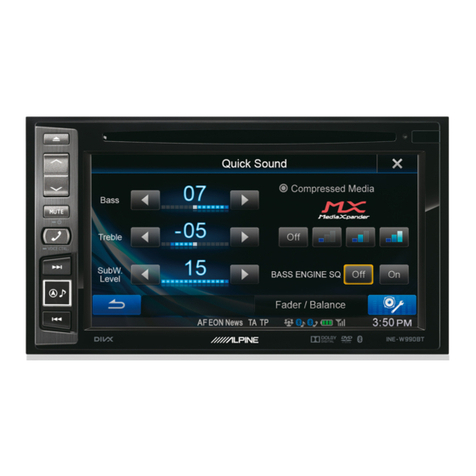
Dasaita G12 User manual

User Manual
Car Entertainment and Navigation System
G12

FOREWORD
Thank you for choosing
the android car audio navigation system of our company!
Please read the attached information when using this product. The manual pro-
vides an overview of the audio-visual navigation system's functions, allowing you to
familiarize yourself with the product and its operation for a more convenient experi-
ence.
The sample image shown in the manual may be slightly different from the actual
displayed image.
The display contents of this manual may be slightly different from the actual con-
tent.
As products continue to update and upgrade, and improve their functions, there
might be additions and changes to the parameters without prior notice. If you
encounter any issues, please consult with the agent. Thanks for your support and
cooperation!
The information of this manual is protected by copyright. Any unauthorized
copying and reproduction, in whole or in part, is strictly prohibited without
prior written permission of the company.
The company reserves the final right to interpret the warranty terms and relat-
ed information stated in this manual.
NOTE:

WARNING
Warning
To ensure safety and compliance with the law, please refrain from using
any functions other than navigation while driving to prevent accidents or
potential violations.
Please note that in certain areas, it is prohibited for drivers or passen-
gers to watch the images of the display.
Notice for safety items
In order to prevent any potential injury or property damage of the yourself or others,
it's crucial to thoroughly read and strictly abide the following notice items.
1)Read the Manual.
2)Take proper care of the Manual for future reference.
3)To adhere to all the warnings and notices mentioned in this manual.
4)To comply with all operating instructions.
5) Refer to the information provided in the manual regarding the power supply
guidelines.
6)The installation and wiring distribution of this product requires specialized skills
and experience. For safety purpose, it's recommended to have professional techni-
cians handle the installation and wiring process.
7) The product doesn't come with any user replaceable auto-parts. If repair or
replacement required, please seek the assistance of a qualified maintenance pro-
fessional technician with proper qualifications to handle the task
8) Ventilation: Please refrain from obstructing the ventilation cooling vents, as the
local shell holes and other openings are designed to facilitate heat dissipation. To
ensure the stable and reliable operation of the machine and extend its service life, it
is crucial to maintain proper ventilation and avoid overheating, which can potentially
lead to smoking, fire, or other hazards.

WARNING
9) Avoid the heat sources: To prevent damage and maintain optimal performance,
avoid exposing the product to direct sunlight or high temperatures. Keep it away from
heat sources like heating systems, heaters, magnifiers and etc.
10) Avoid Water or Moist: To prevent the risk of short circuits, fire, electric shock, or
other hazards, ensure that the device is kept away from water or moisture. Avoid
exposing the machine to rain or moisture in the environment, such as during rain-
storms or car washing.
11) Cleaning: Before cleaning the machine, make sure to turn off the power and then
wipe the panel. Avoid using volatile chemicals, such as gasoline or thinner, to clean
the panel.
12) To prevent foreign matter or liquid from entering the device, avoid introducing any
objects or water into the machine.
13) Installation device: Do not install the unit on a truck, frame, tripod, bracket, or
table without following the manufacturer's recommendations. Use the provided instal-
lation fittings for proper installation. When using the machine in a car, ensure a secure
installation to prevent the machine from falling due to sudden braking and causing
personal injury.
14) In case of rain or lightning, do not operate the machine for an extended period
and promptly cut off the power.
15) In the following situations, please promptly turn off the local power supply and
contact a professional technician:
A. When there is damage to the power wire or connector.
B. When the machines are splashed with liquid or foreign matter enters.
C. When the machine has been exposed to rain or moisture.
D. When the machine experiences a fall from a height or damage due to abnormal
operation or unreasonable circumstances.

WARNING
16)LCD Display: Avoid dropping or mishandling the machine to prevent LCD screen
damage and potential harm from leaked liquid crystal. Refrain from heating the liquid
crystal display and avoid scratching the LCD with sharp objects. The touch panel is
also prone to scratching. While the LCD screen typically has more than 99.99% of
effective pixels, there may be a small fraction (0.01%) that cannot be lit normally.
Notice before Installation
For your safety, it is strongly advised not to install or repair the navigation system on
your own as recommended by the manufacturer. Installation and maintenance pro-
cedures can pose risks such as electric shock and other hazards. It is recommended
to entrust all installation and maintenance tasks of this navigation system to an
authorized service center approved by the manufacturer.
Refrain from using the following dangerous installation methods and locations:
1. Avoid installing in a manner that may cause injury to the driver and passengers
during sudden stops or impacts.
2. Don’t install in positions that obstruct the driver's operation, such as the front seat
or the area near the steering wheel and stick shift.
Before cutting holes from the the faceplate on the dashboard panel, ensure that
there is enough space at the rear. Take caution not to damage the fuel cable, brake
cable, electrical components, power lines, or cable communications.
When using screws, make sure they do not come into contact with any electrification
down-lead. Vibrations can potentially damage wires or insulation, leading to short
circuits or other vehicle damage.
To ensure proper installation, use the standard method and required components for
installation. Using non-standard components may result in internal damage or loose
components, leading to product damage.
It can be extremely dangerous if the GPS antenna is positioned near the steering
column or stick shift. Ensure that the product installation does not interfere with
driving.

WARNING
Please make sure that all cables are properly routed and will not get caught in the
doors or sliding mechanisms of the seat to prevent short circuits.
After completing the installation of the navigation system, please verify that the vehi-
cle and other equipment function correctly.
Please adhere to all rules, laws, and regulations regarding the installation and use of
the navigation system, as some countries may prohibit or impose restrictions.
To prevent any potential damage to the unit caused by sudden braking, install this
product between the driver's seat and passenger seat.
Do not install this product on the dashboard, door, columniation, girder, or in close
proximity to expanding airbags. Please consult your vehicle owner's manual to identi-
fy the area where front airbags expand.
To prevent interference with vehicle functions, including airbags and other operating
systems, do not install this product in locations that obstruct them.
Avoid electromagnetic interference (EMI): To avoid electromagnetic interference,
keep this product, cables, and wires away from the following components: FM/AM
antenna and its wire, GPS antenna and its wire. Additionally, ensure that each wire is
arranged separately and not bundled or crossed together. EMI can increase the
chances of displaying incorrect location information.

WARNING
System installation
Voltage rating (as the picture)
1)This product is designed for vehicles with a 12V battery and negative GND.
Before installation, check the battery voltage.
2)To prevent short-circuiting the system, it is recommended to disconnect the
battery negative terminal before installation.
3)Do not bypass the device fuse, connect it directly to the battery.
The installation of the device
1) First of all, remove the original vehicle stereo.
2)Take out the installation bracket and screws and set them aside.
3)Securely attach the bracket to the navigation system device using the pro-
vided screws.
4) Avoid directly connecting the power wire of this product to other power-line
circuits.
5) Organize and route all cables according to the hose diagram.
6) Install the navigation system in the correct position, then securely fasten
the original car bracket with screws to ensure a stable fit.
Note:Do not damage or dirty the Dashboard.

CONTENTS
FOREWORD
WARNING
CONTENTS
FRONT PANEL
FUNCTIONS APPLICATION
Navigation
Music
Radio
Bluetooth
Phone
Video
Picture
$PSOLHU
CarPlay/Android Auto
Mirroring
TV projection
AUX IN
Front View
Carbitlink
DVR
Filebrowser
Calendar
Calculator
Clock
Apkinstaller
Wheelkey setting
Google Play
Chrome
Gmail
youtube
Google
---------------------------- 1SETTINGS
Network & internet
Connected devices
CAR
Apps
1RWLFDWLRQV
Storage
Sound
Display
Wallpaper
Security
Privacy
Location
Passwords & accounts
Google
Screenshot Settings
System
About machine
INSTALLATION OF GPS
ANTENNA
DIAGRAM
REAR VIEW CAMERA
CONNECTION
FRONT VIEW CAMERA
CONNECTION
FREQUENTLY
ASKED QUESTIONS
TROUBLE SHOOTING
------------------------------ 2
----------------------------- 7
-------------------------- 8
--------- 11
------------------------------- 12
----------------------------------- 13
------------------------------------ 14
-------------------------------- 15
----------------------------------- 15
------------------------------------ 16
---------------------------------- 16
-------------------------------- 17
------------------- 18
-------------------------------- 20
---------------------------- 21
---------------------------------- 21
------------------------------ 21
------------------------------- 21
------------------------------------- 21
------------------------------ 22
-------------------------------- 22
------------------------------- 22
------------------------------------ 22
----------------------------- 22
----------------------- 22
----------------------------- 23
---------------------------------- 23
------------------------------------ 23
--------------------------------- 23
---------------------------------- 23
--------------------------------- 25
-------------------------------- 28
------------------------ 28
------------------------- 24
------------------ 24
------------------ 25
----------------------------- 29
------------------------------- 29
------------------------------ 29
--------------------------- 30
----------------------------- 30
----------------------------- 30
---------------------------- 31
-------------- 31
------------------------------ 31
---------------- 31
------------------------------ 32
---------------------- 33
------------------------- 34
-------------------------- 35
--------------------- 36
--------------------- 37
-------------- 38
------------ 40

FRONT PANEL
The Screen Design used in the Quick Reference Guide may differ from the actual screen
1
2
3
6 7 8 9 10 1112 13 14
4
5
FUNCTION OPERATIONS & CONTROLS
Press to enter main menu
Short press to increase volume
Short press to decrease volume
Press to enter the music interface
Press to enter the navigation interface
1. Home
4. Volume +
5. Volume -
2. Music
3. Navigation
APPBAR
6. Home
7. Bluetooth
8. GPS
10. screenshot
12. Brightness level
13. Task Manager(short click)/Split Screen (long press)
14. Back
11. Volume Adjustment
9. Time
【 Note: Reprogram steps , please check page 24 】

FRONT PANEL
ACCESS FAST SETTINGS
Slide down from the top of the display
you can access the fast settings
MAIN MENU
Please refer to the actual menu
display for reference
56 7
(Software information
reminder area)
1. Setting
2. Carplay
4. TV projection
5. Navi
6. Bluetooth
7. Music
8. Video
9. Radio
$PSOLHU
3. Android auto
:L
12. Bluetooth
13. Volume
1
2
3
4
8910
11
12
15 1416 1718 13
17. Silent
18. Manage
14. Brightness
15. Amp
16. Speed

12
1. WALLPAPERS
2. WIDGETS
3. SETTINGS
4. RESET MODE
1234
FRONT PANEL
INTERFACE SETTING
Hold and Swipe to left for more
applications
Long press a blank area to enter wallpaper settings
Keep Pressing the left side App
swich to other app
1. Press the " " icon to set the Wallpapers interface
1. Touch " Pick image " to customize the
Settings wallpaper
2. Set the system built-in wallpaper

12
1. Task Manager
2. Split Screen
2. Press the " " icon to set the shortcut widgets
FRONT PANEL
1. Turn on an appplication on the main menu, and long-press the Split Screen icon,
then navigate to the main menu.
From the main menu, select another application to split the screen.
2. Press and hold the screen, then swipe left or right to cancel the Split Screen.
1. Touch“ ”to go to the Task Manager
page
1. Hold and swipe up to close the app
2. Tap “ ” to close all apps
( Hold the widgets and move to the top to delete it )

FUNCTIONS APPLICATION
Navigation
Touch " " in main menu to enter Navigation interface
Press“ ” icon to exit the
Google Maps menu
Set the location and destination
Google Speech service Say “hey google” to use the voice
control, like where is the nearest
gas station, restaurants, coffee,
etc.
Note: Online map require network (Wifi/Hotspot/4G Dongle) 's connection
Set the location and destination

FUNCTIONS APPLICATION
Music
Touch " " in main menu to enter Music interface
BT Music
Click the " " icon on the software menu to enter the BT Music page
1. Status Bar
$PSOLHUVHWWLQJV
4. Play previous song
3. Loop by list
3. Single loop playback
3. Shuffle Playback
5. Play/pause current song
6. Play next song
1. Play previous song
2. Play/pause current song
3. Play next song
7. Add to Favorite list
8. List Menu
(Click icon/change play mode)(8-1)
3. Sequential Playback
2345678
8-1
1
213

FUNCTIONS APPLICATION
Radio
Touch " " in main menu to enter Radio interface
12
7643
8
5
2. Track: Next
3. FM: FM Stations
4. AM: AM Stations
6. Stereo: Stereo open
5. LOC: local frequency handling
7. SCAN:Scans for available stations, long press to automatically search
and save stations with the strongest signals into the presets
8. RDS Search :a communications-protocol standard used
with commercial FM
1. Track: Previous
RDS is a specialized radio system developed by the BBC that can only be used in
(XURSH3UHVVWKH37<EXWWRQWRVHOHFWD3URJUDP7\SH8VHWKH$)IHDWXUHWRQG
DOWHUQDWLYHIUHTXHQFLHVIRUWKHFXUUHQWVWDWLRQ3UHVVWKH7$EXWWRQWROLVWHQWRWUDIF
announcements.

FUNCTIONS APPLICATION
Bluetooth
Touch " " in main menu to enter Bluetooth interface
Phone
This unit allows hands free calling, using your phone's Bluetooth con-
nection to the unit, you'll be able to dial, answer, access phone book
1. Keyboard: Dial
7. Keyboard: Open the dial pad
9. Dial Out: Dial Out history
6. Voice: Voice assistant
8. Hang up: Touch it to hang up the call
1
1
62
3
4
5
2
3
4
5
78
9
1. Bluetooth interface
3. History: Calls record
2. Phone Book: Phone Contacts
2. Bluetooth Settings
4. Dial: Touch it to make a call
5. Delete:Touch it to delete numbers one by one, long press to delete all inputted numbers
3. Search Bluetooth device
4. Connect Bluetooth
5. Disconnect Bluetooth
6. Delete Bluetooth
6

FUNCTIONS APPLICATION
10. USB-C2 list menu
9. Local list menu
1. Status Bar
4. Play previous video
3. Loop by list
3. Single loop playback
3. Shuffle Playback
5. Play/pause current video
6. pause current video
(Click icon/change play mode)
Picture
Tap on the " " icon on the software menu to enter the Picture page
10
9
Video
Touch " " in main menu to enter Video interface
1
2345 678
2. List menu
7. Please next video
3. Sequential Playback
1. Status Bar
2. Play/pause current video
3. Share pictures
8. Display Zoom
12 3

FUNCTIONS APPLICATION
$PSOLHU
7RXFKLQPDLQPHQXWRHQWHU$PSOLHULQWHUIDFH
1. EQ: Touch “ ” to enter the EQ interface, and click the desired sound effect to adjust
more detailed effects
2. DSP Setting: Touch “ ” to enter the DSP interface
3. Fad-Bal: Touch “ ” to enter the Fad-Bal interface
1. Press“ & ” icon set Sound
Effect like Rock,POP,Jazz,Clissic,Flat,
Voice,Custom
2. Reset Button
3. Press to Set Custom Effect
1
45
2 3
4. Press “ ” to turn on the value
setting
5. Press “ ” icon to save
the Custom setting
COMMON: four modes: Driver, Front,
Rear, and All passengers
SPECIAITY: YHPRGHV'ULYHU&RSLORW
Rearleft, Rearright, and All passengers

FUNCTIONS APPLICATION
Carplay
Touch " " in main menu to enter Carplay interface
Android Auto
Touch " " in main menu to enter Android Auto interface
How to enable Apple Carplay for Iphone
via zlink application
Wireless Carplay:
1.Enable hotspot on your Apple Iphone and connect
the stereo to it.
2.Search Bluetooth “CARKIT ”on your phone, enter
default PIN “0000” and pair it, then Agree “Use CarPlay”.
3.Turn on CarPlay on the stereo and wait for the con-
nection to be successful.

FUNCTIONS APPLICATION
Wired Android Auto:
1.Turn on Android Auto on your phone.
2.Prepare a phone USB Cable, and make sure it is original or available for data trans-
fer.
3.Use the phone USB cable to wire the “Phone Link” cable, then wait and Agree “Allow
to read phone data”
4.Turn on Android Auto on the stereo and wait for the connection to be successful.
Note: Make sure phone system in Android 12 version, support 5GHz Wi-Fi's Connec-
tivity, and your Android Auto is the latest version.
Android Auto UI Carplay UI
Wireless Android Auto:
1.Turn on Android Auto and enable Hotspot on your An-
droid Phone and connect the stereo to it.
2.Search Bluetooth “CARKIT” on your phone, enter default
PIN “0000” and pair it, then Agree ”OK”.
3.Turn on Android Auto on the stereo and wait for the
connection to be successful.
Table of contents
