Dawlance DWSI-7282 User manual

MODEL: DWSI-7282
Steam Iron
User Manual
Before using your Steam Iron, please read this manual carefully
and keep it for future reference.
Read This Manual
Inside you will find many helpful hints on how to use and maintain your Steam Iron properly. Just a
little preventation care on your part can save you a great deal of time and money over the life of your
Steam Iron. You’ll find many answers to common problems in the chart of troubleshooting tips. If you
review the chart of troubleshooting tips first, you may not need to call for service.

Please read this user manual rst!
Dear Customers
Meanings of the symbols
Following symbols are used in the various section of this manual:
CImportant information and useful
hints about usage.
AWARNING:
Warnings for
dangerous situations concerning
the safety of life and property.
WARNING:
Warning for hot
surfaces.
Thank you for selecting a Dawlance product. We hope that you get
the best results from your product which has been manufactured
with high quality and state-of-the-art technology. Therefore,
please read this entire user manual and all other accompanying
documents carefully before using the product and keep it as a
reference for future use. If you handover the product to someone
else, give the user manual as well. Follow all warnings and
information in the user manual.

3
Steam Iron / User Manual
CONTENTS
1
4-7
1.1 General safety . . . . . . . . . . . . . . . . . . . . . . . . . . . . . . 4
1.2 Compliance with WEEE Directive and
Disposing of the Waste Product. . . . . . . . . . . . . . . . 7
1.3 Compliance with RoHS Directive . . . . . . . . . . . 7
1.4 Package Information . . . . . . . . . . . . . . . . . . . . . . . 7
2 8
2.1 Overview . . . . . . . . . . . . . . . . . . . . . . . . . . . . . . . . . . . 8
2.2 Technical data. . . . . . . . . . . . . . . . . . . . . . . . . . . . . . 8
39-12
3.1 Intended use . . . . . . . . . . . . . . . . . . . . . . . . . . . . . . . 9
3.2 Initial use . . . . . . . . . . . . . . . . . . . . . . . . . . . . . . . . . . . 9
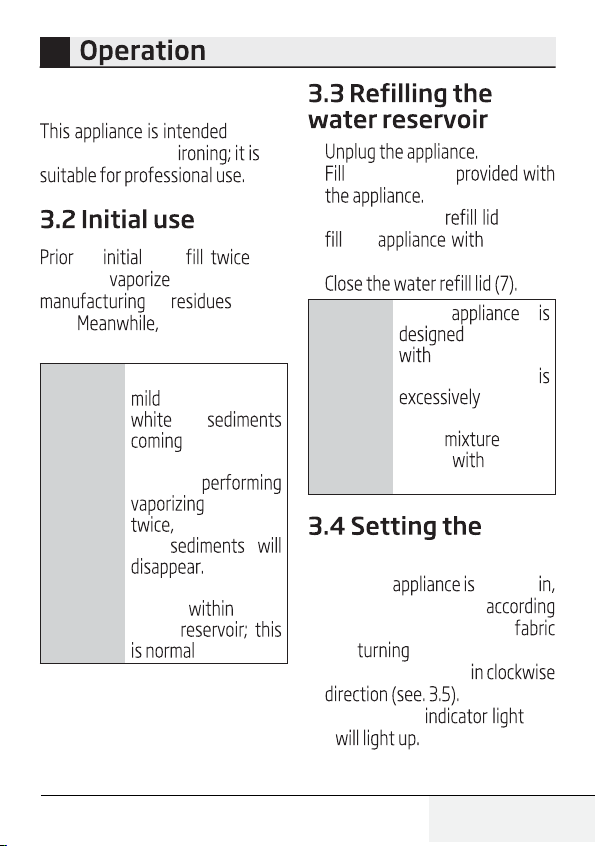
3.3 Relling the water reservoir. . . . . . . . . . . . . . . . 9
3.4 Setting the temperature.. . . . . . . . . . . . . . . . . . 9
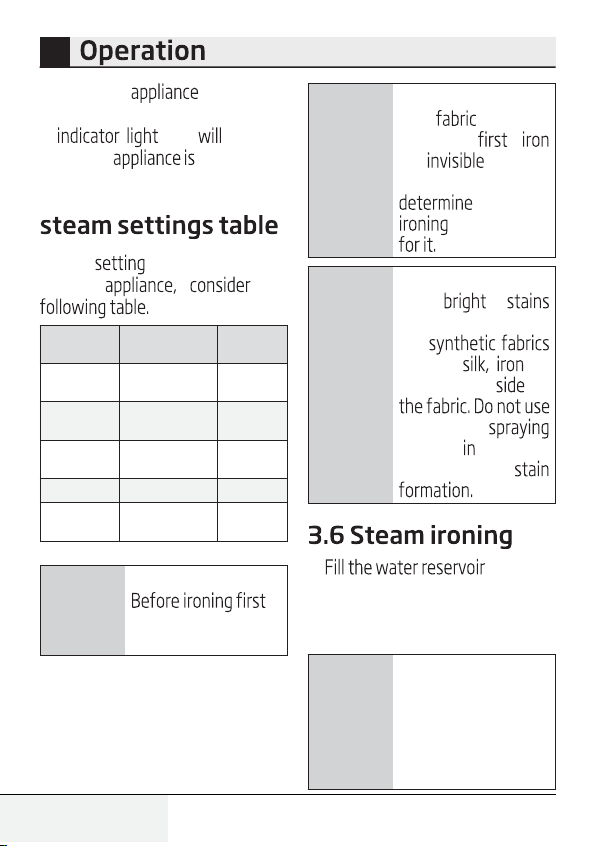
3.5 Temperature and steam settings table . . . . 10
3.6 Steam ironing . . . . . . . . . . . . . . . . . . . . . . . . . . . . . . 10
3.7 Shock steam. . . . . . . . . . . . . . . . . . . . . . . . . . . . . . . . 11
3.8 Vertical steam. . . . . . . . . . . . . . . . . . . . . . . . . . . . . . 11
3.9 Spraying water . . . . . . . . . . . . . . . . . . . . . . . . . . . . . 12
3.10 Dry ironing . . . . . . . . . . . . . . . . . . . . . . . . . . . . . . . . 12
3.11 Automatic Shutdown (Auto-O) . . . . . . . . . . 12
4 13
4.1 Cleaning . . . . . . . . . . . . . . . . . . . . . . . . . . . . . . . . . . . . 13
4.2 Lime removal (Self-Clean) . . . . . . . . . . . . . . . . . . 13
4.3 Storage. . . . . . . . . . . . . . . . . . . . . . . . . . . . . . . . . . . . . 14
4.4 Handling and transportation. . . . . . . . . . . . . . . 14
515

4Steam Iron / User Manual
1.1 General safety
•
•
1
This section contains safety instructions that will help
protect from risk of personal injury or property damage.
Failure to follow these instructions invalidates the granted
warrant.
This appliance complies with the international safety
standards.
This appliance may be used by children who are at the
age of 8 or over and the people whose physical,
perceptive or mental skills are impaired or who are
inexperienced or not knowledgeable about the
appliance as long as they are supervised or informed
and made understood the safe use of the appliance and
the encountered dangers. Children should not play with
the appliance. Cleaning and user maintenance
procedures should not be performed by children unless
they are controlled by their elders.

5
Steam Iron / User Manual
•
•
•
•
•
•
•
•
•
1
Do not leave the product unattended while it is plugged
in.
Unplug the product before lling the water reservoir
with water.
Operate and store the appliance on a stable surface.
When the appliance is placed on its base plate, ensure
that the surface beneath the plate is level.
Do not use the appliance if the power cable or the
appliance itself is damaged. Contact an authorised
service.
If the appliance is dropped or leaks water or has other
failures, contact the authorised service. Do not use the
appliance until it is repaired.
When the appliance is not in use or left to cool down
keep the appliance and power cable out of reach of
children under 8 years old.
The appliance is not suitable for using outdoors.
Only use the original parts or parts recommended by the
manufacturer.

6Steam Iron / User Manual
•
•
•
•
•
•
•
•
•
•
1
Do not attempt to dismantle the appliance.
Your mains power supply should comply with the
information supplied on the rating plate of the
appliance.
The mains supply of the appliance must be secured with
a minimum 16 A fuse.
Use the appliance with a grounded outlet only.
Do not use the appliance with an extension cord.
Do not pull the power cable when unplugging the
appliance.
Unplug the appliance before cleaning it.
Do not wrap the cable around the appliance.
Do not touch the appliance or its plug with wet or damp
hands when the appliance is plugged in.
The soleplate and its surrounding area can be extremely
hot. Contacting hot surfaces may cause burns.
Therefore while or just after using the appliance, pay
attention not to touch the hot surfaces.

7
Steam Iron / User Manual
•
•
product EU WEEE (2012/19/EU).
product bears a symbol for waste
and product has been
manufactured parts and can
be reused and are for Do not of the
waste product normal and other wastes at the end of
Take to the center for the of
and Please consult your local to learn
The product you have purchased EU RoHS
(2011/65/EU). It does not harmful and
of the product are manufactured from
recyclable accordance our
the or other wastes. Take them to the
1
Never use the appliance in or near to combustible or
inammable places and materials.
If you keep the packaging materials, store them out of
the reach of children.

8Steam Iron / User Manual
The values are declared the on your or the other documents
2
1. Power cable
2. Iron base plate
3. Temperature adjustment knob
4.
button
5. Soleplate
6. Water spray nozzle
7. d
8. Steam adjustment button
9. Shock steam button
10.
11. Thermostat indicator and Auto-O light
Voltage : 220-240V~
50/60 Hz
Power : 1950-2300 W
: I
Shock steam
amount
1
2
6
3
4
5
7
8
9
10 11

9
Steam Iron / User Manual
3.1 Intended use
only for
household use and not
to use, (see
3.3) and to remove the
(see
3.6). use shock steam
button (9) frequently.
C
You can smell a
odour or see
out of the
soleplate holes.
After
process
such odours
and
Also
water droplets may
form the
water
.
1.
2. the water cup
3. Open the water (7) and
the water up
to MAX level.
4.
C
Your
for use
tap water. If
your tap water
hard, we
recommend you to
use a of tap
water potable
water.
temperature
1. After the plugged
set the temperature
to the type of your
by the temperature
adjustment knob (3)
- Thermostat (11)
3

10 Steam Iron / User Manual
2. When the reaches the
set temperature, thermostat
(11) turn o
and the ready to use.
3.5 Temperature and
When the temperature
of the the
Fabric
Type
Temperature
Setting
Steam
Setting
Synthetic •
Without
steam
Silk •
Without
steam
Woolen ••
Without
steam
Cotton •••
With steam
Linen -
Jean
Max With steam
AWARNING:
check the label of
the garment.
C
If you don’t know
the of your
garment,
an part of
your garment and
a correct
temperature
C
In order to prevent
the
that may form on
the
such as on
the reverse of
the water
feature order to
prevent the
1. (see. 3.3).
2. Set the appropriate temperature
with the temperature adjust-
ment knob (3) (see 3.5).
A
WARNING:
For
ironing with steam,
temperature adjust-
ment knob should
be at “•••” or “max”
position.
3

11
Steam Iron / User Manual
3.7 Shock steam
A
WARNING:
Set
the temperature
adjustment knob to
a position where the
steam symbol will
be between the “ ”
range.
1. (see. 3.3).
2. Set the temperature adjustment
knob (3) to steam range by
the
- Thermostat (11)
3. When the reaches the
set temperature, thermostat
4. After the thermostat
(11) turns o, you can
the garments the powerful
steam by the shock
steam button (9).
A
WARNING:
If
process
for a
prolonged water
may come through
the soleplate (5)
.
A
WARNING:
In
order to use the
shock steam feature
the thermostat
(11)
should be turned o.
You can also use the shock steam
(see. 3.7). You can
apply steam to your and
your garments on the hanger
the steam you get by
the shock steam button (9). Hold
the 15-30 cm away from
A
WARNING:
During
the ironing if the
thermostat indicator
light (11) turns on,
before proceeding
with the shock steam
process wait for the
light to turn off.
AWARNING:
Never
steam to
people or pets.
3

12 Steam Iron / User Manual
1. (see. 3.3).
2. Set the temperature (see. 3.5).
3. Press the water button
(10) to spray water.
C
You can
remove creases
the water
In order to make dry set
the steam button (8) to the
OFF “
C
water the
would be
advantageous; you
may use the water
button (10)
when necessary.
Shutdown (Auto-O)
•If the hold
for 30 seconds
be
•If the hold
for 7-10
be
turned o.
•If the hold
for 30 seconds a leaned
or left) be
C
In case of
turn o the auto-o
•If the moved
be
turned on.
C
It may take 60
seconds for the
soleplate (5) to reach
the set
temperature.
3

13
Steam Iron / User Manual
A
WARNING:
When
you are
unplug
the You
can the water
the by
the
(7) and the
1. Unplug the before
2. for the to cool
down completely.
3. Use a damp cloth to
clean the outer surface of
the Then dry
thoroughly.
4. the and
on the soleplate (5)
a damp cloth and
soft, cleaner
as necessary.
A
WARNING:
Do
not use
solvent and
agents or
hard brush to clean
(Self-Clean)
removal cleans the
accumulated the
steam generator of the
Use once every
2 to 3 weeks. If the tap water
very hard fall
down from the soleplate (5) of the
use the removal
1.
2. the water
(see. 3.3).
3.
temperature adjustment knob
(3) to max. by
4. When the thermostat
(11) turns o, unplug the
5. Keep the a
over the
and shake the
and the
removal button (4).
depleted.
4e

14 Steam Iron / User Manual
C
It may take some
for the water to
from the holes of
the soleplate.
6. After the becomes
fully empty, release the
removal button (4).
7. If there repeat
the removal
process, let the cool
After the
cools down, o
4.3 Storage
If you do not to use the
for a long store
carefully.
•Before the
unplug and then let cool
completely.
•
•Keep the and
packages.
•
•Always keep the out of
•and
carry the
The of
the protects
•Do not place heavy loads on the
or the The
•the
render or
cause permanent damage.
4

15
Steam Iron / User Manual
5
Although the appliance is plugged in, soleplate (5) does not heat up.
The appliance may be connected improperly.
>>> Check the plug and power
cable (1) of the appliance.
Temperature adjustment knob (3) may be at the Min. position.
>>> Turn the
temperature adjustment knob in the clockwise direction up to the steam sign.
The appliance does not generate steam.
The water reservoir may not have enough water. >>> Fill the water reservoir
with water up to Max level (see. 3.3).
Steam setting button (8) may be at without-steam position. >>> Switch the
steam setting button to the steam position (see. 3.6).
Shock Steam – Vertical Steam does not function.
These functions may have been used too frequently in a very short period of time.
>>> Keep ironing at a horizontal position and wait for a while before using the
shock steam function again. >>> Soleplate (5) may not be hot enough. Turn the
Temperature adjustment knob (3) in the clockwise direction up to the steam sign.
Seat the appliance in a vertical position and wait for the soleplate to heat up.
Water drops fall down onto the fabric during ironing.
You may not have securely closed the water rell lid (7).
>>> Close the water
rell lid securely.
You may be using the shock steam at temperature level
•
or
••
.
>>> Increase the temperature level (see. 3.7).
During ironing, sediments and residues fall down from the soleplate (5).
If the water you use for your appliance is too hard, such sediments may form.
>>>
Use the self-clean function for once or a few times (see. 4.2). For the subsequent
ironings ll the water reservoir of the appliance with a mixture of tap water and
potable water.
The appliance drops water after it cools down or stored.
You may have left the appliance on a horizontal position while there is water in its
reservoir.
>>> Empty the water reservoir.
Stains at the soleplate (5).
Wet garments might have been ironed and the soleplate (5) has had lime stains.
>>> After the appliance cools enough, wipe the soleplate with a microber
knitted or cotton cloth soaked in vinegar.


Table of contents