1
2
3
GB: Set timer, push indicator outside (each indicator 15 min)
DE: Timereinstellung, drücken Sie die Anzeige nach außen (jede
Anzeige 15 Minuten).
GB: Connect power and set hour indicator according to actual time
DE: Schließen Sie die Stromversorgung an und stellen
Sie die Stundenanzeige entsprechend der tatsächlichen Uhrzeit ein.
12
24
13
1
14
2
15
3
16
4
17
5
18
6
19
7
20
8
21
9
22
10
23
11
ON
OFF
GB: Current time
DE: Aktuelle Uhrzeit
GB: Hour indicator
1 to 24 h
DE: Stundenanzeige
1 bis 24 Stunden
12
24
13
1
14
2
15
3
16
4
17
5
18
6
19
7
20
8
21
9
22
10
23
11
ON
OFF
GB: Time switch
on/off
DE: Timer Ein/Aus
GB: Activate timer
DE: Aktivieren Sie den Timer
GB: Deactivate timer
DE: Deaktivieren Sie den Timer
I
12
24
13
1
14
2
15
3
16
4
17
5
18
6
19
7
20
8
21
9
22
10
23
11
ON
OFF GB: Time switch
active 15 min
DE: Zeitschaltuhr
15 Minuten aktiv
12
3
4
5
6
7
89
10
11
12
13
14
15 16
17
18
19 20
21
www.Die-Bold.com
Info
1, 2, 3, 4, 5, 6, 7, 8, 9, 10, 11, 12,
13, 14
Safety Instructions
Art.-Nr.: 10039, 10040
1x 1x 4x 4x3x
230V~/16A,
max.total wattage: 3680W
(+MA 230) BAE 02/20
Not included
⌀6mm
www.Die-Bold.com
Die BOLD GmbH
Auf dem Liethberge 26
DE-38690 Goslar
12
3
4
5
6
7
89
10
11
12
13
14
15 16
17
18
19 20
21
Bedienungsanleitung für mechanische Timer
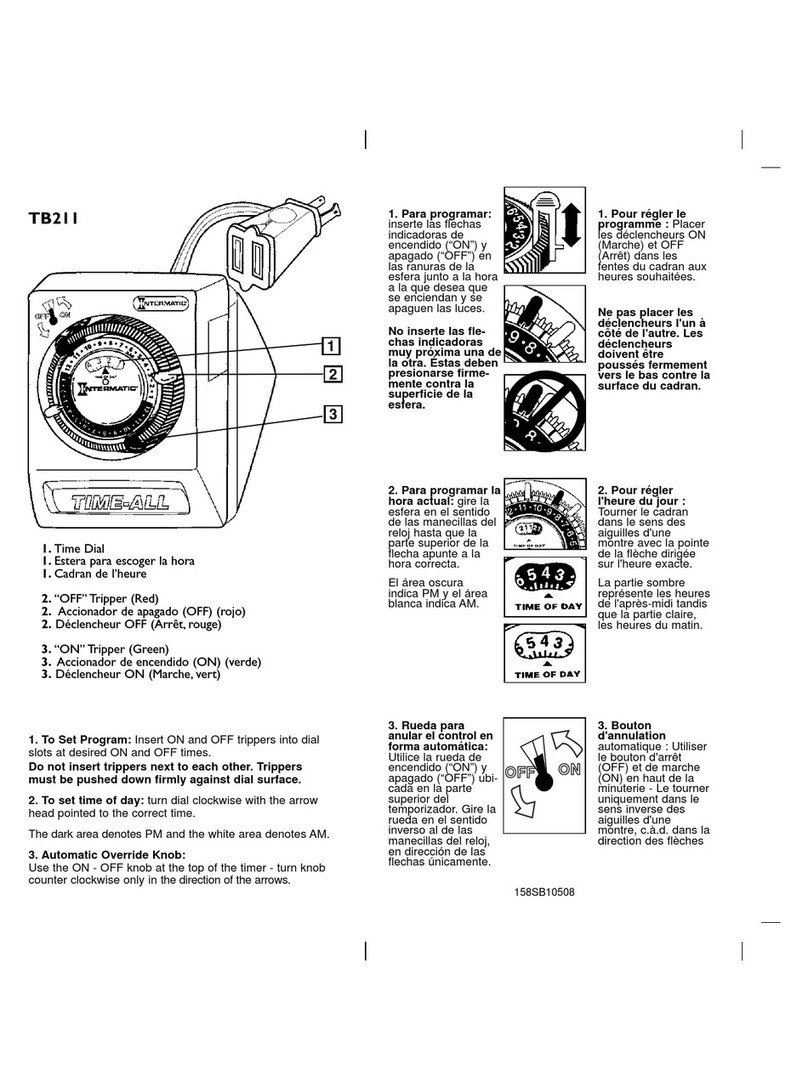
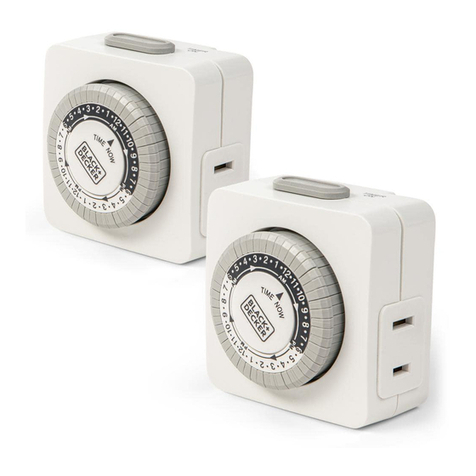
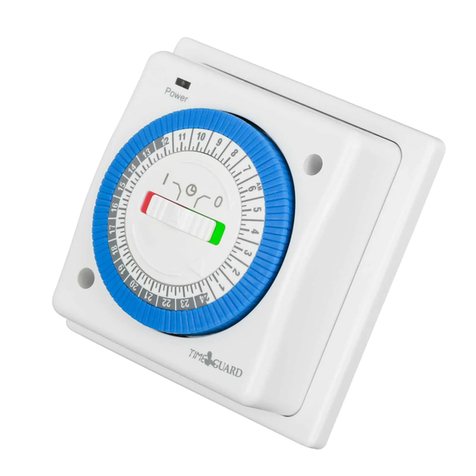
Setup-Verfahren: zum Einschalten der Zeitschaltuhr, drücken Sie die kleinen Zahnregler unter dem
Zahlenrand nach außen, jeder Zahn steht für 15 Minuten. Wo die Zähne nach außen gedrückt sind, ist
die Zeit eingestellt, z.B. Setup-Timer läuft von 8:00 Uhr - 11:00 Uhr und 13:00 Uhr -17:00 Uhr, es
müssen alle, die zu diesen beiden Perioden gehören, nach außen gedrückt werden. Hinweis: Schieben
Sie diese Teile mit einem Kugelschreiber, Bleistift oder einem kleinen Schraubenzieher nach außen.
Aktuelle Uhrzeit einstellen: Drehen Sie das Wählrad im Uhrzeigersinn, stellen Sie den Dreieckspfeil auf
die aktuelle Uhrzeit, z.B. aktuelle Uhrzeit 8:00 Uhr, drehen Sie das Wählrad im Uhrzeigersinn bis der
Pfeil auf die Zahl 8 zeigt.
Schieben Sie den grünen Schalter auf die Position mit dem Symbol einer Uhr " ", um für die
Steckdosen die Timerfunktion zu nutzen. Schieben Sie den grünen Schalter auf Position "I", um die
Timerfunktion für die Steckdosen auszuschalten und sie somit dauerhaft in Betrieb zu nehmen.
Hinweis:Wenn der Zahnregler, auf die der dreieckige Pfeil zeigt, nicht nach außen gedrückt werden
kann, drehen Sie das Einstellrad im Uhrzeigersinn bis der Pfeil nicht mehr darauf zeigt.
Wenn das Gerät ausgeschaltet ist, muss die aktuelle Uhrzeit neu eingestellt werden.
Wenn Sie die Einstellung nicht ändern, bleibt diese für jeden Tag gleich.
Vorsicht, Stromschlaggefahr! Zerlegen Sie den mechanischen Timer nicht. Wenden Sie sich bei
Reparaturarbeiten immer an einen qualifizierten Elektriker, der nach den örtlichen Sicherheits-
hinweise arbeitet und verwenden Sie nur Originalersatzteile.
Instruction manual for mechanical timer
Setup procedures: push indicator outside, each indicator 15min, power on when indicator is pushed to
outside. e.g.: setup timer working on 8:00am-11:00am and 13:00pm-17:00pm, only need to push all
the indicators which belong to these two periods outside.
Set current time: turn the dial clockwise, make the triangle arrow point to the current moment. e.g.:
current time 8:00am, turn the dial clockwise, make the triangle arrow points to the number 8.
Push green time switch to location, then the controlled electrical appliances will be set and had
timer function. Push green time switch to ”I” location, then no timer function for controlled electrical
appliances.
Note: If the indicator which is pointed by the triangle arrow can not be pushed outside, just turn the
dial clockwise and make this indicator is not pointed.
If there is power off, must recalibrate current moment.
Unless change the setting, otherwise keep the same setup procedures everyday.
Caution, risk of electric shock! Do not disassemble the mechanical timer. When repairing, please always
consult a qualified electrician in accordance with local safety regulations for help and use original.
GB
DE
1x 3x
