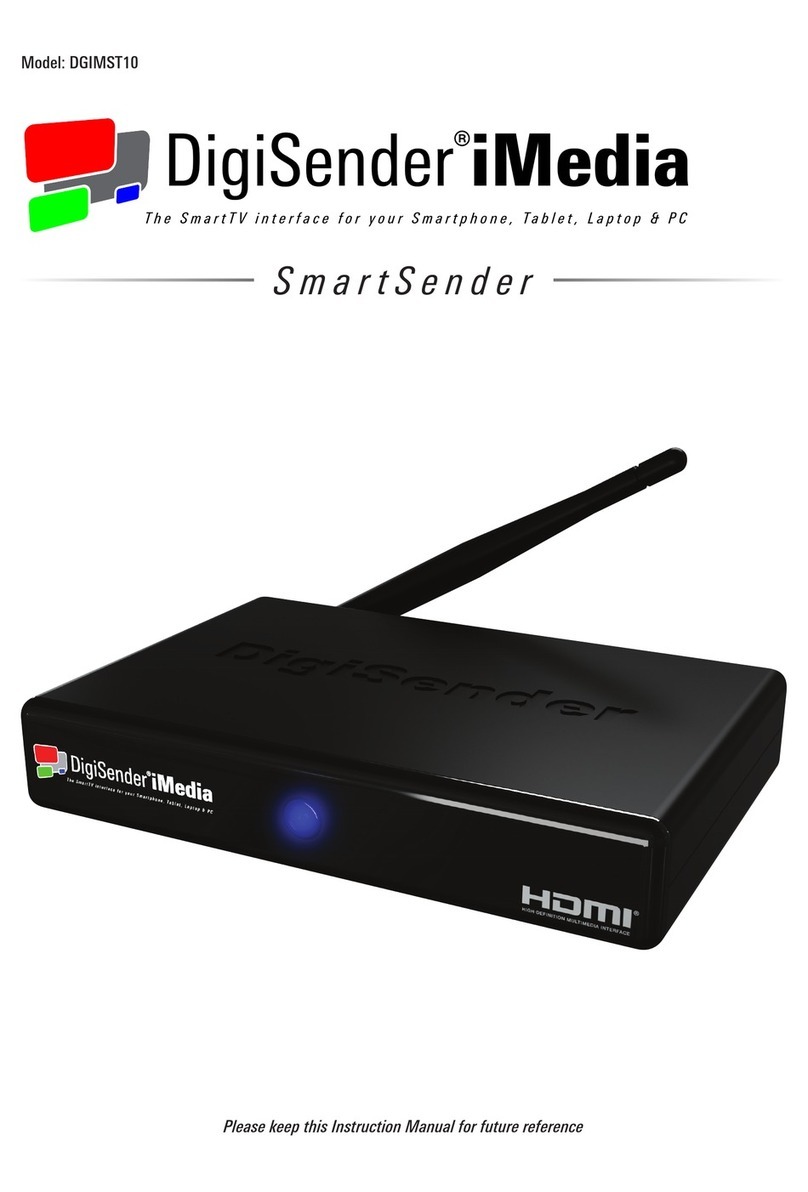
DigiSender iMedia SmartSender User manual

The SmartTV interface for your Smartphone, Tablet, Laptop & PC
Model: DGIMST10
Please keep this Instruction Manual for future reference
TheSmartTVinterface foryour Smartphone,Tablet, Laptop& PC
Model:DGIMST10
Pleasekeepthis Instruction Manual for future reference
TheSmartTVinterfaceforyourSmartphone,Tablet, Laptop& PC
mar
S
T1
1Verify the contents of the box
Included in the pack is:
2Install the iMedia® software
• Place the iMedia® software disc into the disc tray of your PC or Laptop.
• In the AutoPlay menu, click ‘Run AUTORUN.exe’.
• Follow the on-screen instructions in the install wizard.
• After installation is complete, click Analysis on the Benchmark Tool.
Note: If the AutoPlay menu does not display, openMy Computer and click on your
disc drive, then double click the AUTORUN.exe fi le to start the install wizard.
3Connect the Ethernet cable to your wireless router
• Connect the Ethernet cable to the Ethernet socket on the back of the
iMedia® SmartSender™.
• Connect the other end of the Ethernet cable to an available Ethernet
socket on your wireless router.
4Connect the power cable and press the power button
• Connect the power cable to the socket labelled DC 5V on the back of
the iMedia® SmartSender™.
• Plug the adaptor into an available mains socket.
• Press the power button on the back of the iMedia® SmartSender™.
5Configure the iMedia® SmartSender™ to connect to your wireless router via Wi-Fi
• Double click the iMedia® Shortcut on your PC or Laptop
desktop.
• After a few seconds the iMedia® Utility Program will
sync with the iMedia® SmartSender™.
• Click the arrow at the bottom of the program.
• Double click the Gear symbol to bring up the Configura-
tion Settings page.
• Click the STA Mode tab.
• Check the tick box next to ‘Enable Station Mode’.
• Input your router SSID and Encryption type.
• Input your router WEP/WPA/WPA2KEY.
• Click Save.
The iMedia® SmartSender™ will then reboot itself and
automatically connect to your wireless router.
Note: Please consult your router documentation to fi nd your SSID
and WEP/WPA/WPA2KEY. Alternatively, search online for how to
fi nd the SSID and WEP/WPA/WPA2KEY for your specific router.
• 1x DigiSender® iMedia® SmartSender™
• 1x DigiSender® iMedia® Instruction Manual
• 1x DigiSender® iMedia® Software Disc
• 1x DigiSender® iMedia® Quick Guide
• 1x 1m Ethernet Cable
• 1x 1m HDMI Cable
• 1x 5V Power Cable
This Quick Guide has been designed for use with the most popular method of connecting the iMedia® SmartSender™. For other ways of connecting, please read the included Instruction Manual.
EthernetCable
HDMICable
PowerCable
iMedia®SmartSender™
ANT
AVOUT
DC5V
HDMIOUT
ETHERNETIN
USB1USB2
POWER
DC5V
HDMIOUT
ETHERNETIN
R
WirelessRouter
iMedia®SmartSender™
AutoPlay
InstallW
izard
BenchmarkingTool
ANT
AVOUT
DC5V
HDMIOUT
ETHERNETIN
USB1 USB2
POWER
DC5V ETHERNET
POWER
iMedia®Desktop Shortcut
iMedia®Utility Program
iMedia®Settings Window
iMedia®STA Mode Tab
iMedia®SmartSender™
PowerCable
MainsSocket
EthernetCable
Model: DGIMST10
iMedia®Software Disc
iMedia®Quick Guide
iMedia®Instruction Manual
TheSmartTV interface for your Smartphone, Tablet, Laptop & PC
1 Verify the contents of the box
Included in the pack is:
2 Install the iMedia® software
• Place the iMedia® software disc into the disc tray of your PC or Laptop.
• In the AutoPlay menu, click ‘Run AUTORUN.exe’.
• Follow the on-screen instructions in the install wizard.
• After installation is complete, click Analysis on the Benchmark Tool.
Note: If the AutoPlay menu does not display, open My Computer and click on your
disc drive, then double click the AUTORUN.exe file to start the install wizard.
3 Connect the Ethernet cable to your wireless router
• Connect the Ethernet cable to the Ethernet socket on the back of the
iMedia® SmartSender™.
• Connect the other end of the Ethernet cable to an available Ethernet
socket on your wireless router.
4 Connect the power cable and press the power button
• Connect the power cable to the socket labelled DC 12V on the back of
the iMedia® SmartSender™.
• Plug the adaptor into an available mains socket.
• Press the power button on the back of the iMedia® SmartSender™.
5 Configure the iMedia® SmartSender™ to connect to your wireless router via Wi-Fi
• Double click the iMedia® Shortcut on your PC or Laptop
desktop.
• After a few seconds the iMedia® Utility Program will
sync with the iMedia® SmartSender™.
• Click the arrow at the bottom of the program.
• Double click the Gear symbol to bring up the Configura-
tion Settings page.
• Click the STA Mode tab.
• Check the tick box next to ‘Enable Station Mode’.
• Input your router SSID and Encryption type.
• Input your router WEP/WPA/WPA2 KEY.
• Click Save.
The iMedia® SmartSender™ will then reboot itself and
automatically connect to your wireless router.
Note: Please consult your router documentation to find your SSID
and WEP/WPA/WPA2 KEY. Alternatively, search online for how to
find the SSID and WEP/WPA/WPA2 KEY for your specific router.
• 1x DigiSender® iMedia® SmartSender™
• 1x DigiSender® iMedia® Instruction Manual
• 1x DigiSender® iMedia® Software Disc
• 1x DigiSender® iMedia® Quick Guide
• 1x 1m Ethernet Cable
• 1x 1m HDMI Cable
• 1x 5V Power Cable
This Quick Guide has been designed for use with the most popular method of connecting the iMedia® SmartSender™. For other ways of connecting, please read the included Instruction Manual.
Ethernet Cable
HDMI Cable
Power Cable
iMedia® SmartSender™
ANT
AVOUT
DC12V
HDMIOUT
ETHERNETIN
USB1 USB2
RESET
ANT
AV OUT
DC 12V
HDMI OUT
ETHERNET IN
USB 1 USB 2
RESET
Wireless Router
iMedia® SmartSender™
AutoPlay
Install Wizard
Benchmarking Tool
ANT
AVOUT
DC12V
HDMIOUT
ETHERNETIN
USB1 USB2
RESET
ANT
AV OUT
DC 12V
HDMI OUT
ETHERNET IN
USB 1 USB 2
RESET
iMedia® Desktop Shortcut
iMedia® Utility Program
iMedia® Settings Window
iMedia® STA Mode Tab
iMedia® SmartSender™
Power Cable
Mains Socket
Ethernet Cable
Model: DGIMST10
iMedia® Software Disc
iMedia® Quick Guide
iMedia® Instruction Manual

6 Disconnect the Ethernet cable and connect the HDMI cable to your TV
• Disconnect the Ethernet cable from the iMedia® SmartSender™ and from your wireless router.
• Connect the included HDMI cable to the socket labelled HDMI OUT on the back of the iMedia®.
• Connect the other end of the HDMI cable to an available HDMI INPUT on your TV.
Note: Depending on where your wireless router is located, it may be necessary to unplug the iMedia® SmartSend-
er™ from the mains and move it closer to your TV. Make sure to turn the iMedia® SmartSender™ back on after
moving it closer to your TV and reconnecting the power cable to the mains.
7 Turn on your TV and select the HDMI channel
• Turn on your TV.
• Select the HDMI channel assigned to the HDMI Input that you con-
nected the iMedia® SmartSender™ to. The correct button to do this
may be labelled as Input, Source, AV, or HDMI.
8 Using the iMedia® SmartSender™ in PC Sender mode
• Double click the iMedia® Shortcut on your PC or Laptop desktop.
• After a few seconds the program will sync with the SmartSender™.
• Click the play button and your TV will display your PC or Laptop screen.
Note: Your PC or laptop screen resolution may be automatically adjusted by the
iMedia® program. After closing the iMedia® program your desktop resolution will
return to normal.
9 Using the iMedia® SmartSender™ in Media Streaming mode
The iMedia® SmartSender™ also allows you to play media from your SmartPhone or Tablet on your TV.
This is easily achieved using pre-installed Digital Media Server apps on most new SmartPhones and
Tablets (Samsung AllShare, HTC Connected Media, etc.). If your phone or tablet does not have one of
these pre-installed apps, search the Android Market or AppStore for a Digital Media Server.
10 Playing media from your SmartPhone or Tablet
• Stop the iMedia® Utility Program from sending your PC screen to your TV.
• Run the Digital Media Server app on your SmartPhone or Tablet.
• Navigate to the media you want to play on your TV.
• Select ‘Play To:’ and choose the iMedia® SmartSender™.
Note: Depending on what phone or Digital Media Server app you are using, the com-
mand to play files may be different. Please consult your phone/app documentation.
Your music or video will now start playing through your TV.
But that’s not all. Using the process above you can also play media stored
on any other Digital Media Server devices on your Network. Whether it is
your flatmates PC, the kitchen laptop or a friends SmartPhone, the iMedia®
SmartSender™ allows you to connect them all to your TV wirelessly.
ANT
AVOUT
DC12V
HDMIOUT
ETHERNETIN
USB1 USB2
RESET
ANT
AV OUT
DC 12V
HDMI OUT
ETHERNET IN
USB 1 USB 2
RESET
© 2012 AEI Security & Communications Ltd. All rights reserved.
SmartSender is a trademark of AEI Security & Communications Ltd. DigiSender, iMedia and the DigiSender logo are registered trademarks of AEI Security & Communications Ltd.
Use of any other trademarks is strictly for reference purposes only and they belong soley to their respective owners. CW100412-4
HDMI Cable
iMedia® SmartSender™
Your TV
iMedia® SmartSender™
TV in the Lounge
SmartPhone
Laptop in Kitchen
Wi-Fi
Wi-Fi
DigiSender®iMedia
TheSmartTV interface for your Smartphone, Tablet,Laptop & PC
HDMI Cable
iMedia® Desktop Shortcut
iMedia® Utility Program
Laptop in Kitchen
TV in the Lounge
TV in the Lounge
SmartPhone
Please Note: The method shown abovbe is specific to the Samsung Galaxy SII SmartPhone, other SmartPhones and Digital Media Server Apps methods may differ.
Other DigiSender TV Accessories manuals
