DirekTronik Telecom Test PDA User manual

Telecom Test PDA
User Manual
V6-1.0

1

2
Brief Introduction
Thank you for purchasing our telecom test PDA.
This user manual includes function introduction, installation,
wiring, operation process, and problems solution. Please read
the manual carefully before use, and keep it in safe and
convenient place so that you can quickly find it when
problems occur.
Notice:
As we continue to upgrade and improve functions and features,
the contents of the user manual is subject to change without
notice.
We will try to improve this manual to ensure its content
accuracy. If you find any errors in this manual, please contact
us.

3
It is strictly forbidden to copy or reproduce all or part of this
manual without the written permission of the company.

1
Contents
Chapter I Product Overview.................................................. 1
1. Introduction............................................................... 1
2. Function List ............................................................. 2
3. Components and Functions...................................... 4
4. Main Features........................................................... 7
Chapter II Technical Specifications and Basic Functions . 8
1. Technical Specifications ............................................. 8
1.1 Optical Power Index ......................................... 8
1.2 Visual Fault Locator Index................................ 9
1.3 Gigabit Speed Test........................................... 9
1.4 HDMI .............................................................. 10
1.5 5G WIFI.......................................................... 10
2. Basic Functions......................................................... 11
2.1 OTG USB Function ........................................ 11
2.2 Charging Function.......................................... 11

2
2.3 Network Card.................................................. 12
2.4 PPPOE Dial.................................................... 13
Chapter III Usage of Main Functions ................................. 14
1. Optical Power Test.................................................... 15
2. Visual Fault Locator .................................................. 19
3. Gigabit Speed Test ................................................... 20
4. 5G WIFI Speed Test ................................................. 21
5. HDMI Function.......................................................... 21
5.1 Function description............................... 21
5.2 Operation method.................................. 22
6. Barcode Scan Function (Optional)............................ 23
7. SIM Card (Optional).................................................. 23
8. How to Install the USB Driver ................................... 23
Chapter IV Simple Troubleshooting................................... 24

1
Chapter I Product Overview
1. Introduction
The telecom test PDA is based on Android smart phone
platform, which is a handheld multi-functional testing device
design for telecom operator for LAN test, optical power test,
red light source, gigabit speed test, 5G WIFI speed test, and
TV functions.
The device can test multiple access methods, including LAN
access and optical fiber access. And it can help you confirm
whether the user line can open services; evaluate the service
quality you provide to the user. This device not only can
simulate the user's PC to test broadband IP line, or realize
PPPoE dial through the user's modem, but also used in
problems verification, such as connectivity of the broadband IP
network and the user's modem problem, or eliminate due to the
user's PC failure cannot login the webpage.

2
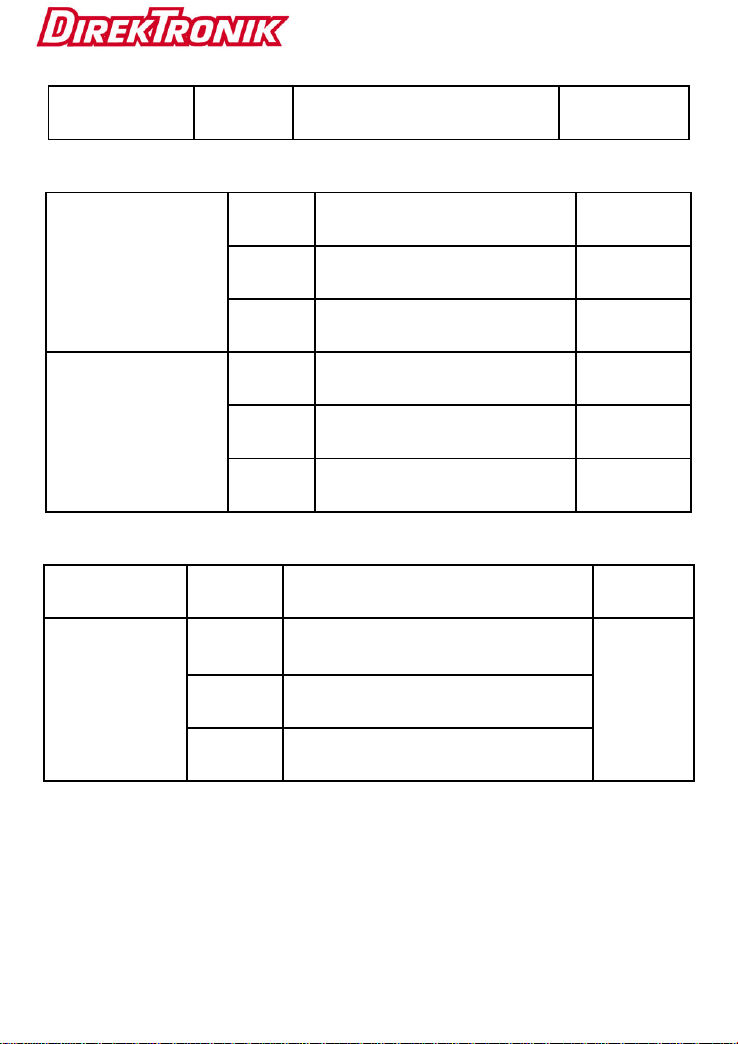
2. Function List
Function
Module
Module
Code
Module Classification
Remarks
Barcode
B
With 1D barcode scanning
module
Optional
Optical power
meter
G
Optical power with 1625nm
Choose one
7
Optical power with 1577nm
VFL
H
Red light source
IPTV
I
With IPTV module
Gigabit speed
Q
With Gigabit speed module
5G WIFI
5
With 5G WIFI speed test
HDMI
M
With HDMI function
SIM card
read-write
S
With SIM card read-write
function
Optional
3
Back jacket
J
With back clip port
Optional
Front camera
A
2 million pixels
Optional
B
5 million pixels
Optional
C
8 million pixels
Optional
Rear camera
A
8 million pixels
Optional
B
13 million pixels
Optional
C
16 million pixels
Optional
Battery
6
6000mAh capacity
Memory
capacity
2+16
RAM 2G, ROM 16G
Choose
one
3+32
RAM 3G, ROM 32G
4+64
RAM 4G, ROM 64G
Note: The default configuration is: the front camera is 200W,
the rear camera is 1300W, the battery is 6000mAh.

4
3. Components and Functions

5

6
Code
Name
Function
1
Telephone receiver
Telephone receiver
2
Front camera
Take photo or video
3
Display
Screen display
4
Rear camera
Take photo or video
5
LED light
LED light also can be used as flashlight
6
Menu Key
Menu key
7
Home Key
Home key
8
Return key
Return key
9
Loudspeaker
Equipment loudspeaker
10
VFL port
Connect with the fiber interface, red
light test fiber optic connection
11
Optical power port
Connect with the fiber interface, test
optical power
12
Ethernet port
Connect Ethernet for network test
13
USB port
USB port, connect PC or charge

7
14
MIC
Device MIC
15
HDMI port
Video source tester input port
16
Earphone hole
Connect earphone
17
Card port
Placing a SIM card and a TF card
18
Volume key
Adjust volume of phone call or the loud
speaker
19
Power key
Power on/off
4. Main Features
➢1920x1080 IPS true color LCD with touch screen
➢Android 9.0 operating system
➢Support CDMA bandwidth 1X/EVD0 BC0
➢Support TD-SCDMA bandwidth B34 / B39
➢Support GSM bandwidth 850/900/1800/1900
➢Support TDD-LTE bandwidth B38 / B39 / B40 / B41
➢Support FDD-LTE bandwidth B1/B2/B3/B4/B5/B7/B8

8
➢Rechargeable 3.8V 6000mAh polymer battery
➢Support 802.11a/b/g/n/ac, WIFI 2.4G and 5G
➢Support Bluetooth function
➢Support flashlight function
➢Volume: 167 * 87 * 25mm (without scanner)
➢Weight: 400g
Chapter II Technical Specifications and
Basic Functions
1. Technical Specifications
1.1 Optical Power Index
⚫Wavelength range (nm): 800~1700
⚫Photo-sensing material: InGaAs
⚫Power test range (dBm): -70~+3 (-50~+26)
⚫Error range: ±5%

9
⚫Display distinguishability
Linear display: 0.1%
Logarithmic display: 0.01 dBm
⚫Universal interface
1.2 Visual Fault Locator Index
⚫Laser: FP-LD
⚫Wavelength: 650nm±20nm
⚫Output power: 1mw/3mw/5mw/10mw (You can choose the
different power value)
⚫Connector: universal
⚫Working mode: CW or 2Hz modulation
⚫Applicable fiber: SM/MM
1.3 Gigabit Speed Test
1) Speed test specification
Support Gigabit speed test.

10
2) Network configuration:
➢Support DHCP, PPPOE and static IP Internet connection
➢Can set the download thread count
➢Can set testing time
➢Can set testing URL address
1.4 HDMI
1) Interface
Support HDMI protocol interface
2) Resolution
Support 4K, HD1080P, HD1080I, HD720P, SD480P, VGA,
Auto and other resolutions
1.5 5G WIFI
1) Speed test specification
Support Gigabit speed test.
2) Network configuration:

11
➢Can set the download thread count
➢Can set testing time
➢Can set testing address
2. Basic Functions
2.1 OTG USB Function
Through USB OTG data line can connect PDA to USB, transfer
files and data backup. The PDA support USB storage device
including U dish, reader and phones which support large
capacity USB storage function.
After connecting USB equipment and upload successful it can
read the data in the USB storage equipment.
2.2 Charging Function
The device support fast charging. Please use the standard
charger for charging.

12
2.3 Network Card
To open the device's network card, pull down the prompt bar
and click the LAN icon . Long pressing LAN icon can open.
You can choose DHCP or STATIC from Ethernet IP mode.
Under DHCP mode, click again to get IP address from DHCP
server. At STATIC IP mode, you can revise the IP address,
netmask, gateway and DNS, DNS including DNS1 and DNS2.
You need to set DNS1 firstly.

13
2.4 PPPOE Dial
To make PPPOE dial, you need to pull down prompt bar and
click LAN to open network card, and long pressing PPPOE
icon , the PPPOE window pop up. Input user name and
password, click “Connect” to establish PPPOE link. Please see
the following pictures:

14
Chapter III Usage of Main Functions
Swipe up the standby screen, showing main menu, as below:
Swipe up or down to see all menu items. Press the back key to
close the main menu. Drag the user's favorite functions onto
Table of contents
Other DirekTronik Laptop Accessories manuals


