StarTech.com LTANCHORL User manual

Quick-Start Guide
To view manuals, FAQs, videos, drivers, downloads, technical drawings, and more, visit www.startech.com/support.
Manual Revision: March 21, 2019 11:10 AM
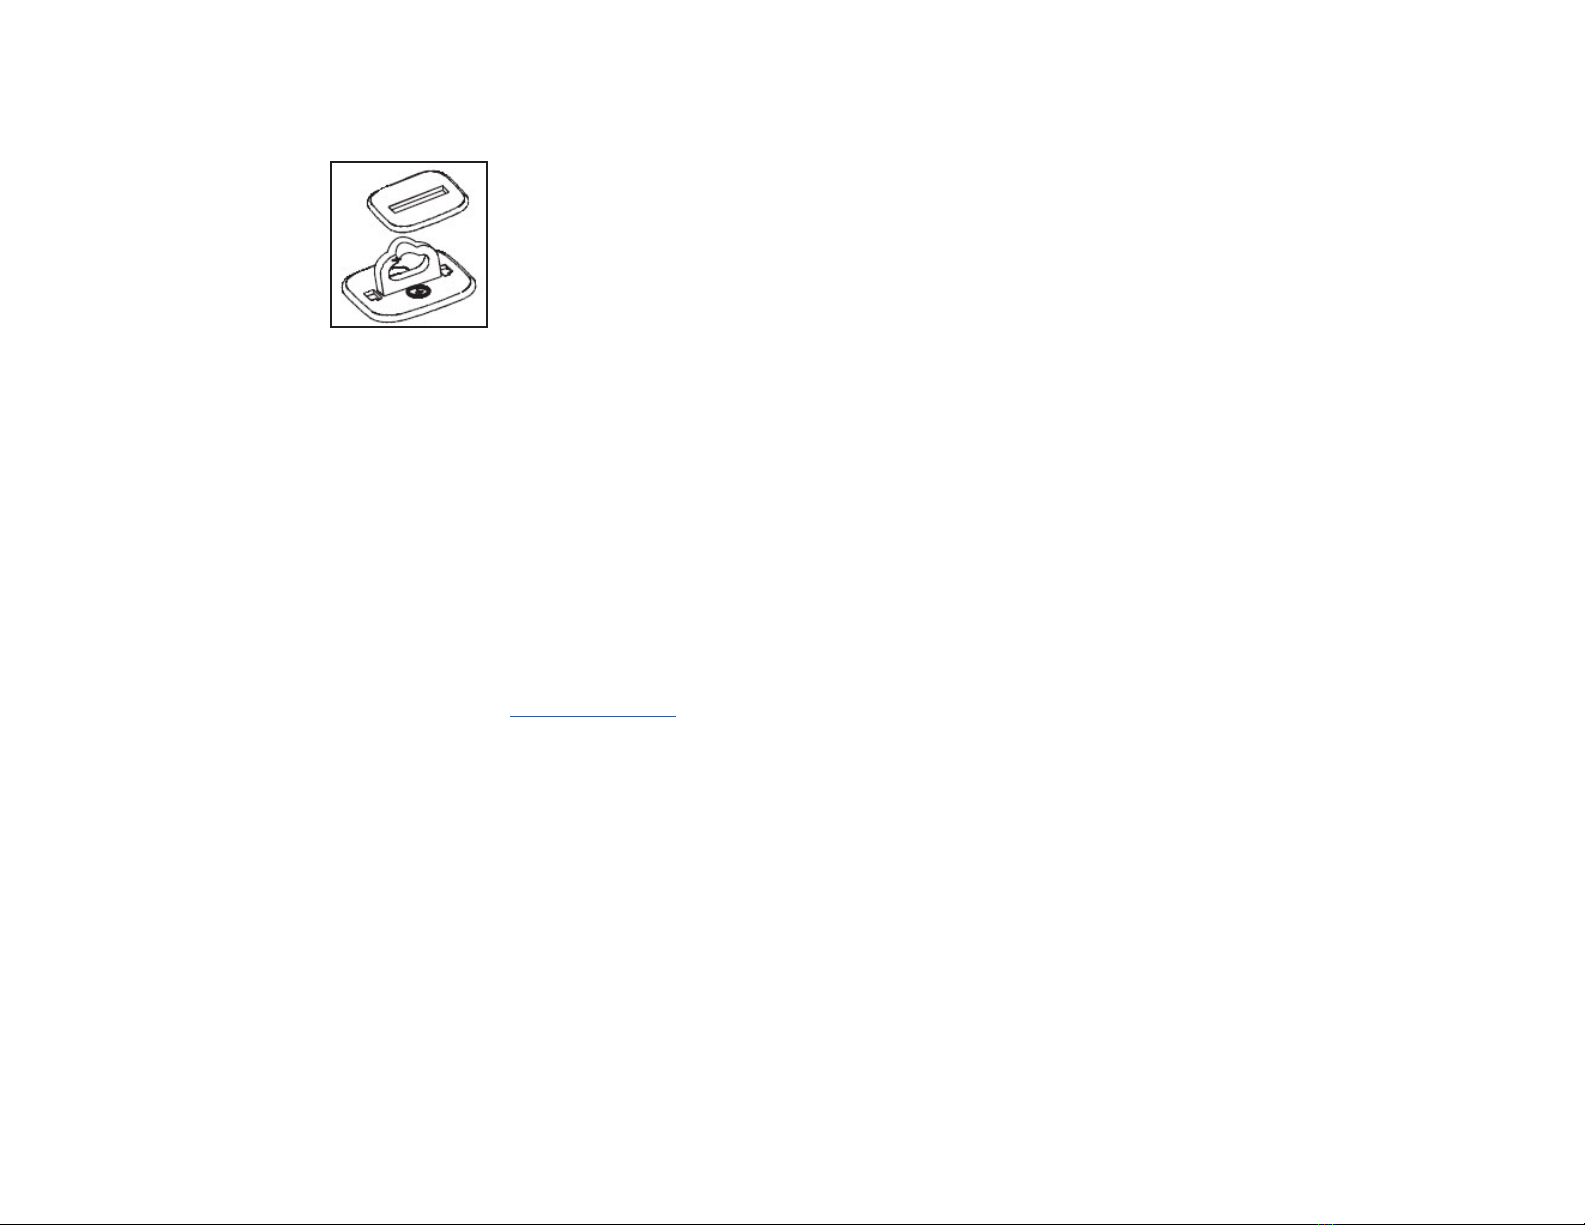
Product Diagram (LTANCHORL)
Note: Security Cable and Lock sold separately.
Component Function
1Security Plate
• Used to hide the Mounting Screws.
• Used to prevent access to the Mounting
Screws.
2Desk Anchor • Used in place of a stationary object to secure a
connected Device.
Requirements
For the latest requirements, please visit www.startech.com/LTANCHORL.
Installation
Notes: The Desk Anchor is not recommend for use outdoors, in high humidity
conditions, on glass, ceramic tile, or water absorbent materials.
The following surface types must have a primer applied before the Desk Anchor can
be properly installed: copper, brass, or plasticized vinyl.
For maximum security, it is recommended that both Adhesive Backing and
Mounting Screws are used when installing the Desk Anchor.
Laptop Lock Anchor - Large
1
1. Position the Desk Anchor on the surface you wish to mount it to.
Desk Anchor
Note: Use a pencil to draw an outline around the Desk Anchor. This will ensure that
you know the area you need to score using the Abrasive Pad.
2. Use the Abrasive Pad (included) to score the surface area you intend to mount the
Desk Anchor on. Be careful to only score the surface that the Desk Anchor will
cover.
3. Use the Alcohol Pad (included) to clean the scored surface prior to installation.
Allow the alcohol to dry before installing the Desk Anchor on the surface.
Note: (Optional) Use the Screw Holes on the Desk Anchor as a guide to drill pilot
holes.
4. Remove the Adhesive Backing on the back of the Desk Anchor, exposing the
adhesive surface. Secure the Desk Anchor to the scored area. Apply the adhesive
backing to the surface at room temperature 60 °F (16°C).
5. Before connecting a Security Cable to the Desk Anchor, allow the adhesive
backing at least 24 hours to bond to the surface.
6. Insert the Mounting Screws (x2) into the Mounting Holes on the Desk Anchor.
Installing the Mounting Screws
2
Use of Trademarks, Registered Trademarks, and other Protected Names and Symbols
This manual may make reference to trademarks, registered trademarks, and other protected names and/or symbols of third-
party companies not related in any way to StarTech.com. Where they occur these references are for illustrative purposes only
and do not represent an endorsement of a product or service by StarTech.com, or an endorsement of the product(s) to which
this manual applies by the third-party company in question. StarTech.com hereby acknowledges that all trademarks, registered
trademarks, service marks, and other protected names and/or symbols contained in this manual and related documents are the
property of their respective holders.
Warranty Information
This product is backed by a two-year warranty.
For further information on product warranty terms and conditions, please refer to www.startech.com/warranty.
Limitation of Liability
In no event shall the liability of StarTech.com Ltd. and StarTech.com USA LLP (or their ocers, directors, employees or agents)
for any damages (whether direct or indirect, special, punitive, incidental, consequential, or otherwise), loss of prots, loss of
business, or any pecuniary loss, arising out of or related to the use of the product exceed the actual price paid for the product.
Some states do not allow the exclusion or limitation of incidental or consequential damages. If such laws apply, the limitations
or exclusions contained in this statement may not apply to you.
Safety Measures
• If product has an exposed circuit board, do not touch the product under power.
Mesures de sécurité
• Si l’un des circuits imprimés du produit est visible, ne pas touchez le produit lorsqu’il est sous tension.
安全対策
• 製品に露出した状態の回路基盤が含まれる場合、電源が入っている状態で製品に触らないでください。
Misure di sicurezza
• Se il prodotto ha un circuito stampato visibile, non toccare il prodotto quando è acceso.
Säkerhetsåtgärder
• Rör aldrig vid enheter med oskyddade kretskort när strömmen är påslagen.
FR: fr.startech.com
DE: de.startech.com
ES: es.startech.com
NL: nl.startech.com
IT: it.startech.com
JP: jp.startech.com
StarTech.com Ltd.
45 Artisans Cres
London, Ontario
N5V 5E9
Canada
StarTech.com Ltd.
Unit B, Pinnacle 15
Gowerton Rd,
Brackmills
Northampton
NN4 7BW
United Kingdom
StarTech.com LLP
2500 Creekside
Parkwy
Lockbourne, Ohio
43137
U.S.A.
7. Using a Phillips Head Screwdriver, tighten the Mounting Screws. Be careful not to
over-tighten the Mounting Screws.
8. Align the Clips with the Plate Holes on the Desk Anchor and slide the Clips into the
Plate Holes, installing the Security Plate.
Installing the Security Plate
9. Pull a Security Cable through the Desk Anchor and pull the Lock through the loop
on the Security Cable.
10. Connect the Lock on the Security Cable to a compatible Device.
Other StarTech.com Laptop Accessories manuals


